

Have you ever glanced at the price tag of those pre-packaged gluten-free breadcrumbs and felt a slight pang of…well, let’s call it culinary sticker shock? I know I have. It’s almost enough to make you swear off coated anything! And let’s be honest, how often does a loaf of gluten-free bread turn out exactly as planned? Sometimes, a valiant attempt at baking results in a loaf that’s a little too dense, a bit too dry, or maybe just doesn’t quite hit the mark. Instead of tossing these “failures,” what if I told you there was a way to transform them into kitchen gold? I’m talking about homemade, unbelievably delicious, and wonderfully cost-effective gluten-free breadcrumbs.
The Humble Power of the Crumb
Gluten-free baking can be tricky, and sometimes those unexpected bread “outcomes” become the perfect source material. Yes, that slightly stale loaf lurking in your breadbox is about to have its moment. More than just a way to save money, making your own gluten-free breadcrumbs is an act of culinary alchemy—transforming something ordinary into something extraordinary. Plus, you have complete control over the texture, flavor, and even the level of toasty goodness.
Table of Contents
- How to Make Gluten-Free Breadcrumbs
- How to Store Homemade Breadcrumbs
- How to Use Gluten-Free Breadcrumbs
- Frequently Asked Questions (FAQs)
- Gluten-Free Breadcrumbs Recipe: Your Kitchen Guide
1. How to Make Gluten-Free Breadcrumbs: A Step-by-Step Guide
The process is deceptively simple, yet the results are truly transformative. Here’s how you can turn that leftover gluten-free bread into golden, flavorful crumbs:
- Tear it Up (The Gentle Way): Start by tearing your gluten-free bread into manageable pieces. Don’t worry about making them uniform; the food processor will take care of that. We are aiming for chunks, not perfection. Think of it as a therapeutic deconstruction exercise before the reconstruction of deliciousness.
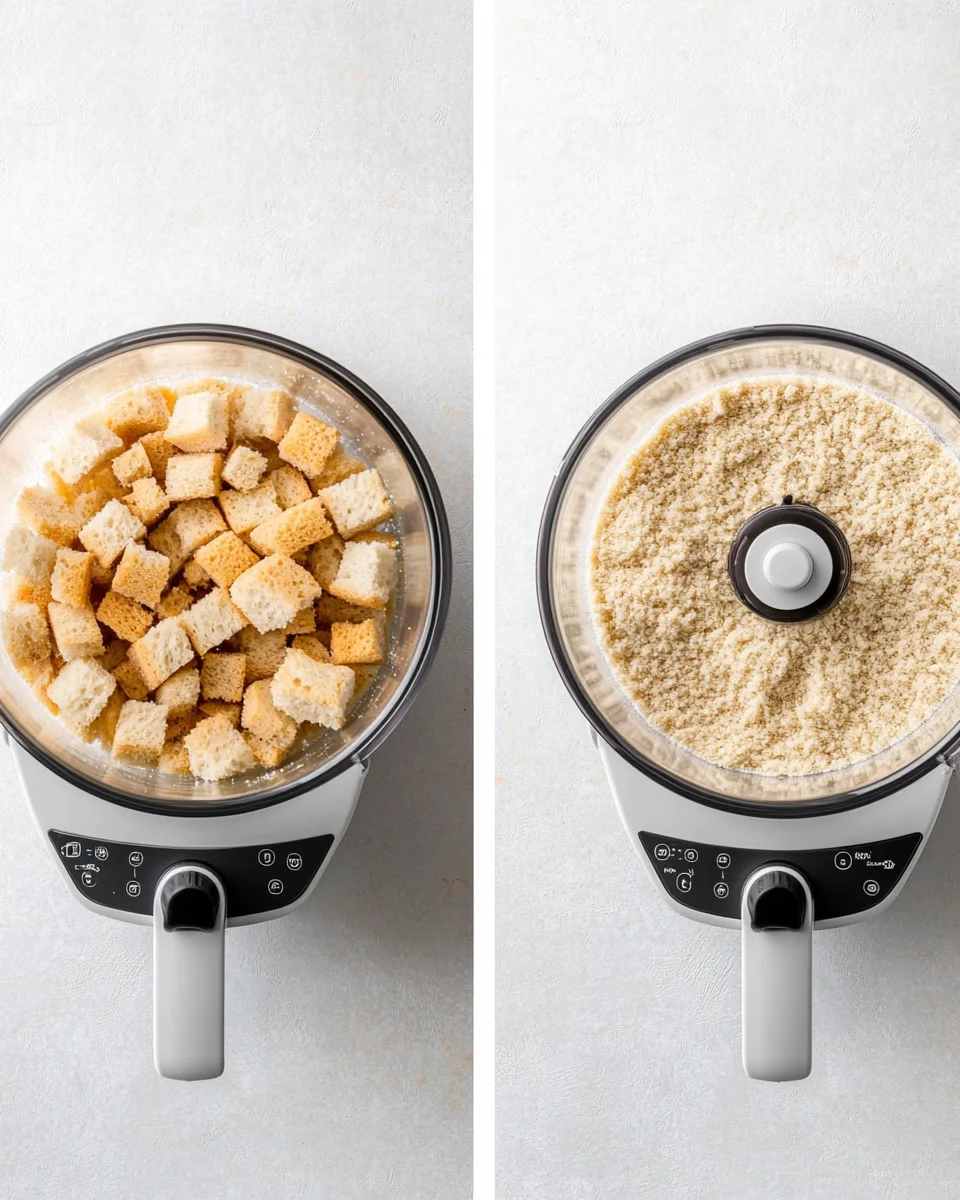
- The Food Processor’s Dance: Place those bread pieces into your food processor. Now, here’s where a little finesse comes in. Pulse the machine in short bursts. You’re not trying to create a fine powder, rather, focus on creating crumbs of your desired size. For a finer crumb, pulse a little longer. For a coarser, panko-style crumb, use a lighter touch. It’s like a culinary rhythm you will soon find.
- Spice It Up (Optional, But Recommended): Now’s the time to get creative. If you want to add a bit of oomph, sprinkle in a pinch of salt and some dried seasonings. Think garlic powder, onion powder, dried herbs like oregano or thyme, or even a bit of smoked paprika for a little extra depth. I sometimes use Italian herb mix when making meatballs.
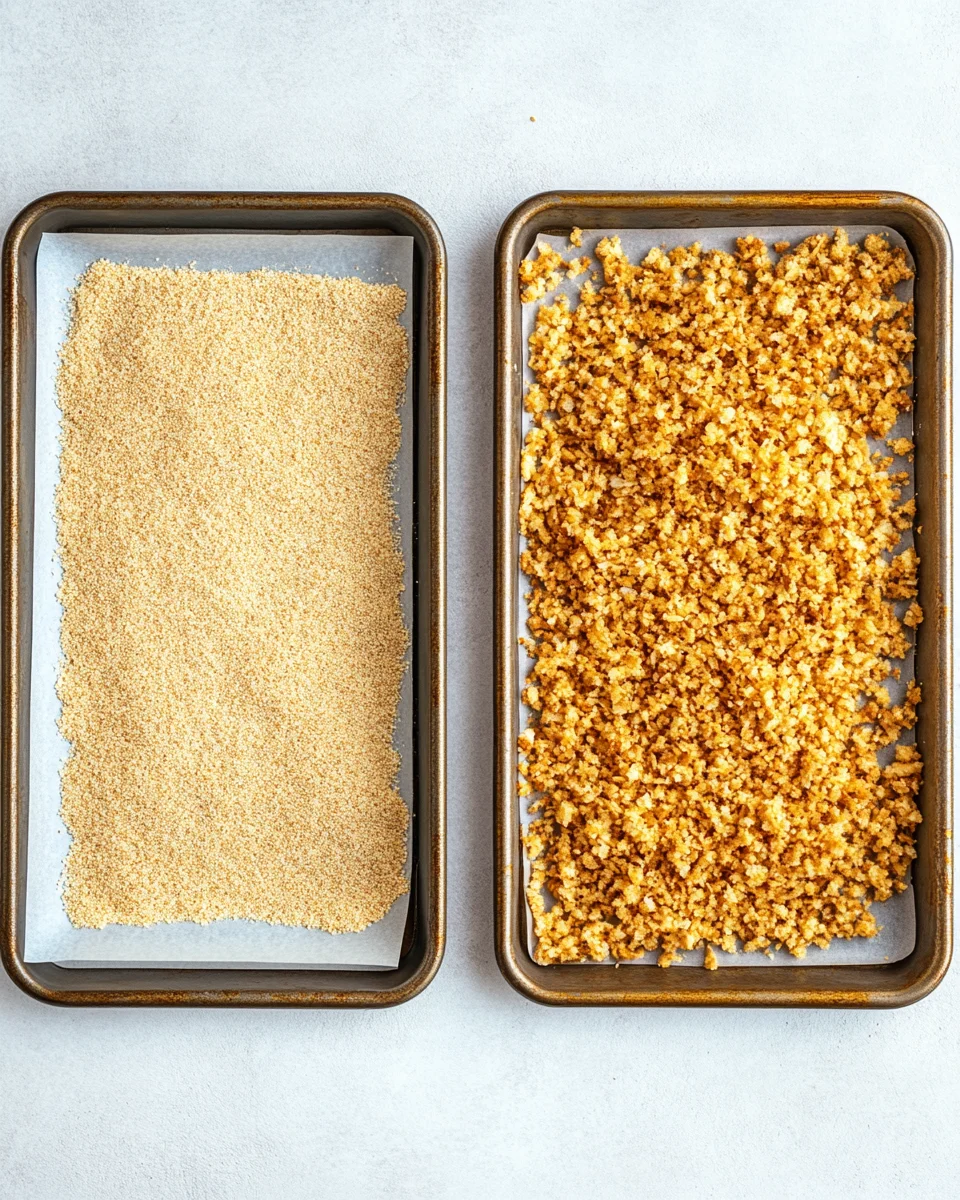
- The Oven’s Embrace: Spread your breadcrumbs out in a single layer on a baking sheet. This ensures even toasting. Place the sheet in your preheated oven and let the crumbs get cozy. Toast them until they’re lightly golden brown.
- A Quick Toss: Halfway through the toasting time, give the crumbs a gentle stir on the baking sheet to ensure that they’re toasting evenly. Keep a close eye on them to prevent burning; they can go from beautifully golden to scorched in a matter of moments.
- Cool and Conquer: Remove the sheet from the oven and let the breadcrumbs cool completely before you store them. This cooling phase is critical for ensuring they retain their crispiness.
2. How to Store Homemade Breadcrumbs: Keeping the Crunch Alive
Proper storage is key to preserving the texture and flavour of your homemade breadcrumbs:
- The Freezer’s Chill: For long-term storage, place the cooled breadcrumbs in a freezer-safe container. You can then pop them in the freezer for several weeks without compromising their quality.
- The Fridge’s Embrace: You can also keep them in the refrigerator for shorter durations, perhaps for a week, ensuring they’re tightly sealed.
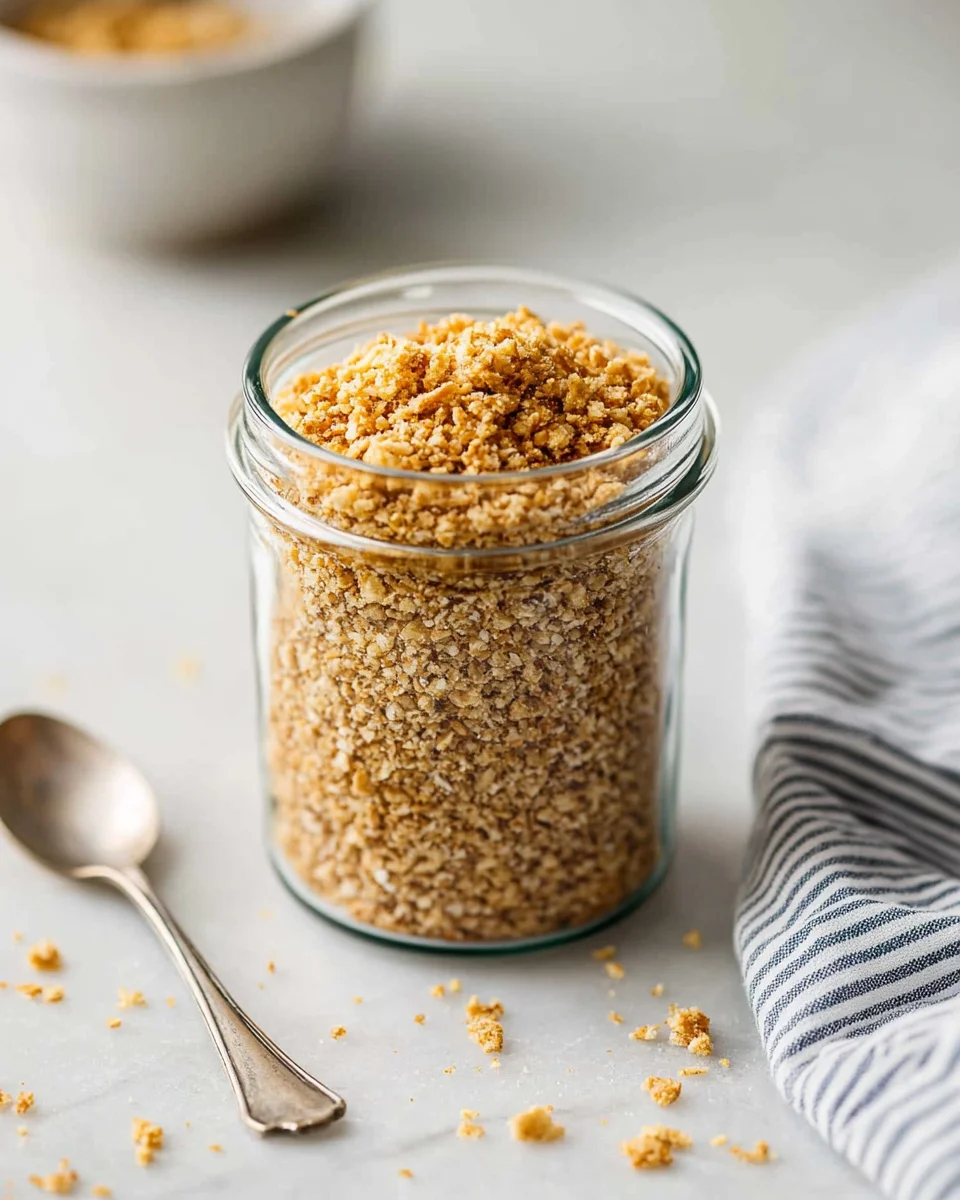
- The Room-Temperature Oasis: If you intend to use your breadcrumbs quickly (within a couple of days), a tightly sealed glass jar at room temperature works wonderfully. The glass helps to maintain the toasted texture better than plastic.
- The Art of Flexibility: Remember, this isn’t a rigid, set-in-stone formula. It’s more of a concept, an understanding that the possibilities are as varied as the types of gluten-free bread you bake (or buy).
3. How to Use Gluten-Free Breadcrumbs: The Culinary Canvas
Here’s where the magic really happens. How can these homemade gems elevate your cooking?
- The Neutral Base: I often prefer larger, panko-style crumbs without any added spices. This provides a neutral base, allowing the other flavours in my recipes to shine. Think of it as a blank canvas for your culinary masterpieces.
- The Coating Connoisseur: Breadcrumbs are, of course, classic for coating chicken cutlets or turning ordinary fish sticks into something special. Imagine those gluten-free chicken tenders, crispy and golden, thanks to your very own homemade breadcrumbs.
- The Meatball Maestro: Meatballs, both beef and vegan, become irresistible when bound with toasted breadcrumbs. It gives them just the right texture and makes them far more substantial.
- The Casserole Champion: Sprinkle breadcrumbs over casseroles for a touch of texture and a golden-brown finish. That creamy mac and cheese will be taken to a whole new dimension.
- A Peek into My Cookbook: In my cookbook, you’ll find a plethora of recipes that benefit from gluten-free breadcrumbs, from savory spinach balls to those addictive coconut shrimp—all thanks to the power of the humble crumb. I’ve also used them in everything from stuffing to fritters, proving their versatility.
- Beyond the Basics: Get creative! Use them as a topping for your morning yogurt for a little added crunch, or sprinkle them on a simple salad to give it a boost. The sky is the limit.
4. Frequently Asked Questions (FAQs): Your Burning Questions Answered
Let’s address some common questions that might be swirling around in your mind:
- Are all breadcrumbs gluten-free? Absolutely not. Unless a product is specifically labeled “gluten-free,” it’s likely made with wheat and contains gluten.
- Why do my breadcrumbs sometimes taste stale? The staleness typically comes from the bread you used to make them. It’s why I prefer slightly stale bread, rather than using freshly baked bread, and always ensure they are completely cool before storage. Plastic storage can also contribute to that stale taste – opt for glass jars.
- What’s a good gluten-free substitute for traditional breadcrumbs? Homemade gluten-free breadcrumbs are the gold standard! But if you need a quick alternative, gluten-free rolled oats (lightly processed in a food processor for a coarser crumb) can work well in some recipes. Almond flour is sometimes used as a lower carb option.
- Can I buy gluten-free breadcrumbs? Yes, you absolutely can! Several brands offer pre-made gluten-free breadcrumbs. However, homemade ones are fresher, more flavorful, and often more budget-friendly.
- Are Progresso brand breadcrumbs gluten-free? No, Progresso’s traditional breadcrumbs contain gluten. Make sure to read the labels carefully.
- Are 4C brand breadcrumbs gluten-free? Some 4C brand breadcrumbs are indeed labeled gluten-free, but not all of them. Look for clear gluten-free labelling.
- Why did my bread clump up in the food processor? This happens when the bread is too moist. If you’re using freshly baked bread or bread that’s still a little soft, it may stick together. Slightly stale bread works much better.
- Can I use fresh gluten-free bread to make breadcrumbs? Yes, you can, but slightly stale bread is easier to process and yields a better texture for breadcrumbs.
5. Gluten-Free Breadcrumbs Recipe: Your Kitchen Guide
Here’s a handy guide to making your own gluten-free breadcrumbs.
Prep time: 15 minutes
Cook time: 15 minutes
Resting time: 10 minutes
Equipment: Food processor, baking sheet
Yields: Varies depending on the amount of bread used
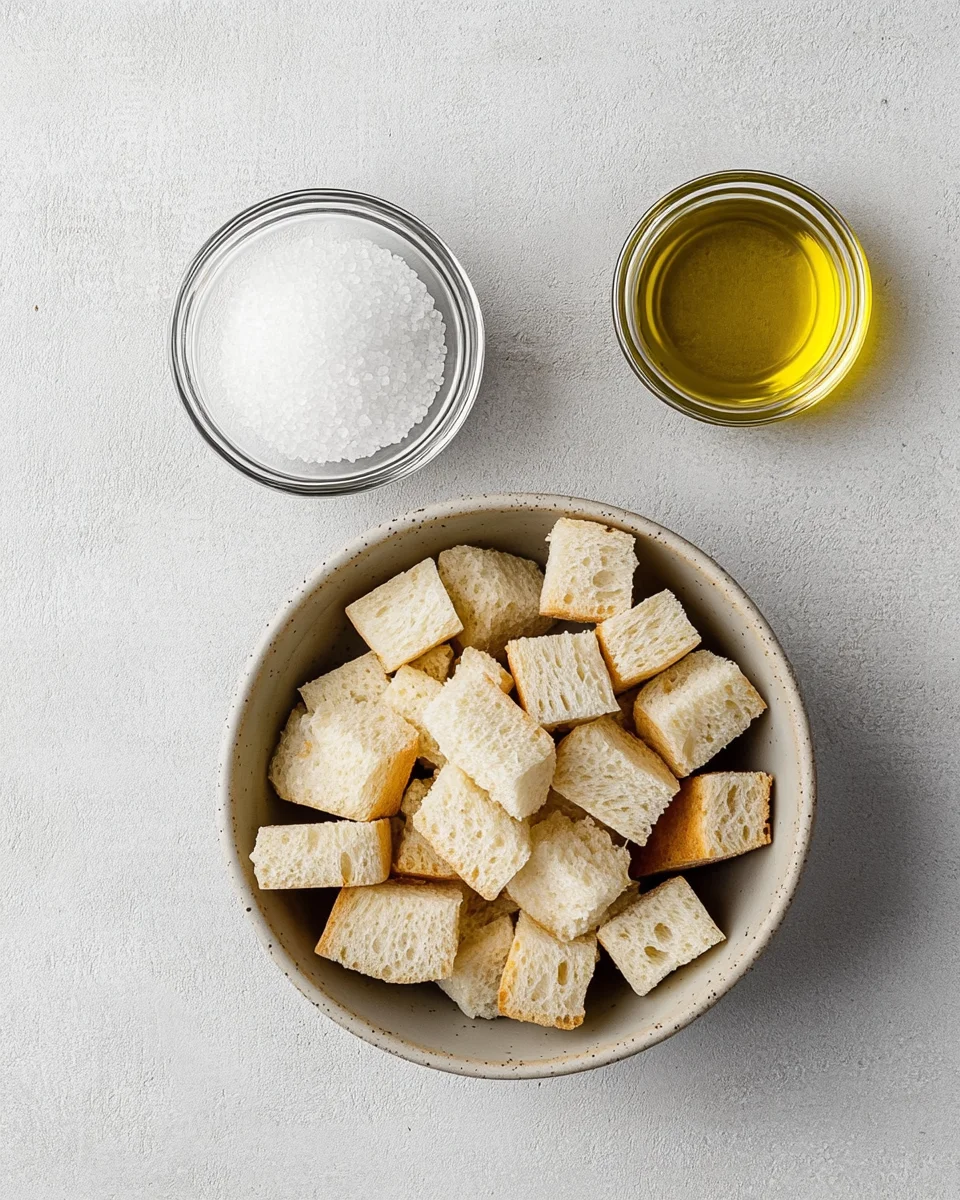
Ingredients:
- Gluten-free bread, slightly stale (any type will do, but a plain white or sandwich bread works well for a neutral flavor.)
- Salt (optional)
- Dried seasonings (optional, use according to your preference)
Instructions:
- Preheat the oven: Set your oven to 300°F (150°C).
- Prepare a baking sheet: Line a baking sheet with parchment paper for easier cleanup (optional).
- Process the bread: Tear the gluten-free bread into pieces and place them in a food processor. Pulse until you achieve your desired crumb size.
- Add salt and seasonings: If using, sprinkle salt and seasonings over the breadcrumbs, pulsing again to distribute.
- Toast the crumbs: Spread the breadcrumbs evenly on the prepared baking sheet. Place the baking sheet in the oven and toast for about 10-15 minutes, stirring once halfway through. They should be lightly golden brown and feel crispy.
- Cool: Remove from the oven and allow the breadcrumbs to cool completely on the baking sheet.
- Store: Transfer the cooled breadcrumbs to an airtight container (glass jar or freezer bag).
A Final Note
Homemade gluten-free breadcrumbs are more than just a recipe; they’re a testament to resourcefulness and the simple pleasures of homemade food. They add texture, flavor, and a touch of home-cooked love to any dish. Don’t let those leftover bread loaves go to waste; they are an opportunity for something extraordinary.
And here’s something else to think about: making your own gluten-free breadcrumbs not only saves you money and reduces food waste, but it also gives you complete control over what you’re eating. No unnecessary additives or preservatives – just simple, wholesome ingredients.
2 thoughts on “Gluten-Free Breadcrumbs: The Homemade Magic You’ve Been Missing”