
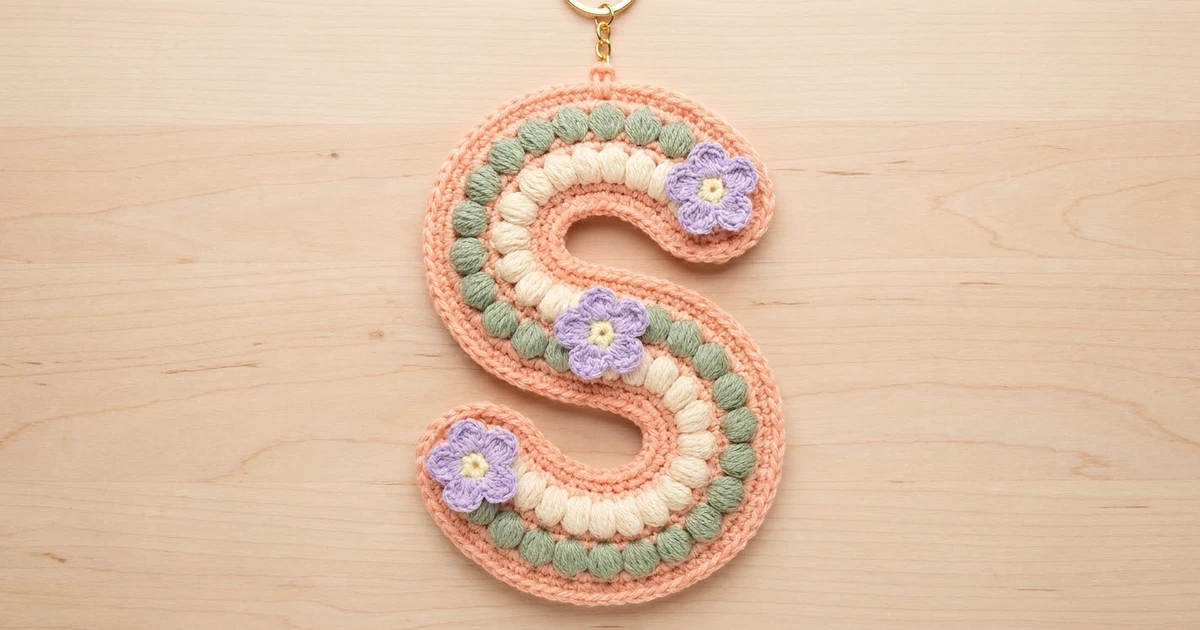
This little letter S keychain is soft, textured and quick to make. The peach strip carries two lines of puff stitches, cream along one edge and sage green along the other. A rope-like crab stitch edge frames the shape, and three tiny lavender flowers add a spring-garden finish.
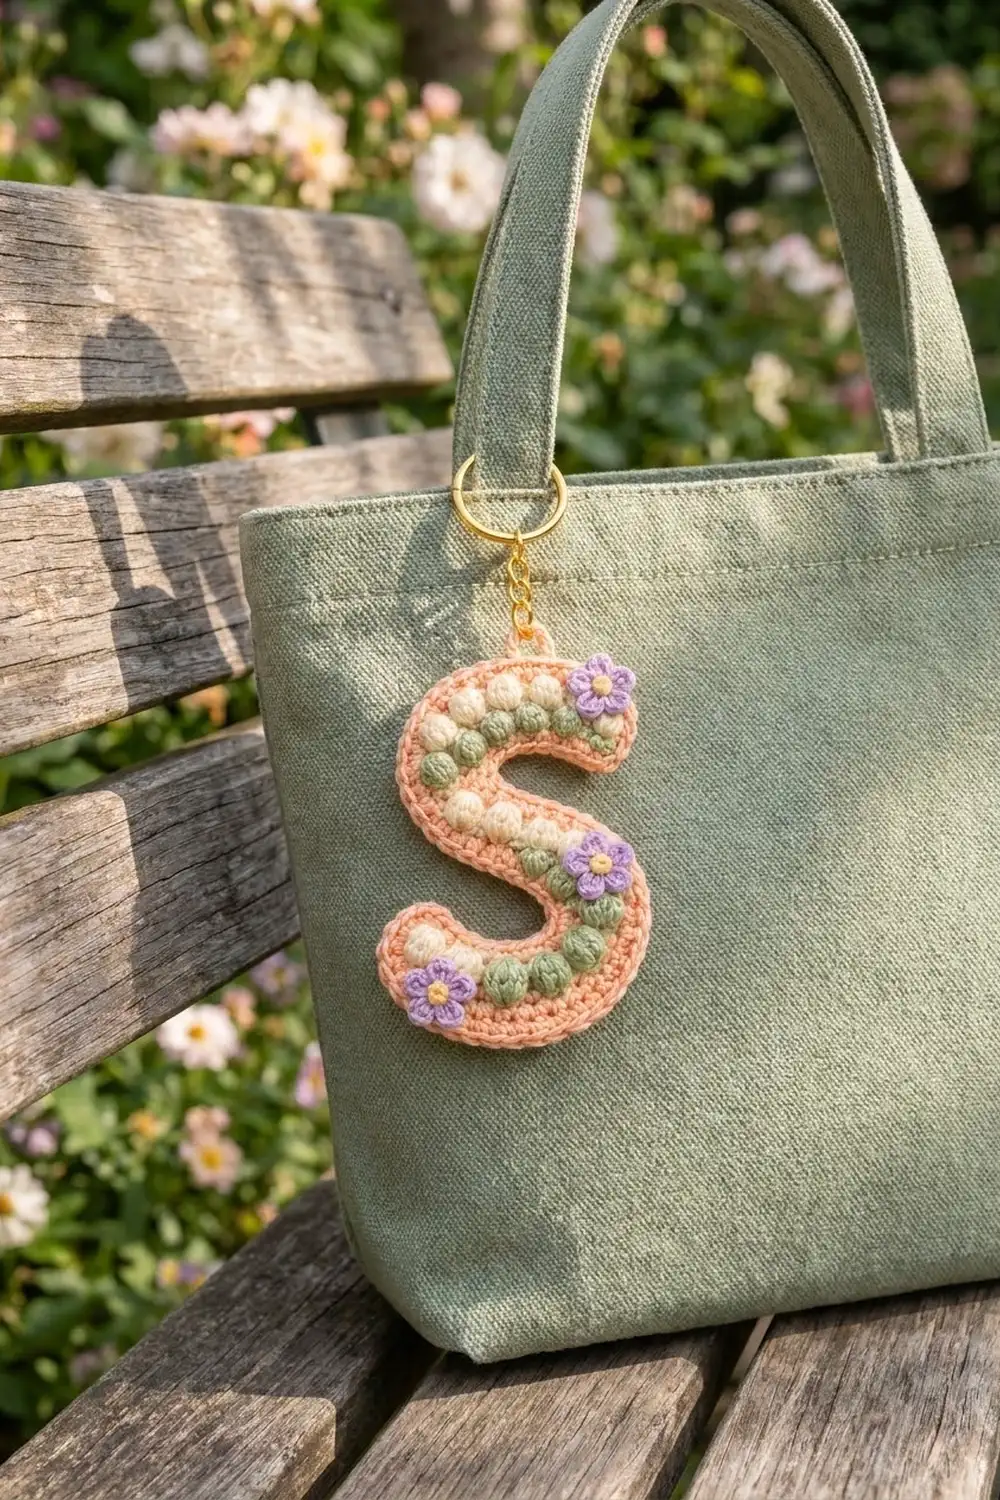
The palette is pastel and calm: peach, cream, sage, lavender and a touch of pale yellow. It looks good on a tote bag, backpack zipper or set of keys, and it makes a thoughtful personalized gift.
The pattern uses US crochet terms. The finished letter measures about 4.25 in (10.8 cm) tall and 2.75 in (7.0 cm) wide, and the strip is 1.25 in (3.2 cm) wide.
The S is worked in one piece around a foundation chain. You crochet one oval round, then a puff row along each long side, then one shaping round and a crab stitch border. The S shape comes from the stitch math: each half of the strip has more stitches on its outer edge than on its inner edge, so it curves on its own. The flowers and hanging loop are added at the end.
Finished Size and Construction
- Finished size: 4.25 in (10.8 cm) tall × 2.75 in (7.0 cm) wide
- Skill level: Intermediate (you need to be comfortable with puff stitches, sc2tog and reverse sc)
- Terminology: US crochet terms
- Yarn weight: Sport (#2) cotton or cotton blend
- Hook: 2.5 mm
- Number of pieces: 1 letter body, plus 3 small appliqué flowers
- Layout: a single S-shaped strip, with no joining
- Strip width: 1 in (2.5 cm) before the border, 1.25 in (3.2 cm) after
- Size before border: 4 in (10.2 cm) × 2.5 in (6.4 cm)
- Border depth: 1/8 in (0.3 cm) on every edge
Materials
Use a smooth, mercerized sport-weight cotton. It shows the puff stitches clearly and holds the curves well. Fuzzy or very stretchy yarns blur the texture and let the letter go limp.
- Peach (main color): 6 g, about 18 m
- Cream (puffs, side A): 2 g, about 6 m
- Sage green (puffs, side B): 2 g, about 6 m
- Lavender (flower petals): 2 g, about 6 m
- Pale yellow (flower centers): 1 g, about 3 m
All quantities include a small margin for swatching and weaving in ends.
Tools:
– 2.5 mm crochet hook
– Tapestry needle
– Scissors
– Stitch markers (at least 4)
– Gold split key ring, 1 in (2.5 cm), with a short chain and jump ring
– Two pairs of pliers for opening the jump ring
– Pins, a blocking mat or folded towel, and a spray bottle
Abbreviations (US Terms)
- ch – chain
- sl st – slip stitch
- sc – single crochet
- sc2tog – single crochet 2 together
- dc – double crochet
- rev sc – reverse single crochet (crab stitch)
- st(s) – stitch(es)
- yo – yarn over
- RS – right side
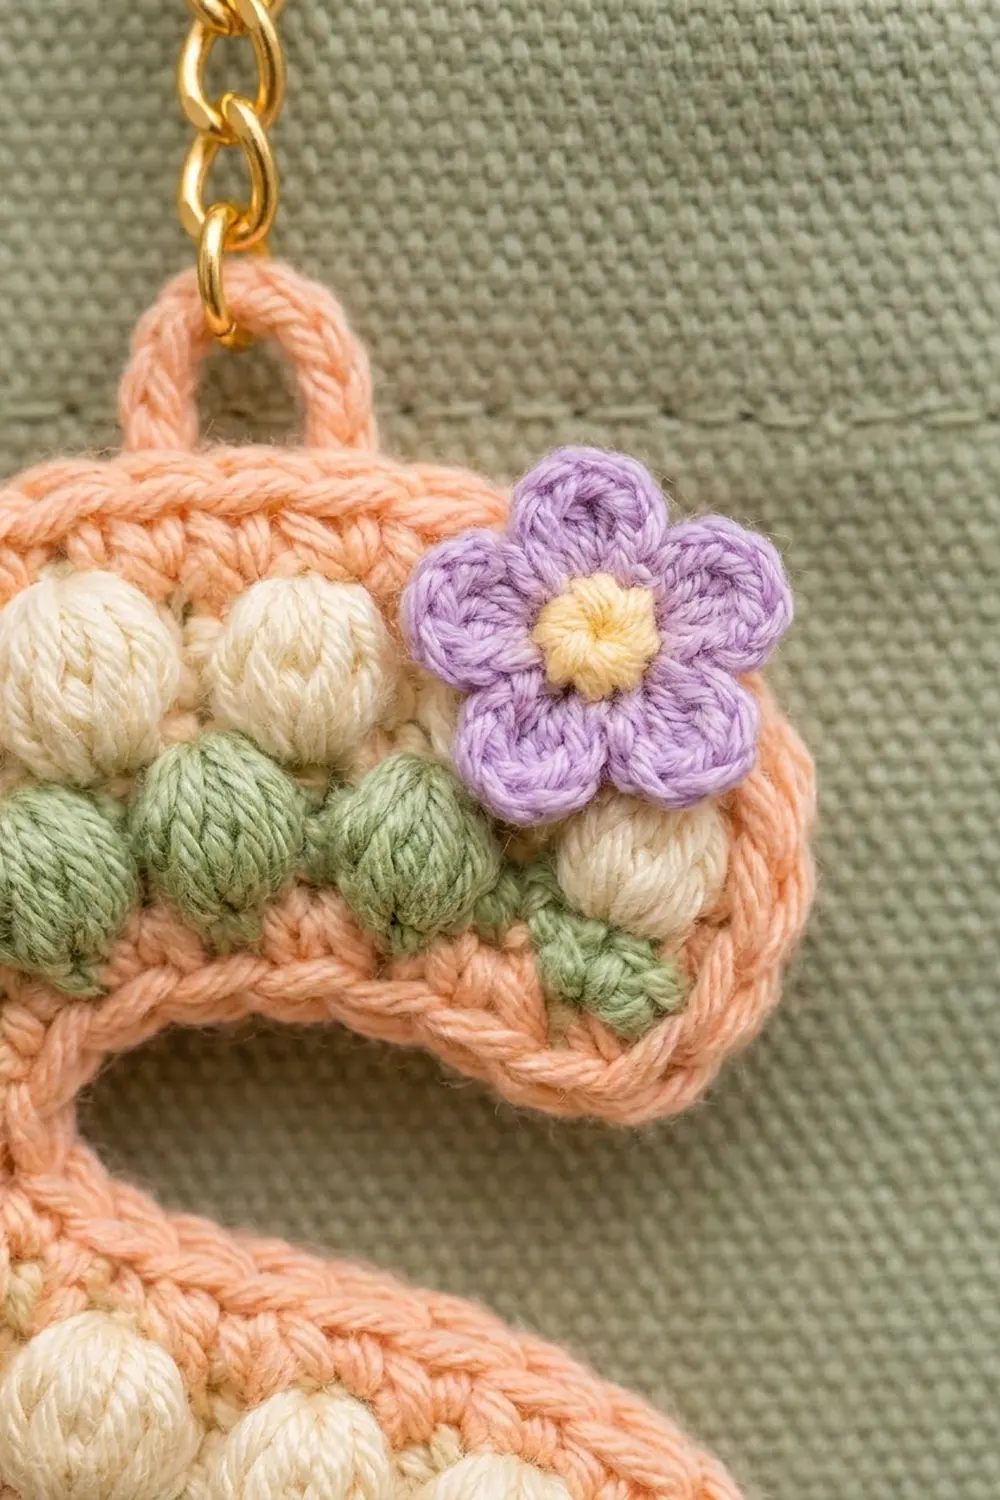
Special stitch – puff: (Yo, insert hook in st, pull up a loop to about 1/4 in [0.6 cm]) 4 times in the same st (9 loops on hook). Yo and pull through all 9 loops, then ch 1 to lock. The locking ch 1 does not count as a stitch. In the next round, work into the top of the puff only.
Rev sc: Work single crochet from left to right (right-handed). Insert the hook in the next st to the right, pull up a loop, yo and pull through both loops.
Gauge and Checkpoints
Gauge: 24 sc × 26 rows = 4 in (10.2 cm) square. For a quick test, 12 sc should measure 2 in (5.1 cm).
Because this is a single piece, the letter is your gauge test. Measure it at each stage:
- After Rnd 1: a straight oval about 5.25 in (13.3 cm) long and 0.4 in (1.0 cm) wide
- After Rows 2A and 2B: strip 0.75 in (1.9 cm) wide, already bending gently into a stretched S
- After Rnd 3: a clear S, 4 in (10.2 cm) × 2.5 in (6.4 cm), strip 1 in (2.5 cm) wide
- After Rnd 4: 4.25 in (10.8 cm) × 2.75 in (7.0 cm), strip 1.25 in (3.2 cm) wide
If the piece is too big, go down to a 2.25 mm hook. If it is too small, go up to a 2.75 mm hook. If your foundation chain is tight but the rounds are fine, make the chain with a hook one size larger and switch back for Rnd 1.
Letter S Body
Foundation and Round 1 (peach)
With peach, ch 31.
Rnd 1 (RS): Sc in 2nd ch from hook (End 1), sc in each of the next 28 ch (side A), 3 sc in the last ch (End 2). Rotate and work along the bottom loops of the chain: sc in each of the next 28 ch (side B), 2 sc in the last ch, which is the same ch that holds the first sc (End 1). Sl st to the first sc. Fasten off.
Stitch count: 62 sc = side A 28 + End 2 3 + side B 28 + End 1 3.
Place a marker in the first and last st of side A, and in the first and last st of side B. With the RS facing, side A runs from End 1 to End 2, and side B runs from End 2 back to End 1.
Row 2A (cream puffs, side A)
The first half of each side becomes the outer edge of a curve, so it gets extra stitches. The second half becomes the inner edge, so it loses stitches.
With RS facing, join cream with a sl st in the first st of side A, then ch 2 (does not count as a st).
- Outer half: Puff in the same st, 2 sc in the next st, then (puff in next st, 2 sc in next st) 6 times. This uses 14 sts and makes 21 sts (14 + 7 extra), including 7 puffs.
- Inner half: (Sc2tog, puff in next st) 4 times, sc2tog. This uses 14 sts and makes 9 sts (14 − 5), including 4 puffs.
Fasten off. Row 2A count: 30 sts (21 + 9), with 11 cream puffs.
Row 2B (sage puffs, side B)
With RS facing, join sage with a sl st in the first st of side B, which is next to End 2. Repeat the Row 2A instructions exactly.
Fasten off. Row 2B count: 30 sts (21 + 9), with 11 sage puffs.
Because side B runs in the opposite direction, its outer half sits in the lower bowl and its inner half sits in the upper bowl. This mirror arrangement creates the S. Cream lies on the outside of the top curve, and sage lies on the outside of the bottom curve.
Round 3 (peach shaping round)
With RS facing, join peach with a sl st in the first st of Row 2A, then ch 1 (does not count as a st).
- Side A, outer half: (Sc in next 6 sts, 2 sc in next st) 3 times. That is 21 sts + 3 extra = 24 sts.
- Side A, inner half: (Sc in next st, sc2tog) 3 times. That is 9 sts − 3 = 6 sts.
- End 2: 2 sc in the side edge of Row 2A, 2 sc in each of the 3 End 2 sts from Rnd 1, then 2 sc in the side edge of Row 2B. That makes 10 sts.
- Side B: Work the same as side A: 24 sts on the outer half and 6 on the inner half, for 30 sts.
- End 1: 2 sc in the side edge of Row 2B, 2 sc in each of the 3 End 1 sts, then 2 sc in the side edge of Row 2A. That makes 10 sts.
Sl st to the first sc. Do not fasten off.
Rnd 3 count: 80 sc = side A 30 + End 2 10 + side B 30 + End 1 10.
Checkpoint: Lay the piece flat. It should now form a clear S measuring 4 in (10.2 cm) × 2.5 in (6.4 cm).
Border
Border gauge: At this tension, rev sc lands at the same 6 sts per inch (2.5 cm) as sc. A 1:1 border therefore lies flat.
Rnd 4 (rev sc): Ch 1, then rev sc in each st around. Sl st to the first rev sc and fasten off.
- Side A: 30 rev sc
- End 2: 10 rev sc
- Side B: 30 rev sc
- End 1: 10 rev sc
Rnd 4 count: 80 rev sc.
Why the math works: All the shaping happens in Rows 2A/2B and Rnd 3. By the end of Rnd 3, each outer half has 24 sts on an arc about 4 in (10.2 cm) long, and each inner half has 6 sts on a tight inner curve. The border only follows that edge. It works 1 rev sc into each of the 80 sts and adds no extra stitches. The border is about 1/8 in (0.3 cm) deep, so it adds 1/4 in (0.6 cm) to each overall measurement.
Hanging Loop
Find the center of End 1, between the 5th and 6th of its 10 sts. Join peach there with a sl st. Ch 8 and sl st back into the same spot. Work 12 sc into the ch-8 loop and sl st to the base. Fasten off. The loop should measure about 0.5 in (1.3 cm).
Flowers (make 3)
Center: With pale yellow, make a magic ring and work 5 sc into it. Pull the ring closed, sl st to the first sc and fasten off. The center measures about 0.25 in (0.6 cm).
Petals: Join lavender in any yellow sc. In each sc, work (sl st, ch 2, 2 dc, ch 2, sl st), for 5 petals. Fasten off and leave a 6 in (15.2 cm) tail for sewing.
Each flower measures about 0.75 in (1.9 cm) across.
Placement: Sew the flowers through the center and at each petal tip:
- One flower on the top tip, just beside the hanging loop, over the end of the cream and sage puffs.
- One flower on the right side where the center stroke turns into the lower bowl.
- One flower on the bottom tip, over the bottom-left end of the strip.
Take the yarn only partway into the peach layer so the stitches don’t show on the back.
Final Blocking
- Weave in all ends along stitches of the same color. Hide the cream and sage tails behind their own puffs.
- Spritz the letter lightly with water until it is damp. Do not soak it.
- Lay it RS up on a blocking mat and shape it into the S, 4.25 in (10.8 cm) × 2.75 in (7.0 cm).
- Pin the outer curves first, then ease the inner curves so the 6-stitch inner edges sit snugly without rippling.
- Pinch each puff gently to round it. Do not press it flat.
- Let it dry completely, at least 6 hours.
- Open the jump ring with two pairs of pliers, thread it through the hanging loop and close it firmly.
Final Quality-Control Checklist
- Rnd 1 has 62 sts: 28 on each side and 3 at each end.
- Rows 2A and 2B each have 30 sts and 11 puffs.
- Rnd 3 has 80 sts: 30 on each side and 10 at each end.
- Rnd 4 has 80 rev sc.
- The cream puffs sit outside the top curve, and the sage puffs sit outside the bottom curve.
- The letter measures 4.25 in (10.8 cm) × 2.75 in (7.0 cm).
- The strip is 1.25 in (3.2 cm) wide all along its length.
- All 3 flowers are secure at the center and at every petal tip.
- The jump ring is fully closed with no gap.
Troubleshooting
The letter stays almost straight. You probably worked the outer half of Row 2 without the 2-sc increases, or Rnd 3 is too loose. Count your sts against the totals above and tighten your tension on Rnd 3.
The inner curves ripple. The sc2tog decreases may be missing or loose. Rework the inner half with firm decreases.
The puffs lean or look flat. Pull every loop up to the same 1/4 in (0.6 cm) height, and always lock the puff with ch 1.
The crab stitch edge flares. Your rev sc is looser than your sc. Use a 2.25 mm hook for Rnd 4 only.
The S looks backward. The piece was worked with the wrong side facing. Flip it over. The texture works on both sides, so just put the flowers on the side that reads correctly.
The loop stretches out. Add a second round of sc into the loop, or thread a small piece of yarn through it as reinforcement.
Care
Spot-clean with mild soap and cool water, then reshape and lay flat to dry. Remove the metal ring before any fuller wash.
Final Notes
The measurement chain is simple. Rnd 1 gives a 5.25 in (13.3 cm) straight oval with 62 sts. Rows 2A and 2B add the puffs and the first curve, with 30 sts per side. Rnd 3 locks in the S at 4 in (10.2 cm) × 2.5 in (6.4 cm) with 80 sts. Rnd 4 brings it to 4.25 in (10.8 cm) × 2.75 in (7.0 cm) with 80 rev sc. If you check each stage, your letter will curve cleanly and lie flat.
Happy crocheting!