

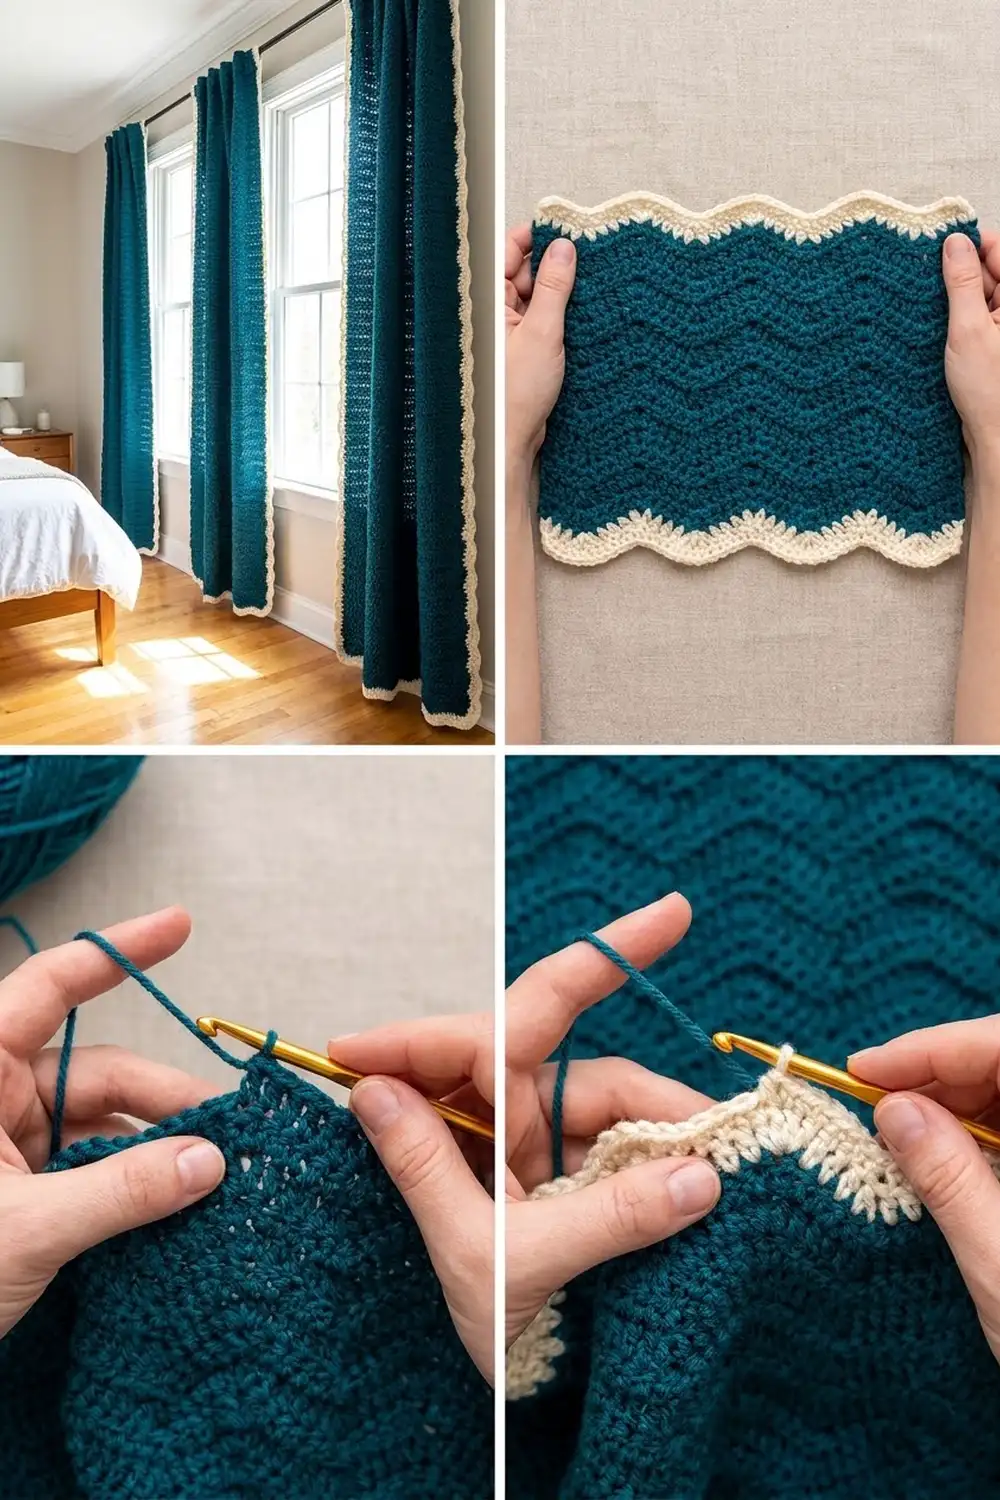
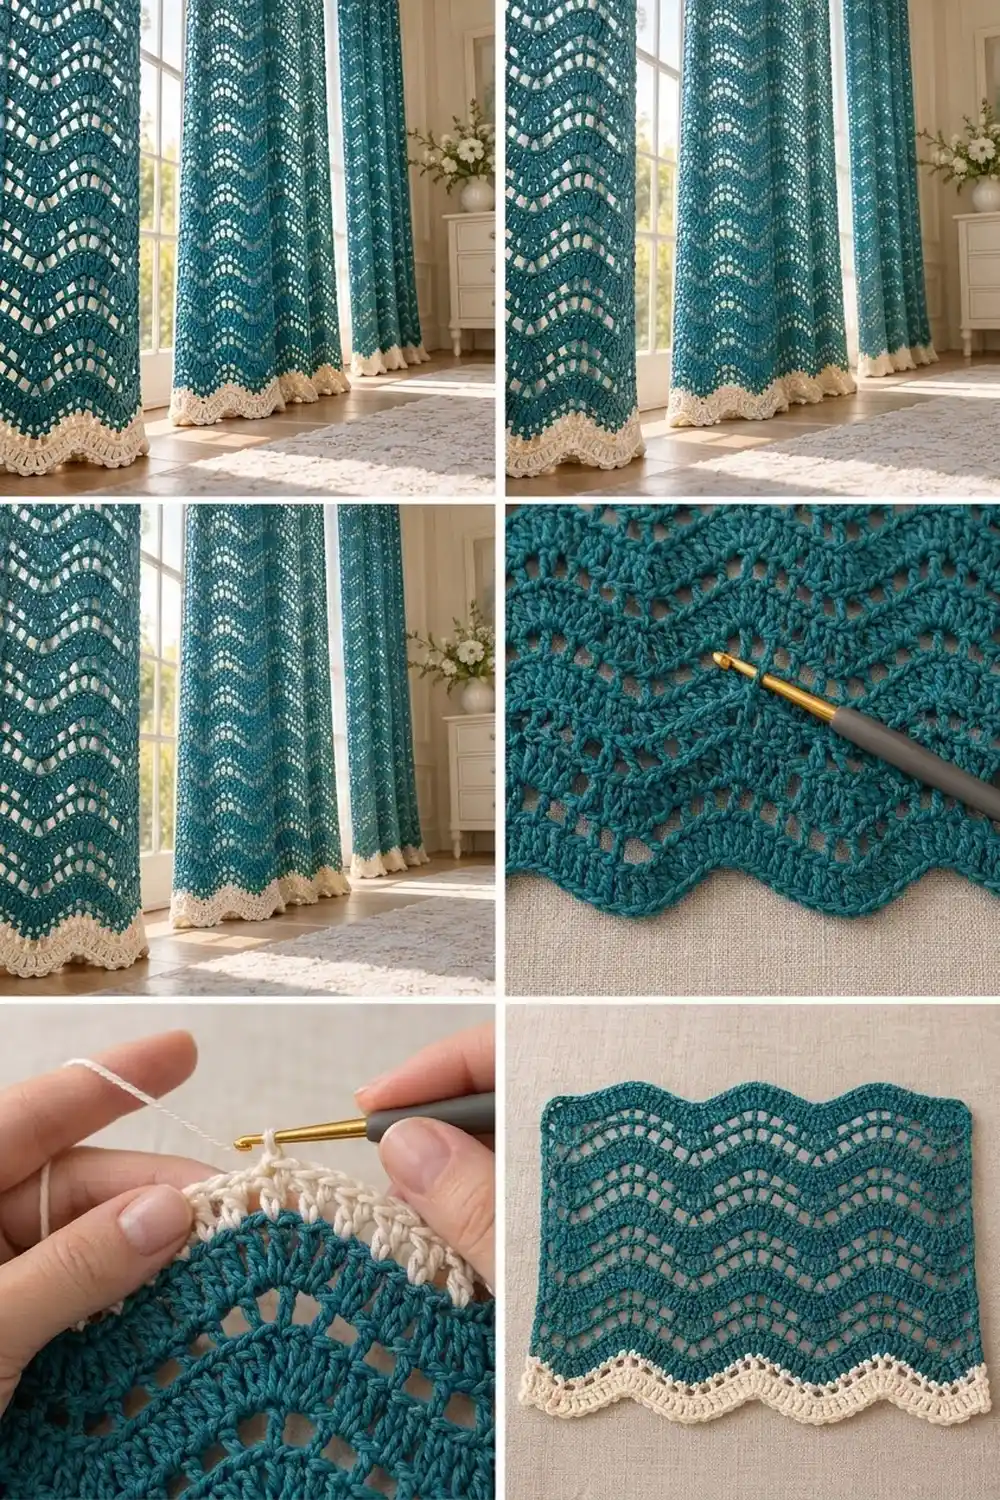
The Seaside Wave Lace Curtain Panel is a floor-length curtain made in one piece. It’s worked in a soft, rolling ripple that alternates two solid double crochet rows with one open mesh row. The waves run straight across the panel, and the mesh rows let daylight through in neat lines of small windows.
The body is a deep teal, and the hem is a cream border that follows the waves exactly. That border has a solid row, an eyelet row, another solid row and a small picot edge, so the bottom of the curtain finishes in rounded scallops instead of a straight line. The look is coastal and relaxed, and the panel hangs heavily enough to drape well.
This pattern uses US crochet terms. One finished panel measures 49 in (124.5 cm) wide by 84.25 in (214.0 cm) long, measured flat along a wave line after blocking.
You work the panel top-down in rows. A foundation chain sets the width, and the teal ripple carries on for 141 rows. You then change to cream for a 4-row border that keeps the wave shaping. You only need one stitch repeat, and the stitch count stays at 168 on every row.
Finished Size and Construction
- Finished size: 49 in (124.5 cm) wide x 84.25 in (214.0 cm) long
- Skill level: Easy-intermediate
- Terminology: US crochet terms
- Yarn weight: Worsted (CYC #4), cotton or cotton blend
- Hook: 5.0 mm (US H-8)
- Number of pieces: 1 panel, worked in a single piece (make a second panel the same way if you want a pair)
- Layout: 14 full waves across, 168 stitches per row
- Piece size before border: 49 in (124.5 cm) wide x 82.25 in (208.9 cm) long
- Border depth: 2 in (5.1 cm), 4 rows, along the bottom edge only
Materials
Yarn advice: Choose a smooth worsted-weight cotton or cotton-acrylic blend with roughly 190 m per 100 g. Cotton gives clear stitch definition and a heavy, steady drape. It also resists stretching better than pure acrylic over a curtain this long. Buy enough to come from a single dye lot.
- Color A (teal): 1,800 g, approx. 3,420 m
- Color B (cream): 100 g, approx. 190 m
These quantities are for one panel and include a margin of about 10% for the gauge swatch and any small tension differences.
Tools:
- 5.0 mm (US H-8) crochet hook
- Tapestry needle
- Stitch markers (at least 4)
- Measuring tape
- Rust-proof pins and a large blocking surface or clean floor towels
- 16 curtain clip rings for hanging
Abbreviations (US Terms)
- ch: chain
- sk: skip
- st(s): stitch(es)
- sp: space
- sl st: slip stitch
- sc: single crochet
- dc: double crochet
- dc2tog: double crochet 2 together: (yo, insert hook in next st, yo, pull up a loop, yo, pull through 2 loops) twice, yo, pull through all 3 loops on hook. Uses 2 sts and makes 1.
- picot: ch 3, sl st in 3rd ch from hook.
- rep: repeat
- yo: yarn over
Stitch-count note: Every ch-1 space counts as 1 stitch. The beginning ch-3 counts as 1 dc. On the next row you work into ch-1 spaces as though they were stitches.
Gauge and Checkpoints
Gauge: 1 wave repeat (12 sts) = 3.5 in (8.9 cm) wide, and 6 rows = 3.5 in (8.9 cm) tall, after blocking.
Test swatch first. Ch 39 (36 sts + 3). Work Rows 1–3 as written below, but work the * repeat 2 times in total instead of 13. Then work solid row, solid row, mesh row twice more, for 9 rows in total. That gives you 3 waves. Block the swatch, let it dry, and measure.
- Width should be 10.5 in (26.7 cm).
- Height should be 5.25 in (13.3 cm).
- Allow a tolerance of 0.25 in (0.6 cm) either way.
If your swatch is too big, go down to a 4.5 mm hook. If your swatch is too small, go up to a 5.5 mm hook. Width matters more than height, because you can always add or remove rows. Width is fixed once you make the foundation chain.
Checkpoints during the panel:
- After Row 3: 168 sts, width 49 in (124.5 cm)
- After Row 36: length 21 in (53.3 cm)
- After Row 72: length 42 in (106.7 cm)
- After Row 108: length 63 in (160.0 cm)
- After Row 141: length 82.25 in (208.9 cm)
Measure length straight down a single wave line, from a valley on the top edge to the matching point on the current row. Don’t measure diagonally across a wave.
Panel Pattern
Foundation and Row 1
With Color A, ch 171.
Row 1 (solid, RS): Dc in 4th ch from hook. The skipped 3 ch count as 1 dc, so you now have 2 sts in the first base ch. Dc in next 3 ch. Dc2tog twice, dc in next 3 ch, [2 dc in next ch] twice, dc in next 3 ch; rep from * 12 more times (13 repeats in total). After the last repeat, 8 ch remain. Dc2tog twice, dc in next 3 ch, 2 dc in last ch. Turn. (168 sts)*
Each edge is a half wave with 1 increase. Each full wave has 2 increases at its point and 2 decreases at its dip, so the count holds at 168.
Row 2 (solid row)
Row 2 (solid): Ch 3 (counts as dc), dc in first st (the st at base of the ch-3), dc in next 3 sts. Dc2tog twice, dc in next 3 sts, [2 dc in next st] twice, dc in next 3 sts; rep from * 12 more times. Dc2tog twice, dc in next 3 sts, 2 dc in top of turning ch. Turn. (168 sts)*
Check the stitch alignment. The 2 dc2tog should sit centered over the previous dc2tog pair, and the 4 increase stitches should sit centered over the previous 4-stitch point. If they don’t, you’ve slipped one stitch at the start of the row.
Row 3 (mesh row)
Row 3 (mesh): Ch 3 (counts as dc), dc in first st, ch 1, sk next st, dc in next st, ch 1, sk next st. Dc2tog twice, ch 1, sk next st, dc in next st, ch 1, sk next st, [2 dc in next st] twice, ch 1, sk next st, dc in next st, ch 1, sk next st; rep from * 12 more times. Dc2tog twice, ch 1, sk next st, dc in next st, ch 1, sk next st, 2 dc in top of turning ch. Turn. (112 dc + 56 ch-1 sps = 168 sts)*
The mesh row keeps the same shaping. The only change is that each group of 3 straight dc becomes “ch 1, dc, ch 1”, which still counts as 3 sts. That’s why the waves stay smooth even through the open rows.
Rows 4–141
When you work a solid row on top of a mesh row, treat every ch-1 sp as a stitch. Work your dc, dc2tog or increases into the space in the same place where you would work them into a stitch.
Rows 4–141: Work the sequence solid row (as Row 2), solid row (as Row 2), mesh row (as Row 3) a total of 46 times. (168 sts on every row; Row 141 is a mesh row)
Every row number divisible by 3 is a mesh row. Put a marker in Row 36, Row 72 and Row 108 so you can do the length checkpoints.
On the final yo of Row 141, pull through with Color B. Fasten off Color A, leaving a 6 in (15.2 cm) tail.
Panel before border: 168 sts, 49 in (124.5 cm) wide x 82.25 in (208.9 cm) long.
Border
The border is worked straight on from the last teal row, across the bottom edge only. The side edges are left as plain dc row ends, and they stay neat because each row starts with a ch-3 and ends in the turning chain.
Border gauge: Same as the body. 3 dc rows = 1.75 in (4.4 cm), and the picot row adds 0.25 in (0.6 cm), for a total of 2 in (5.1 cm).
Border Row 1 (solid, Color B): Work as Row 2. (168 sts across the bottom edge)
Border Row 2 (mesh): Work as Row 3. (112 dc + 56 ch-1 sps = 168 sts)
Border Row 3 (solid): Work as Row 2, working into each ch-1 sp as a st. (168 sts)
Border Row 4 (picot edge): Ch 1. Sc in each of next 3 sts, picot; rep from * 54 more times (55 picots). Sc in each of last 3 sts. Fasten off. (168 sc + 55 picots)*
Work the sc row 1 sc per stitch, with no skips and no decreases. The wave shaping from Border Row 3 is already locked in, so the sc row just follows it and finishes the scallops.
Why the math works: The panel is 14 waves of 12 sts, which is 168 sts, and every row returns to 168. That’s because each wave has the same number of increases and decreases, and the two half-wave edges add 1 increase each to balance the final valley. The mesh rows swap 3 dc for “ch 1, dc, ch 1”, so the count doesn’t change. On the picot row, 168 ÷ 3 = 56 groups of 3 sc. A picot follows every group except the last, giving 55 picots, or 4 picots per wave across the panel. The corners stay clean because there’s no picot on either end.
Finished border depth: 2 in (5.1 cm). Finished panel: 49 in (124.5 cm) x 84.25 in (214.0 cm).
Final Blocking
- Weave in all ends along stitch columns, working each tail in at least 2 in (5.1 cm), then back on itself for 1 in (2.5 cm).
- Soak the panel in cool water with a little wool wash or mild soap for 15 minutes.
- Press out the water gently. Don’t wring it. Roll the panel in large towels to take out more moisture.
- Lay the panel flat on a clean floor covered with towels or on blocking mats.
- Measure the width across one wave line and ease it to 49 in (124.5 cm). Pin both side edges straight.
- Measure the length down one wave line and ease it to 84.25 in (214.0 cm). Don’t stretch it past this, because a cotton curtain will lengthen a little more under its own weight.
- Pin each cream scallop point along the bottom edge so all 14 waves are evenly spaced, 3.5 in (8.9 cm) apart.
- Open up the picots with a pin tip.
- Let it dry completely, which may take 24–48 hours for a panel this size.
- Hang the panel with 16 clip rings: one at each of the 14 dc2tog columns along the top edge and one at each top corner.
Final Quality-Control Checklist
- Every row has 168 sts. Spot-check a few mesh rows for 56 ch-1 sps.
- All 14 waves line up vertically from top to bottom, with no drifting.
- Mesh rows fall on Rows 3, 6, 9 and so on through 141, plus Border Row 2.
- Side edges are straight and the turning chains are snug.
- The panel measures 49 in (124.5 cm) x 84.25 in (214.0 cm) after blocking.
- The cream border shows a solid row, an eyelet row, a solid row and a picot edge.
- There are 55 picots, evenly spaced, with none at the corners.
- All ends are woven in securely and invisibly.
Troubleshooting
Waves are drifting sideways. You probably missed working “dc in first st” at the start of a row, or you worked into the turning chain twice. Count each row back to 168, and recheck that the dc2tog pair sits over the previous dc2tog pair.
The panel is getting wider or narrower. Check that you made exactly two “2 dc in next st” at each point and exactly two dc2tog at each dip.
Mesh rows look crowded. Your ch-1s may be too tight. Lift the chain loop to the height of the hook shaft before you work the next dc.
Side edges are wavy. Keep the ch-3 turning chain firm. If it still looks loose, try ch 2 plus a dc-height loop pulled snug.
Border flares. Your cream yarn may be thicker than the teal. Go down 0.5 mm in hook size for the border rows only.
The panel is too long after hanging. Cotton relaxes over time. Leave it hanging for a week before you decide whether to remove a 3-row repeat from the top. That’s 1.75 in (4.4 cm) per repeat.
Care
Hand wash in cool water, or machine wash on a gentle cycle in a large mesh bag, then dry flat. Never hang the panel to dry while it’s wet, because the weight of the water will stretch it.
Final Notes
The measurement chain is simple. Each 12-stitch wave is 3.5 in (8.9 cm), so 14 waves and 168 sts give 49 in (124.5 cm) across. Each 6 rows is 3.5 in (8.9 cm), so 141 teal rows give 82.25 in (208.9 cm). The 4-row cream border adds 2 in (5.1 cm), for a finished panel of 84.25 in (214.0 cm). If your swatch hits gauge and every row returns to 168, the panel will come out right, from the first chain to the last picot.
Happy crocheting!