
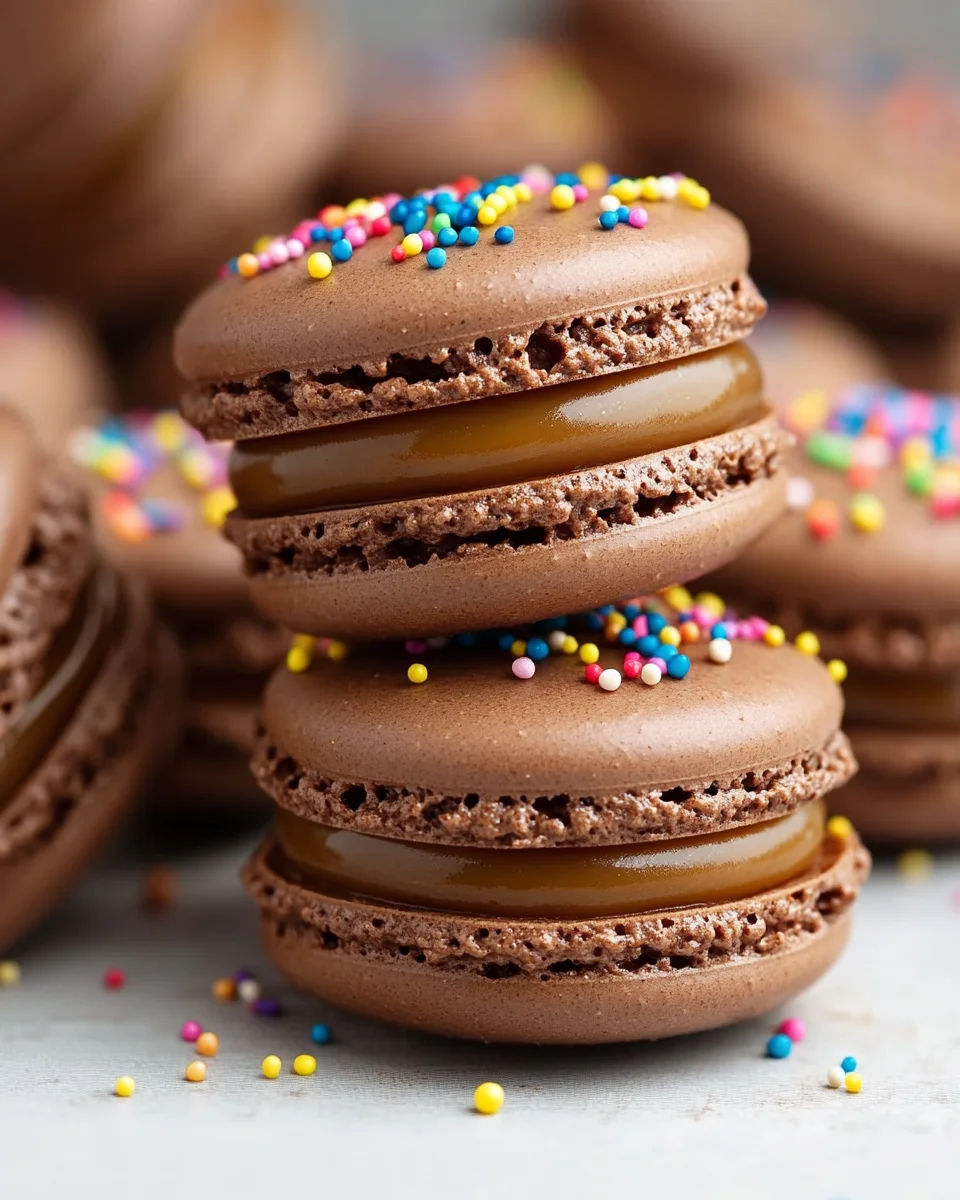
Imagine a dessert topping so luxurious, so decadent, that it elevates even the simplest treat into a gourmet experience. Picture something with the silken smoothness of melted velvet, a rich, almost intoxicating flavor, and the kind of irresistible appeal that makes you close your eyes and sigh with contentment. That, my friends, is the magic of white chocolate peanut butter ganache.
This isn’t just another frosting recipe. It’s a versatile, adaptable, and utterly delicious concoction that can transform everything from delicate macarons to hearty layer cakes. And here’s the best part: it all comes together with just three humble ingredients. Yes, you heard right: three. This means minimal fuss, maximum flavor, and a foolproof recipe that anyone can master. Let’s embark on a journey into the world of peanut butter ganache, and you’ll quickly discover why this is destined to become your new go-to recipe.
Preparation and Timing: Patience is Key
Before we delve into the specifics, there are a few essential things to keep in mind. Ganache, while incredibly easy to make, isn’t an instant gratification recipe. This is a project where a little advance planning goes a long way. You’ll need to allow it at least two hours to set properly, whether you plan on using it as a filling or for other purposes. In reality, it is much better to make this ahead of time – it actually gets better the longer it sets, if properly stored. The great news is that you can whip up a batch up to a week in advance without losing that perfect texture. So plan ahead and set yourself up for success, it is truly worth the wait.
Also, precision is paramount in baking, especially when it comes to ganache. While it’s not as temperamental as some other baking projects, it’s important to follow the recipe closely, especially when it comes to measurements. I cannot stress the importance of using a kitchen scale for the most precise measurements, ensuring your ganache achieves that consistently smooth texture. Forget the guess work, and embrace the kitchen scale as your new best friend.
The Star Ingredients: Quality Matters
Let’s talk ingredients. It’s amazing how just three components can come together to create something so extraordinary. Here’s what you’ll need:
-
175g finely chopped white chocolate or white chocolate chips (1 cup): It’s true what they say, quality ingredients make all the difference. For white chocolate, be sure to choose something of decent quality that melts smoothly. I’ve found that brands like 365, Ghirardelli, and Guittard offer a great balance of taste and performance. Mini white chocolate chips are also a convenient option, as they tend to melt a little more easily. Avoid the cheap chocolate baking chips at the grocery store if you can. I know the price is tempting, but the flavor profile will be dramatically different.
-
125g creamy peanut butter (1/2 cup): Now, let’s talk peanut butter. Not all peanut butters are created equal. When making this ganache, you’ll need to use a shelf-stable, creamy peanut butter, like the ones from JIF or Skippy, that’s made with oils rather than natural nut butters. While I adore natural peanut butters in my morning smoothie or on toast, the high oil content can cause the ganache to separate, resulting in a grainy texture that is a true disappointment.
-
160g heavy cream (2/3 cup): The final component, the backbone of the whole operation, is the heavy cream. It’s crucial to use heavy cream, sometimes labelled as heavy whipping cream, because the high fat content is absolutely essential for achieving the desired consistency and a luscious smooth texture. Regular milk or half-and-half simply won’t cut it, they do not contain sufficient fat for the ganache. You will end up with a soupy mess, and no one wants that.
Substitutions and Variations: Making it Your Own
While I highly recommend sticking to the core ingredient list for the best results, there are some tweaks you can make for dietary needs or personal preference. If you’re avoiding dairy, consider using coconut cream instead of heavy cream, it works beautifully and offers a lovely subtle coconut flavor. As for the peanut butter, you can use chunky peanut butter instead of creamy but this is better when used in fillings, not drizzles, as the chunks can be problematic for the texture of the drizzle.
Step-by-Step: The Art of the Ganache
Now, let’s get down to the nitty-gritty. Here’s how to create this dreamy white chocolate peanut butter ganache:
Melting and Combining:
-
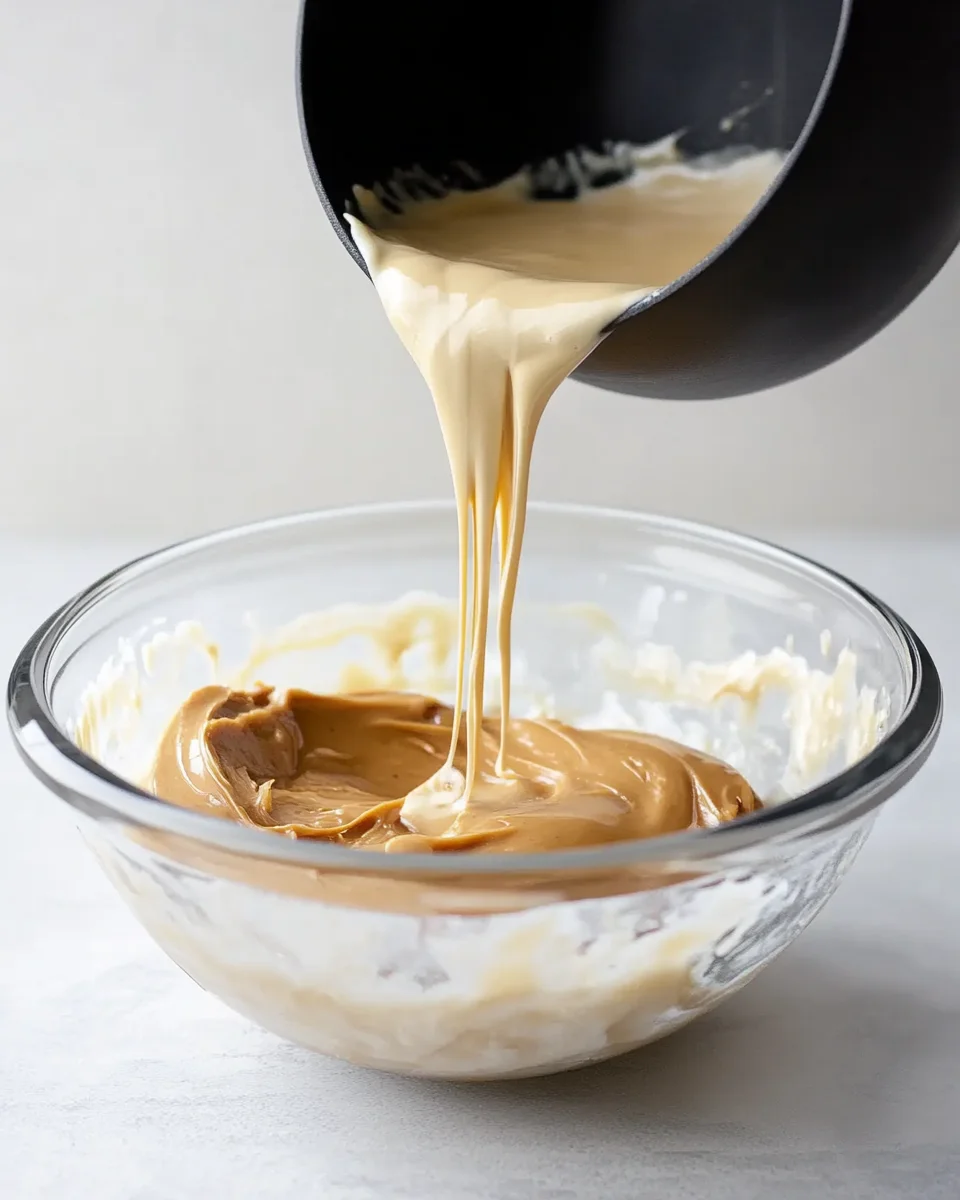
Heat the Heavy Cream: Place the heavy cream in a small saucepan over medium heat. Heat until it just begins to bubble at the edges. You don’t want it to boil, just to become scalding hot.
-
Pour over the Chocolate and Peanut Butter: In a heat-proof bowl, combine the chopped white chocolate (or white chocolate chips) and the creamy peanut butter. Pour the hot heavy cream over the chocolate and peanut butter mixture.
-
A Moment of Rest: Allow the mixture to sit undisturbed for a couple of minutes. This gives the hot cream time to start melting the chocolate, making the blending process smoother.
-
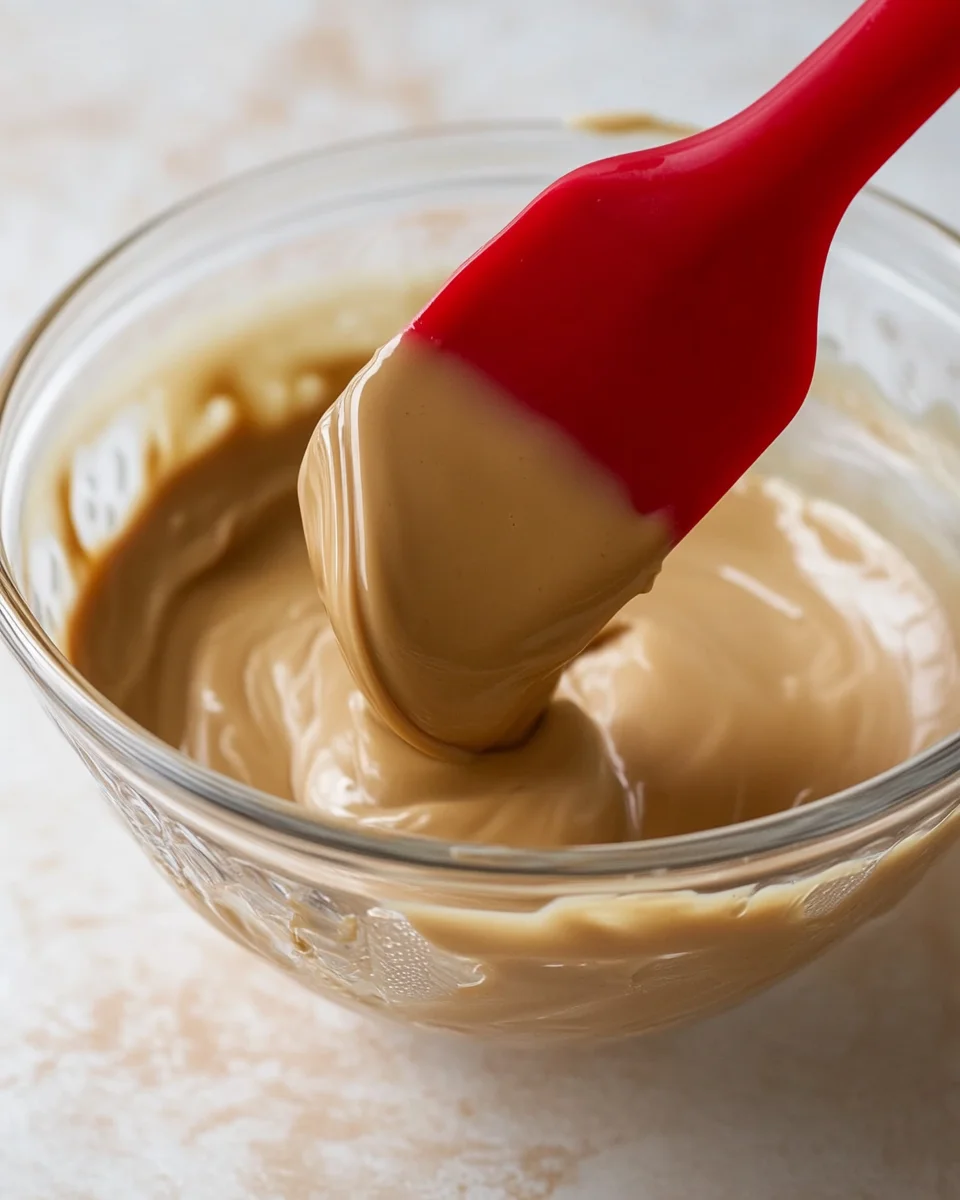
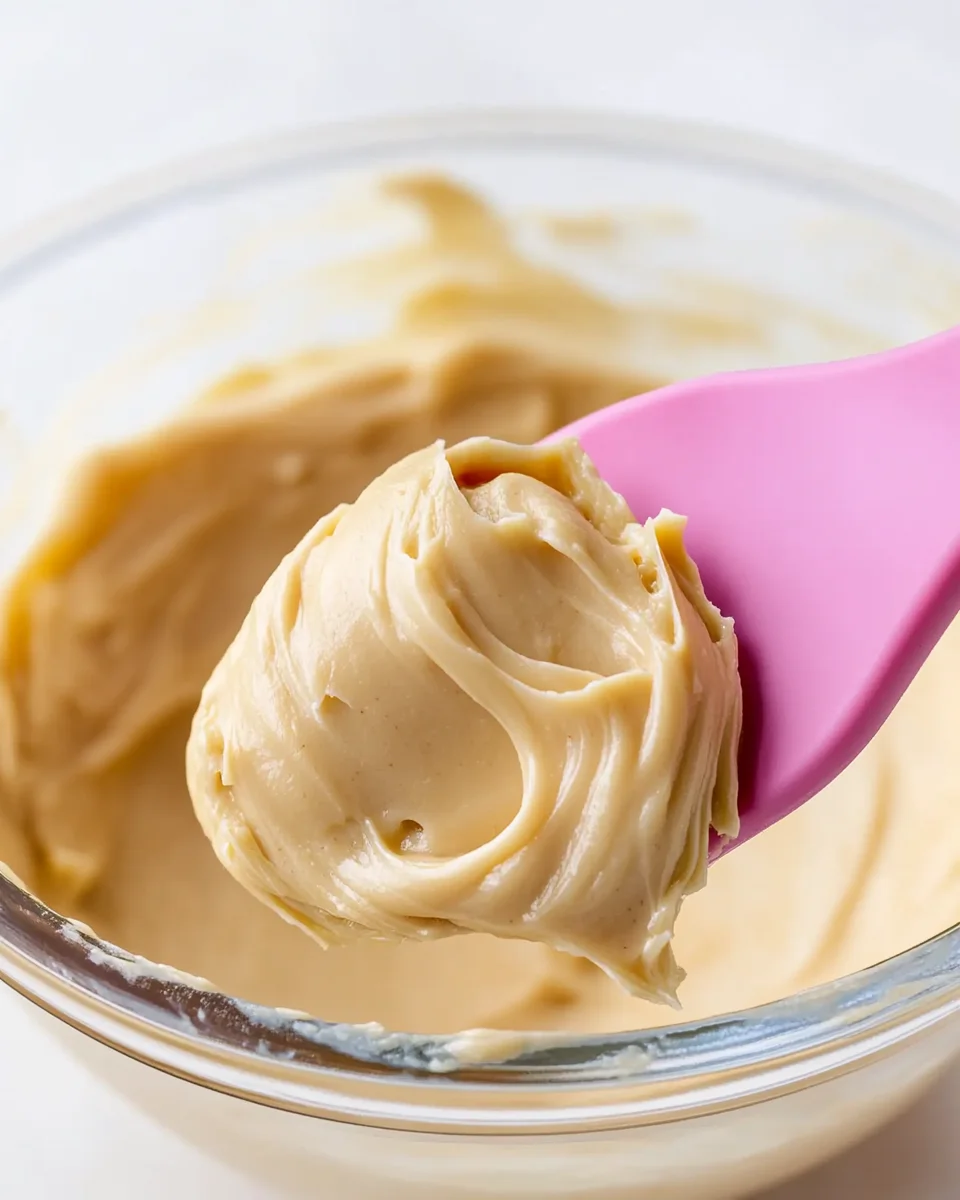
Blend Until Smooth: Now it’s time to bring everything together. You can use an immersion blender for a truly velvety smooth texture. Gently move the blender around the mixture until everything is fully combined and smooth. If you don’t have an immersion blender, a spoon or spatula will do, just be sure to stir until everything is emulsified and silky smooth. You are aiming for a completely homogenous mixture here.
Drizzle vs. Filling:
-
Drizzles: For a beautiful, glossy drizzle, use the ganache while it’s still warm and fluid. It should be easily pourable and create those perfect drips. It is best to use the ganache fresh, within 30 minutes of creating it to get the best drizzled effect, before it has a chance to start setting.
-
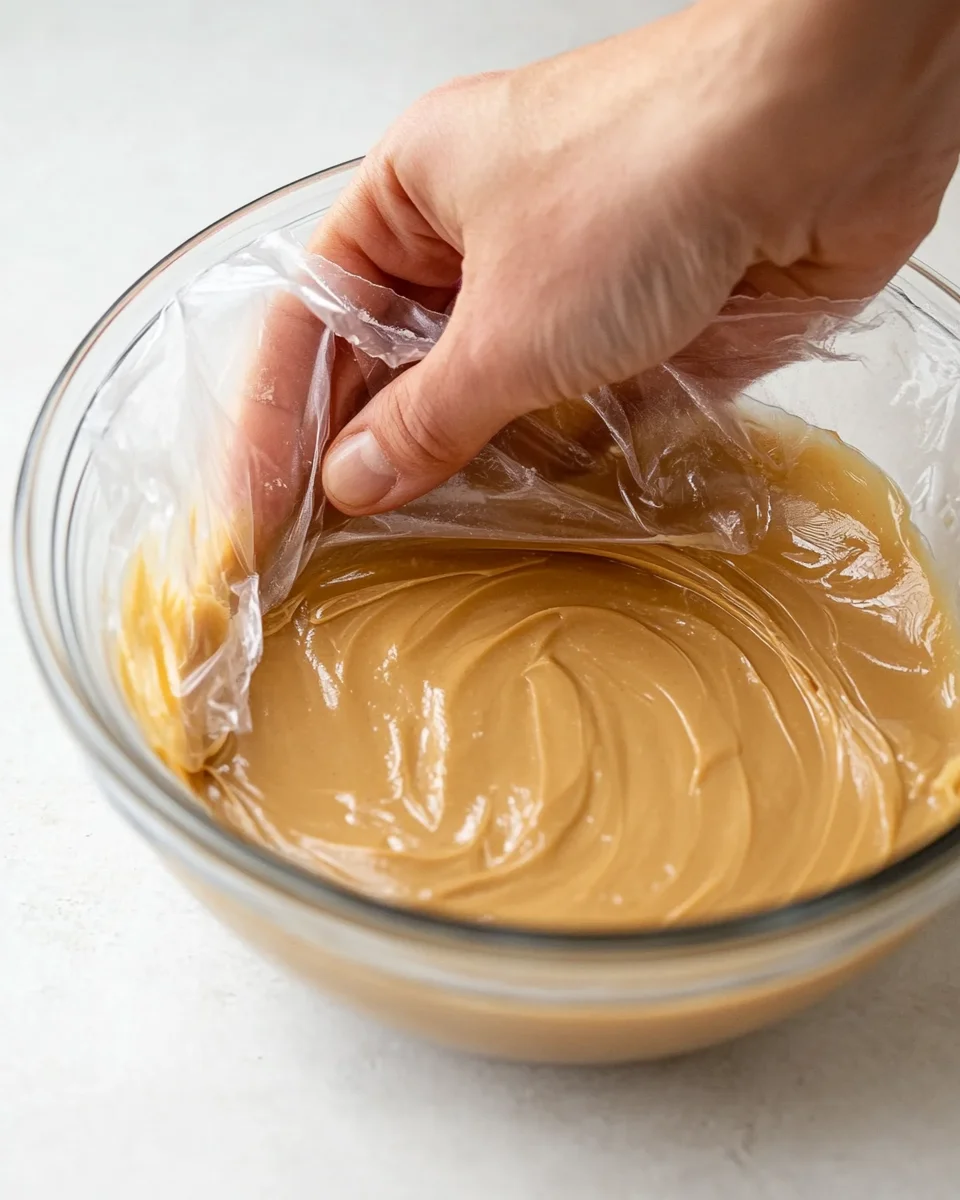
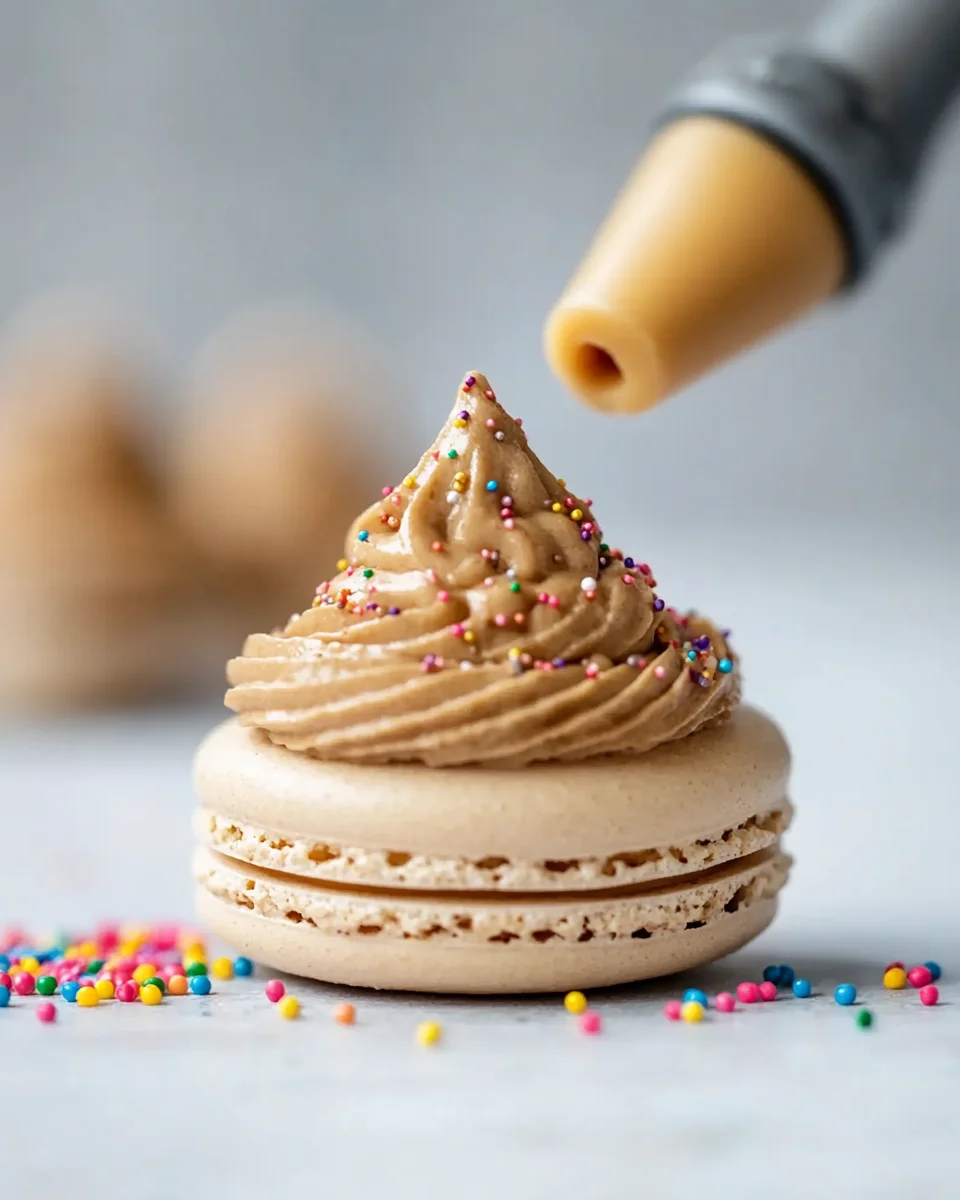
Fillings: For fillings, you’ll want a more stable consistency. To achieve this, press a piece of plastic wrap directly against the surface of the ganache to prevent a skin from forming. Then, transfer it to the fridge and chill for at least two hours, or ideally overnight. This will give it time to set, and the texture will thicken. This is perfect for macarons or even cupcakes or cakes.
Tips and Troubleshooting: Avoiding Common Pitfalls
Even with a simple recipe, things can sometimes go a little sideways. Here are a few tips to help you achieve ganache perfection:
-
Immersion Blender is Your Friend: While not essential, an immersion blender really is your best friend in creating a ganache with a super smooth, silky texture. It can blend the ingredients more effectively than a spoon, and help avoid any graininess from the chocolate.
-
Unmelted Chocolate?: If you still have a few stubborn bits of unmelted chocolate after blending, don’t panic. Simply heat the ganache in the microwave in 15-second intervals, stirring well after each interval, and letting it rest for 30 seconds between intervals. This method allows the heat to gradually melt the remaining chocolate without burning it.
-
Piping Consistency: For piping, the ganache should be thick enough to scoop easily into a piping bag. If it seems too firm, just let it soften at room temperature for a bit before you use it. Remember, you can always warm it slightly if it’s too thick. Patience is a virtue here, do not try to microwave the mixture to soften, as you will ruin the texture.
Storage and Make-Ahead: Planning is Power
This ganache is a master at playing the long game. Here’s how to store it properly:
-
Storage: Once your peanut butter ganache is made, you can store it in an airtight container in the refrigerator for up to a week. This makes it great for meal prepping, or for making ahead before a party or celebration.
-
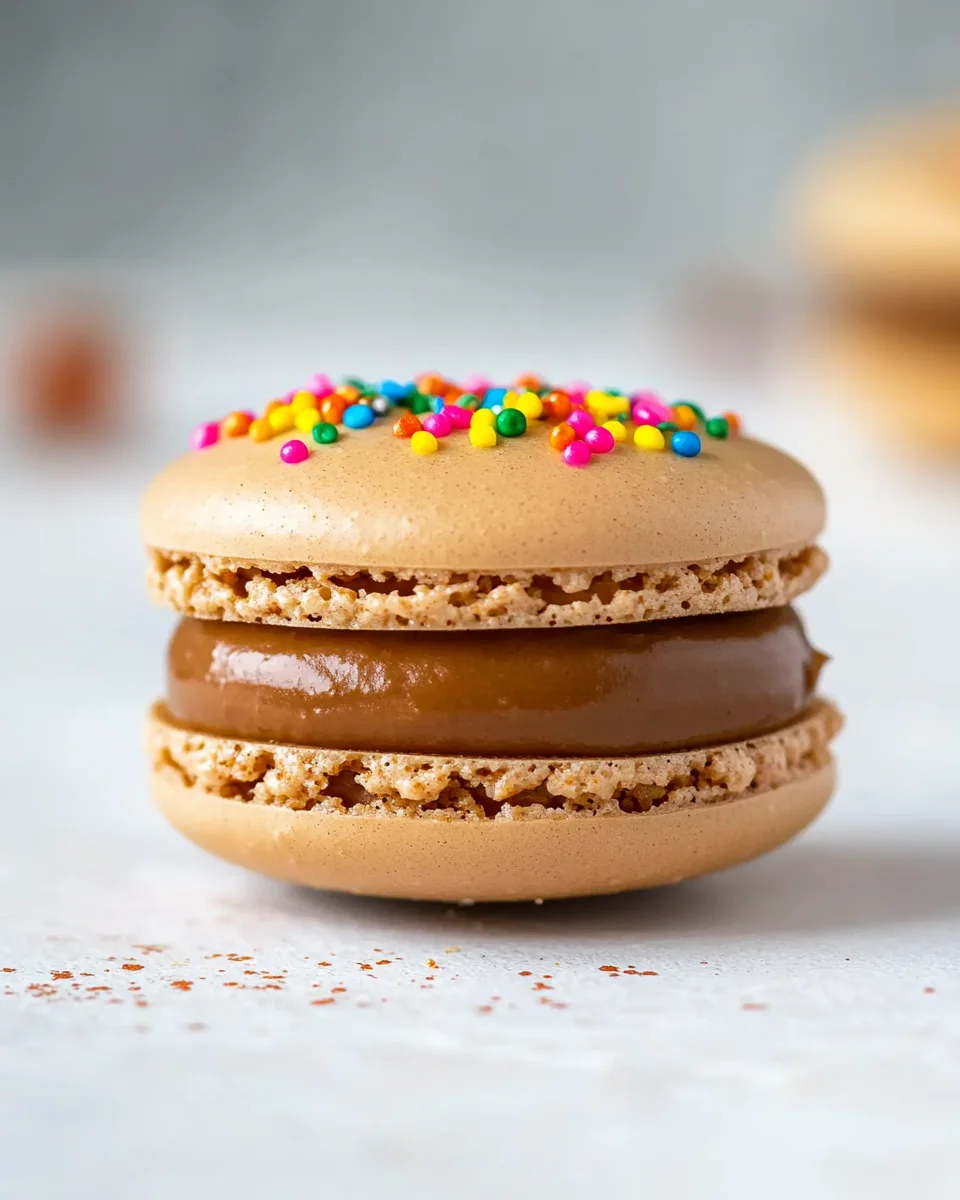
Macaron Maturation: If you’re filling macarons with this peanut butter ganache, do allow them to mature in the fridge for a few hours or overnight. This allows the flavors to meld together and the shells to soften slightly, resulting in the ideal texture.
-
Dessert Storage: Any desserts you create using the peanut butter ganache can be stored in the refrigerator for up to five days in an airtight container. For longer storage, you can even freeze your desserts for up to a month, again, making sure it is in a tightly sealed container.
Additional Information: The Extras You Need to Know
-
Yield: This recipe makes about 1 1/2 cups of ganache. That’s usually enough to fill around 24 macarons, generously frost 2 dozen cupcakes, or even serve as a filling for a small cake. The great news is that you can easily double or triple the recipe – just remember to allow more setting time as the quantity increases.
-
Nutritional Information: If you’re tracking your calories or macronutrients, keep in mind that this peanut butter ganache is rich and decadent, made with quality fats and chocolate. Feel free to use a nutrition calculator to determine the precise information, based on your ingredients.
-
Comments Section Wisdom: The comments sections on food blogs are a goldmine of knowledge, and this recipe is no exception. Readers have chimed in with incredible tips such as:
-
How to adapt the recipe for dark chocolate by decreasing the amount of chocolate and heavy cream. I personally recommend using roughly 200g of dark chocolate and 120 g of heavy cream, but do your research online first as this is not as straightforward as white chocolate ganache.
-
Instructions for making a whipped ganache by beating the set ganache with an electric mixer, resulting in a lighter, fluffier texture.
-
The tip to use the ganache under fondant, if you chill the cake prior to adding the peanut butter ganache.
-
Call to Action: Your Turn to Shine
Now it’s your turn to try your hand at this white chocolate peanut butter ganache, and I am confident that you will fall in love with this recipe. I’m so eager to see what you create with this recipe! Leave a comment and rating below and let us know how it turns out. Be sure to share your creations on social media! Tag us in your pictures – we absolutely love seeing all the amazing things you create.
And there you have it – a comprehensive guide to making the most divine white chocolate peanut butter ganache. This is a recipe that is so simple, yet so versatile, and I truly hope you’ll use this to take your desserts to the next level. From the silky smooth texture to the rich, irresistible flavor, this is a recipe that will become a staple in your kitchen. Happy baking!
5 thoughts on “3-Ingredient Peanut Butter Ganache Recipe”