

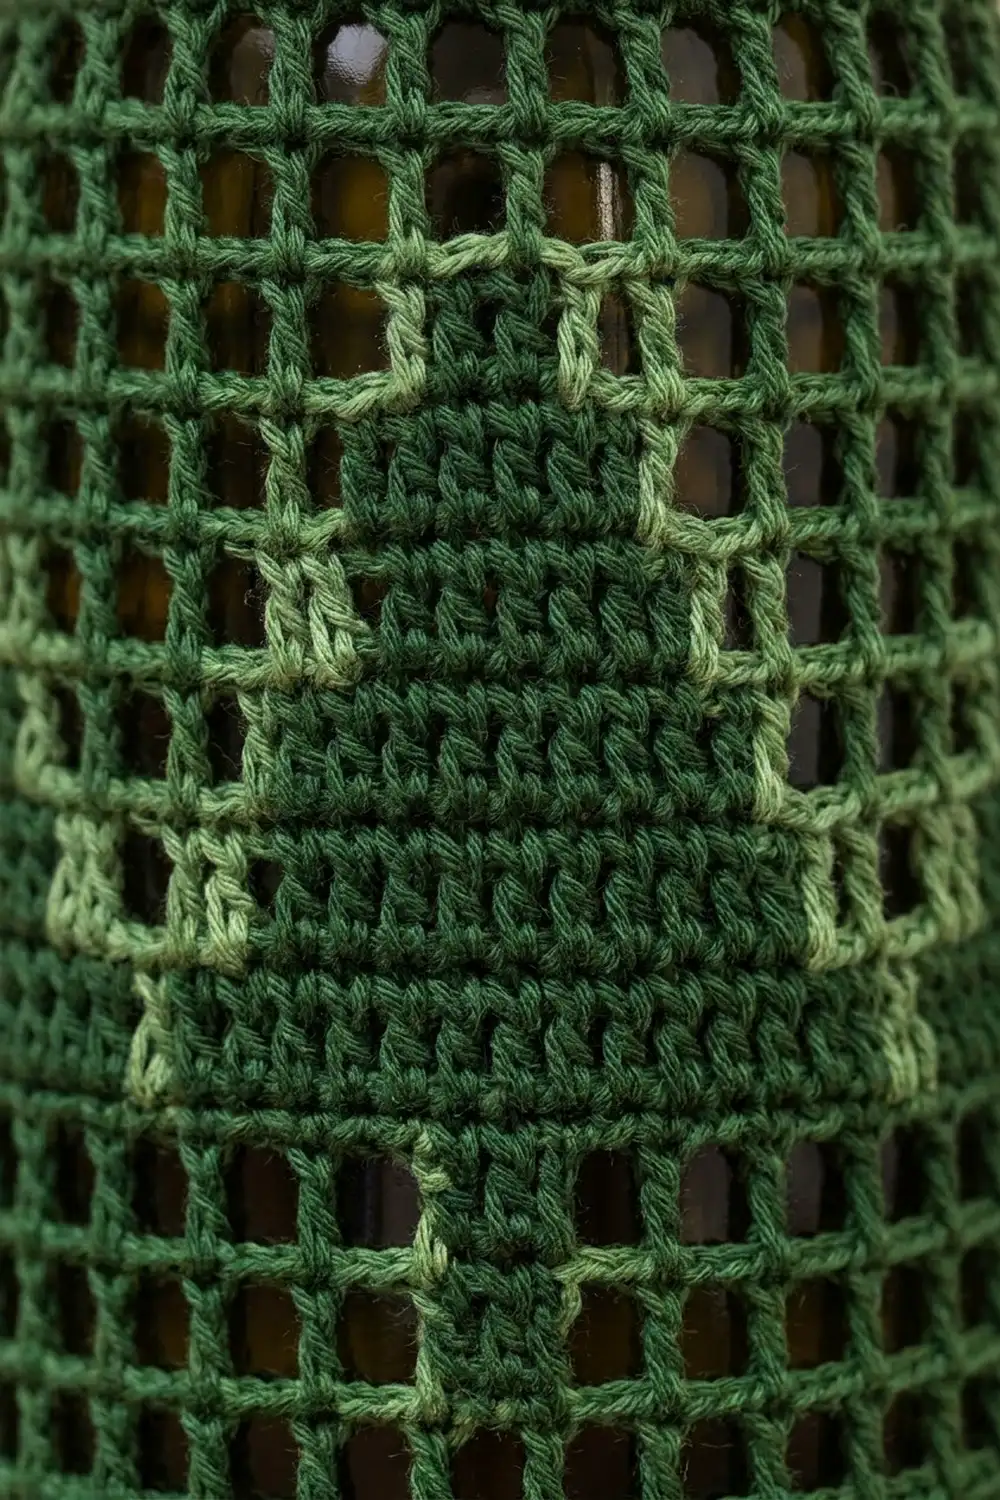
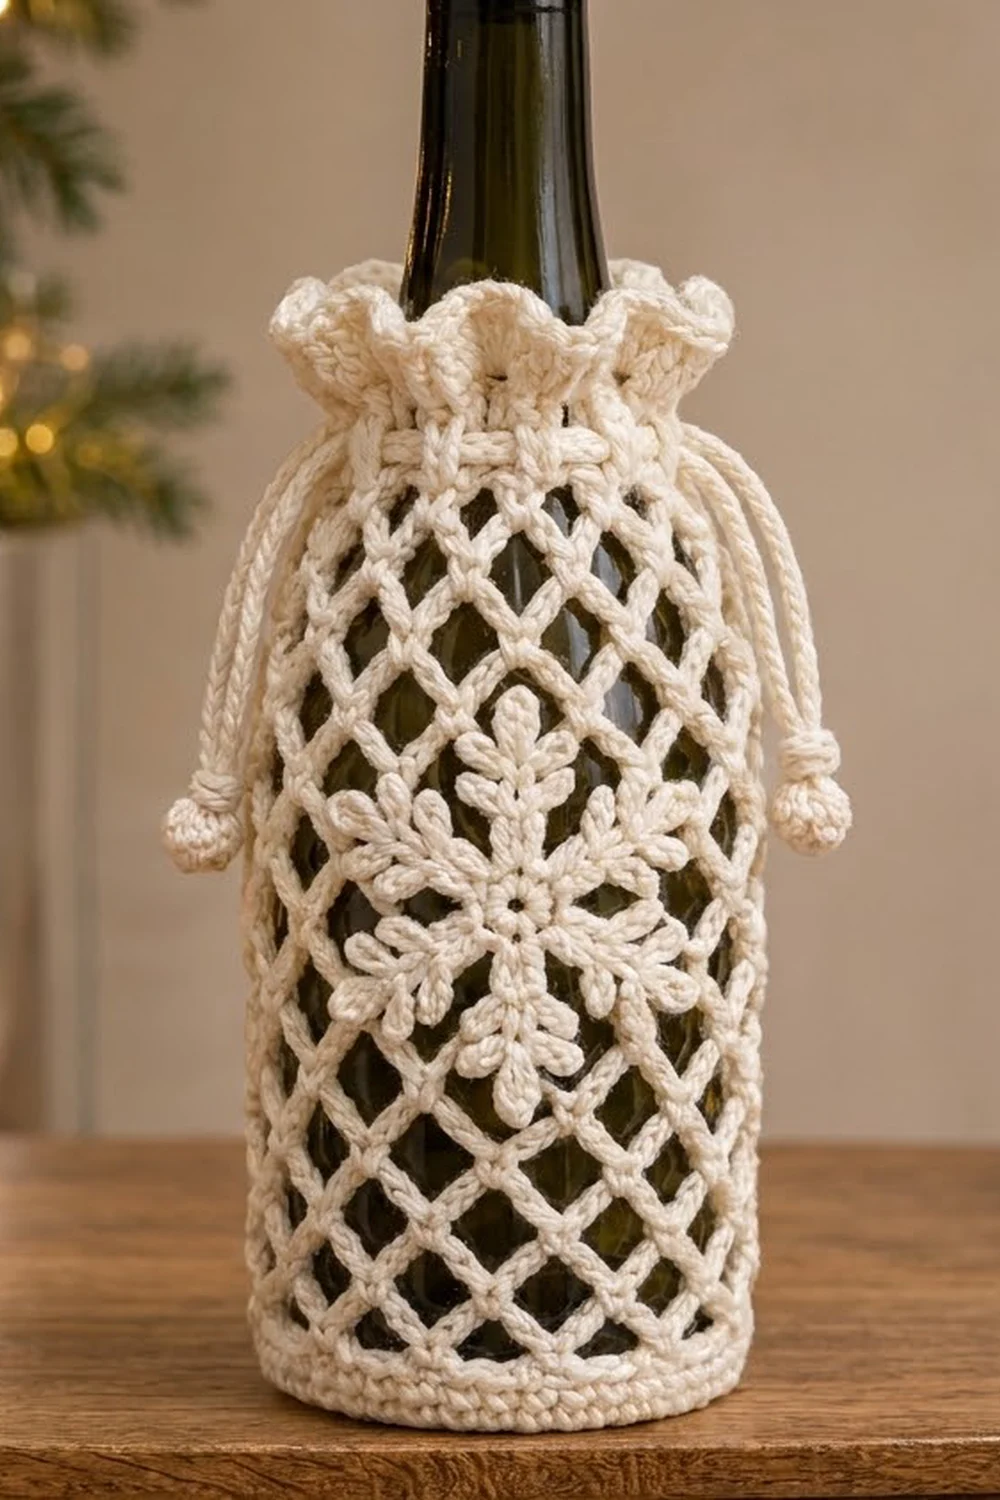
The Evergreen Lattice cover turns a plain bottle of wine into a wrapped holiday gift. Open filet mesh lets a little of the dark glass show through, and solid filet blocks build a forest of stepped Christmas trees around the bottle. A deep shell scallop frames the neck, and a crocheted cord gathers the top into a neat bow.
The palette is classic and calm. Dark forest green does almost all the work: base, mesh, trees, scallops and cord. A lighter moss green is added at the end as a surface slip-stitch outline that traces each tree’s stepped edges, so the motifs stand out without any tricky colorwork.
This pattern uses US crochet terms. The finished cover measures 10 in (25.4 cm) around and about 10 3/4 in (27.3 cm) tall including the scallops. That fits a standard 750 ml wine bottle about 3 in (7.6 cm) across, or 9.5 in (24.1 cm) around.
Construction is simple and seamless. You crochet a flat single crochet circle for the base, then work straight up in joined double crochet rounds following a 10-square tree chart three times per round. You finish with a single crochet round, a shell scallop round, the surface outline and a drawstring cord.
Finished Size and Construction
- Finished size: 10 in (25.4 cm) circumference, 5 in (12.7 cm) flat width, about 10 3/4 in (27.3 cm) tall
- Skill level: Intermediate (filet crochet in rounds)
- Terminology: US
- Yarn weight: Fingering / Super Fine (#1) mercerized cotton
- Hook: 2.75 mm (US C/2)
- Number of pieces: 1, worked seamlessly, plus 1 cord
- Layout: 3 tree repeats around × 2 tree tiers stacked vertically
- Body: 30 filet squares (90 stitches) around × 30 rounds tall
- Size before edging: 10 in (25.4 cm) around × 10 in (25.4 cm) tall
- Edging depth: about 3/4 in (1.9 cm)
Materials
Choose a smooth mercerized cotton of about 170 m per 50 g. Cotton holds the crisp filet grid and the shell shapes much better than acrylic, and it won’t stretch out when it’s pulled over a bottle.
- Color A, dark forest green: 75 g / 255 m (base, body, edging, cord)
- Color B, light moss green: 10 g / 34 m (tree outlines)
- 2.75 mm (US C/2) crochet hook
- Tapestry needle
- 4 stitch markers
- Scissors
- An empty wine bottle for fitting and blocking
- Spray bottle with water
Yarn quantities include a margin of about 15 percent for swatching and weaving in ends.
Abbreviations (US Terms)
- ch: chain
- sl st: slip stitch
- sc: single crochet
- dc: double crochet
- inc: 2 sc in the same stitch
- BLO: back loop only
- sp: space
- sk: skip
- st(s): stitch(es)
Special stitches
- Open square: dc in the next st, ch 2, sk the next 2 sts (or the next ch-2 sp). Each open square uses 3 stitch positions.
- Solid square: dc in each of the next 3 sts. If the last 2 positions are a ch-2 sp, work dc in the dc, then 2 dc in the ch-2 sp. Each solid square also uses 3 positions.
- Shell: 7 dc in the same stitch.
- Surface sl st: with the yarn held behind the work, insert the hook from front to back through the fabric, pull up a loop and draw it through the loop on the hook.
Gauge and Checkpoints
Gauge: 9 dc and 3 dc rows = 1 in (2.5 cm). In filet, 3 squares = 1 in (2.5 cm) wide, and 3 rounds = 1 in (2.5 cm) tall.
Work a test swatch of 36 dc × 12 rows. It should measure 4 in × 4 in (10.2 cm × 10.2 cm). Then work 4 rows of open squares across it and check that 12 squares measure 4 in (10.2 cm).
Checkpoints
- Base, Rnd 9 (54 sts): about 1.9 in (4.8 cm) across
- Base, Rnd 15 (90 sts): about 3.2 in (8.1 cm) across
- Body, Rnd 3: 1 in (2.5 cm) tall, 10 in (25.4 cm) around
- Body, Rnd 15: 5 in (12.7 cm) tall
- Body, Rnd 27: 9 in (22.9 cm) tall
- Body, Rnd 30: 10 in (25.4 cm) tall
If your gauge is off:
- Too few stitches per inch (fabric too big): at 8 sts per inch, the body grows to 11.25 in (28.6 cm) around and will slide down the bottle. Go down a hook size.
- Too many stitches per inch (fabric too small): at 10 sts per inch, it shrinks to 9 in (22.9 cm) around and won’t fit over the bottle. Go up a hook size.
- Rounds too tall or too short: adjust how high you pull up your loops, or add or remove one plain mesh round in Rnds 27–30.
Base
Use Color A. Work in joined rounds without turning. Ch 1 at the start of each round does not count as a stitch. Join each round with a sl st to the first sc.
- Rnd 1: Make a magic ring. Ch 1, work 6 sc in the ring, join. (6 sts)
- Rnd 2: Ch 1, inc in each st around, join. (12 sts)
- Rnd 3: Ch 1, sc in next st, inc 6 times, join. (18 sts)
- Rnd 4: Ch 1, sc in next 2 sts, inc 6 times, join. (24 sts)
- Rnds 5–15: Continue the same way. In each round, work 1 more sc between increases than in the round before. Round n is sc in next (n − 2) sts, inc 6 times, for a total of 6 × n stitches.
Counts: Rnd 5 = 30, Rnd 6 = 36, Rnd 7 = 42, Rnd 8 = 48, Rnd 9 = 54, Rnd 10 = 60, Rnd 11 = 66, Rnd 12 = 72, Rnd 13 = 78, Rnd 14 = 84, Rnd 15 = 90 sts.
To keep the circle round rather than hexagonal, start the increase repeat with half the plain stitches on alternate rounds. The base should lie flat and measure 3.2 in (8.1 cm) across.
Body
Continue with Color A. Every body round has 90 stitch positions = 30 squares.
- Starting a round: if the first square is solid, ch 3 (counts as the first dc). If it’s open, ch 5 (counts as dc + ch 2).
- Ending a round: sl st to the 3rd ch of the beginning chain.
Place a marker after every 10 squares (30 sts) to mark the three tree repeats.
Rnd 1: Ch 3, working in BLO only, dc in each st around, join. (90 dc) The back-loop round creates a crisp ridge where the base turns up into the side.
Rnds 2–3: Ch 3, dc in each st around, join. (90 dc)
Rnd 4: Work 30 open squares. (30 squares = 90 positions)
Tree Chart (worked 3 times per round)
Each row lists the 10 squares of one repeat. O = open, S = solid.
| Chart row | Squares |
|---|---|
| 1–2 (trunk) | 4 O, 2 S, 4 O |
| 3–4 | 1 O, 8 S, 1 O |
| 5–6 | 2 O, 6 S, 2 O |
| 7–8 | 3 O, 4 S, 3 O |
| 9–10 | 4 O, 2 S, 4 O |
The trunk rows and top rows are both 2 squares wide. The four branch tiers step in by 1 square on each side every 2 rows (8, 6, 4, 2), which gives the stepped silhouette. Each tree is 8 squares wide, about 2 2/3 in (6.8 cm), and 10 rounds tall, about 3 1/3 in (8.5 cm).
Rnds 5–14 (first tier of trees): Work Chart Rows 1–10, with the repeat 3 times in each round. (30 squares = 90 positions per round)
Check the counts on Rnd 7 (Chart Row 3): each repeat has 1 open + 8 solid + 1 open = 10 squares, and 3 repeats = 30 squares = 90 positions.
Rnds 15–16: Work 30 open squares in each round. The body now measures 5 in (12.7 cm) from the base ridge after Rnd 15.
Rnds 17–26 (second tier of trees): Work Chart Rows 1–10 again, stacked directly above the first trees so each trunk lines up under the tree above it.
Rnds 27–30: Work 30 open squares in each round. Rnd 29 is the drawstring round. The body is now 10 in (25.4 cm) tall.
Top Edging (Border)
This cover has no corners and no seams, so the edging is planned per tree repeat instead of per side. Edging gauge is the same as the body: 9 sts = 1 in (2.5 cm).
Rnd 31 (conversion round): Ch 1, sc in each dc, and 2 sc in each ch-2 sp. Join. (30 sc worked 1 per dc + 60 sc worked 2 per ch-2 sp = 90 sc) That is 30 sc per tree repeat.
Rnd 32 (shell round): Ch 1, sc in the first st, sk 2 sts, shell in next st, sk 2 sts, sc in next st around, ending with sk 2 sts, shell in next st, sk 2 sts, then join to the first sc. (15 shells and 15 sc) That gives 5 shells per tree repeat. Fasten off.
Why the math works: each scallop repeat uses 6 stitches (1 sc + 2 skipped + 1 shell stitch + 2 skipped). 90 ÷ 6 = 15 scallops with no leftover, and 30 ÷ 6 = 5 scallops sit over each tree repeat, so the scallops line up the same way above every tree. The edging adds about 3/4 in (1.9 cm), for a total height of about 10 3/4 in (27.3 cm).
Tree Outline (Color B)
Use Color B to work a surface sl st outline on each of the 6 trees, following the stepped edge from the bottom of the widest tier up and over the top.
- Join Color B at the lower outside corner of the left side of the 8-square tier.
- Each vertical step (2 rounds tall): work 2 surface sl sts per round, so 4 sl sts per step.
- Each horizontal step (1 square): work 3 surface sl sts.
- Left side: 4 vertical steps (16 sl sts) and 3 horizontal steps (9 sl sts).
- Across the top: work across the 2-square top (6 sl sts).
- Right side: mirror the left side (9 + 16 sl sts).
- Fasten off.
Each tree takes 56 surface sl sts, so all 6 trees take 336.
Keep the outline loose so the mesh doesn’t pucker. Weave each tail into the solid blocks so it can’t show through the open squares.
Drawstring Cord
Use Color A. Ch 240, then sl st into the back bump of each chain back to the start. Fasten off. The cord measures about 26 in (66.0 cm).
Starting at the front, centered between two trees, weave the cord over and under every square of Rnd 29, working around the bottle. Because there are 30 squares, an even number, both ends come out of neighboring spaces at the front. Knot each cord end.
Final Blocking
- Weave in all ends before blocking.
- Slide the cover onto an empty wine bottle, lining up the trees so one sits at the front.
- Gently pull the mesh so the squares are square and the columns run straight up.
- Mist the cover evenly until it’s damp but not dripping.
- Pinch each shell into a rounded fan with your fingers.
- Leave it to dry fully on the bottle, usually overnight.
- Remove it, check the measurements, then put it back on the gift bottle and tie the bow.
Final Quality-Control Checklist
- Base Rnd 15 has 90 sc and lies flat at 3.2 in (8.1 cm) across
- Every body round has 30 squares and 90 positions
- All 6 trees are centered in their repeats, and each upper tree sits directly above a lower one
- Each tree steps 8, 6, 4, 2 squares with a 2-square trunk
- The body measures 10 in (25.4 cm) around and 10 in (25.4 cm) tall
- Rnd 31 has 90 sc, and Rnd 32 has 15 even shells
- Each light green outline has 56 sl sts with no puckering
- The cord is woven through Rnd 29 and both ends come out at the front
- All tails are hidden inside solid blocks or the base
Troubleshooting
- Square count drifts: you’re probably working into a ch-2 sp as if it were one stitch. Every square must use exactly 3 positions. Recount at each marker.
- Trees lean sideways: the round start shifts if the beginning chain is skipped. Always finish with a sl st into the 3rd ch of the starting chain.
- Base cups or ruffles: cupping means too few increases or tight tension. Ruffling means you added extra stitches. Recount against 6 × the round number.
- Shells flare too much: use 6 dc per shell instead of 7. The count stays 90.
- Cover too loose on the bottle: pull the drawstring tighter, or rework the body one hook size smaller.
- Outline puckers: rework it with a hook one size larger, or with longer loops.
Care
Hand wash in cool water with mild soap, roll it in a towel to remove water, and dry it on a bottle to keep its shape. Don’t tumble dry.
Final Notes
The measurement chain is easy to follow. The 9 st per inch gauge gives a 90-stitch base 3.2 in (8.1 cm) across. Those 90 stitches become 30 filet squares and 10 in (25.4 cm) of circumference. Thirty rounds at 3 rounds per inch give 10 in (25.4 cm) of height. The 90-stitch edging divides cleanly into 15 scallops, finishing at 10 3/4 in (27.3 cm). Check each link as you go and the cover will slide onto the bottle the first time.
Happy crocheting!