
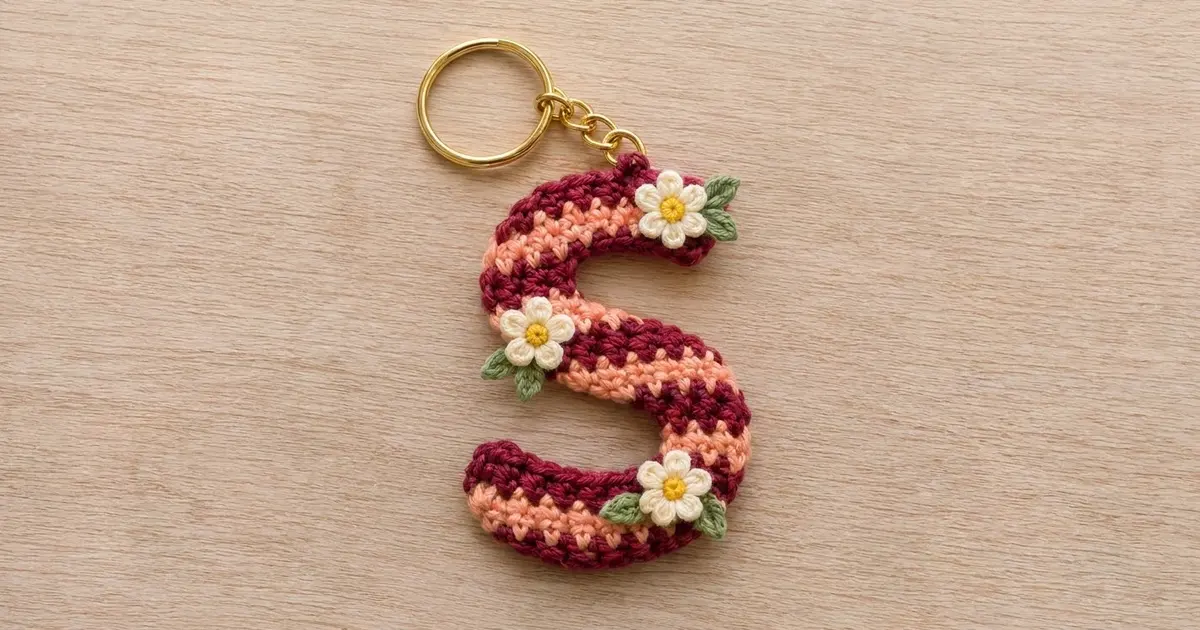
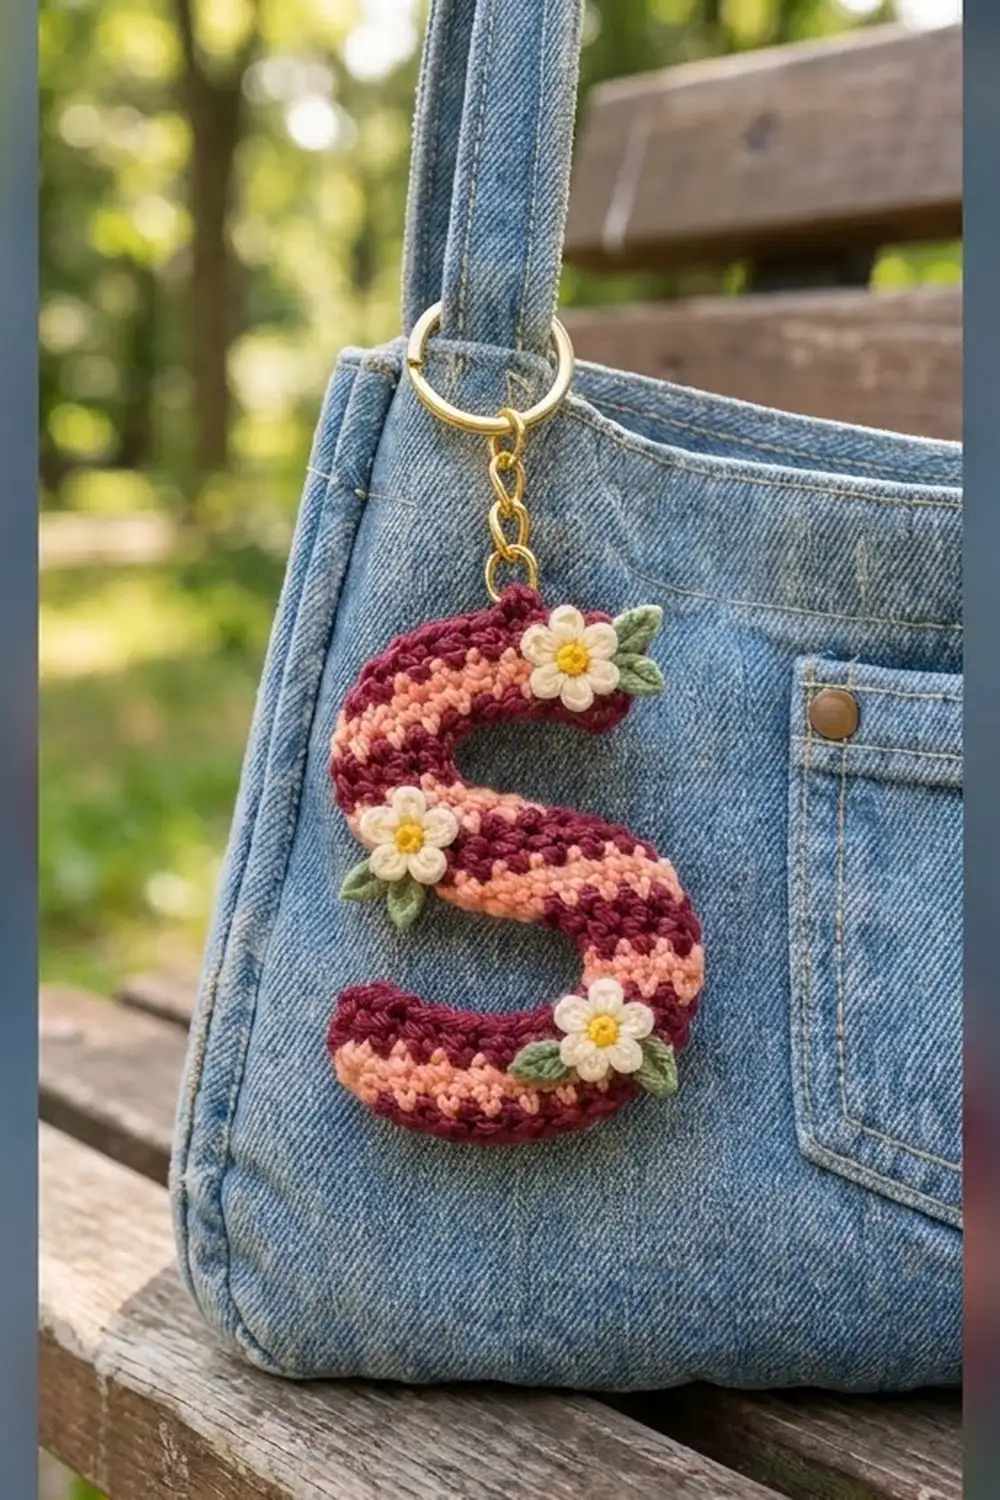
This little letter S keychain is a cheerful way to personalize a bag, a set of keys or a gift. It is one curved strip of striped moss stitch with three tiny daisies sewn on top. A gold split ring and short chain finish it off.
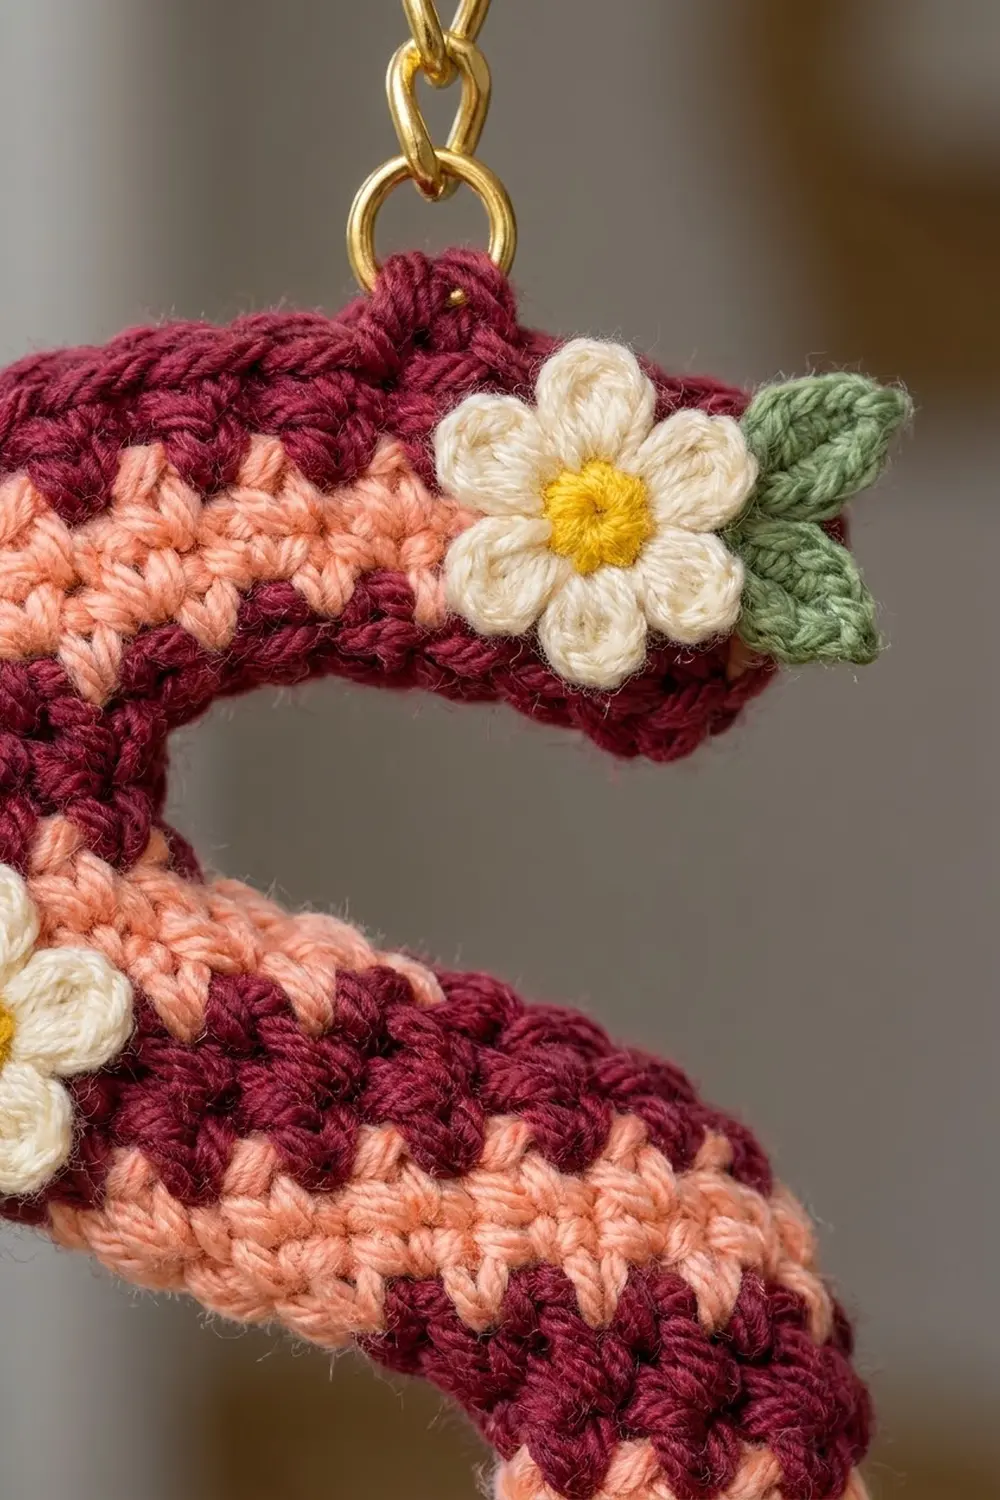
The colors are deep berry burgundy and soft peach, with cream daisies, yellow centers and fresh green leaves. The stripes run along the length of the letter. Because they are worked in moss stitch, the burgundy and peach lock into each other in small V shapes, which gives the piece a tweedy, handmade look.
The pattern uses US crochet terms. The finished letter measures about 3.75 in (9.5 cm) tall and 2.75 in (7.0 cm) wide, and the strip is about 0.8 in (2.0 cm) wide.
The construction is simple. You crochet one burgundy foundation row along the centerline of the letter. Then you work two rounds all the way around it: peach first, then a burgundy border. Increases on the outer curves and decreases on the inner curves bend the strip into an S. After that you add the flowers and the hardware.
Finished Size and Construction
- Finished size: about 3.75 in (9.5 cm) tall × 2.75 in (7.0 cm) wide
- Skill level: Advanced beginner / easy intermediate
- Terminology: US crochet terms
- Yarn weight: DK / light worsted (#3) cotton
- Hook: 3.5 mm (E-4)
- Number of pieces: 1 letter strip, plus 3 flowers and 6 leaves as appliqués
- Layout: a single S-shaped strip; no joining needed
- Strip width: about 0.8 in (2.0 cm) when finished
- Size before border: about 3.4 in (8.6 cm) tall × 2.4 in (6.1 cm) wide, with the strip about 0.5 in (1.3 cm) wide
- Border depth: one round, about 0.17 in (0.4 cm) on each edge
Materials
Use a smooth, mercerized or combed cotton in DK weight. Cotton holds its shape on a keychain and shows the moss texture clearly. A yarn of about 100 m per 50 g matches the amounts below.
- Burgundy (A): 6 g, about 12 m
- Peach (B): 4 g, about 8 m
- Cream (C): 2 g, about 4 m
- Yellow (D): 1 g, about 2 m
- Green (E): 2 g, about 4 m
These amounts include a margin for a gauge swatch and weaving in ends.
Tools and hardware:
- 3.5 mm (E-4) crochet hook
- Tapestry needle
- 4 locking stitch markers
- Scissors
- Rust-proof pins and a small blocking mat
- 1 in (2.5 cm) gold split key ring with a short chain, about 1 in (2.5 cm) long
- 1 or 2 gold jump rings, 6 mm
- 2 pairs of flat-nose pliers
Abbreviations (US Terms)
- ch – chain
- sc – single crochet
- hdc – half double crochet
- dc – double crochet
- sl st – slip stitch
- sk – skip
- sp – space
- st(s) – stitch(es)
Special stitches
- Pair (Round 2): sc in next st, ch 1, sk next st. This covers 2 sts and makes 2 sts.
- Inc pair: (sc, ch 1) in next st, with no skip. This covers 1 st and makes 2 sts.
- Dec pair: sc in next st, ch 1, sk next 2 sts. This covers 3 sts and makes 2 sts.
- Unit (Round 3): (sc, ch 1) in next ch-1 sp, then sk the next sc. This covers 2 sts and makes 2 sts.
- Inc unit: (sc, ch 1, sc, ch 1) in next ch-1 sp, then sk the next sc. This covers 2 sts and makes 4 sts.
- Dec unit: (sc, ch 1) in next ch-1 sp, then sk the next sc, ch-1 sp and sc. This covers 4 sts and makes 2 sts.
Counting rule: in Rounds 2 and 3, every sc and every ch-1 counts as 1 stitch.
Gauge and Checkpoints
Gauge: 20 sts × 24 rows = 4 in (10.2 cm) in moss stitch, counting each sc and each ch-1 as a stitch. Plain sc on the same hook should give the same 5 sts per inch.
The letter is small, so the letter itself works as your test piece. Measure at each of these points:
- After Row 1: the straight strip should be 7.6 in (19.3 cm) long, measured unstretched.
- After Round 2: shape the strip gently into an S. It should measure about 3.4 in (8.6 cm) tall × 2.4 in (6.1 cm) wide.
- After Round 3: about 3.75 in (9.5 cm) tall × 2.75 in (7.0 cm) wide.
If Row 1 comes out more than 0.25 in (0.6 cm) too long, go down to a 3.25 mm hook. If it is too short, go up to a 3.75 mm hook. Start again from the beginning, because the curve math depends on Row 1 being the right length.
Main Pattern: Letter S
Row 1 – Centerline (Color A)
With A, ch 39.
Row 1: sc in 2nd ch from hook and in each ch across. (38 sc)
Do not turn. Fasten off and leave a 6 in (15.2 cm) tail.
Number the stitches 1 to 38 in the order you worked them. Stitch 1 is the upper end of the S and stitch 38 is the lower end. Place markers in these four stitches:
- St 4: end of the upper terminal (sts 1–4)
- St 16: end of the top arc (sts 5–16)
- St 22: end of the spine (sts 17–22)
- St 34: end of the bottom arc (sts 23–34). The lower terminal is sts 35–38.
Each section uses the same stitches on both sides. The tops of the Row 1 stitches are Side A. The free loops of the foundation chain are Side B.
The top arc bends toward Side B, so Side A is its outer edge. The bottom arc bends the other way, so Side B is its outer edge. Outer edges get increases and inner edges get decreases.
Checkpoint: the strip should measure 7.6 in (19.3 cm).
Round 2 – Peach Stripe (Color B)
With the free loops of the foundation chain facing you, join B with a standing sc in the free loop of st 38.
Side B, from st 38 back to st 1:
- Lower terminal (sts 38–35): ch 1, sk next st (the standing sc counts as the first sc of this pair). Then work 1 pair. (4 sts)
- Bottom arc, outer edge (sts 34–23): [inc pair, pair] 4 times. (16 sts)
- Spine (sts 22–17): 3 pairs. (6 sts)
- Top arc, inner edge (sts 16–5): pair, dec pair, pair, dec pair, pair. (10 sts)
- Upper terminal (sts 4–1): 2 pairs. (4 sts)
Side B total: 40 sts.
Upper end: (sc, ch 1) twice in the side edge of Row 1. (4 sts)
Side A, from st 1 to st 38:
- Upper terminal (sts 1–4): 2 pairs. (4 sts)
- Top arc, outer edge (sts 5–16): [inc pair, pair] 4 times. (16 sts)
- Spine (sts 17–22): 3 pairs. (6 sts)
- Bottom arc, inner edge (sts 23–34): pair, dec pair, pair, dec pair, pair. (10 sts)
- Lower terminal (sts 35–38): 2 pairs. (4 sts)
Side A total: 40 sts.
Lower end: (sc, ch 1) twice in the side edge of Row 1. (4 sts)
Join with a sl st to the first sc and fasten off.
Round 2 total: 40 + 4 + 40 + 4 = 88 sts (44 sc and 44 ch-1 sps).
Checkpoint: the strip should now curl into an S by itself. Ease it flat; it should measure about 3.4 in (8.6 cm) × 2.4 in (6.1 cm). Move the markers up to the matching Round 2 section boundaries.
Round 3 – Burgundy Border (Color A)
Border gauge: the border keeps the same moss gauge, 5 sts per inch. It adds about 0.17 in (0.4 cm) to each edge, or about 0.33 in (0.8 cm) to the total height and width.
Each unit is worked into a ch-1 sp and skips the sc that follows it, so the burgundy sits in the peach gaps. This placement is what creates the interlocking V texture.
Join A with a standing sc in the first ch-1 sp of the Side B lower terminal, then ch 1 and sk the next sc. This counts as the first unit.
Side B:
- Lower terminal (4 sts): 1 more unit. (4 sts)
- Bottom arc, outer edge (16 sts): inc unit, then 7 units. (18 sts)
- Spine (6 sts): 3 units. (6 sts)
- Top arc, inner edge (10 sts): dec unit, unit, dec unit. (6 sts)
- Upper terminal (4 sts): 2 units. (4 sts)
Side B total: 38 sts.
Upper end (4 sts): 2 inc units. (8 sts)
Side A:
- Upper terminal (4 sts): 2 units. (4 sts)
- Top arc, outer edge (16 sts): inc unit, then 7 units. (18 sts)
- Spine (6 sts): 3 units. (6 sts)
- Bottom arc, inner edge (10 sts): dec unit, unit, dec unit. (6 sts)
- Lower terminal (4 sts): 2 units. (4 sts)
Side A total: 38 sts.
Lower end (4 sts): 2 inc units. (8 sts)
Join with an invisible join to the first sc.
Round 3 total: 38 + 8 + 38 + 8 = 92 sts (46 sc and 46 ch-1 sps).
Why the math works:
- Each side gains 2 stitches on its outer arc (16 to 18) and loses 4 on its inner arc (10 to 6), for a net change of −2. That is why each side drops from 40 to 38.
- Each rounded end doubles from 4 to 8 stitches, so the ends turn smoothly without cupping.
- 38 + 8 + 38 + 8 = 92.
- Every section has an even count, so the units always line up with a ch-1 sp.
Weave in all ends along stitches of the same color.
Checkpoint: about 3.75 in (9.5 cm) × 2.75 in (7.0 cm).
Flowers (Make 3)
Center: with D, make a magic ring. Work 5 sc in the ring, pull it tight and sl st to the first sc. (5 sc) Fasten off.
Petals: join C in any sc. In each sc around, work (sl st, ch 2, 2 dc, ch 2, sl st). (5 petals) Fasten off and leave a 6 in (15.2 cm) tail.
Each flower measures about 0.7 in (1.8 cm) across, with a yellow center about 0.25 in (0.6 cm) wide.
Leaves (Make 6)
With E, ch 5. Working in the chain:
- sl st in 2nd ch from hook
- sc in next ch
- hdc in next ch
- sc in last ch
Fasten off and leave a tail. Each leaf is about 0.4 in (1.0 cm) long.
Appliqué Placement
Pin the pieces in place before you sew. Each flower gets 2 leaves tucked partly under its petals.
- Flower 1: on the upper terminal, about 0.2 in (0.5 cm) in from the end. Angle the leaves out to the right.
- Flower 2: on the left outer edge, where the top arc meets the spine. Point the leaves left and down.
- Flower 3: on the lower-right part of the bottom arc. Place one leaf on each side.
Sew the leaves first, then the flowers. Use small stitches through the center ring and between the petals, and catch only the front loops of the letter so nothing shows on the back.
Hardware
- Find the highest point of the top arc’s outer edge.
- Open a jump ring with two pliers by twisting the ends apart sideways. Do not pull them open.
- Thread the jump ring through 2 border stitches at that point.
- Add the last link of the chain and close the ring fully.
Final Blocking
- Mist the letter lightly, or hold a steam iron 1 in (2.5 cm) above it. Never press the iron onto the letter.
- Lay the letter flat, right side up, and ease the curves into an even S.
- Pin the outer edges to 3.75 in (9.5 cm) × 2.75 in (7.0 cm).
- Check that both rounded ends are the same width and that the strip is about 0.8 in (2.0 cm) wide all along.
- Leave it to dry completely before removing the pins.
- Sew on the appliqués and add the hardware after blocking, so the flowers stay puffy.
Final Quality-Control Checklist
- Row 1 has 38 sc, Round 2 has 88 sts and Round 3 has 92 sts.
- The stripes read burgundy, peach, burgundy, peach, burgundy across the strip.
- Both arcs lie flat, with no ruffling on the outer edges and no puckering on the inner edges.
- The ends are evenly rounded.
- The size is within 1/8 in (0.3 cm) of 3.75 in (9.5 cm) × 2.75 in (7.0 cm).
- All three flowers are secure and their leaves are visible.
- The jump ring is fully closed and passes through 2 border stitches.
- All ends are woven in and none show on the front.
Troubleshooting
- Outer curves ruffle: your tension may be loose. Use a smaller hook, or replace 1 inc pair with a regular pair on each outer arc.
- Inner curves pucker or pull: relax your tension on the inner arcs, or work 1 dec pair as a regular pair instead.
- The S is too straight: check that the increases went on the outer edges. Side A is outer on the top arc and Side B is outer on the bottom arc.
- The stripes don’t interlock: in Round 3, work into the ch-1 sps, not into the tops of the sc.
- The jump ring tears out: go through 2 stitches, not 1, and close the ring tightly.
- The flowers look flat: pull the magic ring tighter and keep the dc stitches snug.
Care
Hand wash in cool water with mild soap, press out the water in a towel and dry flat. Do not put it in the dryer, and keep the metal hardware dry where you can.
Final Notes
Each stage builds on the one before:
- Row 1 is 38 sts, or 7.6 in (19.3 cm).
- Round 2 shapes that strip into an S with 88 sts, about 3.4 in (8.6 cm) × 2.4 in (6.1 cm).
- The 92-stitch border brings it to 3.75 in (9.5 cm) × 2.75 in (7.0 cm).
If Row 1 is the right length, everything after it will fit. Once you are happy with the S, you can use the same increase and decrease approach to work out curves for other letters.
Happy crocheting!