
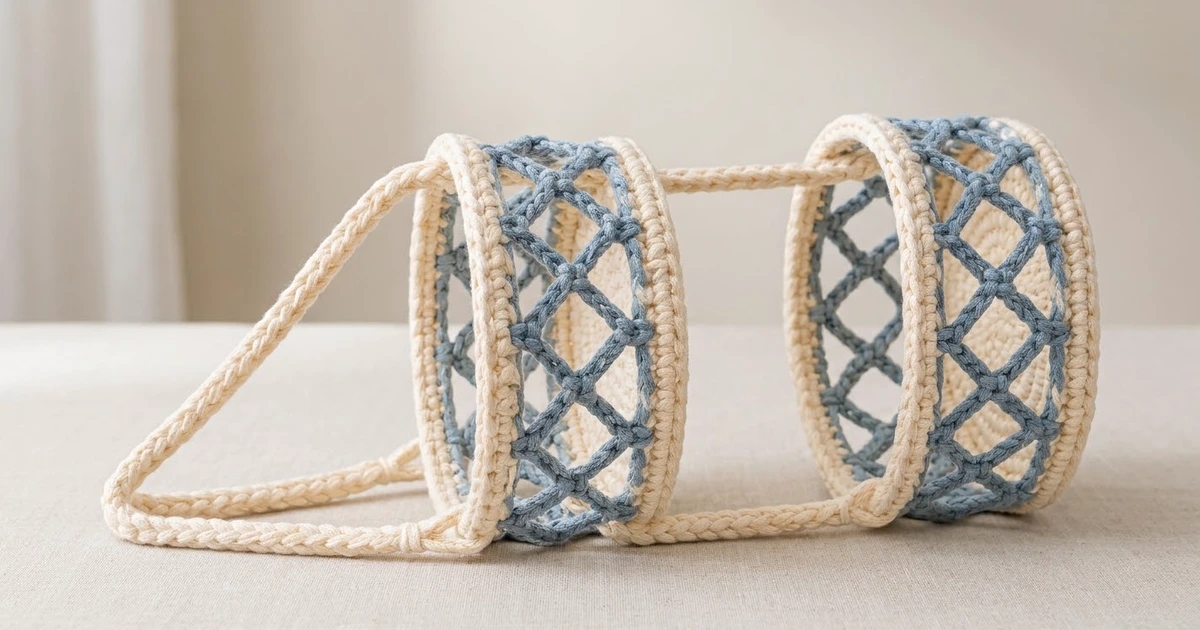
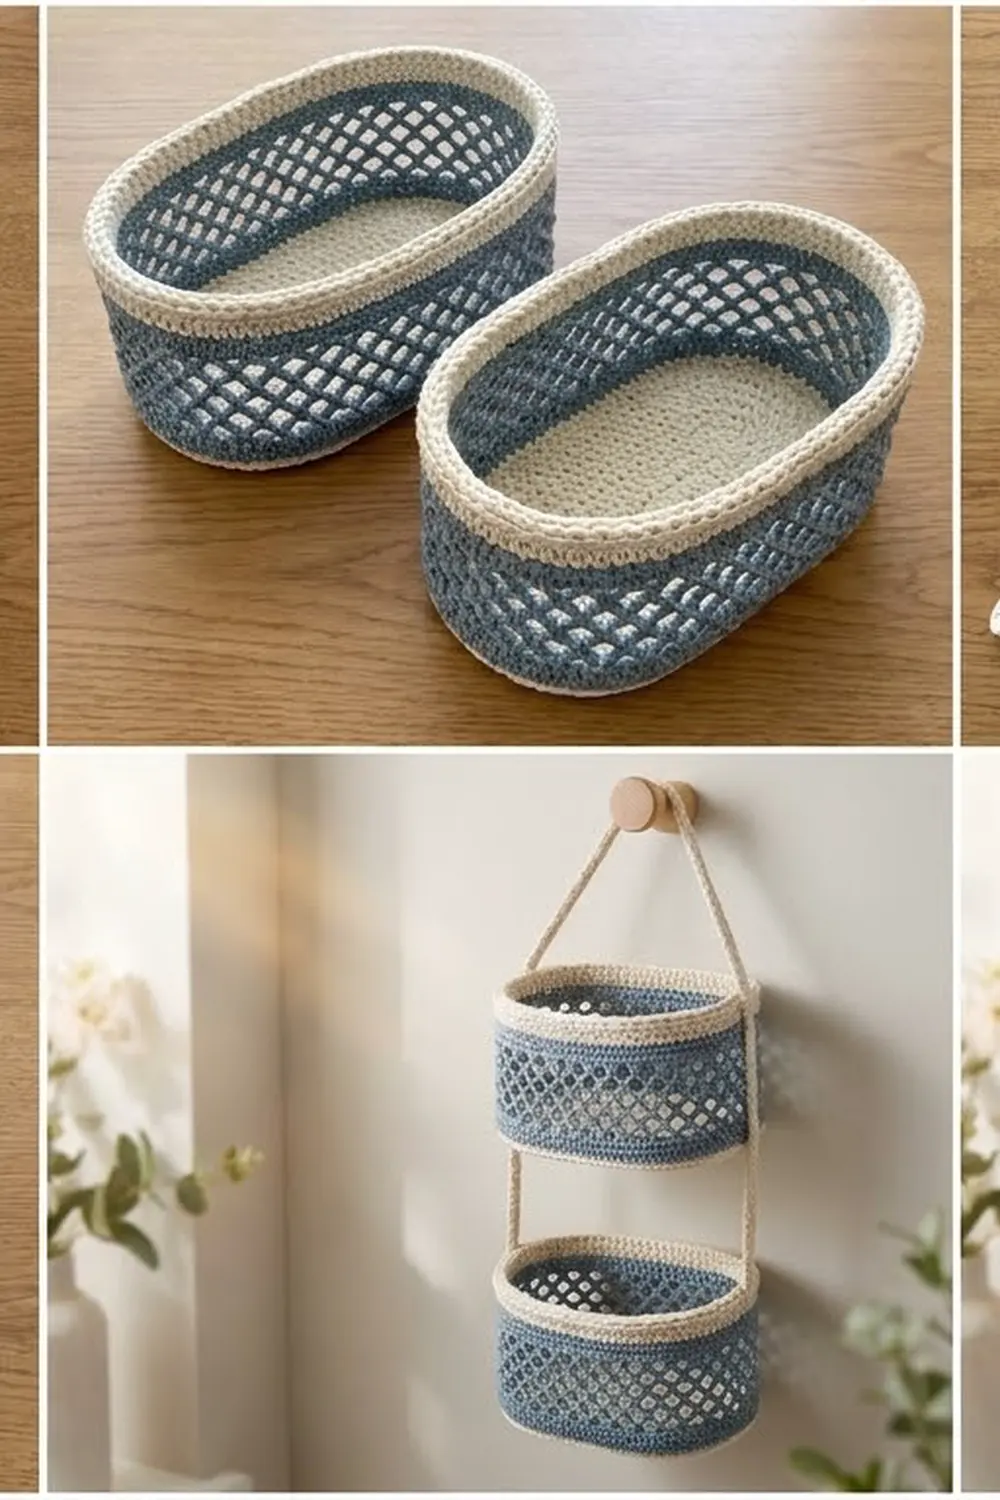
This two-tier hanging holder keeps two spare rolls within reach and off the counter. Each basket is a firm cream oval with an open diamond lattice in dusty blue around the middle. A thick, rope-like rim finishes the top and bottom edges, and cream cords connect the baskets and form the hanging loop.
The colors are soft and coastal: warm cream for the structure and a muted blue for the lattice and one thin accent line. The look suits farmhouse, Scandinavian, and beach-cottage bathrooms.
The pattern uses US crochet terms. Each basket measures about 7 in (17.8 cm) long, 5 in (12.7 cm) wide, and 4 in (10.2 cm) tall. Once hung, the whole holder is about 25.5 in (64.8 cm) from the peg to the bottom rim.
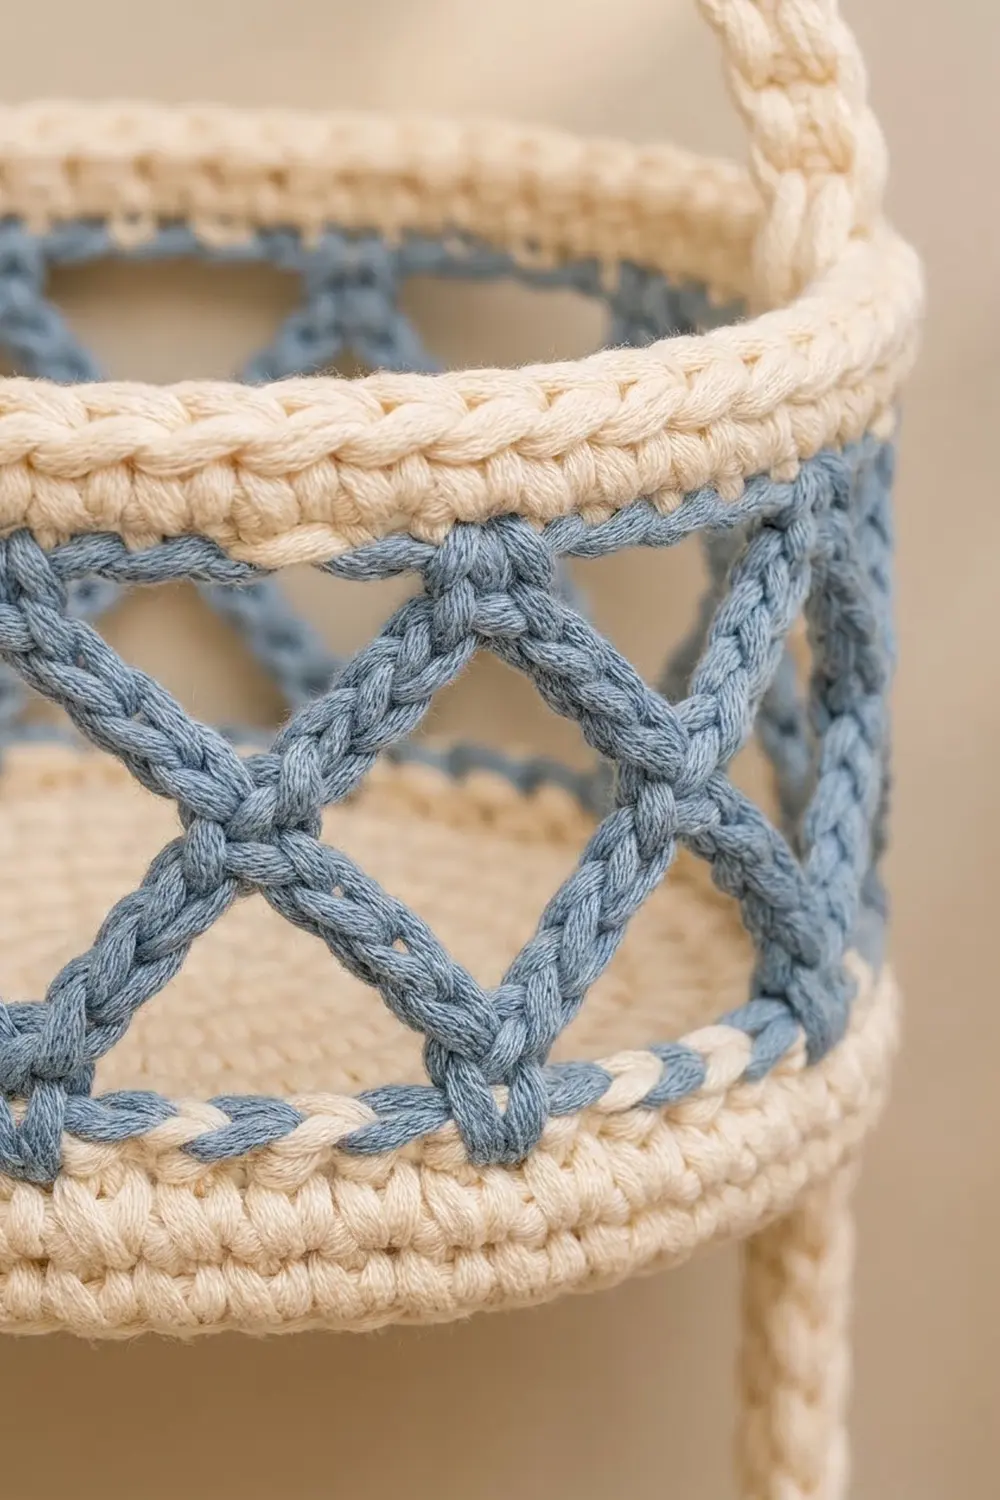
You start each basket with an oval base worked in continuous rounds. The wall then rises from the base: a solid cream band, four rounds of blue chain mesh, and a solid cream top band. Reverse single crochet finishes both edges. Last, you make three cords, fold their ends into loops, and sew everything together.
Finished Size and Construction
- Finished size (each basket): 7 in x 5 in x 4 in (17.8 cm x 12.7 cm x 10.2 cm)
- Total hanging length: about 25.5 in (64.8 cm)
- Skill level: Easy to Intermediate
- Terminology: US
- Yarn weight: Worsted (#4) cotton
- Hook: 5.0 mm (H-8)
- Number of pieces: 5 (2 baskets, 1 hanger cord, 2 connecting cords)
- Layout: two baskets stacked vertically, 6 in (15.2 cm) apart
- Piece size: base 7 in x 5 in (17.8 cm x 12.7 cm), 72 stitches around
- Size before border: wall 3.75 in (9.5 cm) tall
- Border depth: 0.25 in (0.6 cm) rim at the top and bottom edges
Materials
Use a smooth worsted-weight yarn that is 100% cotton or a cotton blend. Cotton holds the oval shape, stretches very little under the weight of a roll, and washes well. Avoid acrylic, because the walls will sag.
- Cream (main color): 100 g, approx. 170 m
- Dusty blue (lattice color): 30 g, approx. 50 m
These amounts include about a 25% margin for swatching and sewing.
Tools:
- 5.0 mm (H-8) crochet hook
- 4 stitch markers
- Tapestry needle
- Scissors
- Measuring tape
- Rust-proof pins and a blocking surface
- Wooden wall peg or hook
Abbreviations (US Terms)
- ch – chain
- sc – single crochet
- dc – double crochet
- sl st – slip stitch
- st(s) – stitch(es)
- sk – skip
- BLO – back loop only
- rev sc – reverse single crochet
- Rnd – round
Reverse single crochet (rev sc): Work from left to right (if you’re right-handed). Insert the hook into the next stitch to the right, yarn over, and pull up a loop. Yarn over again and draw through both loops. This stitch makes the twisted, rope-like edge.
Surface slip stitch: Hold the yarn behind the work. Insert the hook from front to back between stitches, pull up a loop, and draw it through the loop on your hook. Repeat to make a line of chains on the surface.
Gauge and Checkpoints
Gauge: 14 sc and 16 rounds = 4 in (10.2 cm) in sc, worked fairly tightly.
Make one full base first and use it as your gauge swatch. Check your measurements at each stage:
- After Rnd 5 (42 sts): about 4.5 in x 2.5 in (11.4 cm x 6.4 cm)
- After Rnd 10 (72 sts): 7 in x 5 in (17.8 cm x 12.7 cm), lying flat
- After Rnd 14: solid cream wall 1 in (2.5 cm) tall
- After Rnd 18: mesh band 2 in (5.1 cm) tall, gently stretched
- After Rnd 21: wall 3.75 in (9.5 cm) tall
- After Rnd 22: wall 4 in (10.2 cm) tall
If your base is too big, switch to a 4.5 mm hook. If it’s too small, switch to a 5.5 mm hook.
Basket (Make 2)
Oval Base
With cream, ch 9.
Rnd 1: 3 sc in the 2nd ch from the hook, sc in the next 6 ch, 3 sc in the last ch. Rotate the work and continue along the underside of the chain: sc in the next 6 ch. Don’t join. Work in continuous rounds and move a marker to the first st of each round. (18 sts)
Each round has two curved ends and two straight sides of 6 sts. The sides never increase. Each end gains 3 sts per round.
Rnd 2: [2 sc in each of the next 3 sts, sc in the next 6] twice. (24 sts)
Rnd 3: [(sc in the next st, 2 sc in the next st) 3 times, sc in the next 6] twice. (30 sts)
Rnd 4: [(sc in the next 2, 2 sc in the next) 3 times, sc in the next 6] twice. (36 sts)
Rnd 5: [(sc in the next 3, 2 sc in the next) 3 times, sc in the next 6] twice. (42 sts)
Rnd 6: [(sc in the next 4, 2 sc in the next) 3 times, sc in the next 6] twice. (48 sts)
Rnd 7: [(sc in the next 5, 2 sc in the next) 3 times, sc in the next 6] twice. (54 sts)
Rnd 8: [(sc in the next 6, 2 sc in the next) 3 times, sc in the next 6] twice. (60 sts)
Rnd 9: [(sc in the next 7, 2 sc in the next) 3 times, sc in the next 6] twice. (66 sts)
Rnd 10: [(sc in the next 8, 2 sc in the next) 3 times, sc in the next 6] twice. Sl st in the next st to smooth out the step. (72 sts: 30 on each curved end + 6 on each straight side)
Check the base against the Rnd 10 checkpoint. Then mark the center of each curved end, between sts 15 and 16 of that end’s 30 sts. The two markers sit exactly 36 sts apart, which is half of 72. You’ll use them later to place the cords.
Wall: Bottom Band
Rnd 11: Ch 1, sc in the BLO of each st around, join with a sl st to the first sc. (72 sts) This turns the wall upward and leaves a ring of free front loops on Rnd 10 for the bottom rim.
Rnds 12–14: Ch 1, sc in each st around, join. (72 sts each)
The wall now rises 1 in (2.5 cm).
Wall: Blue Lattice
The 72 sts divide by a 4-st repeat into 18 mesh loops. Every lattice round keeps 18 loops, so the diamonds stack neatly.
Rnd 15: Join blue in any st on a straight side. Ch 1, sc in the same st, [ch 5, sk 3 sts, sc in the next st] 17 times, ch 2, dc in the first sc. (18 ch-5 loops) The ch 2 and dc together make the last loop and leave your hook at its top.
Rnd 16: Ch 1, sc around the post of the dc you just made, [ch 5, sc in the next ch-5 loop] 17 times, ch 2, dc in the first sc. (18 loops)
Rnd 17: Repeat Rnd 16. (18 loops)
Rnd 18: Ch 1, sc around the post of the dc you just made, [ch 5, sc in the next ch-5 loop] 17 times, ch 5, sl st in the first sc. (18 full ch-5 loops) Fasten off blue.
Each sc sits in the center of a loop below it, which forms the open diamond grid.
Wall: Top Band
Rnd 19 (conversion round): Join cream in any ch-5 loop. Ch 1, work 4 sc in each ch-5 loop around, join. (18 loops x 4 sc = 72 sts)
This brings you back to the base’s 72 sts, so the top of the basket neither flares nor pulls in.
Rnds 20–21: Ch 1, sc in each st around, join. (72 sts each)
The wall now measures 3.75 in (9.5 cm). Don’t fasten off yet, because the top rim comes next.
Blue Accent Line
With blue, work a line of surface slip stitches around the bottom band, between Rnds 12 and 13. Make 1 surface sl st between each pair of sts, for 72 around. Join and fasten off. Keep the line loose so the band doesn’t pucker.
Make All Pieces
Cream: 2 baskets (bases, bands, rims), 1 hanger cord, 2 connecting cords.
Blue: 2 lattice bands (Rnds 15–18) and 2 accent lines.
Cord (all three): Ch the number given below.
- Row 1: Sc in the back bump of the 2nd ch from the hook and in each ch across. Don’t turn.
- Row 2: Ch 1, rotate, and sl st in each free loop along the other side of the chain.
Fasten off and leave a 10 in (25.4 cm) tail. You’ll get a firm, round cord about 0.5 in (1.3 cm) thick.
- Hanger cord: ch 95 (94 sc), 27 in (68.6 cm) long
- Connecting cords (make 2): ch 33 (32 sc each), 9 in (22.9 cm) long
Form the end loops: Fold 1.5 in (3.8 cm) of each cord end back on itself and whipstitch the cut end to the cord. This makes a teardrop loop 0.75 in (1.9 cm) long. After folding, the hanger measures 25.5 in (64.8 cm) and each connecting cord measures 7.5 in (19.1 cm).
Layout (front view, short ends at left and right):
          [ peg ]
          /     \
     hanger     hanger
        |         |
  [ Upper basket   ]
        |         |
  connect.    connect.
        |         |
  [ Lower basket   ]
Joining
Use the cream cord tails to sew each loop on with small whipstitches, going through both loops of the wall stitches.
Hanger cord: Lay each end loop flat against the outside of the upper basket, centered on a curved-end marker. Let it overlap the rim and top band by 0.75 in (1.9 cm), and sew around the whole outline of the loop. This leaves 24 in (61.0 cm) of free cord, which hangs as two 12 in (30.5 cm) sides over the peg.
Connecting cords: Sew the top loop of each cord to the upper basket’s bottom band, centered on a marker and overlapping by 0.75 in (1.9 cm). Sew the bottom loop to the lower basket’s top band the same way. That leaves 6 in (15.2 cm) of clear cord between the baskets, which is enough room to drop a standard roll into the lower basket.
Stitch-to-stitch logic: The markers sit 36 sts apart on both baskets, so all the attachment points line up vertically. Count 36 sts along Rnd 21 to confirm before you sew.
Tension: Make each whipstitch snug but not tight. If you pull too hard, the rim will pucker and the cords will twist.
Size checkpoint: Hang the holder empty. The baskets should hang level, with 6 in (15.2 cm) of clear space between them and a total length of about 25.5 in (64.8 cm).
Border
The border is a rev sc rim worked on both edges of each basket.
Border gauge: Work 1 rev sc in each st at your body tension. The rim will be 0.25 in (0.6 cm) deep.
Top rim (Rnd 22): Continue with cream from Rnd 21. Ch 1, rev sc in each st around, join. (72 sts: 30 on each curved end + 6 on each straight side) Fasten off.
Bottom rim: Turn the basket upside down. Join cream in a free front loop of Rnd 10. Ch 1, rev sc in each free front loop around, join. (72 sts: 30 on each curved end + 6 on each straight side) Fasten off.
Why the math works: Both rims sit on exactly 72 sts. Rnd 10 produces those 72, Rnds 11–14 keep them, and the 18 x 4 conversion in Rnd 19 restores them. Since you work 1 rev sc per st with nothing added at the curves, each rim matches the base perimeter and lies smooth without frilling or pulling. The bottom rim also stiffens the fold between the base and the wall, which helps the basket stand square.
Final Blocking
- Weave in all the ends except the cord tails you’ll use for sewing.
- Soak the baskets in cool water for 10 minutes, then press the water out in a towel. Don’t wring them.
- Fill each basket firmly with a towel-wrapped object about 7 in x 5 in (17.8 cm x 12.7 cm).
- Ease the blue mesh upward until the lattice band is 2 in (5.1 cm) tall and the diamonds look even.
- Pin the rims so they roll outward evenly.
- Lay the cords out straight and let them dry flat.
- Let everything dry completely, about 24 hours, before you sew or hang it.
Final Quality-Control Checklist
- The base is 7 in x 5 in (17.8 cm x 12.7 cm) and lies flat.
- Rnd 10, Rnd 19, and both rims each have 72 sts.
- Each lattice round has 18 loops.
- The wall is 4 in (10.2 cm) tall, including the rim.
- The blue accent line is even and doesn’t pucker.
- All the cord loops are centered on the curved ends.
- There’s 6 in (15.2 cm) of clear cord between the baskets.
- The holder hangs level without twisting.
- All the ends are securely woven in.
Troubleshooting
- The base ruffles at the ends: Your tension is loose. Go down a hook size.
- The base cups: Your tension is tight, or you missed an increase. Recount against Rnd 10’s 72 sts.
- The mesh looks uneven: Make sure each sc goes into the loop space, not into a chain.
- The Rnd 19 count is off: Count the mesh loops first. You need exactly 18.
- The rim flares: Work exactly 1 rev sc in each st.
- The holder hangs crooked: Re-center the loops on the markers, which sit 36 sts apart.
- The cords twist: Block them flat and sew the loops on without rotating the cords.
Care
Hand wash in cool water with mild soap, reshape, and dry flat. Keep it out of the dryer, which can shrink the cotton and distort the oval.
Final Notes
Everything in this pattern comes back to one count. The base reaches 72 sts at 7 in x 5 in (17.8 cm x 12.7 cm). The bottom band keeps those 72 sts for 1 in (2.5 cm). The lattice turns them into 18 loops over 2 in (5.1 cm), and Rnd 19 brings back 72 sts for a 3.75 in (9.5 cm) wall. The rims add 0.25 in (0.6 cm), for a finished basket height of 4 in (10.2 cm). A 27 in (68.6 cm) hanger cord and two 9 in (22.9 cm) connecting cords complete the 25.5 in (64.8 cm) holder. If you check each stage against these numbers, the holder will hang straight and keep its shape.
Happy crocheting!