

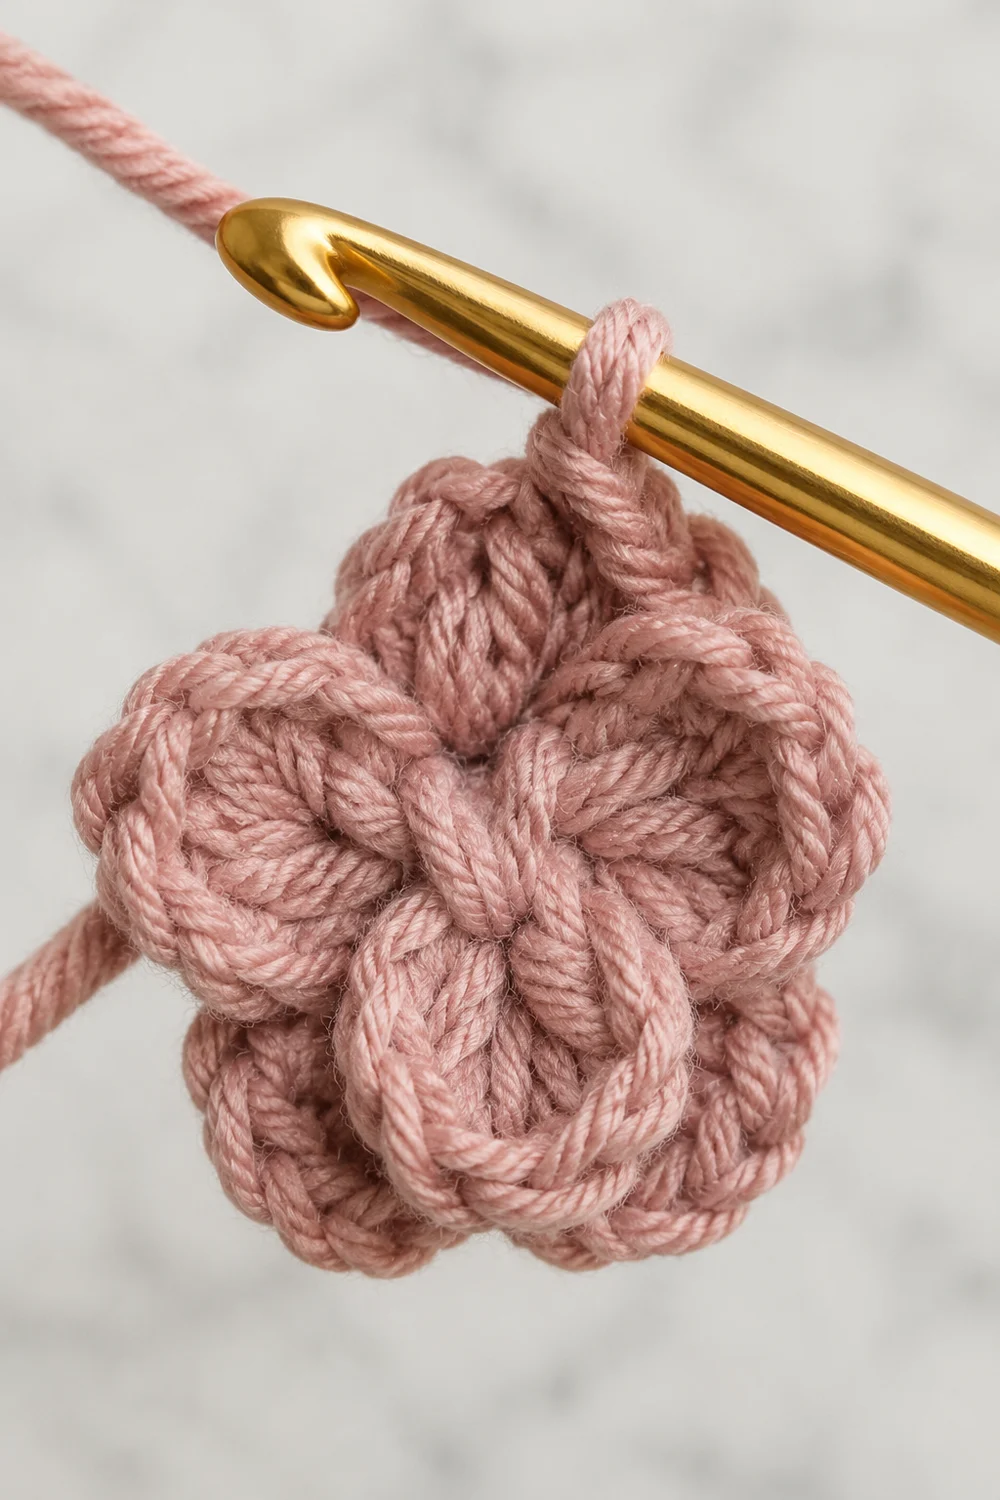
This little bloom is a single, compact flower motif about 1.25 in (3.2 cm) across. It is worked in one dusty mauve, muted rose-pink yarn. Five short, cupped petals overlap one another around a tightly gathered center, so the flower sits up off the surface instead of lying flat.
The style is soft and understated. Dense single crochet and half double crochet stitches give each petal a firm, clearly defined edge, and a slip stitch edging sharpens the outline. Because the motif is so small and so dense, it holds its dimensional shape without stiffener.
The pattern uses US crochet terms throughout. The finished flower measures 1.25 in (3.2 cm) in diameter, within a normal range of 1–1.5 in (2.5–3.8 cm) depending on your yarn and tension.
Construction is simple. You crochet a gathered center in two rounds from a magic ring, then work five petals in one round. A slip stitch edging defines the petals, and a few tacking stitches set the overlap. You work everything in hand as one continuous piece, with no sewing of separate parts.
Finished Size and Construction
- Finished size: 1.25 in (3.2 cm) diameter, with an acceptable range of 1–1.5 in (2.5–3.8 cm)
- Skill level: Easy / advanced beginner
- Terminology: US crochet terms
- Yarn weight: #2 sport / fine, cotton or cotton blend
- Hook: 2.75 mm (US C-2)
- Number of pieces: 1
- Layout: Single round motif, with 5 petals radiating from a gathered center
- Piece size (center disc after Round 2): 0.7 in (1.8 cm)
- Size before edging (after Round 3): 1.2 in (3.0 cm)
- Edging depth: about 0.05 in (0.1 cm) per side, which brings the total to 1.25 in (3.2 cm)
Materials
Yarn advice: Choose a smooth, tightly plied sport-weight cotton or cotton blend. Cotton keeps the petal edges crisp and holds the cupped shape. Avoid fuzzy or brushed yarns, because they blur the stitch definition that makes this flower work. A DK yarn with a 3.0 mm hook also works, but expect a flower nearer 1.5 in (3.8 cm).
Color:
– Dusty Mauve / Muted Rose: 3 g, about 9 m
The flower itself uses roughly 3 m of yarn. The quantity listed includes a generous margin for a gauge swatch, tails, and one restart.
Tools:
– 2.75 mm (US C-2) crochet hook (a smooth metal hook helps with tight stitches)
– Tapestry needle with a small eye
– Scissors
– Ruler or tape measure marked in inches and cm
– 1 stitch marker
– Foam blocking mat or folded towel
– 4–6 rust-proof pins
– Spray bottle with clean water
Abbreviations (US Terms)
- MR: magic ring
- ch: chain
- sl st: slip stitch
- sc: single crochet
- hdc: half double crochet
- st(s): stitch(es)
- rnd: round
- ( ): stitches worked together into the same stitch
- * *: repeat instructions between asterisks
Special techniques:
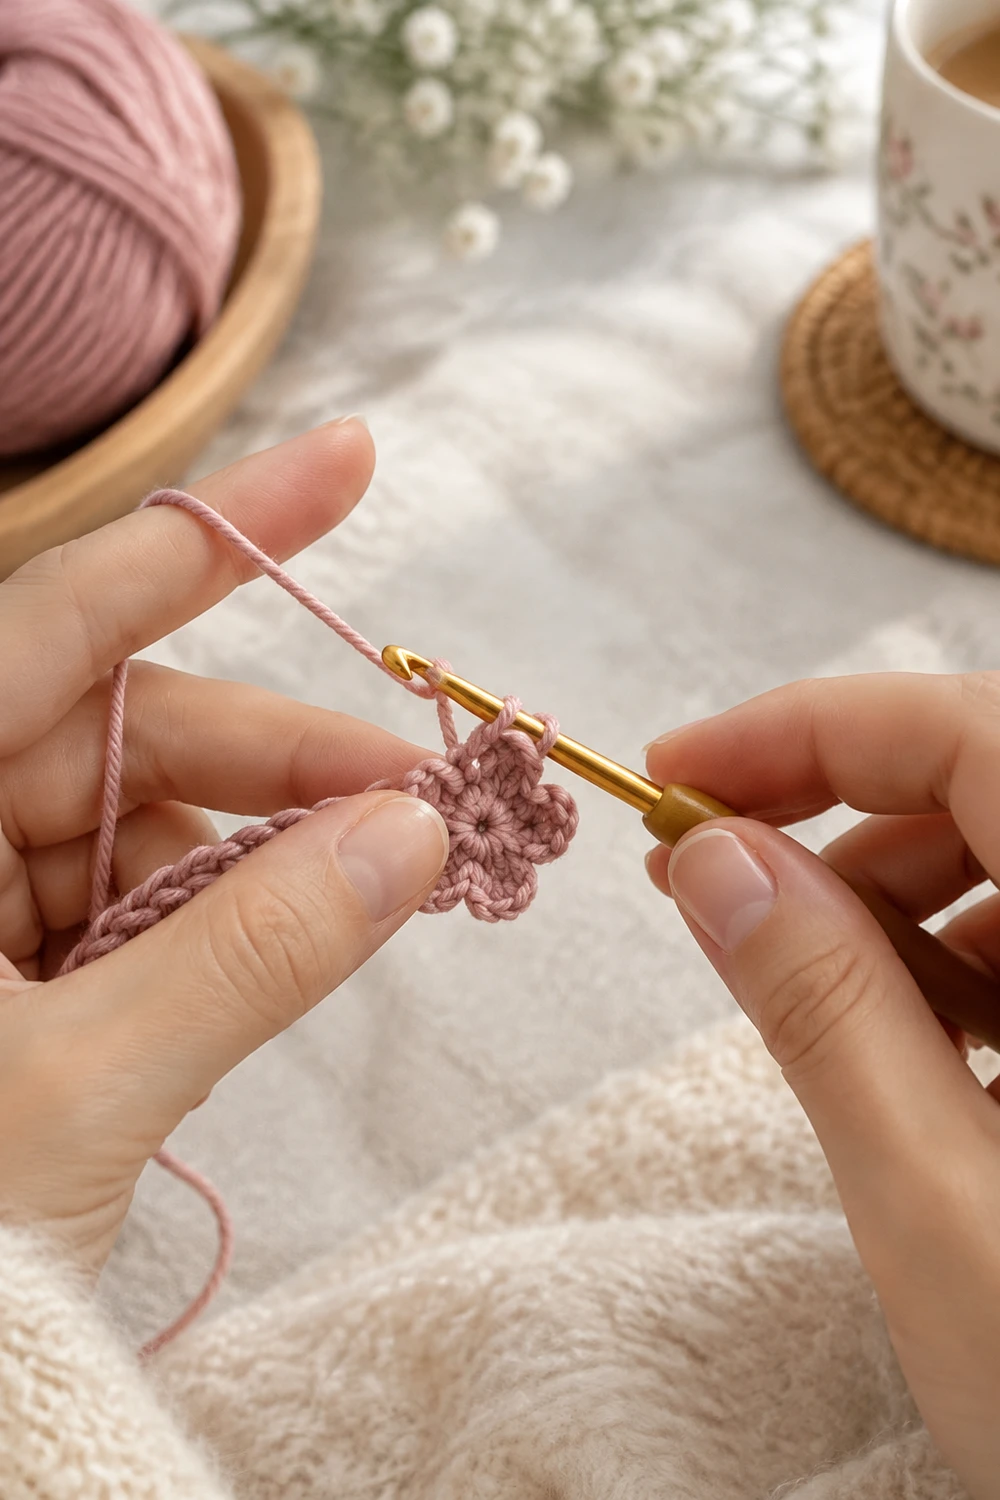
- Magic ring (MR): Wrap the yarn around two fingers to form a loop, insert the hook, pull up a loop, and ch 1 to secure. Work the stated stitches over the loop. Then pull the tail firmly to close the center completely. This tight closure is what creates the gathered middle.
- Invisible join: Cut the yarn and pull the tail up through the last stitch. Thread it on a needle, pass it under both loops of the first stitch of the round, then back down through the center of the last stitch. This gives a seamless finish with no bump.
- Loose slip stitch: For the edging, draw each slip stitch loop up to the height of the hook shaft. This keeps the petals from cupping inward too far.
Gauge and Checkpoints
Gauge matters less here than on a garment, but it still controls whether the petals cup nicely or flare. Make one test flower first. At this size, the test flower is your swatch.
Base gauge: Rounds 1–2 should measure 0.7 in (1.8 cm) across, which is about 20 sc around a disc of that size.
Checkpoints:
– After Round 1: The disc measures 0.4 in (1.0 cm), with the center fully closed.
– After Round 2: The disc measures 0.7 in (1.8 cm) and lies flat.
– After Round 3: The flower measures 1.2 in (3.0 cm) tip to tip, and the petals are lightly cupped.
– After Round 4: The flower measures 1.25 in (3.2 cm), and the petal outlines are clearly defined.
A tolerance of ±0.1 in (±0.3 cm) at any checkpoint is fine.
If your disc is too big (over 0.8 in / 2.0 cm after Round 2), go down to a 2.5 mm hook. You can also tighten your working yarn and pull the magic ring closed more firmly.
If your disc is too small (under 0.6 in / 1.5 cm after Round 2), go up to a 3.0 mm hook. A disc that small usually makes the petals buckle hard and crowd each other.
If Round 2 ruffles, your stitches are too short for the increase rate. Go up one hook size rather than skipping increases. The stitch counts must stay as written.
Pattern
Leave a 6 in (15.2 cm) starting tail. You will use it to secure the center later.
Gathered Center
Rnd 1: MR, 10 sc into the ring. Pull the tail firmly to close the center completely. Sl st into the first sc to join. (10 sts)
Checkpoint: the disc measures 0.4 in (1.0 cm). There should be no visible hole. If you can see one, pull the tail again before moving on.
Rnd 2: Ch 1 (does not count as a stitch). Work 2 sc in each st around. Sl st into the first sc to join. (20 sts)
This is a growth round. Each of the 10 stitches from Round 1 becomes 2 stitches, so the round’s own complete count is 20. Place a marker in the first sc of this round, because you will need to find it at the start of Round 3.
Checkpoint: the disc measures 0.7 in (1.8 cm) and lies flat.
Petals
Each petal is worked over 4 stitches of Round 2. With 20 stitches available, you get 20 ÷ 4 = 5 petals exactly.
Rnd 3: Do not chain. Work the first stitch directly into the marked first sc of Round 2.
*In the next st, work (sc, hdc). In the next st, work (2 hdc). In the next st, work (hdc, sc). Sl st in the next st.* Repeat from * to * 4 more times. (5 petals)
The sl st that ends Petal 5 lands in the last stitch of Round 2. It closes the round, so you do not need a separate joining stitch.
Stitch count per petal:
– Petal stitches: sc, hdc, hdc, hdc, hdc, sc = 6 sts
– Sl st between petals: 1 st
– Total per petal unit: 7 sts
Round total: 5 × 7 = 35 sts
This is a shaping round, not a flat increase round. It places 6 stitches into the space of 3, which forces each petal to cup upward and outward. The hdc stitches form the rounded top of each petal. The sc stitches at each end taper the petal down to the sl st valley. That taper creates the defined petal edges.
Checkpoint: the flower measures 1.2 in (3.0 cm) tip to tip. Each petal stands about 0.25 in (0.6 cm) above the center disc. The petals should crowd each other slightly. This is correct, and it is what produces the layered look.
Edging (Petal Definition Round)
The edging is the flower’s “border.” It is a single round of loose slip stitches that outlines every petal and sharpens the shape.
Edging gauge: The edging is worked strictly 1 sl st per existing stitch. There are no increases and no extra stitches at the petal tips. The edging stitch density therefore exactly matches Round 3.
Rnd 4: Sl st loosely into each st around, following the petal outline:
- Sl st in the sc, the 4 hdc, and the final sc of the petal (6 sl sts)
- Sl st in the sl st between petals (1 sl st)
That gives 7 sl sts per petal. Repeat around all 5 petals for 5 × 7 = 35 sl sts.
Fasten off with an invisible join into the first sl st of the round, and leave an 8 in (20.3 cm) tail.
Why the math works:
– This is a conversion round. Its count is 35 stitches worked 1 per existing stitch, plus 0 extra stitches, for a total of 35.
– Because nothing is added at the tips, the petal curves stay exactly as Round 3 shaped them.
– The sl st into each valley pulls the gaps between petals slightly tighter, which deepens the separation.
– The edging adds only about 0.05 in (0.1 cm) per side. The flower grows from 1.2 in (3.0 cm) to 1.25 in (3.2 cm).
Tension note: Keep these sl sts loose. Tight sl sts shorten the petal edge and roll the petals inward into a closed bud. If that happens, frog the edging and redo it on a hook one size larger. Use that larger hook for Round 4 only.
Setting the Layers
With the 8 in (20.3 cm) ending tail on your tapestry needle, set the overlap as follows:
- Turn the flower face up.
- Gently lift the right edge of Petal 1 and tuck it slightly behind the left edge of Petal 2.
- Pass the needle through both petals at their base, close to the center disc. Make one small, firm tacking stitch.
- Repeat steps 2–3 around the flower, with each petal tucked behind the next. Petal 5 tucks behind Petal 1.
- Bring the needle out to the back.
Each petal now partly covers its neighbor, which gives a compact, layered bloom. The finished flower should still measure 1.25 in (3.2 cm), give or take 0.1 in (0.3 cm).
Finally, thread the 6 in (15.2 cm) starting tail and pass it once around the center ring on the back. Pull it gently to tighten the gather, then weave in both tails on the back through 3–4 stitches. Trim.
Final Blocking
Small, dense cotton motifs block quickly. The goal is to set the cupped shape, not to flatten it.
- Check size first. Measure tip to tip across the flower. It should be 1.25 in (3.2 cm).
- Mist lightly. Spray the flower once or twice until it is just damp. Do not soak it.
- Shape the center. Press the center gently from the back with a fingertip so it domes slightly forward.
- Shape the petals. Pinch each petal tip lightly between your thumb and forefinger to set its curve. Make sure each overlap still sits correctly.
- Pin loosely. Place the flower face up on the mat. Set one pin beside, not through, each petal tip to hold the 1.25 in (3.2 cm) diameter.
- Dry completely. Let it air-dry for 2–3 hours. Do not press it with an iron.
- Remeasure. Unpin and confirm the diameter is 1.25 in (3.2 cm), within ±0.1 in (±0.3 cm).
Final Quality-Control Checklist
- [ ] The center is fully closed, with no hole visible from the front.
- [ ] Round 2 has exactly 20 sts.
- [ ] There are exactly 5 petals, each of sc, 4 hdc, sc.
- [ ] Round 3 totals 35 sts (5 × 7).
- [ ] The edging has 35 sl sts with nothing added at the tips.
- [ ] The petal edges are crisp and clearly separated at the valleys.
- [ ] Each petal overlaps the next one consistently around the flower.
- [ ] The diameter is 1.25 in (3.2 cm), within the 1–1.5 in (2.5–3.8 cm) range.
- [ ] All tails are woven in on the back and trimmed close.
- [ ] The invisible join is not visible from the front.
Troubleshooting
The center has a hole. The magic ring loosened. Pull the starting tail firmly, then pass it around the center ring once more on the back before weaving in.
I ended Round 3 with fewer or more than 5 petals. You skipped or doubled a stitch in Round 2. Frog back and recount Round 2 to exactly 20 sts, using the marker to find your start.
The petals are flat, not cupped. Your tension is loose, or your yarn is too soft. Go down one hook size, or switch to a firmer cotton.
The petals curl into a closed bud. The edging is too tight. Redo Round 4 on a larger hook and lift each sl st loop higher.
The petals look uneven in size. Your hdc height is inconsistent. Yarn over the same way every time, and pull each loop up to the same height.
The flower is over 1.5 in (3.8 cm). Your yarn is likely heavier than sport weight. Use a smaller hook or a finer yarn.
The overlap won’t stay in place. Make the tacking stitches closer to the center and pull them a little firmer.
Optional: If you want to use the bloom on something larger, such as a hair clip, card, or gift tag, sew it on through the back of the center disc only. This leaves the petals free to stand up.
Care
Hand wash in cool water with a mild soap, press out the water gently in a towel, and reshape the petals while damp. Lay flat to dry, and avoid tumble drying, which can flatten the cup.
Final Notes
This flower depends on a short, consistent measurement chain:
- Round 1 starts with 10 sc in a tightly closed ring, giving a 0.4 in (1.0 cm) disc.
- Round 2 doubles the count to 20 sts, giving a 0.7 in (1.8 cm) disc.
- Round 3 divides those 20 sts into 5 petals of 4 sts each, giving 35 sts and a 1.2 in (3.0 cm) flower.
- Round 4 slip stitches 1-to-1 around all 35 sts, adds 0.05 in (0.1 cm) per side, and finishes at 1.25 in (3.2 cm).
If each checkpoint lands within ±0.1 in (±0.3 cm), your five petals will cup, overlap, and hold a crisp, compact, dimensional shape.
Happy crocheting!