

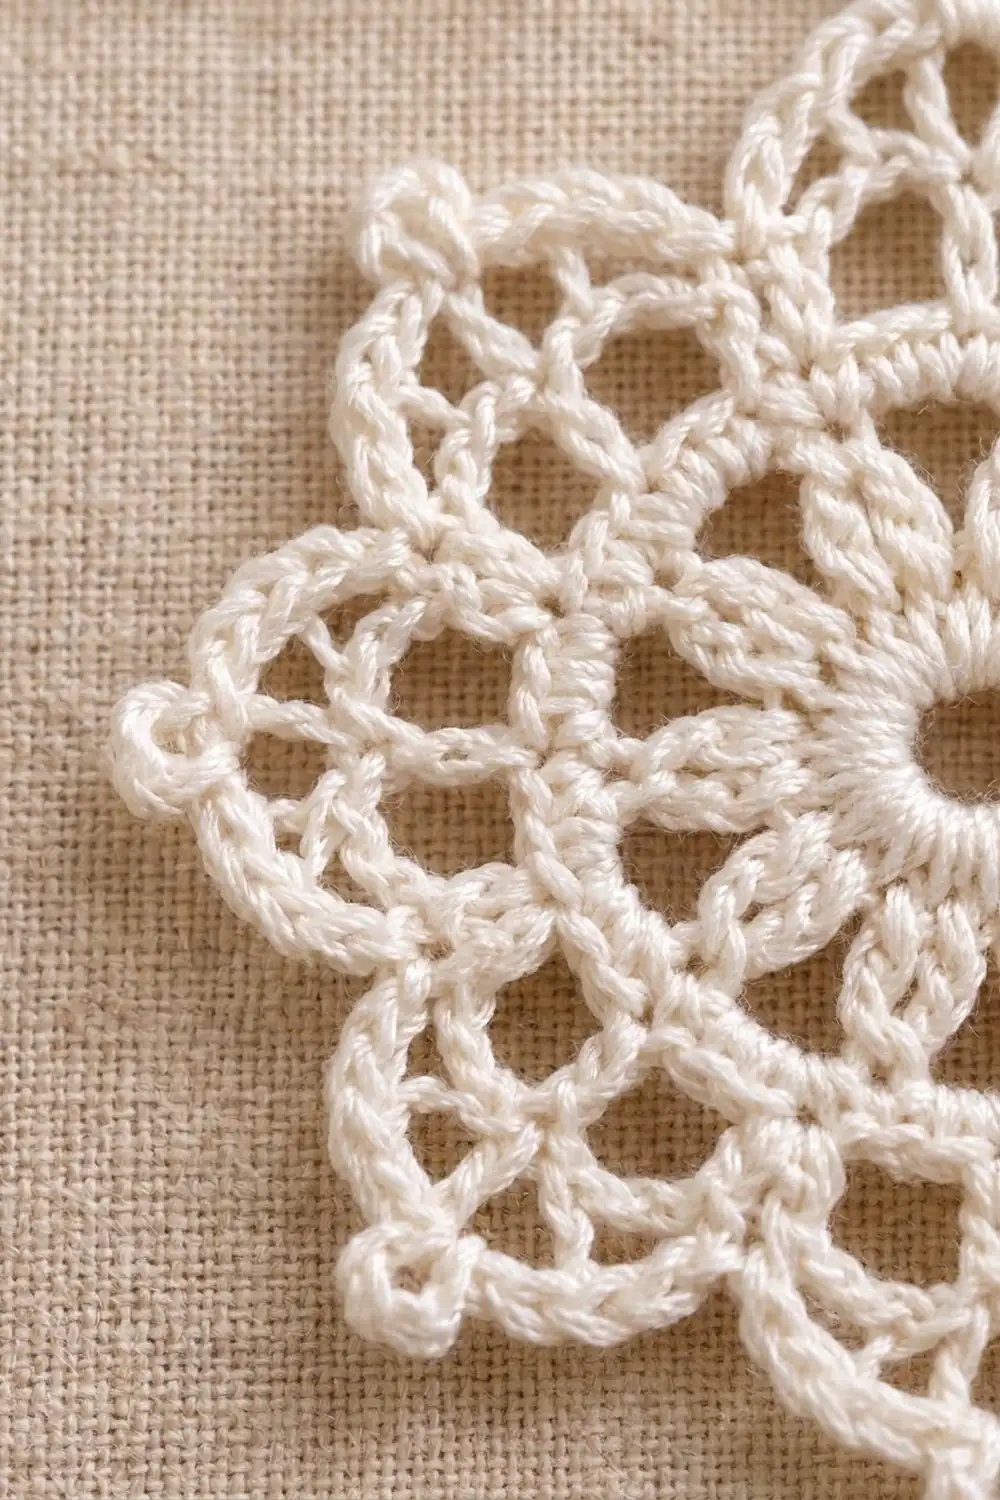
The Window Bloom is a light, airy lace flower with eight rounded petals around a small open center. Each petal is made of soft chain arches with a tiny picot at the tip, so the outline looks like a star from a distance and a flower up close.
The sample is worked in a single ivory mercerized cotton thread. One color keeps the stitch texture clear: the spoke ring, the solid double-crochet band, and the open petal arches all stand out without a color change. It suits cottage, vintage, and romantic-minimal decor.
This pattern uses US crochet terms throughout. The finished motif measures 4 in (10.2 cm) from petal tip to opposite petal tip, and about 3.25 in (8.3 cm) from valley to opposite valley.
You make the motif in six joined rounds, starting from a magic ring. Rounds 1–3 build a firm, flat center. Round 4 sets up 16 chain loops. Round 5 groups those loops into 8 petals. Round 6 is the picot edging, which this pattern treats as the border.
Finished Size and Construction
- Finished size: 4 in (10.2 cm) point to point; 3.25 in (8.3 cm) valley to valley
- Skill level: Advanced beginner to intermediate
- Terminology: US crochet terms
- Yarn weight: Fingering-weight (#1) mercerized cotton, or size 3 crochet thread
- Hook: 2.5 mm
- Number of pieces: 1
- Layout: One stand-alone motif, no joining
- Piece size: 4 in (10.2 cm) after blocking
- Size before border (after Round 5): 3.5 in (8.9 cm) point to point
- Border depth (Round 6): 0.25 in (0.6 cm) on each side
Materials
Yarn advice: Choose a smooth, tightly twisted mercerized cotton. It shows the lace clearly, takes starch well, and keeps the petal points crisp. Avoid fuzzy or loosely plied yarns, because they blur the chain arches.
- Ivory (main and only color): 10 g, about 34 m (37 yd)
One motif uses about 3–4 g. The listed amount includes a margin for a gauge swatch and any rounds you need to redo.
Tools:
- 2.5 mm crochet hook
- Tapestry needle with a small eye
- Small sharp scissors
- Stitch marker
- Rustproof pins and a foam blocking mat
- Spray bottle; optional fabric starch
- Ruler or tape measure marked in inches and cm
Abbreviations (US Terms)
- ch – chain
- sl st – slip stitch
- sc – single crochet
- dc – double crochet
- sp(s) – space(s)
- st(s) – stitch(es)
- rep – repeat
- V-st – (dc, ch 3, dc) in the same space
Special stitches
- V-st (V-stitch): Work 1 dc, ch 3, and 1 dc all into the same stitch or space. This creates each petal point in Round 5.
- Picot: Ch 3, then sl st into the 3rd ch from the hook. This makes the small knot at each petal tip in Round 6.
Gauge and Checkpoints
Make one test motif before you commit to a project. Lace gauge is easiest to check as a measurement after each round. Measure across the center, flat and unstretched:
- After Round 1: 0.9 in (2.3 cm)
- After Round 2: 1.6 in (4.1 cm)
- After Round 3: 2.2 in (5.6 cm). This is the main gauge check.
- After Round 4: 2.9 in (7.4 cm)
- After Round 5: 3.5 in (8.9 cm) point to point
- After Round 6 and blocking: 4 in (10.2 cm) point to point
If your motif is too big: Go down to a 2.25 mm hook, or make your chains a little firmer.
If your motif is too small: Go up to a 2.75 mm hook, or loosen your chains. Tight chains are the most common reason lace comes out small.
If the center cups or ripples: Check Round 3 first. It should lie completely flat before you start the chain-loop rounds.
Pattern Instructions
Turning-chain note: the ch 3 at the start of a dc round counts as the first dc. The ch 1 at the start of an sc round does not count as a stitch. Join every round with a sl st as written. Do not turn.
Round 1 – Center Ring
Make a magic ring.
Ch 3 (counts as dc), then work 15 dc into the ring. Pull the tail to close the ring, leaving a small open center about 0.25 in (0.6 cm) wide. Sl st into the top of the beginning ch-3.
Count: 16 dc.
Round 2 – Spoke Ring
Ch 5 (counts as dc + ch 2).
Dc in the next dc, ch 2. Rep from * 14 more times. Sl st into the 3rd ch of the beginning ch-5.
This is a conversion round: you work 1 dc into each existing dc and add a ch-2 space after each one.
Count: 16 dc (1 per existing stitch) + 16 ch-2 sps (32 ch added).
The spokes give the motif its wheel look.
Round 3 – Solid Band
Sl st into the first ch-2 sp. Ch 3 (counts as dc), then work 2 dc in the same sp.
3 dc in the next ch-2 sp. Rep from * 14 more times. Sl st into the top of the beginning ch-3.
This is a growth round: 3 dc in each of 16 spaces.
Count: 48 dc.
Checkpoint: the motif should now be 2.2 in (5.6 cm) across and lie completely flat.
Round 4 – Chain-Loop Round
Ch 1. Sc in the same st as the join.
Ch 5, skip the next 2 dc, sc in the next dc. Rep from * 14 more times. Ch 5, skip the last 2 dc, and sl st into the first sc.
This is a trim round: you place sc in every 3rd dc (dc 1, 4, 7, and so on up to dc 46), and the chain loops bridge the dc you skip.
Count: 16 sc (worked into 16 of the 48 dc) + 16 ch-5 loops (80 ch added).
Check the math: 48 dc ÷ 3 = 16 repeats, so the round closes evenly.
Round 5 – Petal Shaping
Sl st into each of the first 3 ch of the first ch-5 loop. This moves you to the center of the loop.
Ch 1, sc in the same loop. Ch 4, work a V-st in the next loop, ch 4.
Sc in the next loop, ch 4, V-st in the next loop, ch 4. Rep from * 6 more times. Sl st into the first sc.
Each repeat uses 2 loops from Round 4, so 16 loops make 8 petals. The sc forms the valley between petals, and the V-st forms the petal point.
Count: 8 sc, 8 V-sts (16 dc + 8 ch-3 sps), 16 ch-4 sps.
Checkpoint: 3.5 in (8.9 cm) point to point. This is the size before the border.
Round 6 – Picot Edging (Border)
Work this round as written in the Border section below. Then fasten off and weave in the ends through the solid dc band, where they will not show.
Border
On this single motif, the border is Round 6, the picot edging that outlines all 8 petals. Each “side” is one petal repeat, worked from one valley sc to the next.
Border gauge: Round 6 adds 0.25 in (0.6 cm) beyond the Round 5 points on each side, which takes the motif from 3.5 in (8.9 cm) to 4 in (10.2 cm).
Round 6: Ch 1. Sc in the same sc as the join (valley).
Ch 5, sc in the next ch-4 sp, ch 3. In the ch-3 sp of the next V-st, work (sc, picot, sc). Ch 3, sc in the next ch-4 sp, ch 5, sc in the next valley sc. Rep from * 7 more times. On the last repeat, replace the final “sc in the next valley sc” with a sl st into the first sc. Fasten off.
Per petal (side) count: 5 sc (1 valley sc, 1 sc in each of 2 ch-4 sps, 2 sc in the V-st sp), 2 ch-5 arches, 2 ch-3 arches, 1 picot.
Round total: 40 sc, 16 ch-5 arches, 16 ch-3 arches, 8 picots.
Why the math works: Round 5 has exactly 8 valley sc, 8 V-st points, and 16 ch-4 sps, which is 2 per petal. Each Round 6 repeat uses 1 valley, 2 ch-4 sps, and 1 V-st space, and none of these are shared between repeats. So 8 × 5 sc = 40 sc, and every space is used exactly once.
The two ch-5 arches give each petal its rounded, lobed sides, and the short ch-3 arches and picot bring it to a soft point.
Final Blocking
- Weave in all ends before you block, and trim them close.
- Soak the motif in cool water for 5 minutes, then press out the water in a towel. Do not wring it.
- On the blocking mat, mark a 4 in (10.2 cm) circle.
- Pin the center flat first. Then pin each petal picot onto the circle line, opposite points first, so the spacing stays even.
- Add a pin inside each ch-5 arch to open it into a smooth curve.
- If you want crisp, stiff points, mist the motif with starch.
- Let it dry completely, at least 6 hours, before you take out the pins.
- Measure again: 4 in (10.2 cm) point to point and 3.25 in (8.3 cm) valley to valley.
Final Quality-Control Checklist
- [ ] Center ring is closed to a small, neat hole
- [ ] Round 1 has 16 dc and Round 2 has 16 spokes
- [ ] Round 3 has 48 dc and lies flat at 2.2 in (5.6 cm)
- [ ] Round 4 has 16 even ch-5 loops
- [ ] Round 5 has 8 petals, each with a centered V-st
- [ ] Round 6 has 8 picots, one at each petal tip
- [ ] All arches are the same size, none twisted
- [ ] Finished motif is 4 in (10.2 cm) point to point
- [ ] Ends are woven in through the dc band and invisible from the front
Troubleshooting
Center won’t close: Work Round 1 into a magic ring, not a chain ring, and pull the tail firmly before joining.
Round 3 ruffles: Your dc are too tall for the spaces. Go down one hook size for Rounds 1–3 only.
Round 3 cups: Your chains in Round 2 are too tight. Make each ch-2 a little looser.
Round 4 doesn’t come out even: Recount Round 3. It must have exactly 48 dc, so that 48 ÷ 3 = 16 loops.
Uneven petals: Make sure you moved to the loop center with sl sts at the start of Round 5, and that the V-sts and sc alternate correctly.
Picots lean or disappear: Make the picot chains snug, and sl st into the 3rd ch from the hook, not into the sc.
Points curl after blocking: Re-wet the motif, pin it again, and use starch.
Care
Hand wash in cool water with mild soap, press dry in a towel, and pin flat to dry. Re-starch after washing if you want crisp points.
Final Notes
Each stage builds on the one before:
- Rounds 1–3 make a flat 2.2 in (5.6 cm) center with 48 dc.
- Round 4 divides those 48 dc into 16 loops, reaching 2.9 in (7.4 cm).
- Round 5 groups the loops into 8 petals at 3.5 in (8.9 cm).
- Round 6 adds a 0.25 in (0.6 cm) picot border on each side, for 4 in (10.2 cm).
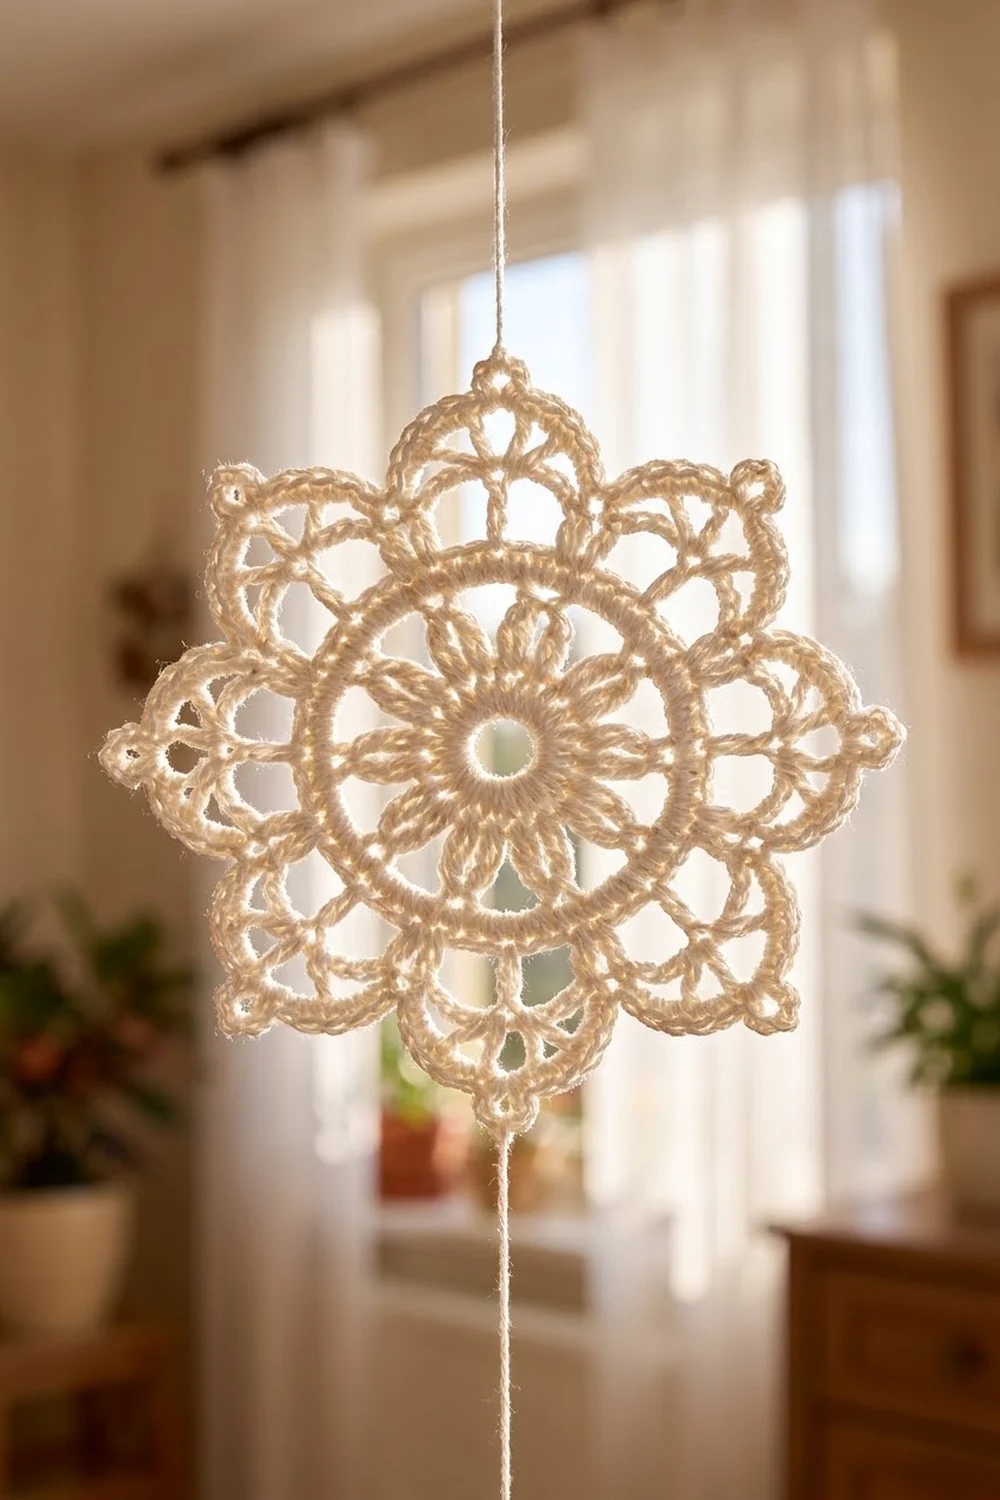
If each checkpoint matches, the finished motif will too. Once you have one you like, the Window Bloom works well as a coaster-sized doily, a gift tag, a sachet topper, or, as in the photo, one of many motifs on a hanging strand.
Happy crocheting!