
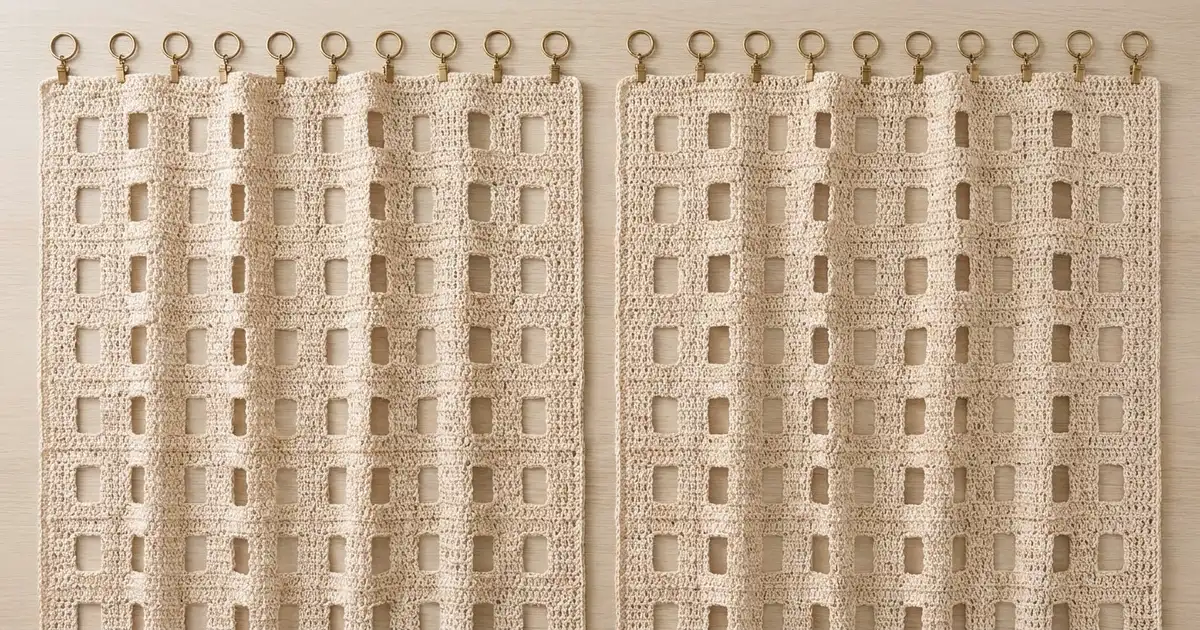
The Oat Lattice Curtain is a calm, modern take on filet crochet. You get crisp rectangular windows, solid 2 in (5.1 cm) bars, and a soft natural cotton that filters daylight without hiding the view. It looks just as good in a sunny living room as in a bedroom or a cottage-style kitchen.
The panel is worked in one color, a warm oatmeal or cream. Chunky stitches give it a rope-like, handmade texture, while the grid keeps it tidy and architectural.
This pattern uses US crochet terms. One finished panel measures 32 x 80 in (81.3 x 203.2 cm) after blocking. Make two panels for a standard pair like the one shown.
Construction is simple. Each window is its own small motif, worked in the round around a chain ring so the opening stays truly open. You join the motifs into strips of 6, join the strips into a 6 x 13 grid, and finish with a 3-round single crochet border.
Finished Size and Construction
- Finished size (one panel): 32 x 80 in (81.3 x 203.2 cm)
- Skill level: Easy-Intermediate
- Terminology: US crochet terms
- Yarn weight: Bulky (#5) cotton or cotton blend
- Hook: 6 mm (US J-10)
- Number of pieces: 78 motifs per panel (156 for a pair)
- Layout: 6 motifs across x 13 motifs down
- Motif size: 5 x 6 in (12.7 x 15.2 cm) with a 3 x 4 in (7.6 x 10.2 cm) window
- Size before border: 30 x 78 in (76.2 x 198.1 cm)
- Border depth: 1 in (2.5 cm) on all four sides
Materials
Yarn: Use a smooth, bulky-weight cotton or cotton blend in a natural, oatmeal, or cream shade. Cotton holds the window shapes crisply and hangs straight. Stay away from very fuzzy or highly elastic yarns, because the panel will stretch under its own weight.
- Oatmeal/natural: 1,300 g / 1,400 m (1,531 yd) per panel
- For a pair: 2,600 g / 2,800 m (3,062 yd)
One motif uses about 13 m (14.2 yd). These quantities include a margin of about 10% for joining, the border, and your gauge test.
Tools:
- 6 mm (US J-10) crochet hook
- Tapestry needle with a large eye
- Stitch markers (at least 4)
- Scissors
- Measuring tape
- Blocking mats or a clean carpet with towels, plus rust-proof pins
- Spray bottle
- Curtain rod with 7 clip rings per panel
Abbreviations (US Terms)
- ch – chain
- sl st – slip stitch
- sc – single crochet
- dc – double crochet
- st(s) – stitch(es)
- sp – space
- RS / WS – right side / wrong side
- BLO – back loop only
Special stitch – Corner (Rnd 1): (2 dc, ch 2, 2 dc) all in the same stitch.
Corner center stitch: In Rnd 2 and in the border, 3 sc go into one corner. The middle one of those 3 sc is the corner center stitch, and each side count includes it.
Gauge and Checkpoints
Base gauge: 12 dc and 6 rows = 4 in (10.2 cm); 12 sc and 12 rows = 4 in (10.2 cm).
A double crochet round is about 0.7 in (1.8 cm) tall and a single crochet round is about 0.3 in (0.8 cm) tall. Together they make the 1 in (2.5 cm) frame.
Make one motif first and measure it before you go any further.
Checkpoints:
- Chain ring before joining: 42 ch should measure about 14 in (35.6 cm) when relaxed.
- After Rnd 1: about 4.3 x 5.3 in (10.9 x 13.5 cm), with an open window of 3 x 4 in (7.6 x 10.2 cm).
- After Rnd 2: 5 x 6 in (12.7 x 15.2 cm), lying flat with square corners.
If your motif is too big, go down to a 5.5 mm (US I-9) hook. If it is too small, go up to a 6.5 mm (US K-10.5) hook. A difference of only 1/4 in (0.6 cm) per motif adds up to 1.5 in (3.8 cm) across the panel and 3.25 in (8.3 cm) down its length, so it’s worth getting this right.
If the window ruffles, your chain ring is too loose: tighten your chains, or use a hook 0.5 mm smaller for the ring only. If the window puckers or the motif cups, the ring is too tight, so chain more loosely.
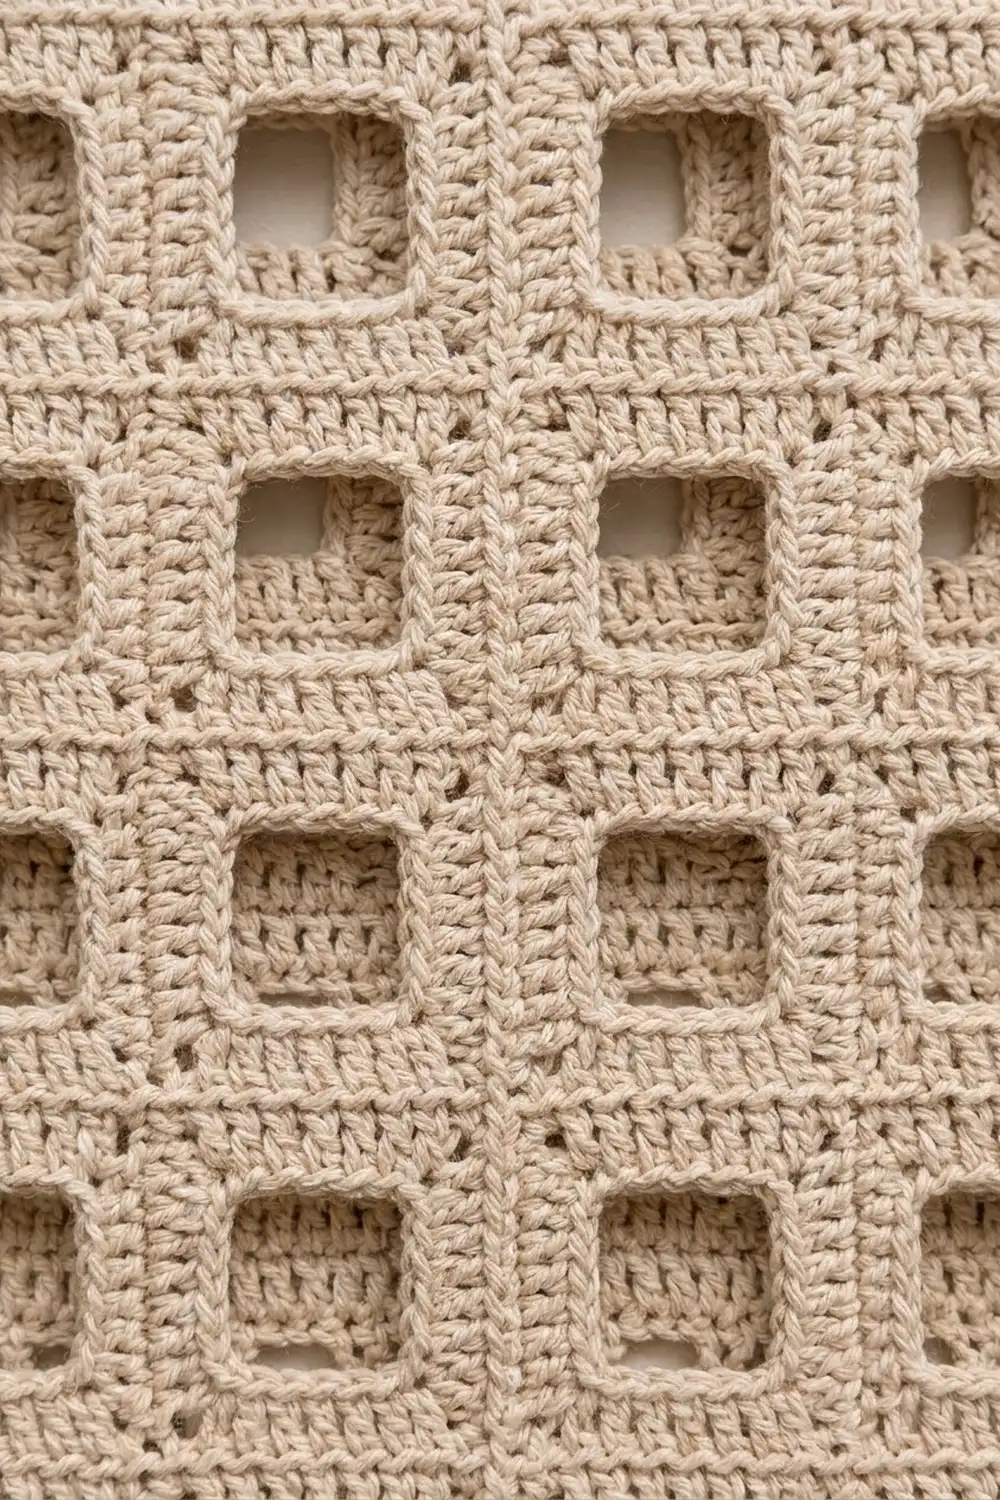
Window Motif (make 78 per panel)
The motif is worked in the round around a closed ring of chains. The ring forms the edge of the window. Each round is worked with the RS facing, and you do not turn.
Foundation: Ch 42 and sl st in the first ch to form a ring, taking care not to twist the chain.
The ring is divided into 4 sides with 1 corner ch between each: 8 ch (short side), 1 corner ch, 11 ch (long side), 1 corner ch, 8 ch, 1 corner ch, 11 ch, 1 corner ch. That adds up to 8 + 1 + 11 + 1 + 8 + 1 + 11 + 1 = 42 ch.
Rnd 1 (dc frame): Ch 3 (counts as first dc). Dc in the next 7 ch (8 dc made). Work a Corner in the next ch. Dc in the next 11 ch, Corner in the next ch, dc in the next 8 ch, Corner in the next ch; repeat from * to * once more, but end the second repeat after “dc in the next 11 ch, Corner in the next ch” (this last Corner goes in the final ch of the ring). Sl st to the top of the beginning ch-3.
Stitch count: 54 dc and 4 ch-2 corner spaces. That is 38 dc worked along the sides plus 16 dc from the 4 Corners. Between ch-2 spaces, each short side has 12 dc (2 + 8 + 2) and each long side has 15 dc (2 + 11 + 2).
Make sure every stitch goes into a chain, not around the ring. That keeps the window rectangular instead of letting it collapse into a circle.
Rnd 2 (sc trim): Ch 1. Sc in the same st as the join and in the next 9 dc (10 sc). Work 3 sc in the ch-2 sp. Sc in the next 15 dc, 3 sc in the ch-2 sp, sc in the next 12 dc, 3 sc in the ch-2 sp; sc in the next 15 dc, 3 sc in the ch-2 sp, sc in the last 2 dc. Sl st to the first sc.
Stitch count: 66 sc, which is 54 sc worked 1-per-dc plus 12 sc added at the corners (3 per corner).
Counting each side from corner center to corner center, both ends included:
- Short sides: 16 sts (1 + 1 + 12 + 1 + 1)
- Long sides: 19 sts (1 + 1 + 15 + 1 + 1)
As a check: 16 + 19 + 16 + 19 = 70, minus the 4 shared corner centers = 66.
Fasten off and leave an 8 in (20.3 cm) tail. Weave in the ring’s starting tail now. The finishing tail can be used for joining, or woven in.
Motif check: 5 in (12.7 cm) wide along the short sides and 6 in (15.2 cm) tall along the long sides, with a 1 in (2.5 cm) frame all around a 3 x 4 in (7.6 x 10.2 cm) window.
Make All Pieces
Make 78 motifs per panel, all in oatmeal/natural (156 motifs for a pair).
Steam or wet-block the motifs in batches of 10–15 to 5 x 6 in (12.7 x 15.2 cm) before joining. Joining is much easier when every motif is the same size.
Layout grid (one panel, short sides at top and bottom, X = 1 motif):
Row 1:  X X X X X X
Row 2:  X X X X X X
Row 3:  X X X X X X
 ...    (repeat)
Row 13: X X X X X X
That is 6 motifs across x 13 rows = 78 motifs. Every motif is oriented the same way, with its short sides horizontal and its long sides vertical, so every window stands tall.
Joining
Method: Flat slip-stitch join through the back loops.
Hold two motifs with RS together and edges aligned. Working from one corner center to the other, sl st through the BLO of the front motif and the front loop of the back motif. You will be working into each of the two loops sitting on the inside of the seam. Opened out, the seam lies flat and leaves a fine, neat line on the RS.
Stitch-to-stitch logic:
- Long sides (side by side within a row): 19 sts to 19 sts, corner center to corner center. That is 19 sl sts per seam.
- Short sides (row to row): 16 sts to 16 sts per motif. Joining a full strip edge is 6 x 16 = 96 sl sts.
Step 1 – Strips: Join 6 motifs along their long sides into a horizontal strip, using 5 seams of 19 sl sts each. Make 13 strips.
Strip check: 30 x 6 in (76.2 x 15.2 cm).
Step 2 – Strips to panel: Join the strips along their long edges, one after another. Each seam is 96 sl sts, worked continuously across all 6 motifs. At each 4-way intersection, work the sl st through the matching corner center stitches so that all four corners meet at one point. You will make 12 strip seams in total.
Tension: Keep your sl sts at the same size as your sc. If the seams are tight, the panel will draw in and the windows will lose their shape. If you tend to pull tight, use a 6.5 mm (US K-10.5) hook for joining.
Panel check before border: 30 x 78 in (76.2 x 198.1 cm). Check after every 3 to 4 strips. Two joined strips should measure 30 x 12 in (76.2 x 30.5 cm).
Border
Border gauge: Along the edges, border stitches follow the motif counts: 16 sts per 5 in (12.7 cm) short side and 19 sts per 6 in (15.2 cm) long side. Border rounds stack at 3 rounds = 1 in (2.5 cm).
With the RS facing, join yarn in the corner center stitch at the top-right corner of the panel. Work all rounds without turning.
Starting edge counts (corner centers included):
- Top and bottom edges: 6 motifs x 16 sts = 96 sts each.
- Left and right edges: 13 motifs x 19 sts = 247 sts each.
No stitches are added or skipped at the seams, because each motif’s corner center stitches are already part of its own 16 or 19.
Rnd 1: Ch 1. Work 3 sc in the panel corner stitch. Then sc in each st along all four edges, working 3 sc in each of the remaining 3 panel corner stitches. Sl st to the first sc.
Count: top and bottom 98 sts each; sides 249 sts each; 690 sc total. That is 682 sts worked one per stitch plus 8 added (2 per corner). Place a marker in each corner center stitch.
Rnd 2: Ch 1. Sc in each st around, working 3 sc in each marked corner center stitch and moving the markers up. Sl st to the first sc.
Count: top and bottom 100; sides 251; 698 sc total (690 + 8).
Rnd 3: Repeat Rnd 2.
Count: top and bottom 102; sides 253; 706 sc total (698 + 8).
Fasten off and weave in all ends.
Why the math works: Each round adds 2 sts per side, 1 at each corner. That matches the 1/3 in (0.8 cm) that each round adds at both ends of that edge. Three rounds add 1 in (2.5 cm) on every side. At the border gauge, 102 sts give about 32 in (81.3 cm) across and 253 sts give about 80 in (203.2 cm) down. That brings the bordered panel to 32 x 80 in (81.3 x 203.2 cm).
Final Blocking
- Weave in every remaining end through the solid frames, never across a window.
- Wet the panel thoroughly in cool water, then press out the water. Roll it in towels to remove more. Don’t wring it.
- Lay it flat on mats or on a towel-covered carpet. Working in sections is fine.
- Pin the outer edges to 32 x 80 in (81.3 x 203.2 cm), starting with the four corners and then the midpoints of each edge.
- Square the windows by pinning the inside corners of a few windows in each row to 3 x 4 in (7.6 x 10.2 cm). The rest will follow.
- Check that the horizontal bars run straight across, using the tape or a long ruler.
- Let the panel dry completely, which takes 24–48 hours, before unpinning.
- Hang it on 7 clip rings, one at each corner and one at each of the 5 vertical bars along the top edge, spaced every 5 in (12.7 cm).
Final Quality-Control Checklist
- [ ] Every motif has 66 sc in Rnd 2 and measures 5 x 6 in (12.7 x 15.2 cm)
- [ ] All windows are open, rectangular, and standing tall
- [ ] Each strip has 5 seams of 19 sl sts and measures 30 in (76.2 cm) wide
- [ ] Each strip seam has 96 sl sts and all 4-way corners meet neatly
- [ ] The unbordered panel measures 30 x 78 in (76.2 x 198.1 cm)
- [ ] Border Rnd 3 counts: 102 sts top and bottom, 253 sts on each side, 706 total
- [ ] The finished panel measures 32 x 80 in (81.3 x 203.2 cm)
- [ ] All ends are woven in and invisible from the RS
- [ ] Both panels of a pair match within 1/2 in (1.3 cm)
Troubleshooting
Windows are round or oval: Rnd 1 stitches were worked around the ring instead of into individual chains. Remake the motif and work into each ch.
Motif cups or bowls: Either the corners are too tight or the ring is too short. Check that you have 42 ch and that every Corner has its ch 2.
Motif ruffles: The ring is too loose. Make the ring with a smaller hook.
Seams pucker: Your join is too tight. Rejoin with a larger hook.
Border ripples: Recount the starting edge stitches. Extra stitches at the seams are the usual cause.
Border pulls in: Your border tension is tighter than your motifs. Go up 0.5 mm.
Panel grows longer when hung: This is normal for cotton. Block it a little short, or remove one motif row (6 in / 15.2 cm).
Panels don’t match: Block them side by side to the same pinned measurements.
Care
Hand wash or machine wash cold on a gentle cycle inside a large mesh bag, then reshape and dry flat. Do not tumble dry or hang the panel while it is wet, because its weight will stretch it.
Final Notes
The whole curtain depends on one measurement chain:
- A 42-ch ring of 14 in (35.6 cm) becomes a 5 x 6 in (12.7 x 15.2 cm) motif.
- Six motifs make a 30 in (76.2 cm) strip.
- Thirteen strips make a 30 x 78 in (76.2 x 198.1 cm) panel.
- Three border rounds bring it to 32 x 80 in (81.3 x 203.2 cm).
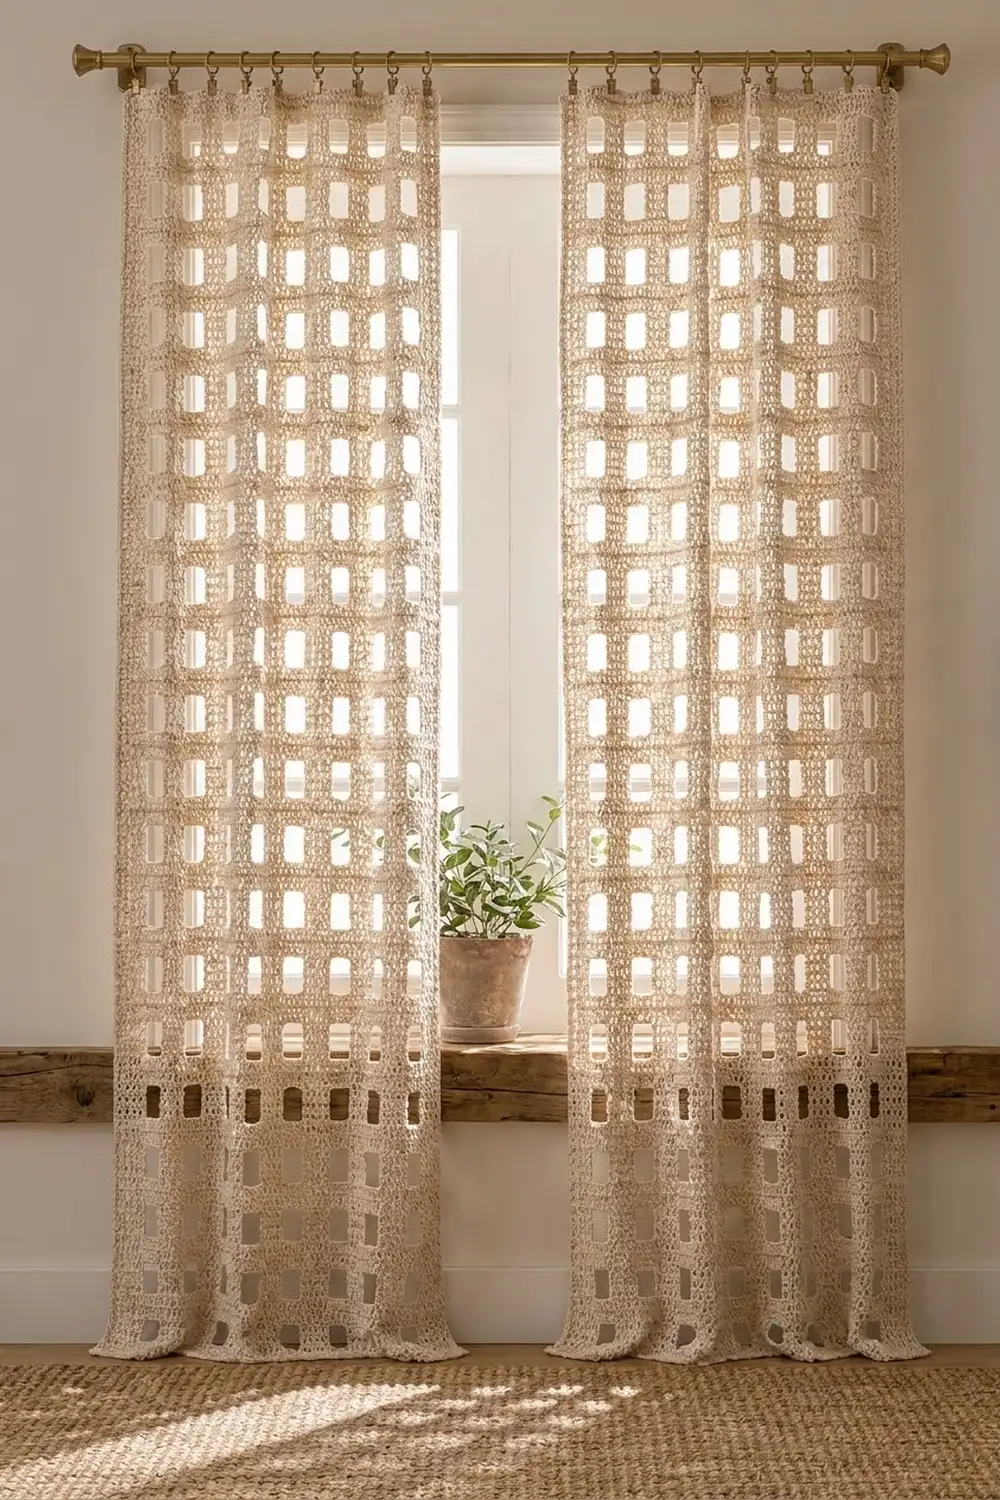
Get the first motif right and every step after it will fall into place. Make two panels, clip them up, and enjoy the soft, gridded light.
Happy crocheting!