
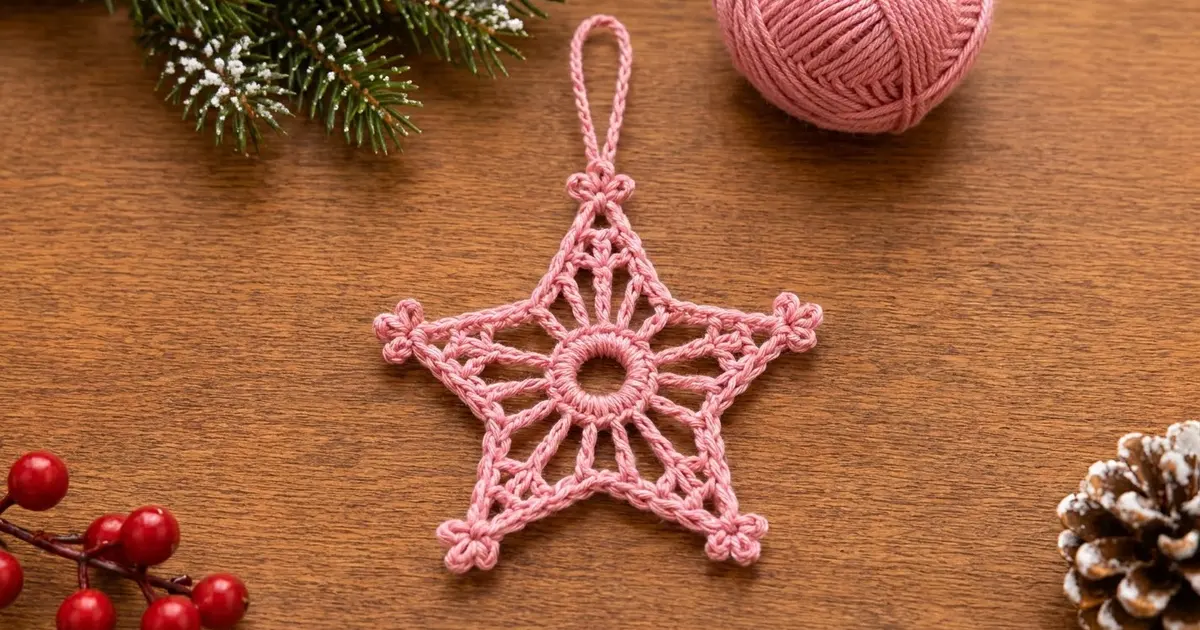
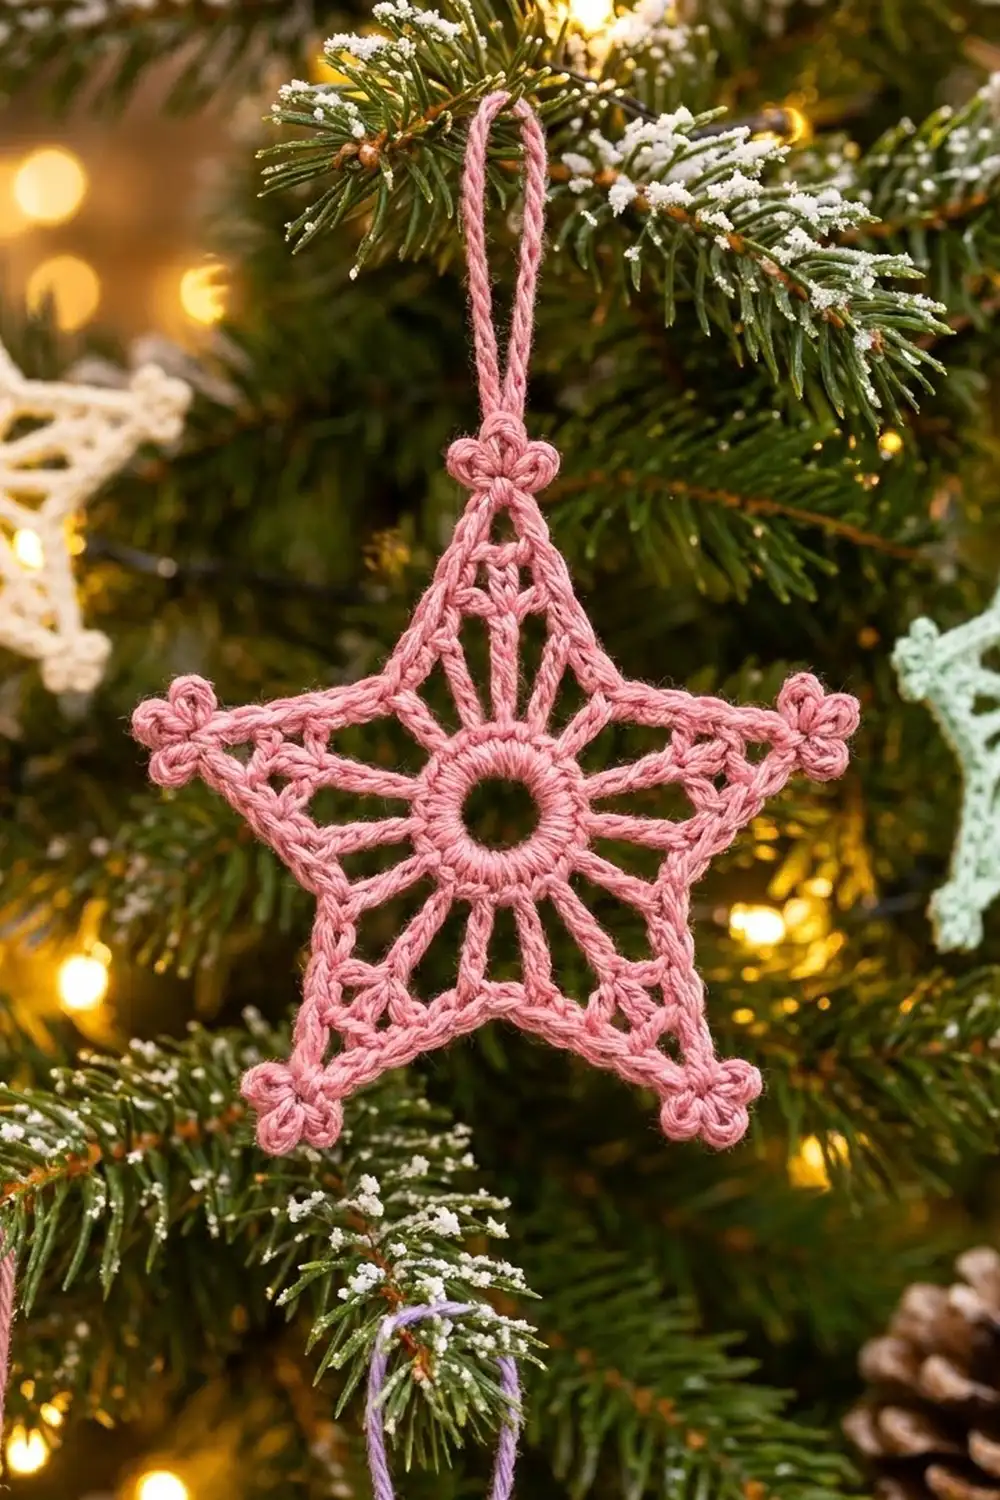
The Pink Frost Lace Star is a small, open five-point star that hangs from a chain loop like a snowflake. It has a neat solid ring in the center and long stitches that radiate out like spokes. A crisp single crochet frame outlines every arm. Each point ends with a tiny three-picot cluster that looks like a little flower.
The sample is worked in a soft dusty pink cotton. The same pattern also looks lovely in cream, lavender or mint. Make one in each color for a pastel set to use on the tree, as gift tags or in a window.
This pattern uses US crochet terms. The finished star measures 4″ (10.2 cm) wide from point to point and about 3.8″ (9.7 cm) tall, not counting the hanging loop.
The star is one piece worked in the round from the center out. First you make a ring of single crochet and add a round of double crochet spokes. Then you shape the five points with taller stitches and outline everything with a single crochet frame and picot clusters. The chain hanging loop goes on last.
Finished Size and Construction
- Finished size: 4″ (10.2 cm) wide point to point, 3.8″ (9.7 cm) tall
- Skill level: Easy-intermediate (double treble stitches and picots)
- Terminology: US crochet terms
- Yarn weight: Sport weight (2) cotton
- Hook: 2.75 mm (C-2)
- Number of pieces: 1
- Layout: Single star motif, no joining
- Piece size before the frame round: 3.75″ (9.5 cm) wide point to point
- Frame (border) depth: about 1/8″ (0.3 cm) per edge, plus the picot clusters at each point
- Hanging loop: about 2″ (5.1 cm) tall when folded
Materials
Choose a smooth cotton in sport weight, either mercerized or matte. Cotton holds the star’s sharp points and blocks well. Acrylic also works, but the points will be softer and may need starching.
- Pink (main color): 6 g, about 19 m
- Optional colors: cream, lavender or mint, 6 g (about 19 m) per star
Tools:
- 2.75 mm (C-2) crochet hook
- Tapestry needle
- Scissors
- Rust-proof pins and a foam blocking board
- Spray bottle with water
- Optional: fabric stiffener or spray starch
The yarn amounts include about 20% extra for a test star, the hanging loop and weaving in ends.
Abbreviations (US Terms)
- ch – chain
- sl st – slip stitch
- sc – single crochet
- dc – double crochet
- tr – treble crochet
- dtr – double treble crochet
- sp – space
- st(s) – stitch(es)
- beg – beginning
Special stitches
- dtr (double treble crochet): Yarn over 3 times, insert hook in st, yarn over and pull up a loop (5 loops on hook), [yarn over and pull through 2 loops] 4 times.
- picot: Ch 3, sl st in 3rd ch from hook.
- picot cluster: Work 3 picots in a row, one right after the other, so they fan out into a tiny three-petal flower.
Gauge and Checkpoints
Gauge matters because this is a lace piece. If your stitches are too loose, the points droop. If they are too tight, the star cups like a bowl.
Make one test star first, then check it against these measurements. Measure on a flat surface without stretching.
- After Round 1: the ring is 0.75″ (1.9 cm) across, with a center hole of about 0.4″ (1.0 cm).
- After Round 2: the spoke circle is 1.75″ (4.4 cm) across.
- After Round 3: the star is 3.75″ (9.5 cm) wide point to point.
- After Round 4: the star is 4″ (10.2 cm) wide point to point and 3.8″ (9.7 cm) tall.
- Chain gauge: about 10 ch = 1″ (2.5 cm).
If your star is too big: go down to a 2.5 mm hook, or work your tall stitches a little firmer.
If your star is too small: go up to a 3 mm hook, or loosen your tension on the chains in Round 3.
Check Round 1 carefully. A ring that ruffles or cups will throw off every later round.

Pattern
Round 1: Center Ring
Make a magic ring.
Ch 1, work 20 sc into the ring. Pull the tail until the center hole is about 0.4″ (1.0 cm) across. Sl st in first sc to join. (20 sc)
These 20 sts split into 5 groups of 4, one group for each arm.
Round 2: Spokes
Ch 5 (counts as first dc and ch 2), dc in next sc, ch 2; repeat from * 18 more times. Sl st in 3rd ch of beg ch-5 to join. (20 dc, 20 ch-2 sps)*
The beg ch-5 counts as dc number 1. Think of the dc spokes in repeating sets of 4: valley, side, center, side. Dc 1 is the first valley spoke.
Round 3: Shaping the Points
In this round, the stitches get taller from the valley toward the point. Each point is shaped over one set of 4 spokes. Work every stitch into the top of a dc spoke, not into the ch-2 spaces.
Ch 1, sc in same st as join (valley spoke).
Ch 4, tr in next dc (side spoke), ch 5, in next dc (center spoke) work (dtr, ch 3, dtr), ch 5, tr in next dc (side spoke), ch 4*, sc in next dc (next valley spoke).
Repeat from * to ** 4 more times. Sl st in first sc to join.
Per arm: 1 sc, 2 tr, 2 dtr, two ch-4 sps, two ch-5 sps, one ch-3 tip sp.
Round total: 5 sc, 10 tr, 10 dtr (25 sts); 10 ch-4 sps, 10 ch-5 sps, 5 ch-3 tip sps
Lay the star flat. The ch-3 space between each pair of dtr is a point. The sc stitches sit low and form the inner valleys. Check that the piece measures 3.75″ (9.5 cm) wide point to point.
Keep your chains even in this round. The ch-4 and ch-5 spaces become the outer edges of the star, so uneven chains will show as wavy sides.
Round 4: Frame and Picot Points
This round is the border. It fills every chain space with sc to make the solid outer frame and adds a picot cluster at each point. You’ll find the full instructions, per-edge counts and math in the Border section below.
Border
Round 4 is the only border on this star.
Border gauge: 12 sc fill one valley-to-point edge, which is about 1.4″ (3.6 cm) long. That’s roughly 8.5 sc per inch (2.5 cm) when worked over chains.
Round 4 instructions:
Ch 1. 4 sc in next ch-4 sp, sc in next tr, 5 sc in next ch-5 sp, sc in next dtr, in ch-3 tip sp work (sc, picot cluster, sc), sc in next dtr, 5 sc in next ch-5 sp, sc in next tr, 4 sc in next ch-4 sp*, sl st in next sc (valley).
Repeat from * to ** 4 more times. On the last repeat, the final sl st goes into the first sc of Round 3, which is the same st you joined into. Fasten off, leaving a 6″ (15.2 cm) tail.
Counts per edge (one side of one arm, valley to point):
- 4 sc in the ch-4 sp
- 1 sc in the tr
- 5 sc in the ch-5 sp
- 1 sc in the dtr
- 1 sc in the tip sp
That makes 12 sc per edge. The tip sc is that edge’s own corner stitch, so count it only once. The picot cluster sits between the two tip sc and doesn’t count as sc.
Counts per arm: 2 edges x 12 sc = 24 sc, plus 1 picot cluster (3 picots) and 1 valley sl st.
Round total: 5 arms x 24 sc = 120 sc, plus 5 picot clusters (15 picots) and 5 valley sl sts.
Why the math works: Each ch-4 space gets 4 sc and each ch-5 space gets 5 sc, so there is one sc per chain. This keeps the frame flat so it doesn’t stretch or ruffle. The single sc on top of each tall stitch locks the spokes into the frame. At the valleys, a sl st takes the place of an sc, which keeps the inner corner sharp and pulled in. At the tip, two sc share the ch-3 space, so the point stays narrow and the picot cluster stands out.
Hanging Loop
Join yarn with a sl st in the center picot of the top point. Ch 40 (about 4″, or 10.2 cm, of chain). Sl st in the same picot. Fasten off.
The folded loop rises about 2″ (5.1 cm) above the point. For a sturdier loop, work 1 sl st back along each ch before you fasten off.
Weave in all ends along the back of the frame, not through the open spokes, so they stay hidden.
Final Blocking
Blocking turns a slightly crumpled lace star into a crisp ornament, and cotton responds very well to it.
- Soak the star in cool water for a few minutes, or spray it until it’s fully damp.
- Press out extra water in a towel. Don’t wring or twist it.
- Lay it on the blocking board, right side up.
- Pin the center ring into a circle, with the hole about 0.4″ (1.0 cm) across.
- Pin each point at its center picot so the star is 4″ (10.2 cm) wide point to point and 3.8″ (9.7 cm) tall. Space the five points evenly.
- Pin each valley sl st toward the center so the arms look sharp.
- Gently straighten each spoke so it runs in a straight line from the ring to the frame.
- Pin each picot cluster open so the three picots fan out.
- For a stiff ornament, spray with fabric stiffener or starch now.
- Let it dry completely, for at least 12 hours, before you unpin it.
Final Quality-Control Checklist
- Round 1 has 20 sc and lies flat with an open center hole.
- Round 2 has 20 dc spokes and 20 ch-2 spaces.
- Round 3 has 5 sc, 10 tr, 10 dtr and 5 ch-3 tip spaces.
- Round 4 has 120 sc in total: 12 per edge, 24 per arm.
- Each point has one picot cluster of 3 picots.
- Each valley has one sl st, and the valleys look sharp.
- The star measures 4″ (10.2 cm) wide and 3.8″ (9.7 cm) tall after blocking.
- All five arms are the same size.
- The hanging loop is centered on the top point.
- All ends are woven in securely and hidden.
Troubleshooting
The center ring ruffles. The sc are too crowded for the ring. Open the ring a little wider, or redo Round 1 with looser tension.
The star cups like a bowl. The chains in Round 3 are too tight. Go up a hook size for that round only, or loosen your chain tension.
The edges ripple. You may have added extra sc in the chain spaces. Count again: 4 sc in each ch-4 sp and 5 sc in each ch-5 sp.
The points look blunt. Make sure you work both dtr into the same center spoke, with only ch 3 between them. Pin the points sharply when blocking.
One arm is longer than the others. Check that each arm uses exactly 4 spokes. It’s easy to skip or repeat a spoke in Round 3.
The picot clusters droop. Keep each picot chain firm, and pin the three picots open while blocking.
The hanging loop twists. Block the loop flat along with the star, or add the row of sl sts along it.
Care
Hand wash in cool water with mild soap, press dry in a towel and reshape flat. If you used stiffener, apply it again after washing.
Final Notes
The whole star depends on a simple chain of measurements. Round 1 makes a 0.75″ (1.9 cm) ring of 20 sc. Round 2 grows it into a 1.75″ (4.4 cm) circle of 20 dc spokes. Round 3 shapes five points and reaches 3.75″ (9.5 cm) wide. Round 4 adds 12 sc per edge, 120 sc in all, and brings the star to 4″ (10.2 cm) wide and 3.8″ (9.7 cm) tall.
If each checkpoint matches, the finished star will match too. Once your first star is blocked, you can make a whole pastel set in an evening.
Happy crocheting!