

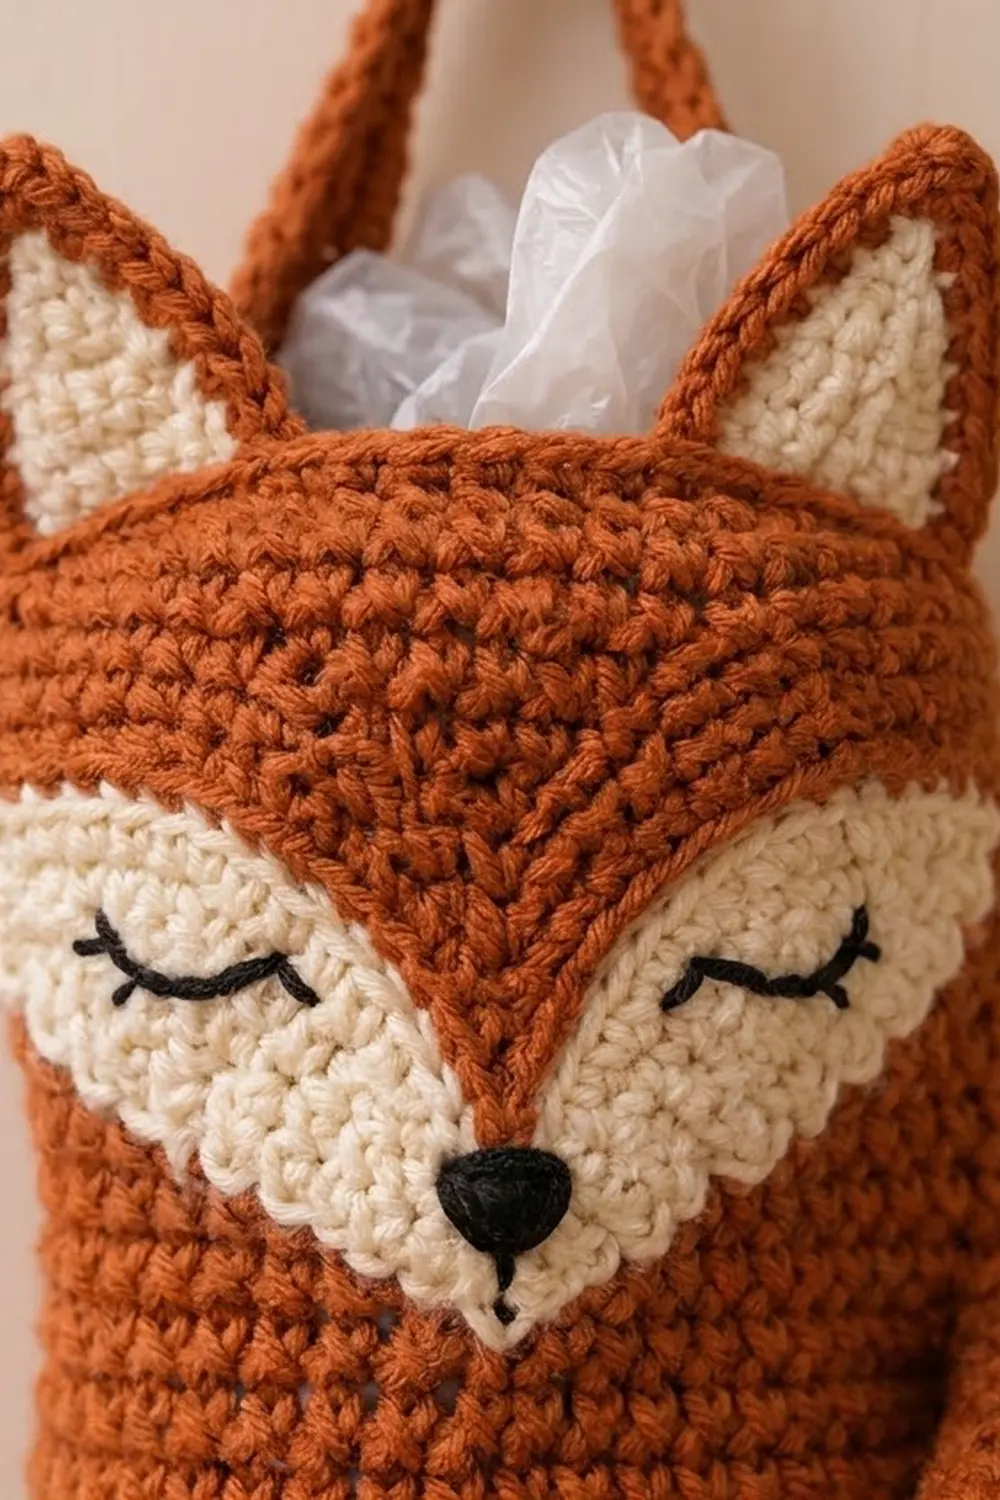
This sleepy fox keeps plastic bags in one place and looks good on a kitchen wall. You stuff bags in through the open top and pull them out one at a time through the gathered bottom cuff. The fox has closed, lashed eyes, a pointed cream face, upright ears and a soft tail that curls across the front.
The colors are warm rust for the body, cream for the face, inner ears and tail tip, and black for the nose and eyes. A gray body with the same cream and black accents turns the fox into a wolf. All instructions use US crochet terms.
The finished holder is 7 in (17.8 cm) wide when flat and 17.5 in (44.5 cm) tall from cuff to rim. The ear tips add another 1.75 in (4.4 cm), for 19.25 in (48.9 cm) overall. The hanging strap adds a loop above that.
You work the body bottom-up as one joined tube, starting at the cuff. Gradual increases shape it out to full width, and you then work it even up to the rim. The ears, face mask, nose, tail and strap are made separately and sewn on. To finish, you work a short edging at the top rim and a cuff edging crocheted over elastic.
Finished Size and Construction
- Finished size: 7 in (17.8 cm) wide flat x 17.5 in (44.5 cm) tall; 19.25 in (48.9 cm) to the ear tips
- Skill level: Easy–Intermediate
- Terminology: US
- Yarn weight: Worsted (#4)
- Hook: 4.5 mm (US 7)
- Number of pieces: 1 tube body plus 8 sewn-on parts (2 outer ears, 2 inner ears, 1 mask, 1 nose, 1 tail, 1 strap)
- Layout: Single holder, so there is no grid
- Body circumference: 56 sts = 14 in (35.6 cm); 7 in (17.8 cm) flat
- Size before border: 7 in (17.8 cm) x 17 in (43.2 cm)
- Border depth: 0.25 in (0.6 cm) at the top rim and 0.25 in (0.6 cm) at the cuff
Materials
Use a smooth, sturdy worsted cotton or cotton blend. It keeps its shape when full of bags and holds up to washing. Acrylic also works, but it stretches more.
- Rust (A): 120 g, about 220 m
- Cream (B): 20 g, about 37 m
- Black (C): 5 g, about 9 m
All quantities include a margin of roughly 15–20%.
Tools:
– 4.5 mm (US 7) hook
– Tapestry needle
– 4 stitch markers
– Round cord elastic, 1/8 in (0.3 cm) thick, 8 in (20.3 cm) long
– A small handful of fiberfill for the tail
– Scissors, pins and a tape measure
Abbreviations (US Terms)
- ch – chain
- sl st – slip stitch
- sc – single crochet
- hdc – half double crochet
- sc2tog – single crochet 2 together
- sc3tog – single crochet 3 together
- MR – magic ring
- BLO – back loop only
- st(s) – stitch(es)
- Rnd – round
Special technique – sc over elastic: Hold the elastic ring against the edge. Insert the hook into the stitch, yarn over and pull up a loop beneath the elastic, then yarn over and finish the sc above it. This encloses the elastic inside the stitch.
Gauge and Checkpoints
Gauge: 16 sc and 16 rnds = 4 in (10.2 cm) in joined rounds. So 4 sts = 1 in (2.5 cm) and 4 rnds = 1 in (2.5 cm).
Test first: Work the cuff and Rnds 5–10 of the body. This is your swatch. Measure it before you go any further.
Checkpoints:
– After Rnd 4: 4 in (10.2 cm) flat across, 1 in (2.5 cm) tall
– After Rnd 20: 7 in (17.8 cm) flat across, 5 in (12.7 cm) tall
– After Rnd 68: 7 in (17.8 cm) flat across, 17 in (43.2 cm) tall
– Mask: 5.25 in (13.3 cm) wide x 3.25 in (8.3 cm) tall
If your piece is too big, go down 0.5 mm. If it is too small, go up 0.5 mm. Row height matters too. If your rounds come out taller than 4 per inch, work fewer even rounds in the 21–68 section, but end with 56 sts.
Body
Join every round with a sl st to the first sc and ch 1 to start the next round. The ch 1 does not count as a stitch. Keep the joins lined up along one side. That line becomes the left side fold, and sts 1–28 are the front.
Cuff
With A, ch 32 and join with a sl st to form a ring. Don’t twist the chain.
Rnd 1: Ch 1, sc in each ch around. (32)
Rnds 2–4: Sc in each st around. (32)
Taper
Rnd 5: (Sc 7, 2 sc in next st) x4. (36)
Rnds 6–7: Sc around. (36)
Rnd 8: (Sc 8, 2 sc in next st) x4. (40)
Rnds 9–10: Sc around. (40)
Rnd 11: (Sc 9, 2 sc in next st) x4. (44)
Rnds 12–13: Sc around. (44)
Rnd 14: (Sc 10, 2 sc in next st) x4. (48)
Rnds 15–16: Sc around. (48)
Rnd 17: (Sc 11, 2 sc in next st) x4. (52)
Rnds 18–19: Sc around. (52)
Rnd 20: (Sc 12, 2 sc in next st) x4. (56)
Check that the body measures 7 in (17.8 cm) flat.
Main body
Rnds 21–68: Sc around. (56 each round; 48 rounds)
Do not fasten off. The top rim edging comes next, in the Border section.
Ears
Outer ear (make 2 with A)
Ch 11.
Row 1: Sc in 2nd ch from hook and in each ch across. (10)
Row 2: Ch 1, turn, sc across. (10)
Row 3: Ch 1, turn, sc2tog, sc 6, sc2tog. (8)
Row 4: Ch 1, turn, sc across. (8)
Row 5: Ch 1, turn, sc2tog, sc 4, sc2tog. (6)
Row 6: Ch 1, turn, sc across. (6)
Row 7: Ch 1, turn, sc2tog, sc 2, sc2tog. (4)
Row 8: Ch 1, turn, sc2tog twice. (2)
Row 9: Ch 1, turn, sc2tog. (1)
Fasten off. The ear is 2.5 in (6.4 cm) at the base and 2.25 in (5.7 cm) tall.
Inner ear (make 2 with B)
Ch 7.
Row 1: Sc in 2nd ch from hook and across. (6)
Row 2: Ch 1, turn, sc across. (6)
Row 3: Ch 1, turn, sc2tog, sc 2, sc2tog. (4)
Row 4: Ch 1, turn, sc across. (4)
Row 5: Ch 1, turn, sc2tog twice. (2)
Row 6: Ch 1, turn, sc2tog. (1)
Fasten off and leave a long tail. Each inner ear is 1.5 in (3.8 cm) wide and 1.5 in (3.8 cm) tall. Center it on an outer ear with the bottom edges matching, then whipstitch it in place.
Face Mask
The mask is one piece, worked from the nose point up. The two cheek lobes at the top leave a rust V of forehead showing between them.
With B, ch 2.
Row 1: 3 sc in 2nd ch from hook. (3)
Row 2: Ch 1, turn, 2 sc in first st, sc to last st, 2 sc in last st. (5)
Rows 3–10: Repeat Row 2. Each row adds 2 sts: 7, 9, 11, 13, 15, 17, 19, 21. Row 10 ends with 21 sts.
First cheek
Row 11: Ch 1, turn, sc 8. Leave the remaining sts unworked. (8)
Row 12: Ch 1, turn, sc2tog, sc 6. (7)
Row 13: Ch 1, turn, sc 5, sc2tog. (6)
Fasten off.
Second cheek
Skip the 5 center sts of Row 10 and join B in the next st.
Row 11: Ch 1, sc 8, ending at the outer edge. (8)
Row 12: Ch 1, turn, sc 6, sc2tog. (7)
Row 13: Ch 1, turn, sc2tog, sc 5. (6)
Fasten off and leave a long tail. As a check, 8 + 5 + 8 = 21, which is the full Row 10 count. The mask is 5.25 in (13.3 cm) wide and 3.25 in (8.3 cm) tall.
Nose
With C, ch 4.
Row 1: Sc in 2nd ch from hook and in each of the next 2 ch. (3)
Row 2: Ch 1, turn, sc3tog. (1)
Fasten off and leave a tail for sewing.
Tail
Work the tail in continuous rounds, starting at the tip. Keep a marker in the first st of each round.
With B, make an MR.
Rnd 1: 6 sc in the ring. (6)
Rnd 2: (Sc 1, 2 sc in next st) x3. (9)
Rnd 3: (Sc 2, 2 sc in next st) x3. (12)
Rnd 4: (Sc 3, 2 sc in next st) x3. (15)
Rnd 5: (Sc 4, 2 sc in next st) x3. (18)
Rnds 6–12: Sc around. (18)
Change to A.
Rnds 13–20: Sc around. (18)
Rnds 21–30: Sc 9, hdc 9. (18)
The taller hdc side grows longer than the sc side, and that bends the tail into an arc.
Rnds 31–36: Sc around. (18)
Rnd 37: (Sc 4, sc2tog) x3. (15)
Rnd 38: (Sc 3, sc2tog) x3. (12)
Stuff lightly so the tail stays soft and can sit nearly flat. Flatten the opening and leave a long tail for sewing. The tail measures about 9.5 in (24.1 cm) along its curve.
Strap
With A, ch 5.
Row 1: Sc in 2nd ch from hook and across. (4)
Rows 2–40: Ch 1, turn, sc across. (4)
Fasten off and leave a long tail. The strap is 1 in (2.5 cm) wide and 10 in (25.4 cm) long.
Border
The border uses the same gauge as the body, 4 sts = 1 in (2.5 cm). When the body is flattened, each round splits evenly into a front side and a back side.
Top rim (continue from Rnd 68)
Rnd 69: Sc in BLO of each st around. (56: 28 front, 28 back)
Rnd 70: Sl st loosely in each st around. (56: 28 front, 28 back)
Fasten off.
Bottom cuff
Overlap the ends of the elastic by 1 in (2.5 cm) and tie or stitch them together. This makes a 7 in (17.8 cm) ring.
Hold the body upside down. Join A in the free loop of the foundation chain at the side fold.
Rnd B1: Ch 1, sc over the elastic in each foundation loop around. (32: 16 front, 16 back)
Rnd B2: Sl st in each st around. (32: 16 front, 16 back)
Fasten off.
Why the math works: Each border round has one stitch per existing stitch, with no extras added. That keeps the rim 28 sts (7 in / 17.8 cm) per side and the cuff 16 sts (4 in / 10.2 cm) per side. The rim won’t flare or ruffle. The 7 in (17.8 cm) elastic ring is slightly smaller than the 8 in (20.3 cm) cuff, so it gathers the cuff snugly while still letting bags pull through. Each border adds about 0.25 in (0.6 cm), which turns the 17 in (43.2 cm) body into 17.5 in (44.5 cm).
Assembly
- Mask: Flatten the body with the round joins on the left fold. Pin the mask on the front, centered. The nose point should sit at Rnd 52 and the cheek tips at Rnd 64. Whipstitch all around the edge.
- Eyes: With C, backstitch a downward curve about 0.75 in (1.9 cm) wide on each side of the mask, at the level of Row 9. Add 3 short straight stitches below each curve for the lashes.
- Nose: Sew the nose over the mask point, with the flat edge on top.
- Ears: Place one ear at each top corner, with the base overlapping the rim by 0.5 in (1.3 cm). Sew it through the front layer only so the opening stays clear.
- Tail: Sew the flattened tail base to the right side fold at Rnds 56–60. Arc the tail down across the front so that the cream tip rests at the lower left, around Rnd 22. Tack it down along its inner curve.
- Strap: Sew 1 in (2.5 cm) of each end of the strap inside the rim, one at each side fold.
Final Blocking
- Fill the holder loosely with plastic bags or a rolled towel.
- Spritz it lightly with water. Don’t wet the stuffed tail through.
- Smooth the body to 7 in (17.8 cm) wide and 17.5 in (44.5 cm) tall.
- Pin the ears upright and the cheek tips flat.
- Let it dry completely, then remove the filling.
Final Quality-Control Checklist
- Body is 56 sts all the way from Rnd 20 to the rim
- Flat width is 7 in (17.8 cm) and height is 17.5 in (44.5 cm)
- Cuff measures 4 in (10.2 cm) flat and springs back after stretching
- Mask is centered, with the forehead V lined up with the center front
- Eyes are level and match each other
- Ears are the same height and the top opening is clear
- Tail arcs smoothly and is tacked down without puckering
- Strap is secure and centered over the opening
- All ends are woven in on the inside
Troubleshooting
- Joins drift across the front: Join into the first sc of the round, not the ch 1.
- Body flares: Your gauge is loose. Go down a hook size.
- Tail is straight: Make sure Rnds 21–30 really have 9 hdc on the same side every round.
- Cuff is too loose: Shorten the elastic ring by 0.5 in (1.3 cm).
- Mask cups: Block it flat before sewing, and don’t pull the whipstitches tight.
- Rim stretches: Work Rnd 70 a little firmer.
Care
Hand wash in cool water and lay flat to dry. Reshape the tail and ears while the holder is damp.
Final Notes
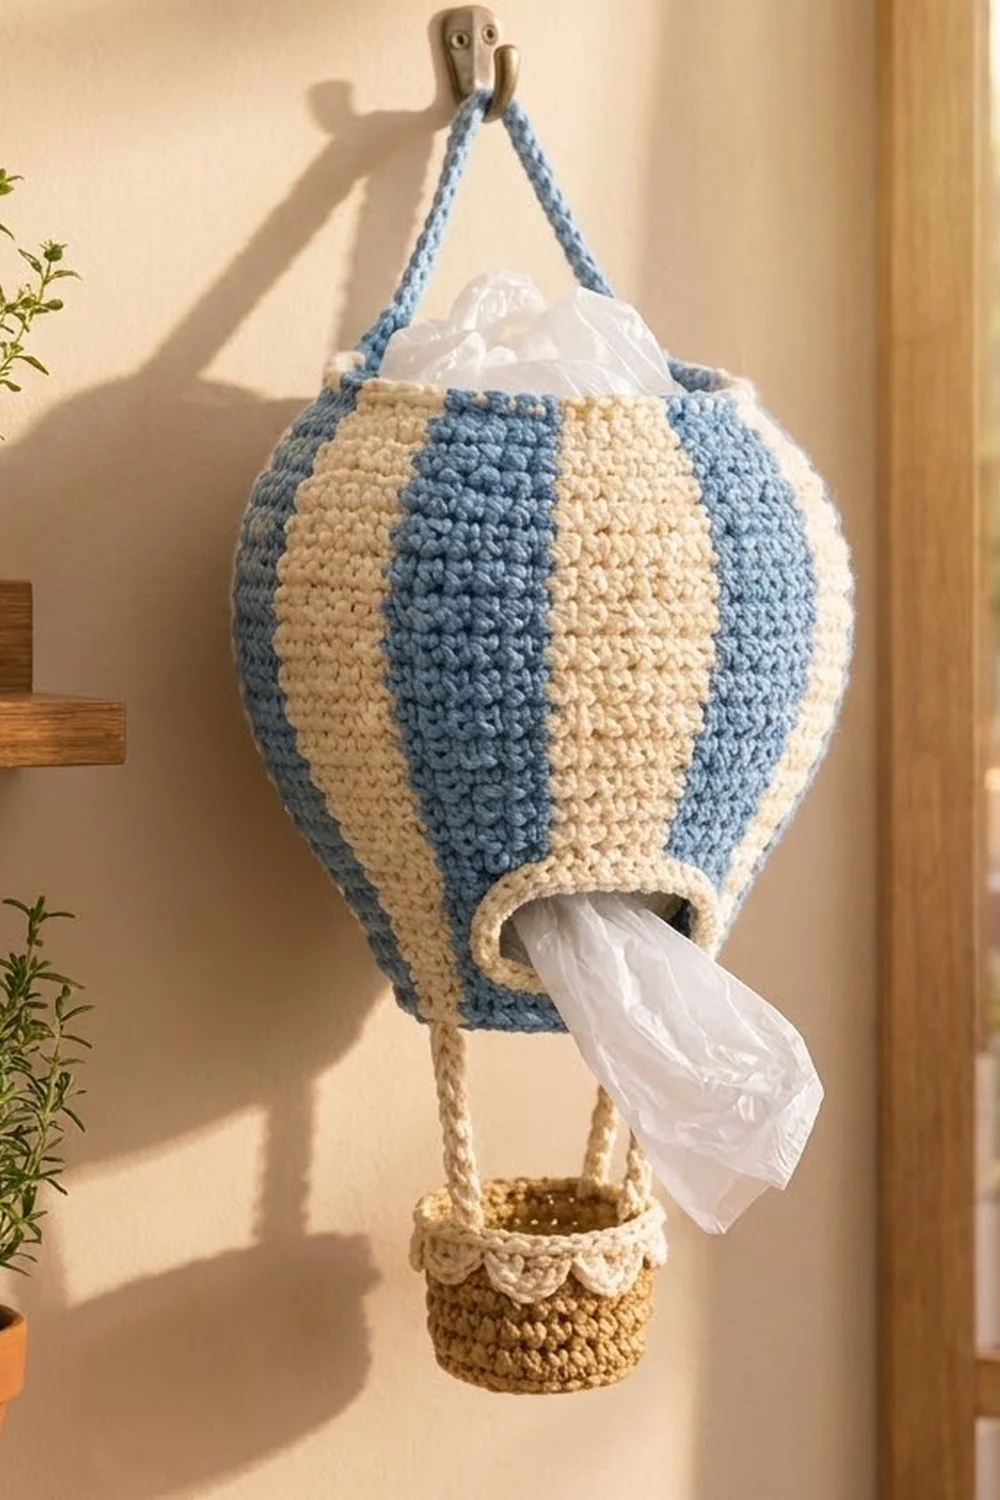
Here is the measurement chain from start to finish. The 32-st cuff measures 4 in (10.2 cm) flat. It tapers to 56 sts, which is 7 in (17.8 cm) flat, by Rnd 20. You then work even to 17 in (43.2 cm) at Rnd 68. The two border rounds at each end bring the finished height to 17.5 in (44.5 cm). If you hit each checkpoint, the mask, ears and tail will fit just like they do in the photo.
Happy crocheting!