

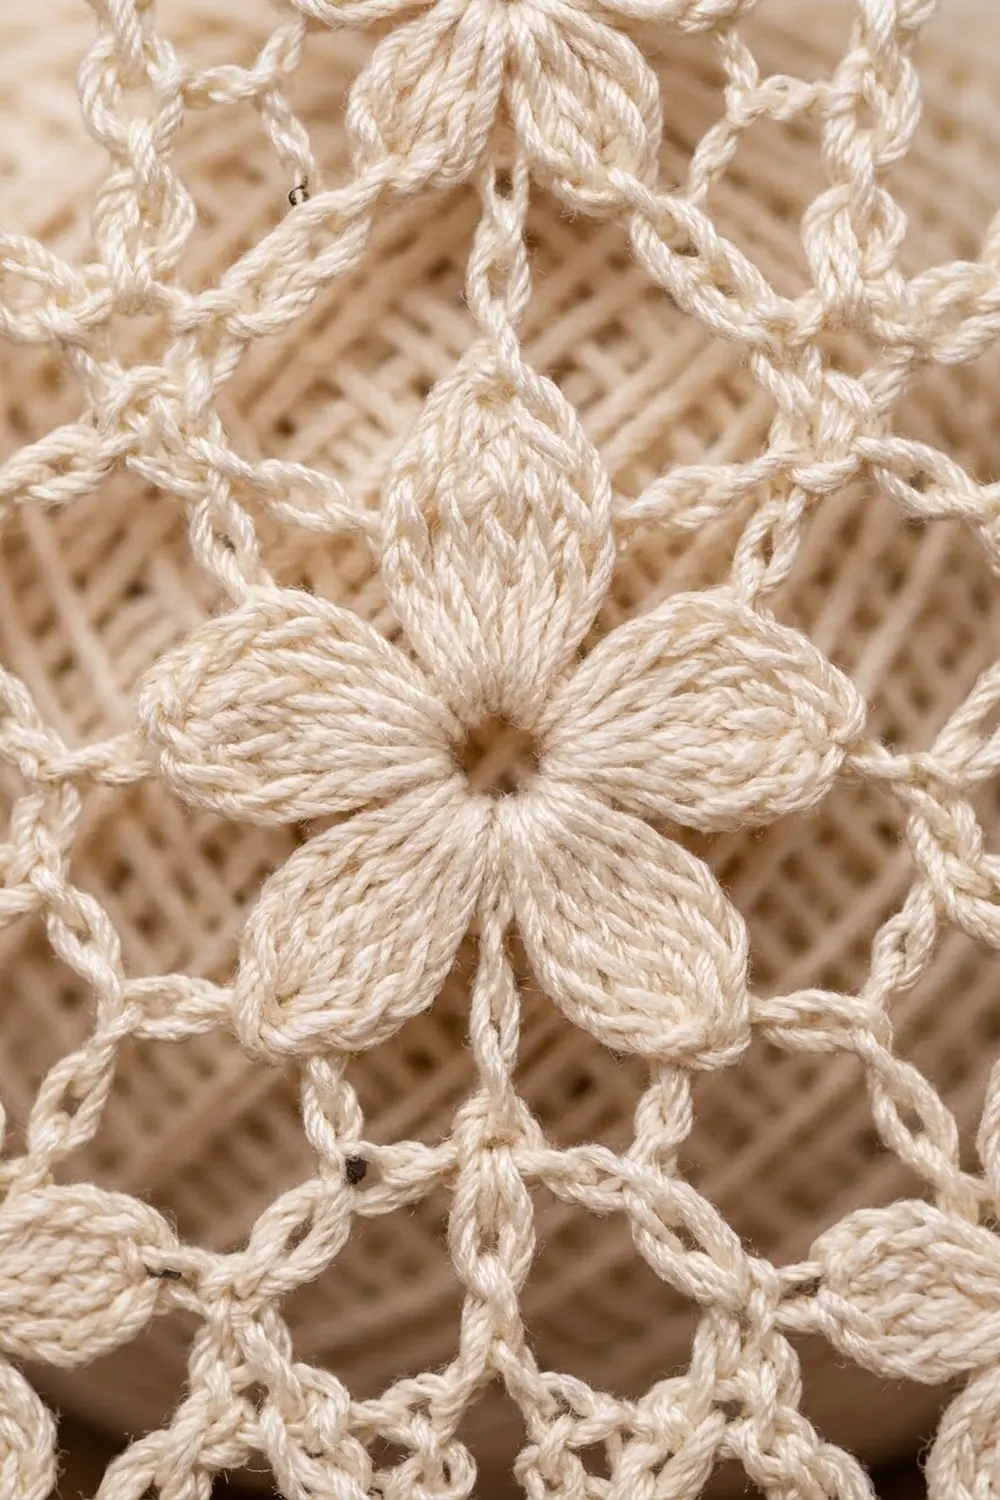
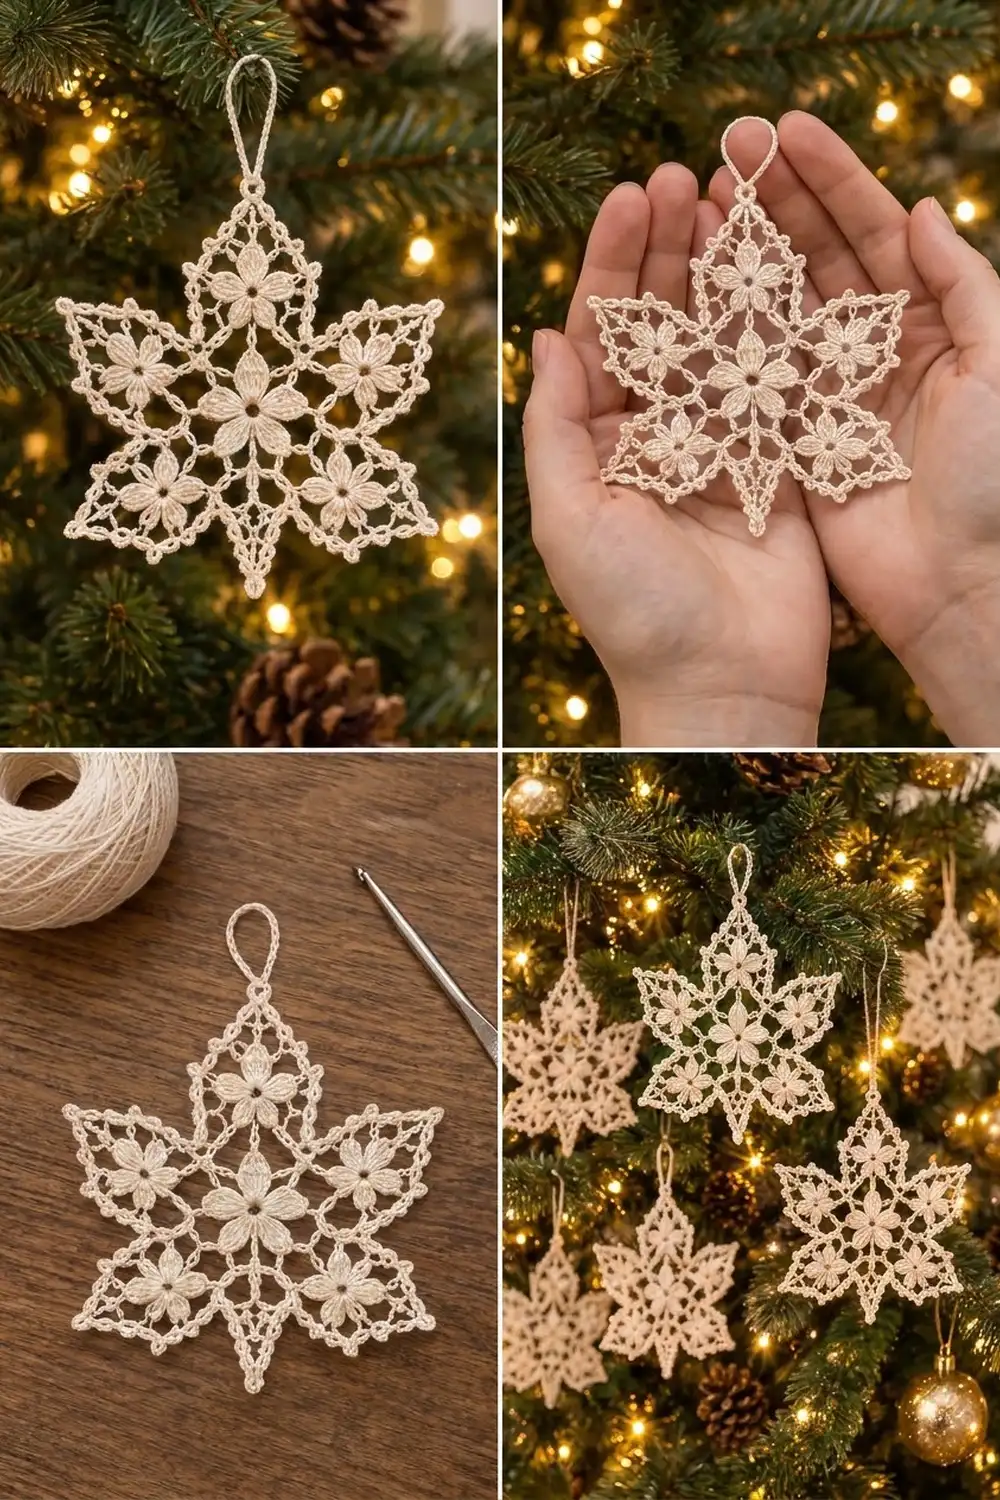
The Snow Blossom Star is a lacy six-pointed ornament made in fine cream cotton thread. A plump six-petal flower sits in the center, a smaller flower blooms inside each point, and an outline of single crochet with tiny picots finishes the edge. Once starched, it hangs flat and crisp on the tree, and it also works as a gift topper.
The look is soft and vintage, similar to old-fashioned thread snowflakes but with more flowers. You need only one color, so you can focus on clean stitches and neat tips. Ivory, white, or pale gold thread all suit the design.
This pattern uses US crochet terms. After blocking, the star measures about 5 in (12.7 cm) from tip to tip, plus a hanging loop of about 1.25 in (3.2 cm).
You work the star in the round as one continuous piece. First comes the center flower, then two rounds of chain mesh. Next, a round adds six “ring flowers,” which are small flowers worked into a chain ring as you go. Then a lattice round shapes the points, and a single border round adds the outline, picots, and hanging loop. There is no sewing and no joining.
Finished Size and Construction
- Finished size: 5 in (12.7 cm) tip to tip; 3.25 in (8.3 cm) valley to opposite valley
- Skill level: Intermediate (fine thread, clusters, working into chain rings)
- Terminology: US crochet terms
- Yarn weight: Size 10 crochet cotton (Lace / 0)
- Hook: 1.5 mm steel hook (US steel 7 or 8)
- Number of pieces: 1
- Layout: Single six-pointed star, worked in the round
- Piece size before border: 4.5 in (11.4 cm) tip to tip
- Border depth: about 0.25 in (0.6 cm), which adds 0.5 in (1.3 cm) to the tip-to-tip width
Materials
Thread: Use mercerized size 10 cotton crochet thread. Mercerized cotton has a slight sheen, defines the clusters well, and takes starch evenly. Do not use acrylic, because it will not hold a stiff blocked shape.
- Cream / Ivory: 6 g, about 31 m (34 yd)
This amount includes a margin of about 25% for your gauge swatch, tails, and the hanging loop. If you plan a set of ornaments, one 50 g ball of thread will make about eight stars.
Tools:
– 1.5 mm steel crochet hook
– Fine tapestry needle or a size 24 chenille needle
– Small sharp scissors
– Fabric stiffener, or starch made from equal parts white glue and water
– Foam blocking board or a corkboard covered in plastic wrap
– Rustproof pins
– Ruler or tape measure
Abbreviations (US Terms)
- ch – chain
- sl st – slip stitch
- sc – single crochet
- dc – double crochet
- sp – space
- st(s) – stitch(es)
- rnd – round
Special stitches:
- 3-dc cluster (3-dc cl): *Yarn over, insert hook in the stitch, pull up a loop, yarn over, pull through 2 loops. Repeat from * 2 more times in the same stitch (4 loops on hook). Yarn over and pull through all 4 loops.
- Center Petal: In the same stitch, work (ch 3, 3-dc cl, ch 3, sl st).
- 2-dc cluster (2-dc cl): Work like the 3-dc cl, but with 2 partial dc (3 loops on hook). Yarn over and pull through all 3 loops.
- Ring Flower: Ch 6, then sl st in the 6th ch from the hook to form a ring. *Ch 2, 2-dc cl in the ring, ch 2, sl st in the ring. Repeat from * 5 more times. This makes 6 small petals, numbered 1 to 6 in the order you work them.
- Picot: Ch 3, sl st in the 3rd ch from the hook.
- Tip Picot: Ch 5, sl st in the 5th ch from the hook.
Gauge and Checkpoints
Gauge matters less here than in a garment, but it decides whether the star lies flat. Work Rnds 1–3 as a test piece and measure it before you continue.
Checkpoints (measured lightly flat, before blocking):
- After Rnd 2: The center flower is about 1 in (2.5 cm) across.
- After Rnd 3: About 1.5 in (3.8 cm) across.
- After Rnd 4: About 2 in (5.1 cm) across.
- After Rnd 5: About 2.5 in (6.4 cm) across.
- Each Ring Flower: About 0.75 in (1.9 cm) across.
- After Rnd 7: About 4.5 in (11.4 cm) tip to tip.
- After the border, blocked: 5 in (12.7 cm) tip to tip.
If your piece is too big: Change to a 1.25 mm hook. Also check that your clusters are not loose and tall.
If your piece is too small or cups: Change to a 1.75 mm hook. If the mesh rounds feel tight, loosen your chains in particular, because tight chains are the most common cause of cupping in thread lace.
Pattern
Rnd 1 (Center)
Make a magic ring. Ch 1, then work 12 sc in the ring. Pull the ring closed and sl st in the first sc to join.
Count: 12 sc.
Rnd 2 (Center Flower)
*Sl st in the next sc, then work a Center Petal in that same sc. Sl st in the next sc. Repeat from * 5 more times. The last sl st lands in the first sc of the round.
Count: 6 petals. Each petal uses 2 sc from Rnd 1, so 6 × 2 = 12.
Rnd 3 (First Mesh)
Sl st in each of the first 3 ch of the first petal, then sl st in the top of its cluster. Ch 1 and sc in the same cluster top. *Ch 6, sc in the top of the next petal’s cluster. Repeat from * 4 more times. Ch 6 and sl st in the first sc to join.
Count: 6 sc and 6 ch-6 sps.
Checkpoint: about 1.5 in (3.8 cm) across.
Rnd 4 (Second Mesh)
Ch 1. *Sc in the next sc, ch 4, sc in the next ch-6 sp, ch 4. Repeat from * 5 more times. Sl st in the first sc to join.
Count: 12 sc and 12 ch-4 sps.
Rnd 5 (Even Mesh)
Sl st in each of the first 2 ch of the next ch-4 sp. Ch 1. *Sc in the ch-4 sp, ch 5. Repeat from * 11 more times. Sl st in the first sc to join.
Count: 12 sc and 12 ch-5 sps.
Checkpoint: about 2.5 in (6.4 cm) across. The piece must lie flat at this point. If it ruffles, your chains are too long. If it cups, they are too short.
Rnd 6 (Ring Flowers)
Sl st in each of the first 3 ch of the next ch-5 sp. Ch 1.
*Sc in this ch-5 sp (sp A). Ch 3 and work a Ring Flower. Ch 3, then sc in the next ch-5 sp (sp B). Ch 5. Repeat from * 5 more times, moving one ch-5 sp ahead for each new sp A. Sl st in the first sc to join.
Count: 12 sc, 6 Ring Flowers, 12 ch-3 sps, and 6 ch-5 sps. Each repeat uses 2 ch-5 sps from Rnd 5, so 6 × 2 = 12.
Each flower stands outward from the mesh with its ring stem toward the center. Petals 1 and 6 are next to the stem. Petals 3 and 4 face outward, where the tip of the point will form. The ch-5 sps between the flowers will become the star’s valleys.
Rnd 7 (Point Lattice)
Sl st in each of the next 3 ch, then sl st in the first ch of the next ch-5 valley sp, so you finish in the middle of the valley. Ch 1.
*In the valley ch-5 sp, work (sc, ch 3, sc). Ch 5 and sc in the top of petal 2 of the next flower. Ch 5 and sc in the top of petal 3. Ch 7 for the tip, then sc in the top of petal 4. Ch 5 and sc in the top of petal 5. Ch 5. Repeat from * 5 more times. Sl st in the first sc to join.
Count per point: 6 sc, 1 ch-3 sp, 4 ch-5 sps, and 1 ch-7 tip sp.
Round total: 36 sc, 6 ch-3 sps, 24 ch-5 sps, and 6 ch-7 sps.
Checkpoint: about 4.5 in (11.4 cm) tip to tip. Each point should look like a triangle of chain loops that frames its flower.
Border
Border gauge: About 9 sc per 1 in (2.5 cm) along the edge, counting the picots in the spacing. Each side of a point, from the valley to the tip, measures about 1.4 in (3.6 cm).
In this round you work only into the chain spaces of Rnd 7 and skip the sc of Rnd 7.
Rnd 8 (Picot Outline and Hanging Loop)
Sl st in the next ch-3 valley sp. Ch 1.
*In the valley ch-3 sp, work 2 sc. In each of the next 2 ch-5 sps, work (2 sc, Picot, 2 sc). In the ch-7 tip sp, work (3 sc, Tip Picot, 3 sc). In each of the next 2 ch-5 sps, work (2 sc, Picot, 2 sc). Repeat from * 5 more times.
Hanging loop: On the final repeat, replace the Tip Picot with ch 25, then sl st in the last sc you made before the chain. Finish that tip with the remaining 3 sc as normal.
Sl st in the first sc to join. Fasten off and leave a 6 in (15.2 cm) tail.
Counts per side (valley center to tip):
– Half of the valley: 1 sc
– 2 ch-5 sps × 4 sc: 8 sc, plus 2 Picots
– Half of the tip sp: 3 sc
– Total: 12 sc and 2 Picots per side
Per point: 24 sc, 4 Picots, and 1 Tip Picot.
Round total: 144 sc, 24 Picots, 5 Tip Picots, and 1 hanging loop.
Why the math works: Each valley’s 2 sc are split evenly, 1 to each neighboring side, so no stitch is counted twice. Every side has exactly 12 sc over about 1.4 in (3.6 cm), and 12 sides × 12 sc = 144 sc. The 4 sc in each ch-5 sp are enough to lie flat over a 5-chain loop without ruffling. The 6 sc in the ch-7 tip sp pack slightly, which sharpens the point instead of rounding it. The border adds about 0.25 in (0.6 cm) at each tip, which takes the star from 4.5 in (11.4 cm) to 5 in (12.7 cm).
Final Blocking
- Weave in ends. Weave the starting and ending tails through the sc of the border and the base of the center flower. Trim them close.
- Wet the piece. Soak the star in cool water for 5 minutes, then gently press out the water in a towel.
- Apply stiffener. Dip the star in fabric stiffener or glue-water. Squeeze out the excess so that no film bridges the ring centers or picots.
- Pin the center. Lay the star on your board. Measure 5 in (12.7 cm) across and pin two opposite tips, then pin the other four tips evenly.
- Pin the valleys. Pin each valley so that opposite valleys are 3.25 in (8.3 cm) apart.
- Open the details. Use a pin to open each Ring Flower center and to pull each picot outward.
- Shape the loop. Lay the hanging loop straight up from the top tip.
- Dry completely. Leave the star for 12–24 hours, then unpin it. It should hold its shape when you lift it by the loop.
Final Quality-Control Checklist
- The star has 6 points, each with 1 Ring Flower and a clean tip.
- The center flower has 6 even petals around a closed center.
- Each side of each point has 12 sc and 2 picots.
- Tip to tip measures 5 in (12.7 cm) in all three directions.
- Valley to opposite valley measures 3.25 in (8.3 cm).
- The star lies flat with no cupping or ruffling.
- The ring flower centers are open and round.
- The hanging loop is about 1.25 in (3.2 cm) long and firmly anchored.
- No tails are visible, and no starch film fills any space.
Troubleshooting
The center flower petals twist. Keep the ch 3 on both sides of each cluster the same tension, and sl st firmly into the same sc.
The piece cups after Rnd 5. Your chains are too tight. Loosen your chains or move up 0.25 mm in hook size for the mesh rounds only.
The ring flowers flop backward. Make sure the ch 3 before and after each flower is not too long. Starching will also hold them in place.
The tips are rounded, not sharp. Pack all 6 sc tightly into the ch-7 tip sp and pin the Tip Picot outward while blocking.
One point is longer than the others. Count the chains in Rnd 7 for that point. A ch 8 instead of a ch 7 at the tip is a common slip.
Petals are hard to find in Rnd 7. Count petals clockwise from the stem. The 2nd and 3rd petals on one side lead to the tip, and the 4th and 5th lead back down.
The border ruffles. Check that you work 4 sc per ch-5 sp and not 5.
Care
Hand wash in cool water only when needed, then re-starch and pin the star to shape. Store it flat between sheets of tissue paper so the points and picots stay crisp.
Final Notes
The Snow Blossom Star grows in a clear chain of measurements:
- The center flower is about 1 in (2.5 cm).
- The mesh rounds build to 2.5 in (6.4 cm).
- The Ring Flowers and point lattice reach 4.5 in (11.4 cm).
- The 144-sc picot border brings the star to 5 in (12.7 cm) tip to tip.
Check each stage against its checkpoint and count each side’s 12 sc and 2 picots. When you block, pin the tips and valleys to their measurements, and your star will hang flat, crisp, and even.
Happy crocheting!