

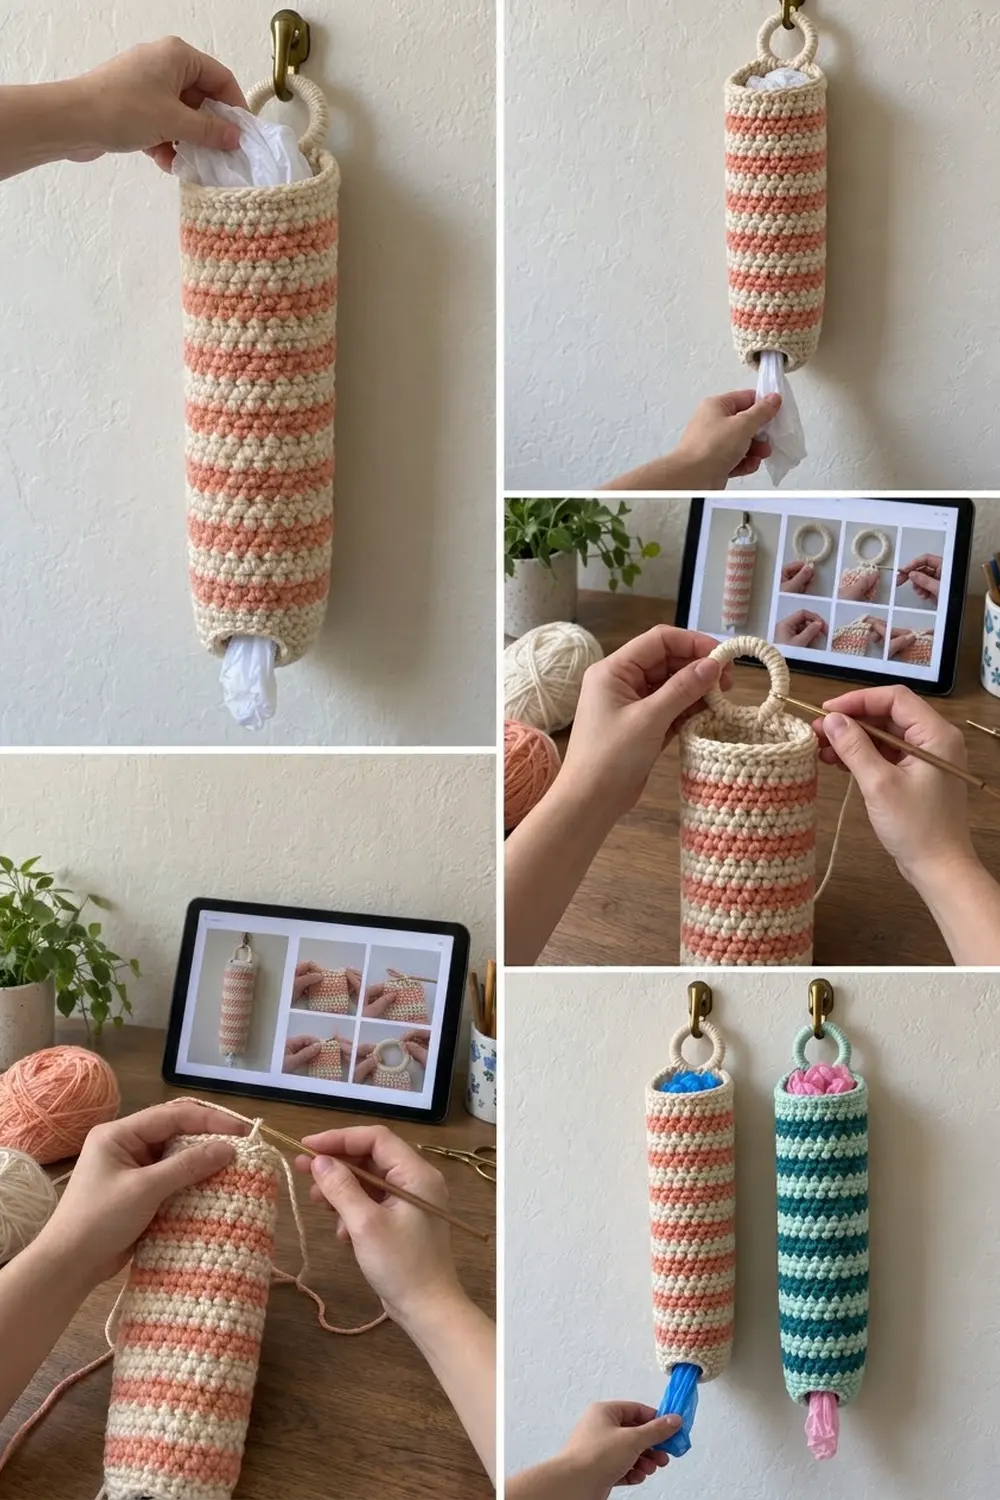
This striped bag holder is a simple, useful make that looks good on a kitchen or pantry wall. It is one sturdy tube of single crochet in coral and cream stripes, with a cream rim at the top and a cream band at the bottom. You push plastic bags in through the open top and pull them out one at a time through the smaller opening at the bottom.
A crochet-covered ring stitched to the back of the rim lets it hang neatly from a hook. The same pattern also works in mint and dark teal, or any two colors that suit your kitchen.
The pattern uses US crochet terms. The finished tube is 16 in (40.6 cm) tall with a 15 in (38.1 cm) circumference, so it is about 4.75 in (12.1 cm) across when round. With the ring added, it hangs about 17.75 in (45.1 cm) long.
Construction is simple. You chain a loop for the bottom pull opening, increase over a few rounds to the full width, and then work straight in joined, striped rounds. Next you add a cream rim and slip-stitch edging, and finally you cover a ring and sew it to the back.
Finished Size and Construction
- Finished size: 16 in (40.6 cm) tall; 15 in (38.1 cm) circumference; about 4.75 in (12.1 cm) diameter; 7.5 in (19.1 cm) wide when laid flat
- Hanging length with ring: about 17.75 in (45.1 cm)
- Skill level: Easy
- Terminology: US
- Yarn weight: Worsted (#4), cotton or cotton blend
- Hook: 5.0 mm (H-8)
- Number of pieces: 1 tube + 1 covered ring
- Layout: Vertical tube, worked bottom-up in joined rounds, seam at center back
- Piece size: 60 stitches around × 72 rounds
- Size before border: 15.33 in (38.9 cm) tall after Round 69
- Border depth: 3 rounds, about 0.67 in (1.7 cm), plus a slip-stitch edge
Materials
Pick a smooth worsted-weight cotton or cotton blend. Cotton holds its shape, doesn’t stretch much under the weight of bags, and washes well. Acrylic will work too, but the tube will be a little softer and may stretch over time.
- Color A, Cream: 60 g, about 95 m (104 yd)
- Color B, Coral: 55 g, about 85 m (93 yd)
- Alternate colorway: Mint for Color A and Dark Teal for Color B, same amounts
These amounts include a safety margin of about 15 percent.
Tools:
– 5.0 mm (H-8) crochet hook
– 1 metal or plastic ring, 2.75 in (7.0 cm) outer diameter
– 2 stitch markers
– Tapestry needle
– Scissors
– Measuring tape
– Wall hook for hanging
Abbreviations (US Terms)
- ch – chain
- sc – single crochet
- sl st – slip stitch
- inc – 2 sc in the same stitch
- st(s) – stitch(es)
- Rnd – round
- rep – repeat
Special technique – clean color change: Work the last sc of the round in the old color. To join the round, insert the hook into the first sc, pull up a loop in the new color, and pull it through. That joining sl st is your color change. Don’t cut the unused color. Carry it loosely up the inside of the tube at the seam, since every stripe is only 3 rounds tall.
Round structure: Every round starts with ch 1, which doesn’t count as a stitch. Work the first sc in the same stitch as the join, and end with a sl st into the first sc. This keeps the stripes level and puts the seam in a straight line at center back.
Gauge and Checkpoints
Gauge: 16 sc and 18 rounds = 4 in (10.2 cm) in sc worked in rounds. That works out to 4 sts and 4.5 rounds per 1 in (2.5 cm).
Check your gauge on the tube itself. Rounds 1 to 6 are your gauge swatch. Once Round 6 is done, lay the work flat and measure before you start the stripes.
Checkpoints:
– After Rnd 1: The foundation loop is 9 in (22.9 cm) around, which gives a pull opening of about 2.9 in (7.4 cm) across.
– After Rnd 6: The circumference is 15 in (38.1 cm). Laid flat, the tube is 7.5 in (19.1 cm) wide.
– After Rnd 24: The tube is 5.33 in (13.5 cm) tall.
– After Rnd 42: The tube is 9.33 in (23.7 cm) tall.
– After Rnd 69: The tube is 15.33 in (38.9 cm) tall.
– After Rnd 72: The tube is 16 in (40.6 cm) tall.
If your tube is too big (wider than 7.75 in / 19.7 cm laid flat), go down to a 4.5 mm hook. If it’s too small (narrower than 7.25 in / 18.4 cm), go up to a 5.5 mm hook. If only your height is off, work fewer or more stripes in the body, but always end with a coral stripe.
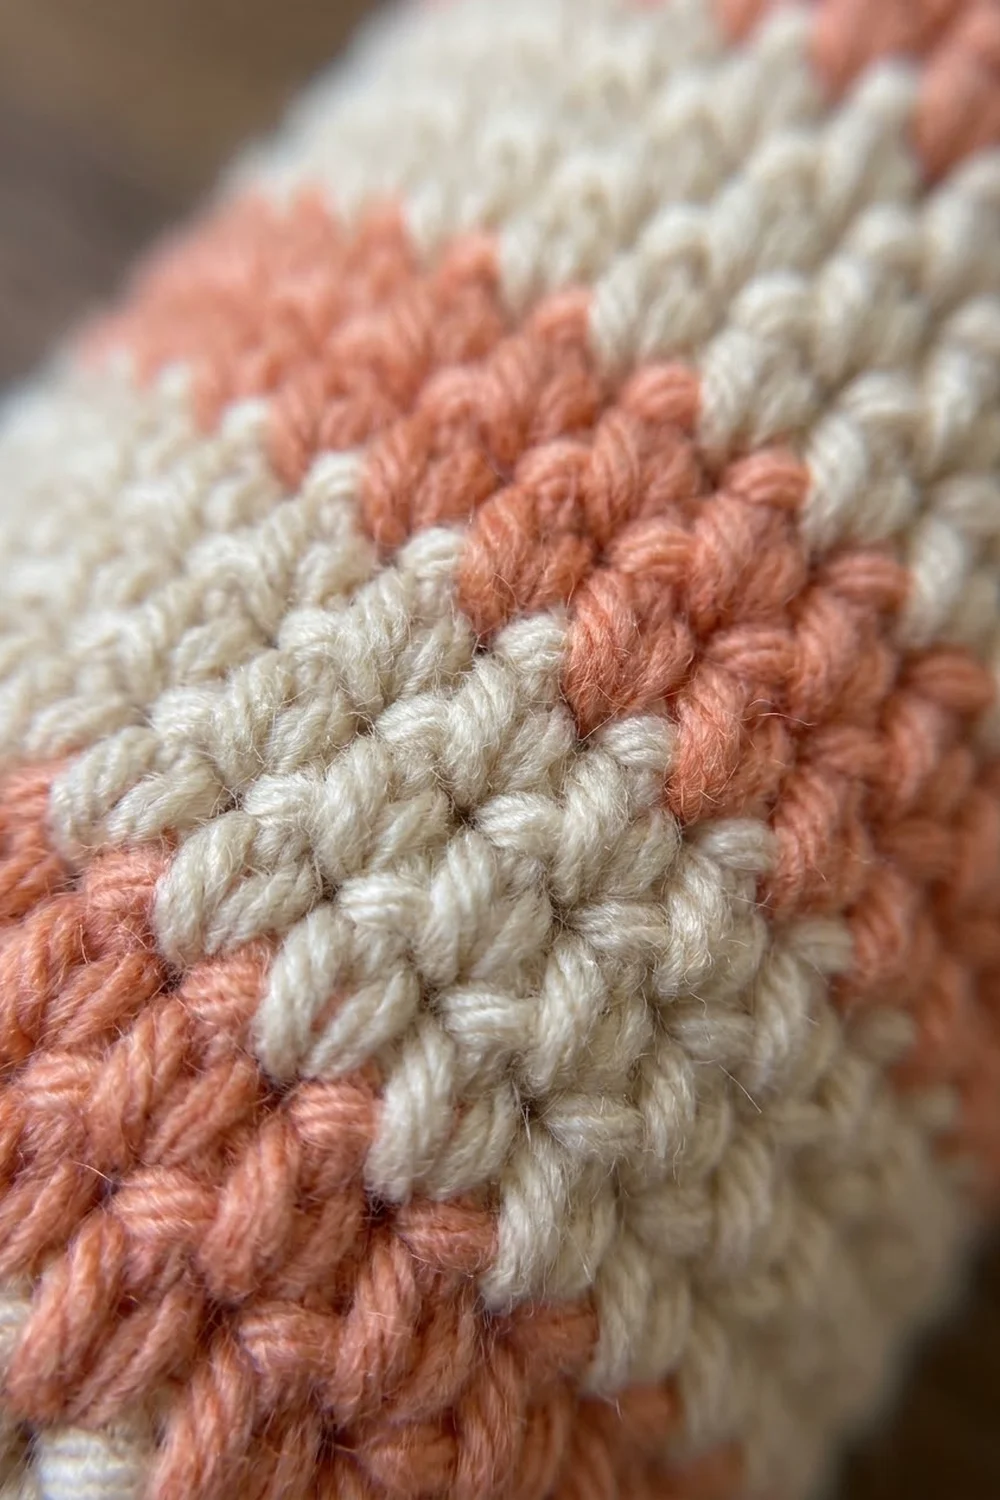
Tube: Bottom Opening and Shaping
Start with Color A (Cream).
Rnd 1: Ch 36. Taking care not to twist the chain, sl st into the first ch to form a ring. Ch 1, sc in each ch around, then sl st to the first sc. (36 sts)
Rnd 2: Ch 1, sc in each st around, then sl st to the first sc. (36 sts)
Rnd 3: Ch 1, sc in the next 5 sts, inc in the next st. Rep from * 6 times, then sl st to the first sc. (42 sts)
Rnd 4: Ch 1, sc in the next 6 sts, inc in the next st. Rep from * 6 times, then sl st to the first sc. (48 sts)
Rnd 5: Ch 1, sc in the next 7 sts, inc in the next st. Rep from * 6 times, then sl st to the first sc. (54 sts)
Rnd 6: Ch 1, sc in the next 8 sts, inc in the next st. Rep from * 6 times. Change to Color B on the joining sl st. (60 sts)
These six cream rounds make the bottom band, which is 1.33 in (3.4 cm) deep. The increases are spread evenly, so the bottom curves out smoothly instead of forming a sharp shelf.
Place a marker in the joining sl st. This is center back, and the ring will be attached here later.
Tube: Striped Body
The body is worked even at 60 sts in 3-round stripes. Each stripe is 0.67 in (1.7 cm) tall.
Rnds 7–9 (Color B, Coral): Ch 1, sc in each st around, then sl st to the first sc. On the join of Rnd 9, change to Color A. (60 sts per round)
Rnds 10–12 (Color A, Cream): Ch 1, sc in each st around, then sl st to the first sc. On the join of Rnd 12, change to Color B. (60 sts per round)
Rnds 13–69: Keep alternating the 3-round coral and 3-round cream stripes, changing color on every third join. (60 sts per round)
Stripe count check:
– Rounds 7 to 69 make 63 rounds, or 21 stripes.
– That’s 11 coral stripes and 10 cream stripes.
– The body starts and ends with coral. Rounds 67 to 69 are the last coral stripe.
On the join of Round 69, change to Color A. Cut Color B, leaving a 6 in (15.2 cm) tail.
Every round should still have exactly 60 sts. If the tube starts to widen or narrow, count a round right away. Usually a stitch was skipped or doubled near the seam.
Border: Top Rim and Edges
Border gauge: The rim uses the same gauge as the body, 4 sts and 4.5 rounds per 1 in (2.5 cm). Since a tube has no corners, each round is counted as one continuous edge, not by sides.
Rnd 70 (Color A): Ch 1, sc in each st around, then sl st to the first sc. (60 sts)
Rnd 71: Ch 1, sc in each st around, then sl st to the first sc. (60 sts)
Rnd 72: Ch 1, sc in each st around, then sl st to the first sc. (60 sts)
Rnd 73 (slip-stitch edge): Don’t ch 1. Sl st loosely in each st around. (60 sl sts) Fasten off and weave in the end at center back.
Bottom edge: Turn the tube upside down. Join Color A at center back in a free loop of the foundation chain. Sl st loosely in each of the 36 foundation loops, then join. (36 sl sts) Fasten off.
Why the math works:
– The rim keeps the body’s 60 sts, so it stays exactly 15 in (38.1 cm) around and sits straight.
– The slip-stitch rounds work 1 stitch into each existing stitch, with nothing added: 60 at the top and 36 at the bottom.
– That firms up both openings without making them flare or pull in.
– The slip-stitch rounds add almost no height, so the total is 72 rounds ÷ 4.5 = 16 in (40.6 cm).
Hanging Ring
Cover the ring: Use Color A (or Color A of your alternate colorway).
– Make a slip knot on the hook.
– Insert the hook through the center of the ring and pull up a loop. Ch 1.
– Work 48 sc tightly around the ring, then sl st to the first sc. (48 sts)
– Push the stitches together as you go so none of the ring shows through.
– If your ring is still visible or the stitches are bunching up, add or remove sc in pairs until the cover lies smooth.
– Fasten off, leaving a 16 in (40.6 cm) tail for sewing.
Attach the ring:
– Flatten the top of the tube so the center-back marker faces you.
– Slide the ring inside the back of the rim so that its lower 1 in (2.5 cm) overlaps Rounds 69 to 72.
– Using the long tail, whipstitch through the ring’s sc and the 8 center-back sts of Rounds 70 to 72. Go around twice.
– Check that none of the stitching shows on the front.
– The ring should stick up about 1.75 in (4.4 cm) above the rim.
– Weave in the tail and remove the marker.
Final Blocking
- Lightly spray the tube with water, or steam it gently. Cotton takes steam well.
- Slide a 4.75 in (12.1 cm) cylinder into the tube, such as a rolled towel or a tall oatmeal container.
- Smooth the stripes so they are level and the seam runs straight up the back.
- Shape the bottom curve with your fingers so the opening is round and centered.
- Let it dry completely on the form, standing upright.
- Remove the form and measure: 16 in (40.6 cm) tall and 7.5 in (19.1 cm) wide when laid flat.
Final Quality-Control Checklist
- Rounds 6 to 72 each have exactly 60 sts.
- There are 11 coral and 10 cream body stripes, each 3 rounds tall.
- The bottom band is 6 cream rounds, and the top rim is 3 cream rounds plus a slip-stitch edge.
- Color changes all line up at center back.
- Carried yarn on the inside is loose enough that the seam doesn’t pucker.
- The bottom opening is about 2.9 in (7.4 cm) across, and a bag pulls through easily.
- The ring is fully covered, centered at the back, and firmly sewn on.
- All ends are woven in on the inside.
Troubleshooting
Stripes jog or tilt: Make sure you’re joining every round instead of working in a spiral, and that each round starts in the same stitch as the join.
Seam puckers: You carried the unused yarn too tightly. Loosen it, or cut and rejoin for each stripe.
Tube flares at the top: You probably added stitches near the join. Count each round, and make sure the ch 1 isn’t being worked as a stitch.
Bottom opening is too tight: Work the foundation chain with a 5.5 mm hook, and keep the bottom slip-stitch edge loose.
Ring tilts forward: Center it exactly over the seam and stitch it to all 8 sts across 3 rounds.
Bags fall out: Your gauge is too loose. Redo the bottom with a smaller hook.
Care
Hand wash or machine wash on a gentle cold cycle, then reshape and dry flat or over a cylinder. Remove the ring’s stitching only if the ring is metal and might rust.
Final Notes
Here’s the measurement chain:
– The pattern starts with 36 sts for a 9 in (22.9 cm) pull opening.
– Even increases bring it to 60 sts, or 15 in (38.1 cm) around.
– 63 striped rounds bring the height to 15.33 in (38.9 cm).
– 3 rim rounds finish the tube at exactly 16 in (40.6 cm).
– The covered ring brings the total hanging length to about 17.75 in (45.1 cm).
If your gauge is right at Round 6, the rest of the measurements will follow. Choose your colors, find a hook on the wall, and enjoy having all those bags in one tidy place.
Happy crocheting!