

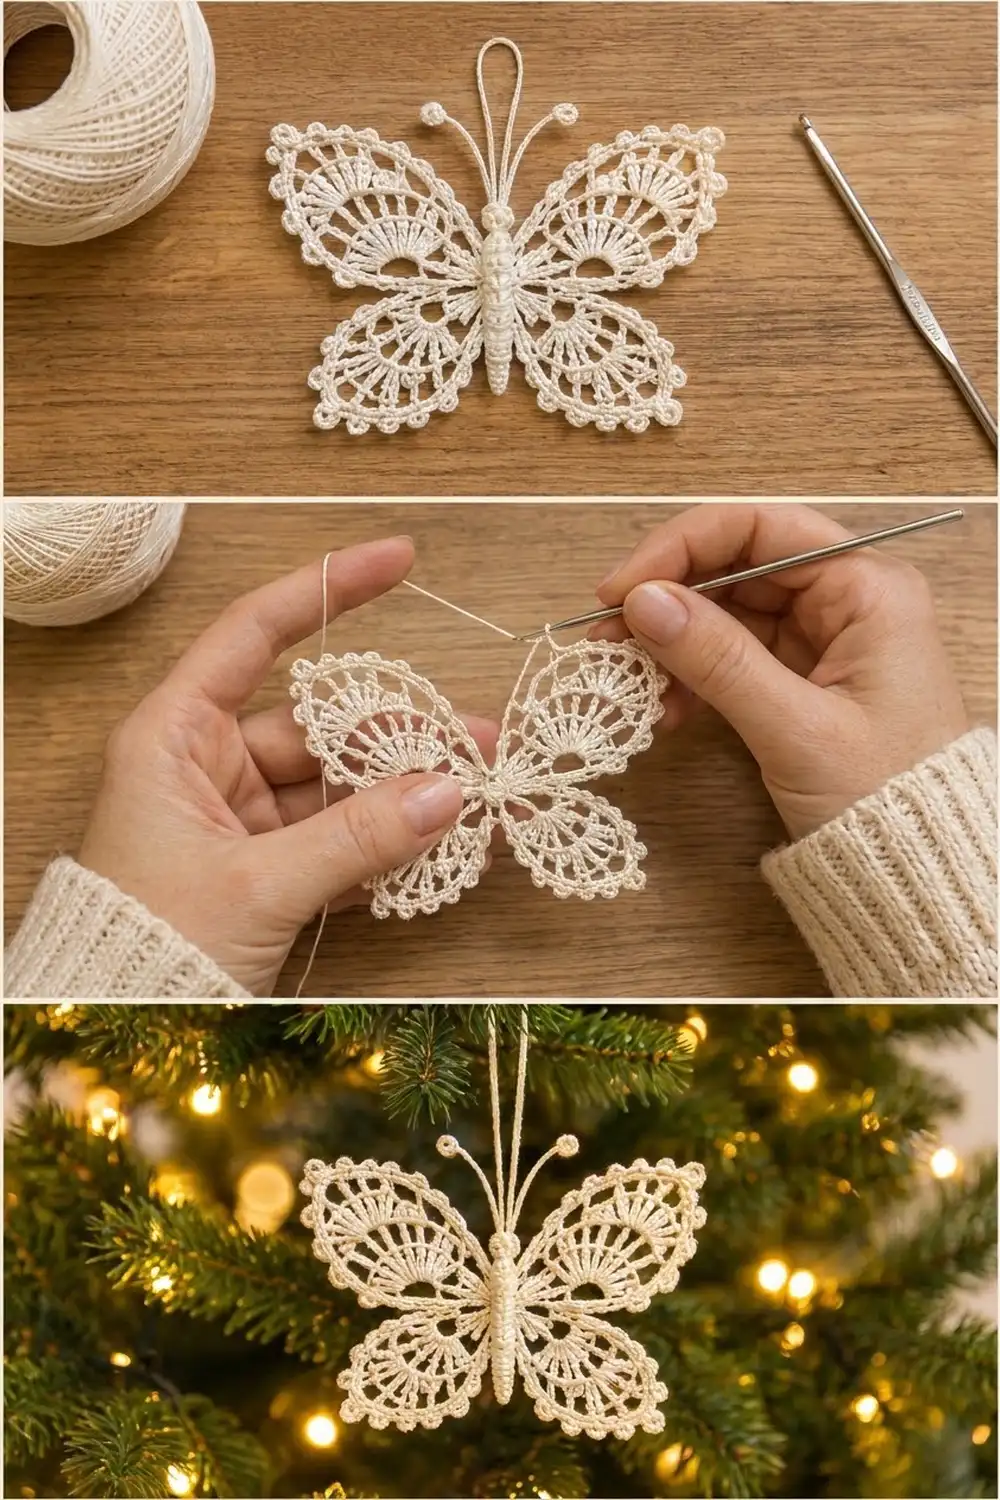
This delicate butterfly ornament is made in fine ivory cotton thread. Each wing opens like a small lace fan: a solid semicircle at the center, long stitches radiating out like spokes, a band of open chain arches, and a row of small picots around the edge. A slim, raised body with a round head and curled antennae finishes the center.
It is one finished ornament, worked in a single color. The look is classic and heirloom-style, so it suits a Christmas tree, a gift tag, a window, or a framed piece. The pattern uses US crochet terms throughout.
The finished butterfly measures 4.75 in (12.1 cm) wide and 3.75 in (9.5 cm) tall across the wings. Including the antennae, it is 5 in (12.7 cm) tall. The hanging loop is extra.
To make it, you crochet two large upper wings and two smaller lower wings, all worked in rows from a small ring. Next you tack the four wings together at the center and add one continuous round of picot edging around the whole outline. Last, you make the body and head and stitch them over the center, then add the antennae and hanging loop.
Finished Size and Construction
- Finished size: 4.75 in (12.1 cm) wide × 3.75 in (9.5 cm) tall across the wings; 5 in (12.7 cm) tall with antennae
- Skill level: Intermediate
- Terminology: US crochet terms
- Yarn weight: Size 10 crochet cotton thread (Lace, weight 0)
- Hook: 1.75 mm steel hook (US steel 4)
- Number of pieces: 6 (4 wings, 1 body, 1 head); the antennae and loop are worked directly onto the head
- Layout: 2 upper wings over 2 lower wings, mirrored on either side of a central body
- Piece size (before border): upper wing 3.3 in (8.4 cm) across the straight edge × 1.65 in (4.2 cm) from ring to outer arc; lower wing 2.8 in (7.1 cm) × 1.4 in (3.6 cm)
- Size before border: 4.35 in (11.0 cm) wide × 3.35 in (8.5 cm) tall
- Border depth: 0.2 in (0.5 cm) on every side
Materials
Thread: Use a smooth mercerized cotton in size 10. Mercerized cotton holds its shape after starching and shows the stitch details clearly. Avoid fuzzy or loosely plied threads, because the picots and spokes will blur.
- Ivory or cream: 6 g, about 30 m (33 yd)
Tools:
- 1.75 mm steel crochet hook (US steel 4)
- Fine tapestry needle that fits size 10 thread
- Small sharp scissors
- Rust-proof pins and a foam blocking board
- Liquid fabric starch, or white glue mixed 1:1 with water
- Plastic wrap to cover the board
The thread quantity includes a margin of about 25% for your gauge swatch and for tails.
Abbreviations (US Terms)
- ch = chain
- sl st = slip stitch
- sc = single crochet
- dc = double crochet
- tr = treble crochet
- dtr = double treble crochet
- MR = magic ring
- sp = space
- tch = turning chain
- RS = right side
Special stitch:
- Picot: ch 3, sl st in the 3rd ch from the hook.
Gauge and Checkpoints
Gauge matters less here than for a garment, but it controls whether the wings fit together neatly. Make one upper wing first and measure it before going on.
Base gauge: 13 dc on a size 10 thread measure about 1.9 in (4.8 cm) in a straight row, and 1 dc row is about 0.25 in (0.6 cm) tall.
Upper wing checkpoints (lay the wing flat with the straight edge at the bottom):
- After Row 1: 1 in (2.5 cm) across the straight edge
- After Row 2: 2.25 in (5.7 cm) across; 1.1 in (2.8 cm) from the ring to the arc
- After Row 3: 2.8 in (7.1 cm) across; 1.4 in (3.6 cm) to the arc
- After Row 4: 3.3 in (8.4 cm) across; 1.65 in (4.2 cm) to the arc
Lower wing checkpoints:
- After Row 1: 0.9 in (2.3 cm) across
- After Row 2: 1.8 in (4.6 cm) across; 0.9 in (2.3 cm) to the arc
- After Row 3: 2.4 in (6.1 cm) across; 1.2 in (3.0 cm) to the arc
- After Row 4: 2.8 in (7.1 cm) across; 1.4 in (3.6 cm) to the arc
If your piece is too big (more than 0.125 in / 0.3 cm over at Row 2), go down to a 1.5 mm hook. If it is too small, go up to a 2.0 mm hook. If only the spokes look too long or too short, keep the hook and check that every dtr or tr is pulled up to full height.
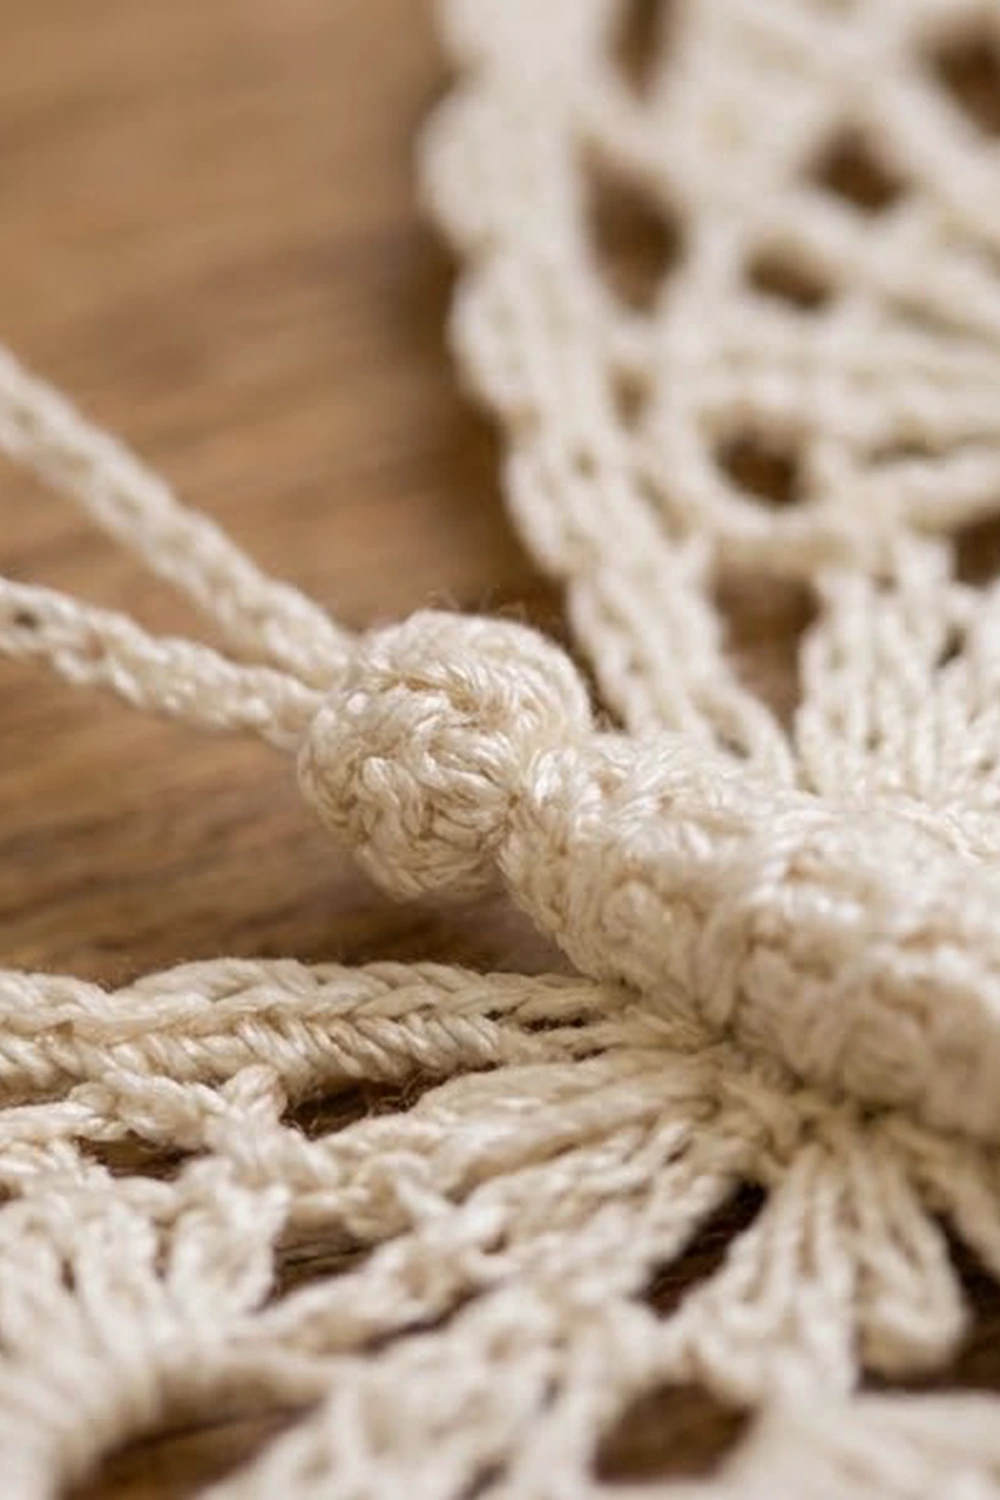
Upper Wing (Make 2)
Ch 6, then sl st in the first ch to form a ring.
Row 1 (RS): Ch 3 (counts as dc), 12 dc in the ring. Turn. (13 dc)
The 13 dc form a semicircle, which is the solid center of the fan.
Row 2: Ch 7 (counts as dtr + ch 2). Dtr in the next dc, ch 2. Repeat from * 11 times. Dtr in the top of the tch. Turn. (13 dtr, 12 ch-2 sp)
These 13 dtr are the long fan spokes. Keep the ch-2 spaces even so the spokes fan out evenly.
Row 3: Ch 1, sc in the first dtr. Ch 5, sc in the next dtr. Repeat from * 12 times, ending in the 5th ch of the tch. Turn. (13 sc, 12 ch-5 loops)
Row 4: Ch 1, sc in the first sc. Ch 4, sc in the next ch-5 loop, ch 4, sc in the next sc. Repeat from * 12 times. (25 sc, 24 ch-4 loops)
This row makes the band of small open arches. Fasten off, leaving a 6 in (15.2 cm) tail for joining.
Lower Wing (Make 2)
Ch 5, then sl st in the first ch to form a ring.
Row 1 (RS): Ch 3 (counts as dc), 9 dc in the ring. Turn. (10 dc)
Row 2: Ch 6 (counts as tr + ch 2). Tr in the next dc, ch 2. Repeat from * 8 times. Tr in the top of the tch. Turn. (10 tr, 9 ch-2 sp)
The tr spokes are shorter than the dtr on the upper wing, which keeps the lower wings smaller.
Row 3: Ch 1, sc in the first tr. Ch 5, sc in the next tr. Repeat from * 9 times. Turn. (10 sc, 9 ch-5 loops)
Row 4: Ch 1, sc in the first sc. Ch 4, sc in the next ch-5 loop, ch 4, sc in the next sc. Repeat from * 9 times. (19 sc, 18 ch-4 loops)
Fasten off, leaving a 6 in (15.2 cm) tail.
Body (Make 1)
Ch 13.
Rnd 1: Sc in the 2nd ch from the hook and in each of the next 10 ch. Work 3 sc in the last ch. Rotate the piece to work along the other side of the foundation chain. Sc in each of the next 10 ch, then 2 sc in the same ch as the first sc. Join with a sl st to the first sc. (26 sc)
Rnd 2: Ch 1, sc in each sc around, then join. (26 sc)
Fold the strip in half lengthwise with the RS facing out. Whipstitch the long edges together to make a narrow, raised tube about 2 in (5.1 cm) long. Leave a 10 in (25.4 cm) tail.
Segments: With the tail, wrap the tube tightly 3 times at 0.25 in (0.6 cm) intervals, starting 0.5 in (1.3 cm) from the top. Run the needle through the tube between each set of wraps. This makes the ridged, segmented look.
Head (Make 1)
Rnd 1: In a MR, work 8 sc. Pull the ring fully closed and join. (8 sc)
The tight ring cups into a small ball. Leave a tail for sewing.
Joining
Method: Tack the pieces together with the thread tails, using small whipstitches worked stitch to stitch.
- Lay the wings RS up. Put the upper wings at the top, with their straight edges angled down toward the center and their rings touching at the middle. Put the lower wings below them, with their rings also at the center.
- Using the upper wing’s tail, whipstitch its ring edge to the lower wing’s ring edge on the same side. Stitch through the dc in Row 1 (dc to dc) for 3 stitches.
- Tack the corner sc at the end of Row 4 on the upper wing to the corner sc at the end of Row 4 on the lower wing, with 1 whipstitch.
- Repeat Steps 2 and 3 on the other side.
- Whipstitch the two left rings to the two right rings at the exact center, with 2 stitches.
Tension: Pull each stitch just snug. If you pull hard, the joins pucker and the fans tilt upward.
Size checkpoint: The joined wings measure 4.35 in (11.0 cm) wide × 3.35 in (8.5 cm) tall. If the width is short, check whether the wings overlap at the center. They should touch, not stack.
Border (Picot Edging)
Border gauge: 1 edged loop = about 0.2 in (0.5 cm) along the arc, so you get about 4.5 picots per 1 in (2.5 cm).
Join the thread in the first ch-4 loop of the upper right wing, next to the center.
Border Rnd:
- Upper right wing: In each of the 24 ch-4 loops, work (2 sc, picot, 2 sc). (96 sc, 24 picots)
- At the tacked corner, sl st into the first ch-4 loop of the lower right wing. No stitches are added at this join.
- Lower right wing: In each of the 18 ch-4 loops, work (2 sc, picot, 2 sc). (72 sc, 18 picots)
- At the center, sl st across the joined rings into the first loop of the lower left wing. The body will hide these sl sts.
- Lower left wing: In each of the 18 loops, work (2 sc, picot, 2 sc). (72 sc, 18 picots)
- At the tacked corner, sl st into the first loop of the upper left wing.
- Upper left wing: In each of the 24 loops, work (2 sc, picot, 2 sc). (96 sc, 24 picots)
- Sl st across the center to the first sc and fasten off.
Border total: 84 loops, giving 336 sc and 84 picots.
Why the math works: Each ch-4 loop takes 4 sc, so you work exactly one sc per chain. That covers the loop without stretching or ruffling it. The picot sits on top of the edge and adds no length along the arc, so it adds only the 0.2 in (0.5 cm) border depth. No stitches are added at the seams, so the wing proportions stay exactly as they were after Row 4. The finished size is 4.35 + 0.2 + 0.2 = 4.75 in (12.1 cm) wide and 3.35 + 0.2 + 0.2 = 3.75 in (9.5 cm) tall.
Body Attachment, Antennae, and Hanging Loop
- Center the body over the wing joins, with the narrow top just above the point where the upper wings meet. Stitch it down through its underside along the whole length, catching the joined rings below.
- Sew the head to the top of the body.
- Antennae: Join the thread at the top of the head, slightly left of center. Ch 16. Work 6 sc in the 2nd ch from the hook and join to the first sc; this makes the tip ball. Sl st in each of the remaining 14 ch back to the head. Repeat slightly right of center. Each antenna is about 1.25 in (3.2 cm) long.
- Hanging loop: Join the thread at the center of the head, between the antennae. Ch 30, then sl st in the same stitch. The loop hangs about 1.5 in (3.8 cm) above the head.
- Weave in all ends along the back of the body.
Final Blocking
- Cover the blocking board with plastic wrap.
- Dip the butterfly in starch, or brush it with the glue mixture. Squeeze out the extra in a towel; do not wring it.
- Lay it RS up and pin the body straight first.
- Pin each upper wing to 1.85 in (4.7 cm) from the ring to the picot tips, and each lower wing to 1.6 in (4.1 cm).
- Put 1 pin through each picot so it sits round and open.
- Ease each spoke straight so the ch-2 spaces are even.
- Curl each antenna gently outward and pin the tip balls.
- Check the overall size: 4.75 in (12.1 cm) × 3.75 in (9.5 cm).
- Let it dry for 24 hours before unpinning.
Final Quality-Control Checklist
- Upper wings have 13 spokes, and lower wings have 10.
- Every wing has a full row of chain arches: 24 on each upper wing, 18 on each lower wing.
- The border has 84 picots, evenly spaced.
- Left and right wings mirror each other in size.
- The body covers all of the center sl sts and joins.
- The antennae are the same length and the tips are curled.
- The hanging loop is secure and centered.
- All ends are woven in and invisible from the front.
Troubleshooting
- The fan cups upward: Row 2 is too tight. Lengthen the ch-2 spaces or use a slightly larger hook for that row only.
- The fan ruffles: Row 2 or Row 3 chains are too loose. Go down a hook size or tighten your chains.
- The arch band looks crowded: Check that Row 4 works one sc into each ch-5 loop and one sc into each sc, nothing extra.
- The edging ripples: You have more than 4 sc per loop. Recount the sc in each loop.
- The wings droop on the tree: Use more starch, or a second coat after the first dries.
- The body twists: Stitch it down along its whole length, not only at the ends.
Care
Hand wash gently in cool water, then re-starch and re-block to restore the shape. Store flat in tissue paper, away from sunlight.
Final Notes
The measurement chain is simple to follow:
- Upper wing: 1.65 in (4.2 cm) to the arc, lower wing 1.4 in (3.6 cm)
- Joined wings: 4.35 in (11.0 cm) × 3.35 in (8.5 cm)
- Border: adds 0.2 in (0.5 cm) all around
- Finished butterfly: 4.75 in (12.1 cm) × 3.75 in (9.5 cm), or 5 in (12.7 cm) tall with antennae
Check each stage against these numbers and the butterfly will come out balanced and even.
Happy crocheting!