

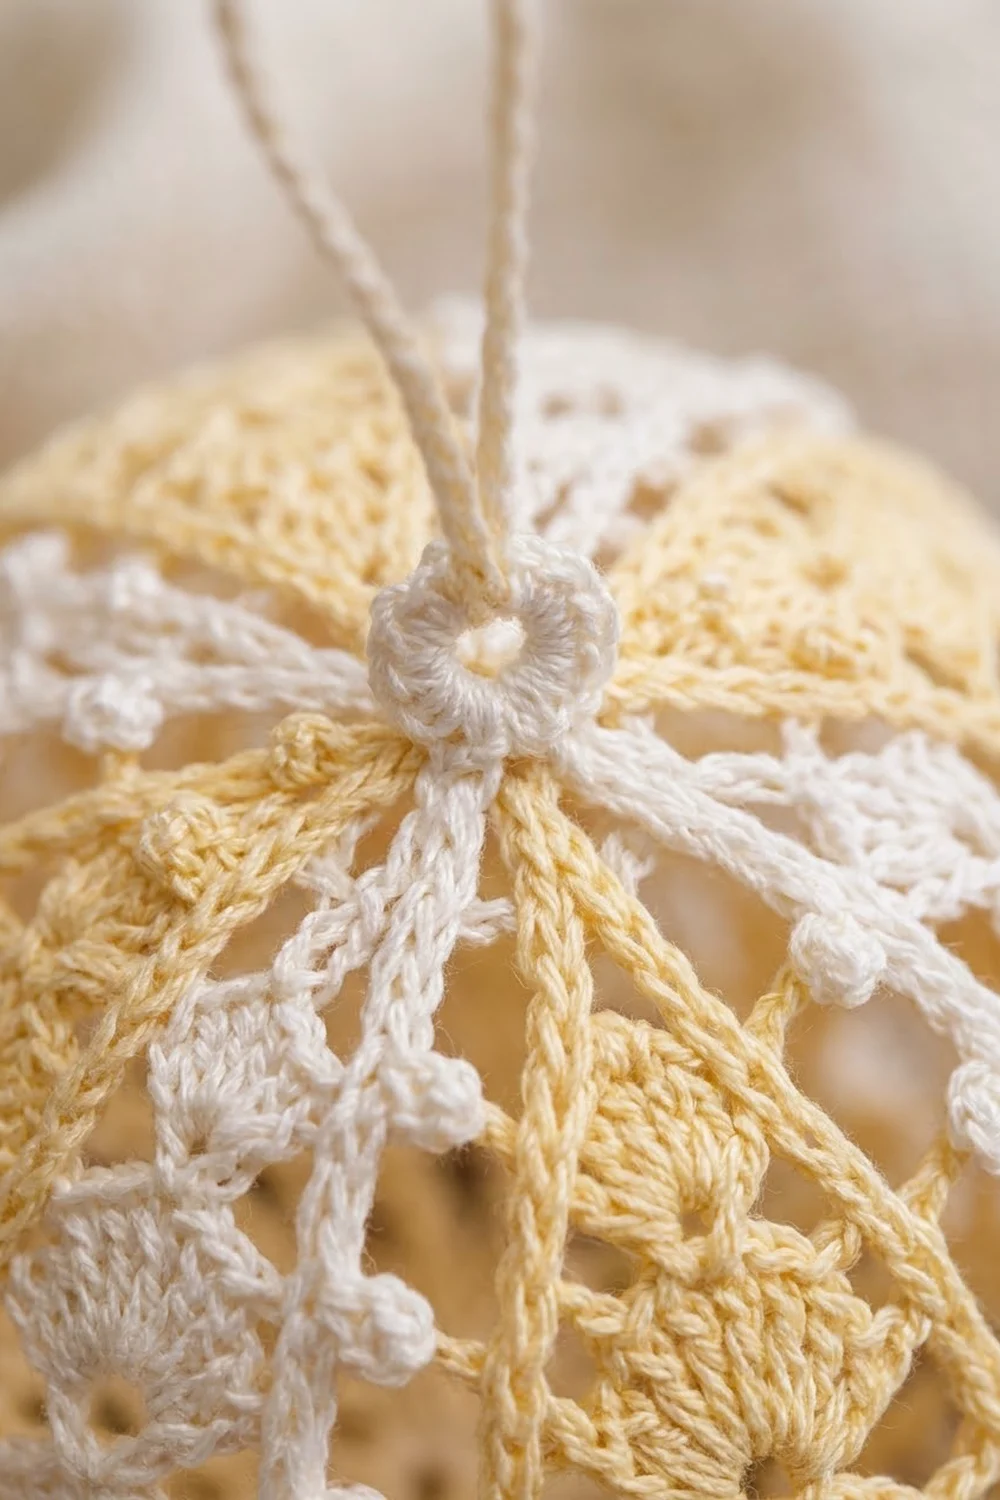
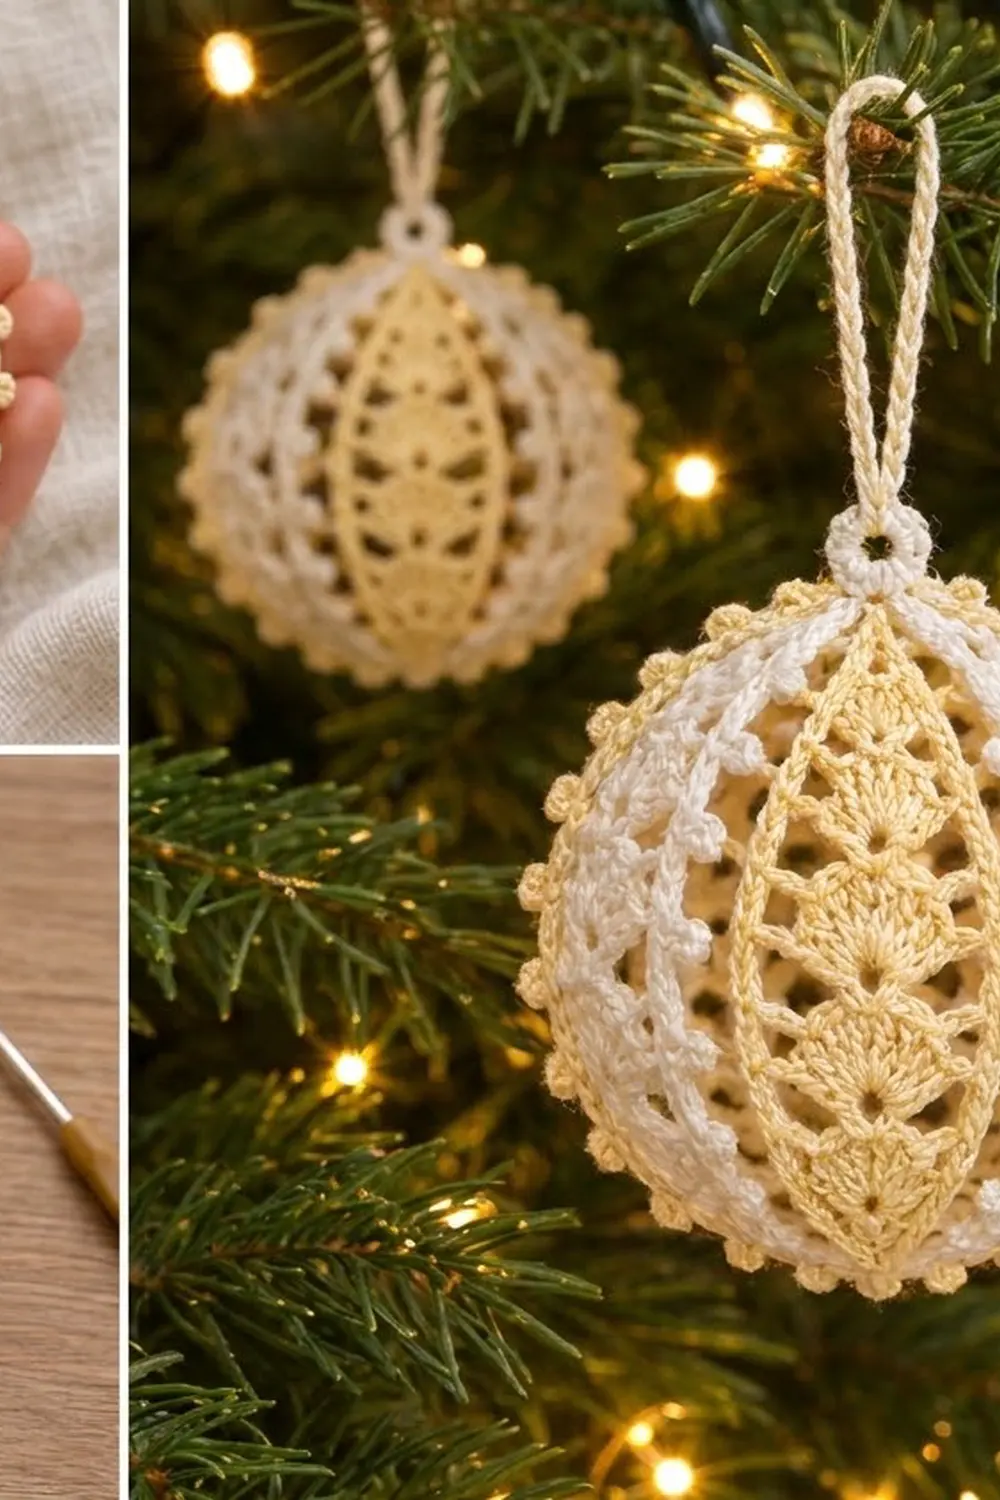
This lace ball ornament is made from six long, pointed gores that close around a clear ball. Three gores are pale butter yellow, each with a column of solid fans that each sit on a small eyelet. The other three are white, with lighter open fans. Small picot dots in both colors run along every seam.
It’s classic Victorian-style thread lace in soft colors that suit a vintage tree. All instructions use US crochet terms.
The finished ornament is 3 in (7.6 cm) across and 3¼ in (8.3 cm) tall including the picot rings at the top and bottom. The hanging loop adds about 1¾ in (4.4 cm).
How it’s made: you crochet six flat, lens-shaped gores in rows from tip to tip and add a two-round picot edging to each one. Then you whipstitch them together around a 3 in (7.6 cm) clear ball, cover each pole with a picot ring, and add a hanging loop.
Finished Size and Construction
- Finished size: 3 in (7.6 cm) across; 3¼ in (8.3 cm) tall with pole rings
- Skill level: Intermediate
- Terminology: US crochet terms
- Yarn weight: Lace (0), size 10 cotton crochet thread
- Hook: 1.75 mm (US steel 6)
- Number of pieces: 6 gores (3 yellow, 3 white), 2 pole rings, 1 hanging loop
- Layout: gores alternate yellow and white around the ball
- Piece size: each edged gore is 4½ in (11.4 cm) long and 1.6 in (4.1 cm) wide, blocked flat
- Size before border: the joined gores make a 3 in (7.6 cm) sphere with small open poles
- Border depth: the pole rings add about ⅛ in (0.3 cm) at each pole
Materials
Use mercerized cotton thread in size 10. It shows lace detail clearly and holds starch well. Choose a clean white and a soft butter yellow, not a bright lemon.
- Color A, butter yellow: 10 g, about 32 m (35 yd), for 3 gores
- Color B, white: 15 g, about 48 m (52 yd), for 3 gores, all seams, 2 pole rings, and the loop
Tools:
- 1.75 mm (US steel 6) crochet hook
- 3 in (7.6 cm) clear plastic ball ornament (often sold as 75–80 mm), cap removed
- Fine tapestry needle
- Blocking mat and rustproof pins
- Spray starch or fabric stiffener (optional)
- Scissors and a ruler
These amounts include about 20 percent extra for a test gore and weaving in ends.
Abbreviations (US Terms)
- ch – chain
- sl st – slip stitch
- sc – single crochet
- dc – double crochet
- dc2tog / dc3tog – double crochet 2 / 3 together
- sk – skip
- sp – space
- st(s) – stitch(es)
- tch – turning chain
- RS – right side
Special stitches
- V-st: (dc, ch 3, dc) in the same stitch. The ch-3 makes the eyelet below each fan.
- Fan: 7 dc in the ch-3 sp of a V-st (yellow gores).
- Open fan: (dc, [ch 1, dc] 3 times) in the ch-3 sp of a V-st (white gores). It’s the same width as a Fan: 4 dc + 3 ch = 7 stitch widths.
- Picot: ch 3, sl st in 3rd ch from hook.
A ch-3 at the start of a row counts as 1 dc. A ch-2 at the start of a row does not count.
Gauge and Checkpoints
Gauge: 10 dc and 4 dc rows = 1 in (2.5 cm).
Make one yellow gore first and use it as your test piece. Check it at these points:
- After Row 5: 1¼ in (3.2 cm) long and 1.4 in (3.6 cm) across
- After Row 11: 2¾ in (7.0 cm) long
- After Row 17: 4¼ in (10.8 cm) long
- After edging Round 2, blocked: 4½ in (11.4 cm) long and 1.6 in (4.1 cm) wide
If it’s too big, switch to a 1.65 mm (US steel 7) hook. If it’s too small, switch to a 1.9 mm hook. Gores that are too wide will bag on the ball. Gores that are too narrow will leave gaps at the seams.
Gore A (Yellow Fan Gore) – Make 3
With Color A.
Row 1 (RS): Ch 4, 2 dc in 4th ch from hook. (3 dc)
Row 2: Ch 3, turn, V-st in center dc, dc in top of tch. (4 dc, 1 ch-3 sp)
Row 3: Ch 3, turn, sk next dc, 5 dc in ch-3 sp, sk next dc, dc in top of tch. (7 dc; small bottom fan)
Row 4: Ch 3, turn, dc in same st, ch 1, sk 2 dc, V-st in next dc, ch 1, sk 2 dc, 2 dc in top of tch. (6 dc, 2 ch-1 sps, 1 ch-3 sp)
Row 5: Ch 3, turn, dc in same st, dc in next dc, ch 1, sk ch-1 sp and next dc, Fan in ch-3 sp, ch 1, sk next dc and ch-1 sp, dc in next dc, 2 dc in top of tch. (13 dc, 2 ch-1 sps)
This is the widest point. Each edge now has 3 dc.
Row 6: Ch 3, turn, dc in next 2 dc, ch 2, sk ch-1 sp and 3 dc, V-st in next dc (4th dc of Fan), ch 2, sk 3 dc and ch-1 sp, dc in next dc, dc in top of tch. (8 dc, 2 ch-2 sps, 1 ch-3 sp)
Row 7: Ch 3, turn, dc in next 2 dc, ch 1, sk ch-2 sp and next dc, Fan in ch-3 sp, ch 1, sk next dc and ch-2 sp, dc in next dc, dc in top of tch. (13 dc, 2 ch-1 sps)
The chain spaces form the open ladder bars between the fans and the edges.
Rows 8–11: Repeat Rows 6–7 twice. (Row 11: 13 dc, 2 ch-1 sps)
Row 12: Ch 3, turn, dc2tog over next 2 dc, ch 1, sk ch-1 sp and 3 dc, V-st in next dc, ch 1, sk 3 dc and ch-1 sp, dc2tog over next 2 sts, dc in top of tch. (6 sts, 2 ch-1 sps, 1 ch-3 sp)
Row 13: Ch 3, turn, sk dc2tog, ch-1 sp and next dc, Fan in ch-3 sp, sk next dc, ch-1 sp and dc2tog, dc in top of tch. (9 dc)
Row 14: Ch 3, turn, sk 3 dc, V-st in next dc, sk 3 dc, dc in top of tch. (4 dc, 1 ch-3 sp)
Row 15: Ch 3, turn, sk next dc, 5 dc in ch-3 sp, sk next dc, dc in top of tch. (7 dc)
Row 16: Ch 2, turn, dc2tog over next 2 sts, dc3tog over next 3 sts, dc2tog over last 2 sts. (3 sts)
Row 17: Ch 2, turn, dc3tog over all 3 sts. (1 st; top tip)
Don’t fasten off. You now have 7 fans stacked from tip to tip, each sitting on an eyelet.
Gore Edging
Round 1: Ch 1, 3 sc in top of Row 17. Down the first side, work 2 sc in the side of each row (34 sc). Work 3 sc in the base of Row 1. Up the second side, work 2 sc in the side of each row (34 sc). Join with sl st to first sc. (74 sc)
The middle sc of each 3-sc tip group is the tip center. Each long side has 38 sc from tip center to tip center, counting both tip centers. The two sides share those 2 sc, so 38 + 38 − 2 = 74.
Round 2: Sl st in next sc (top tip center). Ch 1, (sc, picot) in same sc, sc in next 4 sc, [picot, sc in next 4 sc] 8 times, (sc, picot) in next sc (bottom tip center), sc in next 4 sc, [picot, sc in next 4 sc] 8 times. Join with sl st to first sc. (74 sc, 18 picots)
That’s 1 + 36 + 1 + 36 = 74 sc. On each side, the first and last picots sit exactly 4 sc from the tip centers. Because the spacing is symmetrical, the picots line up whichever way you turn a gore.
Fasten off, leaving a 6 in (15.2 cm) tail.
Gore B (White Open-Fan Gore) – Make 3
With Color B. Gore B matches Gore A except for the middle fans, so the outline and edging counts are the same.
Rows 1–4: Work as Gore A.
Row 5: Work as Gore A, but make an Open fan instead of the Fan. (10 dc, 5 ch-1 sps)
Row 6: Ch 3, turn, dc in next 2 dc, ch 2, sk ch-1 sp and next [dc, ch-1 sp, dc], V-st in next ch-1 sp (center of Open fan), ch 2, sk next [dc, ch-1 sp, dc] and ch-1 sp, dc in next dc, dc in top of tch. (8 dc, 2 ch-2 sps, 1 ch-3 sp)
Row 7: Work as Gore A Row 7, but make an Open fan instead of the Fan. (10 dc, 5 ch-1 sps)
Rows 8–11: Repeat Rows 6–7 twice.
Row 12: Ch 3, turn, dc2tog over next 2 dc, ch 1, sk ch-1 sp and next [dc, ch-1 sp, dc], V-st in center ch-1 sp, ch 1, sk next [dc, ch-1 sp, dc] and ch-1 sp, dc2tog over next 2 sts, dc in top of tch. (6 sts, 2 ch-1 sps, 1 ch-3 sp)
Rows 13–17: Work as Gore A.
Edging: Work Rounds 1 and 2 as Gore A. (74 sc, 18 picots) Leave a 24 in (61.0 cm) tail on each white gore for seaming.
Make All Pieces
- Color A (yellow): 3 Gore A
- Color B (white): 3 Gore B, 2 pole rings, 1 hanging loop
Layout around the ball, seen from the top:
        A
    B       B
    A       A
        B
The order is A – B – A – B – A – B, and the last B joins back to the first A.
Before you join, pin each gore flat to 4½ x 1.6 in (11.4 x 4.1 cm), mist it lightly, and let it dry.
Joining
Method: whipstitch through the outer loops of Round 2, using white thread.
- Lay a Gore A and a Gore B side by side, RS up, with the tips matching.
- Start at the bottom tip centers. Whipstitch each matching pair of sc, 1 stitch to 1 stitch, up to the top tip centers. That’s 38 pairs per seam.
- Leave the picots free. They sit opposite each other along the seam, one yellow dot and one white dot.
- Keep the tension snug but relaxed so the seam lies flat. Check it every 10 stitches.
Join the gores in order. After 5 seams, you’ll have a curved strip of 6 gores. Wrap the strip around the ball so the tips meet at the poles, then work the 6th seam to close the sphere.
Size checkpoint: the joined lace should measure about 9.6 in (24.4 cm) around the middle. The ball measures about 9.4 in (23.9 cm) around, so the lace has a little ease. If it’s loose, pull the last seam a little tighter.
Border: Pole Rings and Hanging Loop
On this ornament, the border is two small picot rings that cover the poles where the tips meet, plus the hanging loop.
Border gauge: a 12-sc ring is about 0.4 in (1.0 cm) across, or 0.6 in (1.5 cm) including the picots.
Pole Ring (make 2, Color B)
Round 1: Ch 6, sl st in first ch to form a ring. Ch 1, 12 sc in ring. Join with sl st to first sc. (12 sc)
Round 2: Ch 1, *sc in next sc, picot, sc in next sc; rep from * 5 more times. Join. (12 sc, 6 picots)
Fasten off, leaving an 8 in (20.3 cm) tail.
Why the math works: 6 gores x 2 sc per gore = 12 sc. Each tip center is sewn under the 2 sc between 2 picots. That puts the 6 picots directly over the 6 seams, and the ring holds the tips without stretching them.
Attaching: Center a ring over the bottom pole, RS out, and sew each tip center under its 2 sc. Repeat at the top pole.
Hanging Loop (Color B)
Ch 51, sl st in back bump of 2nd ch from hook and in each ch across. (50 sl st, about 3½ in / 8.9 cm)
Fold the cord in half. Push both ends through the center of the top ring and sew them firmly to the inside of Round 1. The loop stands about 1¾ in (4.4 cm) tall.
Final Blocking
- Weave in all ends along the seams, inside the ball.
- Mist the ornament lightly with water or spray starch.
- Smooth each fan flat against the ball with your fingertips.
- Pull each picot outward so it stands up as a dot.
- Straighten the seams so they run cleanly from pole to pole.
- Hang the ornament by its loop until it’s completely dry.
- For extra firmness, brush stiffener on the outside only, then let it dry again.
Final Quality-Control Checklist
- 6 gores, alternating yellow and white
- Each gore is 4½ x 1.6 in (11.4 x 4.1 cm) before joining
- Yellow gores have 7 solid fans. White gores have 4 open fans in the middle and 3 solid fans near the tips
- Each gore has 74 sc and 18 picots in Round 2
- Each seam has 38 matched pairs and 16 free picots
- The ornament is 3 in (7.6 cm) across and 3¼ in (8.3 cm) tall
- Each ring has 12 sc and 6 picots, with the picots over the seams
Troubleshooting
The gore curls. The edging is too tight. Loosen Round 1, or go up one hook size for the edging.
The edges ruffle. You worked extra sc. There should be 34 sc per side in Round 1.
The fans lean. The V-st is off center. Work it into the 4th dc of the 7.
The seams don’t line up. Check that both gores have 74 sc, with each side’s first picot 4 sc from the tip center.
The tips don’t reach the poles. Block the gores a little longer.
Care
Spot clean with a damp cloth and cool water, then reshape and let it dry. Store the ornament in a box so the picots don’t get crushed.
Final Notes
Here’s how the measurements connect. A gore that’s 4¼ in (10.8 cm) long after Row 17 becomes 4½ x 1.6 in (11.4 x 4.1 cm) after edging. Six gores make a 9.6 in (24.4 cm) circumference, which fits a 3 in (7.6 cm) ball. The two 12-sc rings cap the poles and bring the height to 3¼ in (8.3 cm).
If your first gore hits every checkpoint, the rest will follow.
Happy crocheting!