

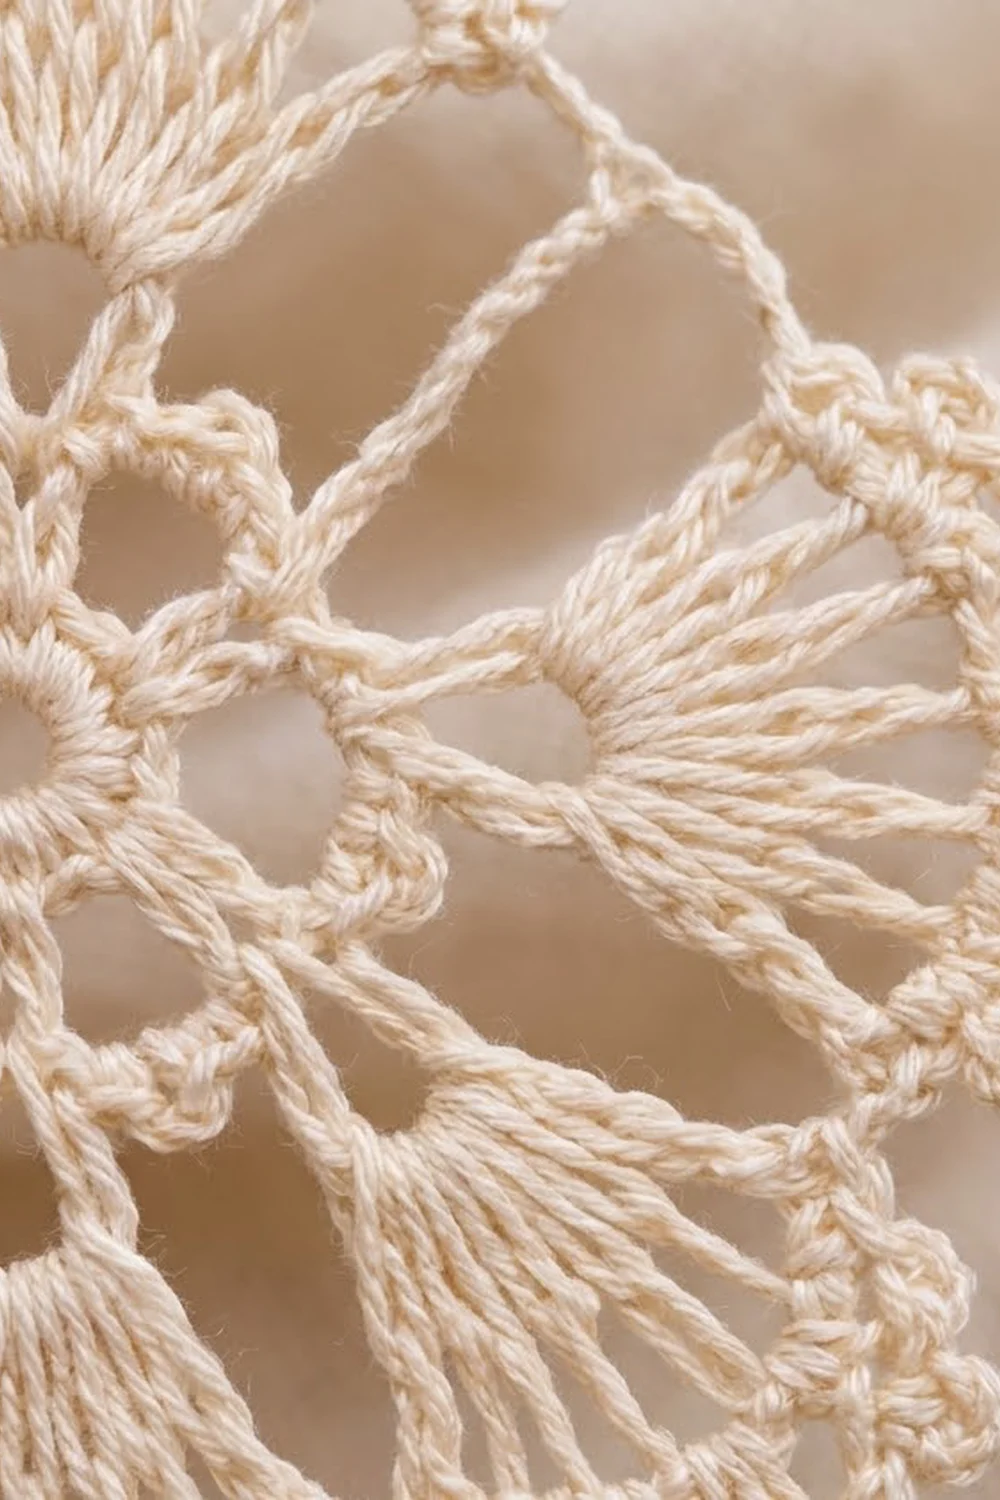
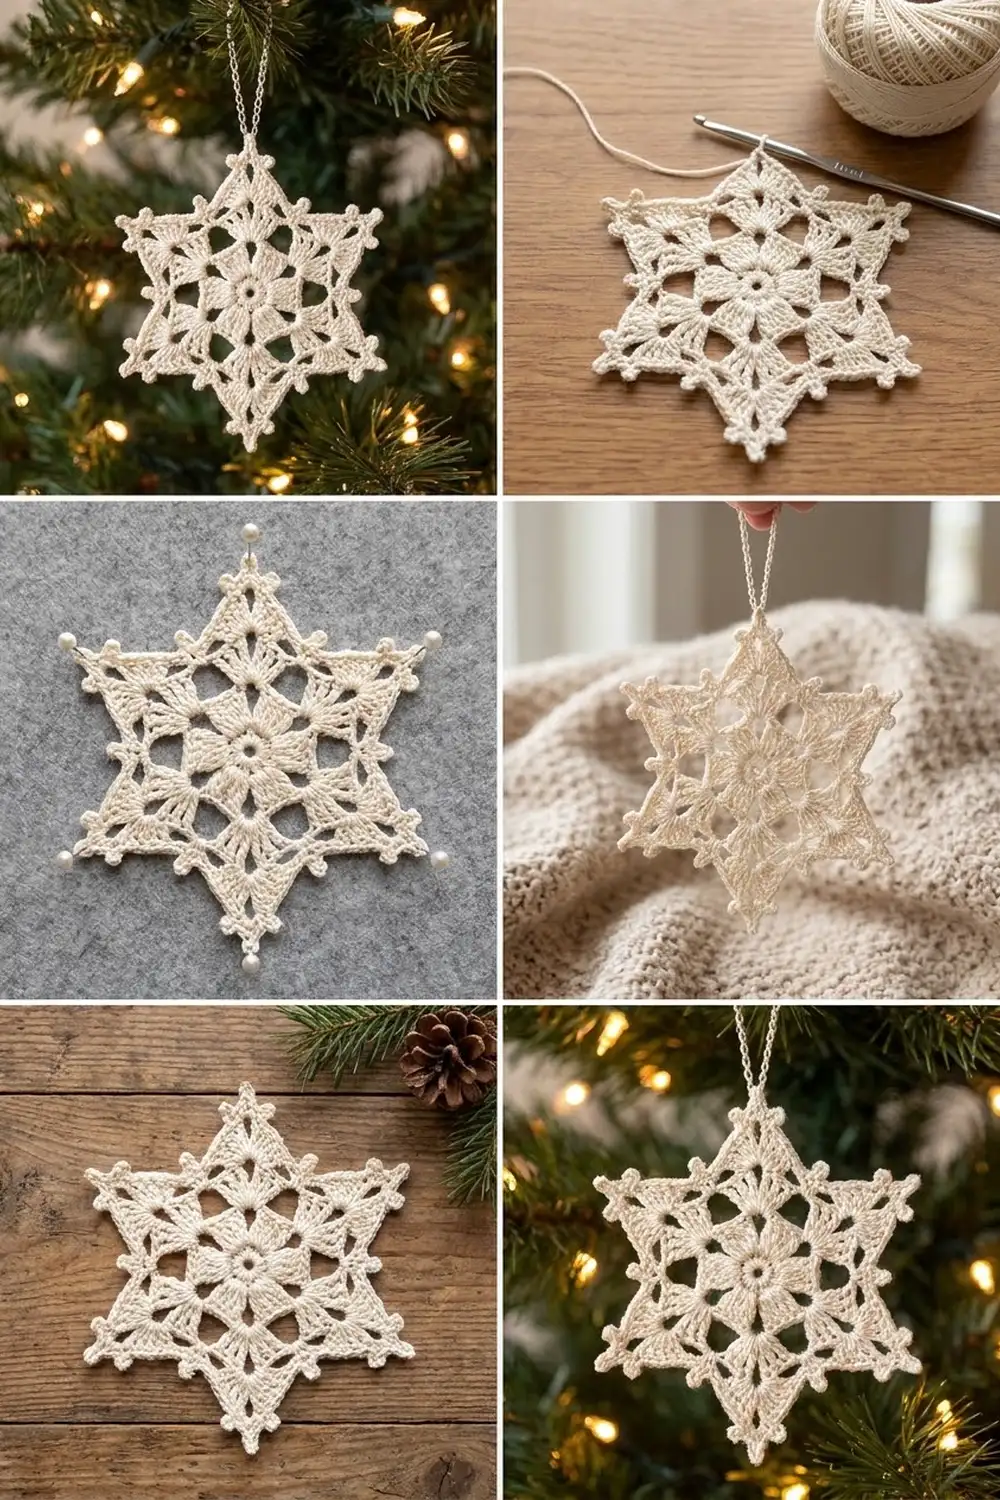
This snowflake is a light, lacy ornament in cream cotton thread. Each of its six points has a fan of long trebles that grows out of a small flower center. The fans narrow into open diamond tips edged with tiny picots, and each tip ends in a three-picot cluster. On a tree it looks delicate, and once starched it holds a crisp, flat shape.
The pattern uses one color and has a classic, heirloom look. It works for a tree, a gift tag, or a window, and a handful makes a quick set of holiday gifts. All instructions use US crochet terms.
The finished snowflake is 4 in (10.2 cm) from tip to tip after blocking. It is 3 in (7.6 cm) across from valley to valley. The hanging loop adds about 1.25 in (3.2 cm).
You work the ornament in one piece, in joined rounds and without turning. Rounds 1–3 make the flower center. Round 4 sets up the six fan bases, and Round 5 makes the fans. Rounds 6–7 build an open lattice, and Rounds 8–9 form the picot edging and tips. To finish, you add a chained hanging loop and block the snowflake.
Finished Size and Construction
- Finished size: 4 in (10.2 cm) tip to tip and 3 in (7.6 cm) valley to valley, after blocking
- Skill level: Intermediate (thread work, picots, long stitches into one stitch)
- Terminology: US
- Yarn weight: Size 10 crochet cotton thread (lace weight, category 0)
- Hook: 1.75 mm (US steel 6)
- Number of pieces: 1
- Layout: One six-point snowflake motif
- Piece size: 3.75 in (9.5 cm) tip to tip unblocked, 4 in (10.2 cm) blocked
- Size before border: 2.75 in (7.0 cm) tip to tip after Round 7
- Border depth: 0.5 in (1.3 cm) at each tip (Rounds 8–9)
Materials
Thread: Choose a mercerized size 10 cotton thread. It has a slight sheen, gives clear stitches, and takes starch well. Avoid acrylic and very fuzzy threads because they won’t hold a crisp blocked shape.
- Cream / ivory: 5 g (about 16 m / 17.5 yd)
Tools:
– 1.75 mm (US steel 6) crochet hook
– Fine tapestry needle that fits size 10 thread
– Small sharp scissors
– Foam or felt blocking board
– Rustproof pins (at least 12)
– Spray starch or a stiffening solution
– Ruler or tape measure
The quantity includes a margin for your gauge swatch, the tails, and the hanging loop. One ball of size 10 thread is enough for many snowflakes.
Abbreviations (US Terms)
- ch – chain
- sl st – slip stitch
- sc – single crochet
- hdc – half double crochet
- dc – double crochet
- tr – treble crochet (yarn over twice)
- sk – skip
- sp / lp – space / loop
- rep – repeat
- st(s) – stitch(es)
Special stitch:
– Picot (p): Ch 3, then sl st in the 3rd ch from the hook. When this pattern says “p, p, p”, work three picots one after another so they form a small trefoil cluster.
Gauge and Checkpoints
Exact gauge isn’t critical for an ornament, but it controls the final size and how well the lace lies flat. Work Rounds 1–3 first as your test.
- Gauge: Rounds 1–3 = 1 in (2.5 cm) across.
Checkpoints (measured unblocked and lying flat):
– After Round 3: 1 in (2.5 cm) across
– After Round 5: 2 in (5.1 cm) across the fan tips
– After Round 7: 2.75 in (7.0 cm) tip to tip
– After Round 9: 3.75 in (9.5 cm) tip to tip
– After blocking: 4 in (10.2 cm) tip to tip
If your center is too big: Go down to a 1.5 mm hook, or tighten the chain loops in Round 2.
If your center is too small or cups: Go up to a 2.0 mm hook.
If Round 5 ruffles, your trebles are probably too tall. Pull each loop snug before you yarn over. If Round 5 cups, loosen the ch-7 loops in Round 4 slightly.
Pattern
Center Flower
Round 1: Ch 6 and sl st to the first ch to form a ring. Ch 1 and work 12 sc into the ring. Join with a sl st to the first sc. (12 sc)
Round 2: Ch 1, then sc in the same st. Ch 5, sk next sc, sc in next sc; rep from * 4 more times, ending with ch 5, sk the last sc. Join with a sl st to the first sc. (6 sc, 6 ch-5 lps)
Round 3: Sl st into the first ch-5 lp. Ch 1, then work (sc, hdc, 3 dc, hdc, sc) in each ch-5 lp around. Join with a sl st to the first sc. (6 petals of 7 sts each = 42 sts)
The middle dc of each petal (the 4th st of the 7) is the petal tip. Each fan grows from one of these tips.
Checkpoint: 1 in (2.5 cm) across.
Fan Bases
Round 4: Sl st in the next hdc and in the next dc, which brings you to the center dc of the first petal. Ch 1, then sc in that center dc. Ch 7, sc in the center dc of the next petal; rep from * 4 more times, then ch 7. Join with a sl st to the first sc. (6 sc, 6 ch-7 lps)
Each sc in this round becomes the narrow root of one fan.
Fans
Round 5: Ch 4 (counts as the first tr), then work 8 tr in the same sc to make a fan of 9 tr. Ch 3, sc in the next ch-7 lp, ch 3, 9 tr in the next sc; rep from * 4 more times. Ch 3, sc in the last ch-7 lp, ch 3, and join with a sl st to the top of the beginning ch-4. (54 tr in 6 fans of 9, 6 sc, 12 ch-3 sps)
Each fan starts from a single stitch, so it is narrow at the center and opens outward. This creates the radiating “spoke” look.
Checkpoint: 2 in (5.1 cm) across the fan tips.
Fan Rims
Round 6: Ch 1, then sc in the same st as the join and in each of the next 8 tr (9 sc across the fan). Ch 3, sk the ch-3 sp, sc in the next sc (the valley sc), ch 3, sk the ch-3 sp, sc in each of the 9 tr of the next fan; rep from * 4 more times. Ch 3, sk the ch-3 sp, sc in the last valley sc, ch 3, and join with a sl st to the first sc. (60 sc: 54 on the fans + 6 in the valleys; 12 ch-3 sps)
These sc form a firm, curved rim across the top of each fan.
Lattice
Round 7: Ch 1, then sc in the first sc of the fan. (Ch 3, sk next sc, sc in next sc) 4 times. This puts sc in the 1st, 3rd, 5th, 7th, and 9th sc of the rim. Ch 3, sk the ch-3 sp, sc in the valley sc, ch 3, sk the ch-3 sp, then sc in the first sc of the next fan. Rep from * around, ending the last repeat with ch 3 after the 6th valley sc. Join with a sl st to the first sc. (36 sc: 30 on the fans + 6 in the valleys; 36 ch-3 lps: 24 on the fans + 12 in the valleys)
Each point now has 4 open lattice loops, and these loops become the diamond tip.
Checkpoint: 2.75 in (7.0 cm) tip to tip. This is your “size before border.”
Border (Picot Tip Edging)
Border gauge: Rounds 8–9 together add 0.5 in (1.3 cm) to each tip. That turns the 2.75 in (7.0 cm) motif into 3.75 in (9.5 cm) unblocked, because 2.75 + 0.5 + 0.5 = 3.75. Blocking opens the lace to 4 in (10.2 cm).
Each point (one fan section) is treated as one “side” of the border. Every count below is per point and repeats exactly 6 times.
Round 8 (narrowing loops + valley picot): Sl st into the first fan ch-3 lp. Ch 1, then sc in the same lp. (Ch 4, sc in the next fan lp) 3 times. 3 sc in the next valley lp, p, 3 sc in the next valley lp, then sc in the first fan lp of the next point; rep from * around, but on the last repeat omit the final sc and join with a sl st to the first sc.
- Per point: 4 sc and 3 ch-4 lps across the fan, plus 6 sc and 1 p in the valley
- Round total: 60 sc (24 on the fans + 36 in the valleys), 18 ch-4 lps, 6 p
Four base loops become three, which starts the taper toward the tip. The valley picot sits at the bottom of the V between points.
Round 9 (diamond tips): Sl st into the first ch-4 lp. Ch 1. (2 sc, p, 2 sc) in this lp. (2 sc, p, p, p, 2 sc) in the next lp to make the tip cluster. (2 sc, p, 2 sc) in the next lp. Sk the next sc, sl st in each of the next 3 sc, sk the picot and leave it at the front, sl st in each of the next 3 sc, sk the next sc, then move into the first ch-4 lp of the next point. Rep from * around and join with a sl st to the first sc. Fasten off, leaving an 8 in (20.3 cm) tail.
- Per point: 12 sc and 5 p (1 + 3 + 1)
- Per valley: 6 sl st
- Round total: 72 sc, 30 p, 36 sl st
Why the math works: The 9-tr fan converts to 9 rim sc (one per stitch, nothing added). Sc in every other rim stitch gives 5 sc and 4 loops (9 = 5 + 4). Working into the loops instead of the sc gives 3 loops in Round 8 and a single center loop in Round 9. That center loop holds the three-picot cluster at the very tip. The picots on the outer loops line the sides of the diamond. The valley sl sts stay flat and low, so the V between points stays deep and sharp.
Hanging Loop
Join the thread with a sl st to the middle picot of any tip cluster. Ch 25 and sl st into the same picot. Fasten off, leaving a 6 in (15.2 cm) tail. The loop measures about 1.25 in (3.2 cm).
Weave in all ends along the back of the sc stitches. Weave each tail in one direction, then back the other way, and trim it close.
Final Blocking
- Mix the starch or stiffener following the label, or have spray starch ready.
- Soak the snowflake fully, then gently squeeze it out between your fingers. Don’t wring it.
- Lay it face up on the blocking board.
- Pin the middle picot of each of the six tips. Place the first pin, then the opposite tip, so opposite tips are 4 in (10.2 cm) apart.
- Pin the remaining four tips with the same spacing. Check that all three tip-to-tip measurements read 4 in (10.2 cm).
- Use a pin or your fingertip to open each fan so the 9 trebles fan out evenly. Then open each lattice loop.
- If you want sharper V shapes, add a pin at each valley picot, 1.5 in (3.8 cm) from the center. That makes valley to valley 3 in (7.6 cm).
- If you’re using spray starch, spray again lightly. Let the piece dry completely, usually overnight.
- Unpin it. Pin the hanging loop straight if it twisted.
Final Quality-Control Checklist
- 6 petals in the center, each with 7 stitches
- 6 fans, each with exactly 9 tr
- 4 lattice loops per point in Round 7
- 3 ch-4 loops per point in Round 8
- A three-picot cluster at every tip
- 1 picot at the bottom of each valley
- Tip to tip: 4 in (10.2 cm) in all three directions
- Lies flat with no cupping or ruffling
- No visible tails on the front
- Hanging loop firmly attached and about 1.25 in (3.2 cm) long
Troubleshooting
The center cups: The Round 2 or Round 4 chains are too tight. Rework those rounds with looser chains, or go up a hook size for those rounds only.
The fans ruffle: The trebles are too loose or too tall. Snug each loop on the hook, or switch to a 1.5 mm hook for Round 5.
The tips look rounded instead of pointed: Check that the Round 9 cluster is in the center ch-4 loop only. Then re-block, pinning the middle picot hard outward.
The valleys are shallow: Make sure you used sl sts, not sc, in the Round 9 valleys. Also check that you skipped the sc on each side of the valley.
Your stitch counts are off: Count the fan sts in Round 6 (9 per fan) before you start the lattice. Most errors trace back to a missed or added tr.
The picots are lopsided: Always sl st into the 3rd ch from the hook, working through the same loops every time.
Care
Hand wash in cool water with mild soap and press dry in a towel. Re-starch and pin to shape if the ornament softens over time.
Final Notes
The measurement chain is simple. The center reaches 1 in (2.5 cm) after Round 3 and the fans span 2 in (5.1 cm) after Round 5. The lattice brings the motif to 2.75 in (7.0 cm) after Round 7. The picot tips add 0.5 in (1.3 cm) at each end for 3.75 in (9.5 cm), and blocking opens it to a crisp 4 in (10.2 cm) snowflake. If each checkpoint matches, the finished ornament will too.
Happy crocheting!