

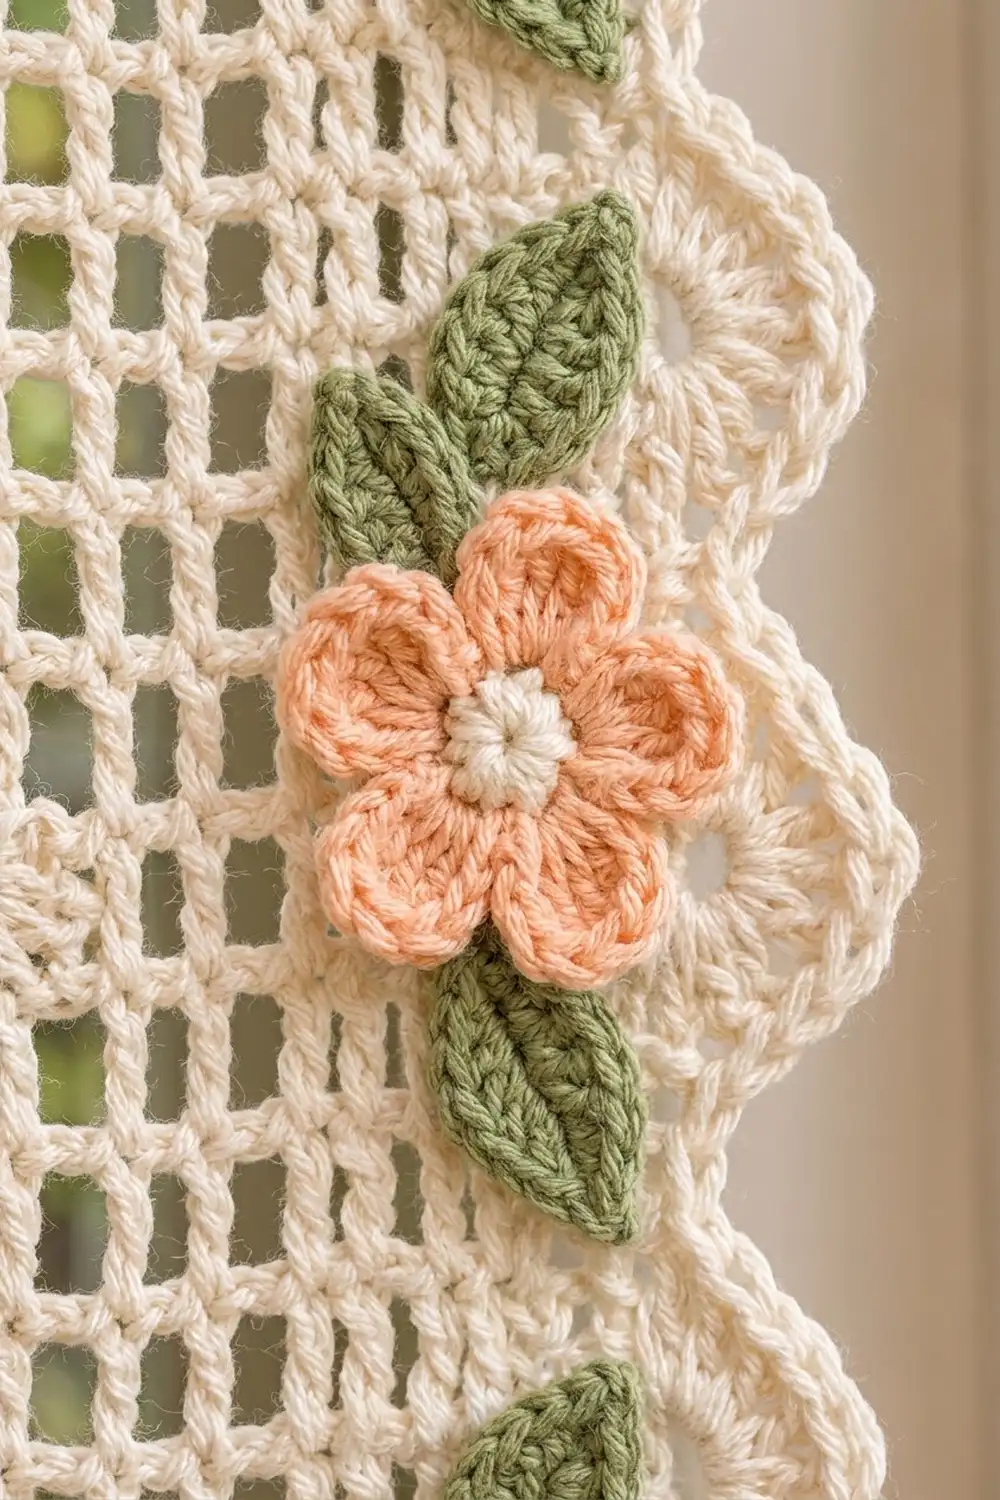
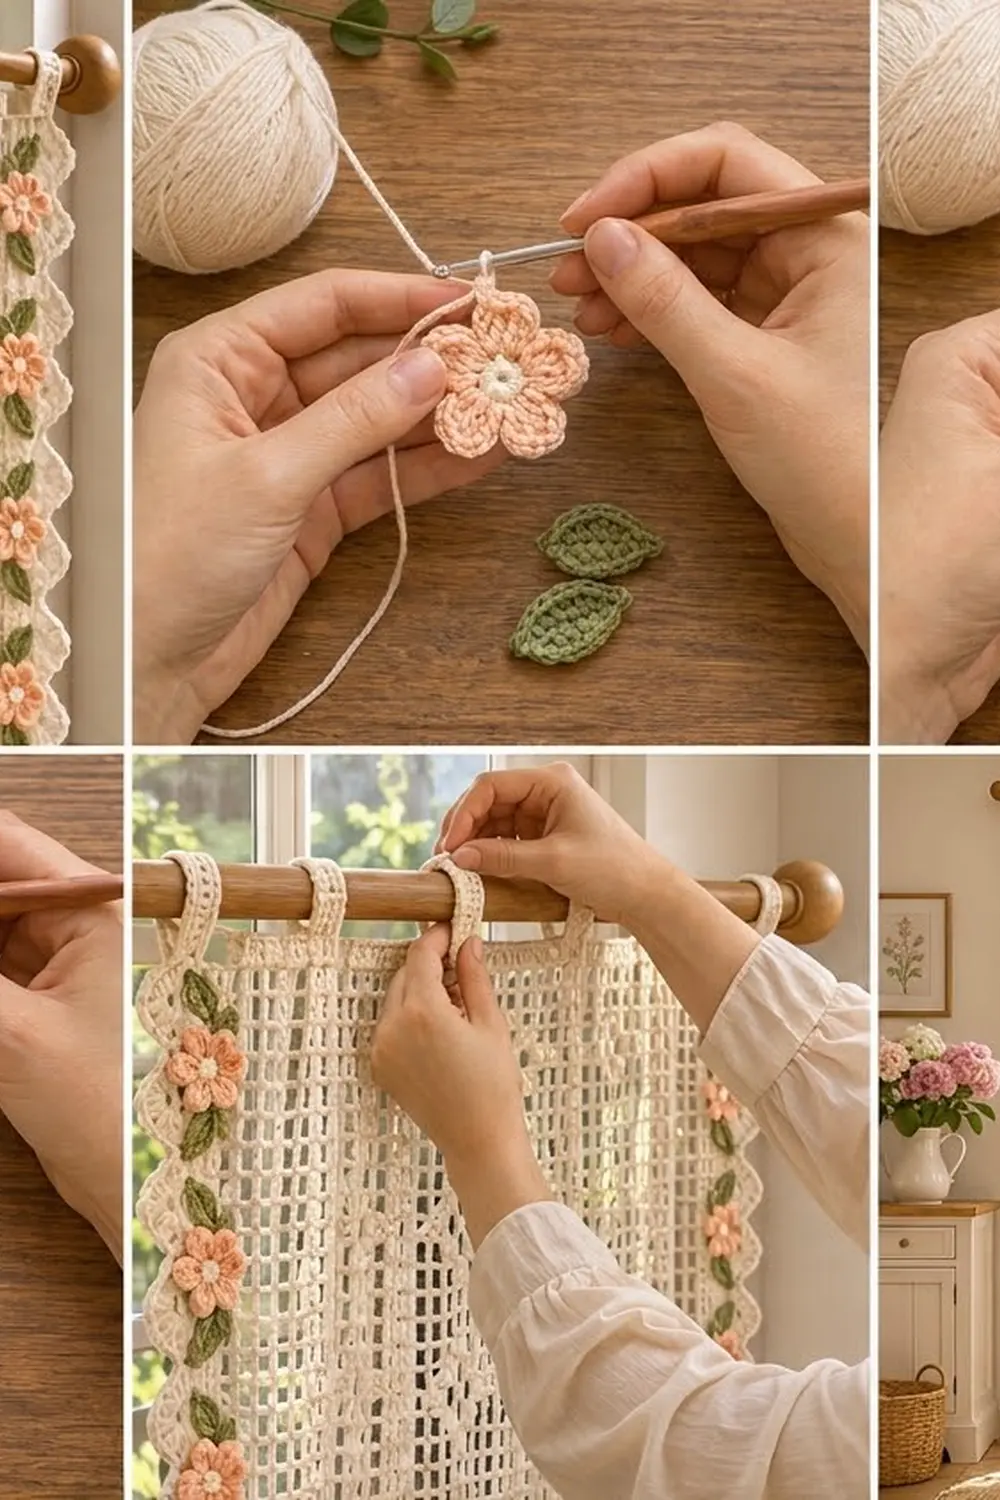
This curtain panel is a cream filet mesh with flower blocks set in columns. Narrow solid stripes run between the columns, and a scalloped border runs down each long side. Small peach flowers and soft green leaves are sewn along both side borders, so the edges look like a climbing vine. Crocheted tabs at the top hang the panel straight from a wooden rod.
The palette has three colors: cream for the mesh, border, tabs and flower centers, peach for the petals, and sage green for the leaves. The style is cottage-romantic. Light comes through the open squares, and the filled blocks give the panel structure.
The pattern uses US crochet terms. The finished panel measures 26.9 in (68.3 cm) wide and about 49.5 in (125.7 cm) long, not counting the 3 in (7.6 cm) tab loops.
You work the panel in one piece, bottom to top, in filet rows. Then you add a single crochet row along the top, crochet seven tabs, work a three-row scalloped border down each long side, and sew on the appliqués. This pattern covers one panel. For a pair, make two identical panels.
Finished Size and Construction
- Finished size: 26.9 in x 49.5 in (68.3 cm x 125.7 cm), plus tabs
- Skill level: Intermediate
- Terminology: US
- Yarn weight: DK (3), cotton
- Hook: 4.0 mm (US G-6)
- Number of pieces: 1 main panel worked in one piece, plus 24 flowers and 48 leaves
- Layout: 5 flower columns x 12 flower rows = 60 filet flowers
- Motif repeat size: 12 meshes x 10 rows = 4.8 in x 4 in (12.2 cm x 10.2 cm)
- Size before border: 24.4 in x 49.5 in (62.0 cm x 125.7 cm)
- Border depth: 1.25 in (3.2 cm) on each long side
Materials
Choose a smooth mercerized or combed cotton in DK weight, about 105 m (115 yd) per 50 g. Cotton gives crisp mesh, holds its shape when blocked, and does not fuzz in the sun.
- Cream: 800 g, about 1,680 m (panel, border, tabs, flower centers)
- Peach: 60 g, about 126 m (24 flowers)
- Sage green: 50 g, about 105 m (48 leaves)
These quantities include a margin of about 10% for the gauge swatch and for differences in tension.
Tools:
- 4.0 mm (G-6) crochet hook
- Tapestry needle
- Locking stitch markers
- Measuring tape
- Scissors
- Blocking mats and rustproof pins
- Spray bottle
Abbreviations (US Terms)
- ch – chain
- sl st – slip stitch
- sc – single crochet
- hdc – half double crochet
- dc – double crochet
- sk – skip
- sp – space (filet mesh)
- bl – block (filet filled square)
- st(s) – stitch(es)
- RS / WS – right side / wrong side
Filet stitches:
- Space (sp): ch 2, sk 2 sts (or the ch-2 sp), dc in next dc.
- Block (bl): dc in next 3 sts when the square below is a block. When the square below is a space, work 2 dc in the ch-2 sp, then dc in next dc.
Each row starts with ch 3, which counts as the first dc. Each mesh after that adds 3 sts, so a row of 61 meshes always has 3 x 61 + 1 = 184 sts, counting the chains.
Gauge and Checkpoints
Gauge: 10 meshes and 10 rows = 4 in (10.2 cm) in filet. One mesh is 0.4 in (1.0 cm) wide and one row is 0.4 in (1.0 cm) tall.
Test one motif first. Ch 42. Dc in 4th ch from hook and in each ch across (40 sts, 13 bl). Next, work 9 rows: 1 bl, 1 sp, Flower Motif Rows 1–9 (see below), 1 sp, 1 bl. Finish with 1 row of 13 bl. Your swatch should be 5.2 in x 4.4 in (13.2 cm x 11.2 cm).
If the swatch is too big, go down 0.5 mm in hook size. If it is too small, go up 0.5 mm. If only the height is off, adjust how far you pull up the loop on each dc rather than changing hooks.
Checkpoints on the panel:
- After Row 1: 24.4 in (62.0 cm) wide
- After Row 12: 4.8 in (12.2 cm) tall
- After Row 62: 24.8 in (63.0 cm) tall
- After Row 123: 49.2 in (125.0 cm) tall
Flower Motif Chart (9 meshes x 9 rows)
Each flower is four U-shaped petals set around an open center. Every row is symmetrical, so it reads the same from the RS and the WS.
- Motif Row 1: 9 sp
- Motif Row 2: 3 sp, 3 bl, 3 sp
- Motif Row 3: 3 sp, 1 bl, 1 sp, 1 bl, 3 sp
- Motif Row 4: 1 sp, 2 bl, 3 sp, 2 bl, 1 sp
- Motif Row 5: 1 sp, 1 bl, 5 sp, 1 bl, 1 sp
- Motif Row 6: as Motif Row 4
- Motif Row 7: as Motif Row 3
- Motif Row 8: as Motif Row 2
- Motif Row 9: as Motif Row 1
The motif is surrounded by open mesh, so the petals stand out clearly against the grid.
Main Panel
Use cream. The panel is 61 meshes wide: 1 edge block, then [an 11-mesh column, 1 stripe block] 5 times. The fifth stripe block is also the right edge.
Foundation: Ch 186.
Row 1 (solid hem): Dc in 4th ch from hook (the skipped 3 ch count as the first dc) and in each ch across. Turn. (184 sts = 61 bl)
Row 2 (plain row): Ch 3, dc in next 3 sts (edge bl). [Sp] 11 times, bl; repeat from * 4 more times. Turn. (184 sts: 6 bl, 55 sp)
Rows 3–11 (flower rows): Ch 3, dc in next 3 sts (edge bl). Sp, work the matching Motif Row (Row 3 = Motif Row 1, Row 4 = Motif Row 2, and so on through Row 11 = Motif Row 9), sp, bl; repeat from * 4 more times. Turn. (184 sts every row)
Row 12: Work as Row 2. (184 sts)
Rows 3–12 make one 10-row repeat, 4 in (10.2 cm) tall.
Rows 13–122: Repeat Rows 3–12 eleven more times, for 12 repeats in total. (184 sts every row)
Row 123 (solid hem): Ch 3, dc in next 3 sts, then bl 60 times. Do not fasten off. (184 sts = 61 bl)
Each flower has 2 plain rows below it at the bottom hem, 3 plain rows between it and the next flower, and 2 plain rows above it at the top hem. The edge block and the stripe blocks stack straight up in every row, which makes the vertical solid lines.
Row 124 (top edge): Ch 1, turn, sc in each st across. (184 sc) Fasten off.
The panel should now measure 24.4 in x 49.5 in (62.0 cm x 125.7 cm).
Tabs
There are 7 tabs, each 10 sts wide, with 19 sts between them. They sit on these sc of Row 124: 1–10, 30–39, 59–68, 88–97, 117–126, 146–155, and 175–184. Check: 7 x 10 + 6 x 19 = 184.
Each tab: With the RS facing, join cream in the first st of the tab. Ch 1, sc in the same st and in the next 9 sts. (10 sc) Work in rows of 10 sc (ch 1, turn, sc across) until the tab measures 6 in (15.2 cm). Leave a 12 in (30.5 cm) tail and fasten off.
Fold each tab to the WS. Whipstitch the last row to the back of Row 123, directly behind the tab’s base. This forms a 3 in (7.6 cm) loop that is about 1.3 in (3.3 cm) wide and fits rods up to 1.5 in (3.8 cm) in diameter.
Side Border
Border gauge: 2 sc per dc row end = 5 sc per 1 in (2.5 cm) of side edge.
Work the same 3 rows on each long side, with the RS facing. Start the right side at the top corner and the left side at the bottom corner.
Border Row 1: Join cream. Work 1 sc in the end of Row 124 and 2 sc in each of the 123 dc row ends. On the left side, work in the reverse order. Turn. (1 + 246 = 247 sc)
Border Row 2: Ch 3 (counts as dc), dc in each st across. Turn. (247 dc)
Border Row 3 (scallops): Ch 1, sc in first st. Sk 2, 5 dc in next st, sk 2, sc in next st; repeat from * 40 more times. Fasten off. (41 scallops; 41 x 6 + 1 = 247 sts)
Why the math works: One dc row is 0.4 in (1.0 cm) tall. Two sc fill that height without flaring or pulling in. The extra sc in the top sc row brings the count to 247, which is a multiple of 6 plus 1. That gives exactly 41 full scallops, each 1.2 in (3.0 cm) wide, with no partial scallop at either end. The finished width is 24.4 in + 2 x 1.25 in = 26.9 in (68.3 cm).
Appliqués
Flower (make 24):
- Rnd 1: With cream, make a magic ring. Ch 1, 10 sc in ring, sl st to first sc. Fasten off. (10 sc)
- Rnd 2: Join peach in any sc. Ch 1, sc in same st, ch 2, sk 1. Sc in next st, ch 2, sk 1; repeat from * 3 more times. Sl st to first sc. (5 sc, 5 ch-2 sps)
- Rnd 3: In each ch-2 sp, work (sc, hdc, 3 dc, hdc, sc). Sl st to first sc. (5 petals, 35 sts)
The flower is about 1.75 in (4.4 cm) across, with a slightly raised cream center.
Leaf (make 48): With green, ch 6. Starting in 2nd ch from hook, work sc, hdc, dc, hdc. Work 3 sc in the last ch. Working along the opposite side of the chain, work hdc, dc, hdc, sc. Sl st to first sc. (11 sts) Fasten off. Each leaf is about 1 in (2.5 cm) long with a pointed tip.
Placement: On each side, center 12 flowers on Border Row 2, each level with Motif Row 5, the middle row of a repeat. These are panel Rows 7, 17, 27, and so on up to Row 117, so the flowers are 4 in (10.2 cm) apart. Each flower slightly overlaps the edge block and the bases of the scallops.
Sew one leaf directly above and one directly below each flower, with the tips angled slightly outward. Use matching yarn and small stitches worked through the back of the stitches so nothing shows through the mesh.
Final Blocking
- Weave in all ends along solid blocks or border stitches, never across open mesh.
- Soak the panel in cool water for 15 minutes, then press the water out gently in a towel. Do not wring it.
- Lay the panel flat on mats, RS up.
- Pin the top and bottom hems straight to 24.4 in (62.0 cm) between the border seams.
- Pin each side to 49.5 in (125.7 cm), using a long straight edge to keep the stripes vertical.
- Pin the point of each scallop, and lift each flower with your fingers to puff it up.
- Let it dry fully, which takes 24–48 hours. Unpin it and hang.
Final Quality-Control Checklist
- Every filet row has 184 sts, and the stripes run straight.
- There are 60 filet flowers in a 5 x 12 grid, all identical.
- There are 247 sts in each border row and 41 full scallops per side.
- There are 7 tabs, evenly spaced and securely sewn.
- There are 24 flowers and 48 leaves, lined up with the motif rows.
- The panel is 26.9 in x 49.5 in (68.3 cm x 125.7 cm), within 0.5 in (1.3 cm).
Troubleshooting
- Mesh is slanting: Make sure every row starts with ch 3 and ends in the top of the turning chain.
- Blocks look thinner than spaces: Work 2 dc into the ch-2 sp, not under the chains of the next square.
- Panel is narrowing: Count each row. A missing block almost always means you skipped the last turning chain.
- Border ruffles: Your sc tension is too loose. Go down 0.5 mm for Border Row 1 only.
- Border puckers: Your sc tension is too tight. Go up 0.5 mm for Border Row 1, but keep 2 sc per row end.
- Flowers curl: Steam them lightly before sewing, and pin them flat while they cool.
Care
Hand wash in cool water with mild soap and dry flat. Re-pin to the blocked size to keep the mesh square, and avoid hot dryers, which shrink cotton and distort filet.
Final Notes
Each step of the size builds on the one before. The gauge is 10 meshes and 10 rows = 4 in (10.2 cm). At that gauge, 61 meshes give 24.4 in (62.0 cm) across and 123 rows give 49.2 in (125.0 cm) of length. The top sc row brings the length to 49.5 in (125.7 cm). A 1.25 in (3.2 cm) border on each side brings the width to 26.9 in (68.3 cm). If you check your gauge and keep counting 184 sts, the curtain will finish at the right size.
Happy crocheting!