
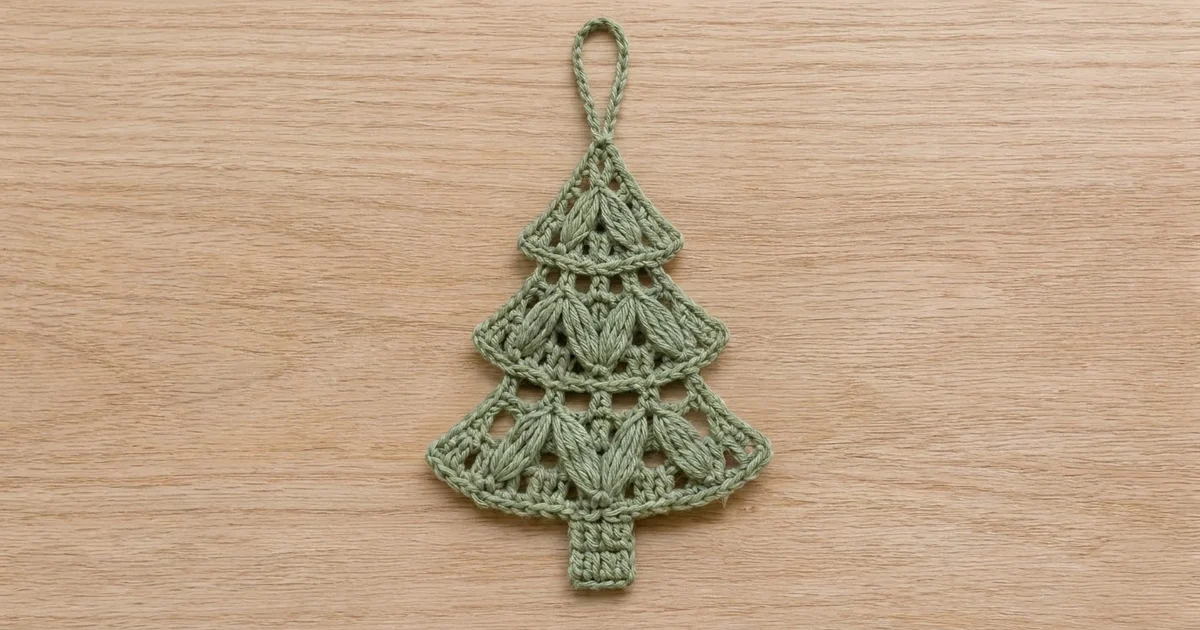
This little tree ornament is made from three lacy tiers. Each tier is a soft fan of puffy leaf stitches, framed by solid bands and a tidy single-crochet outline. The tiers stack one behind the other, a short trunk sits underneath, and a sturdy loop at the top lets the tree hang straight on a branch.
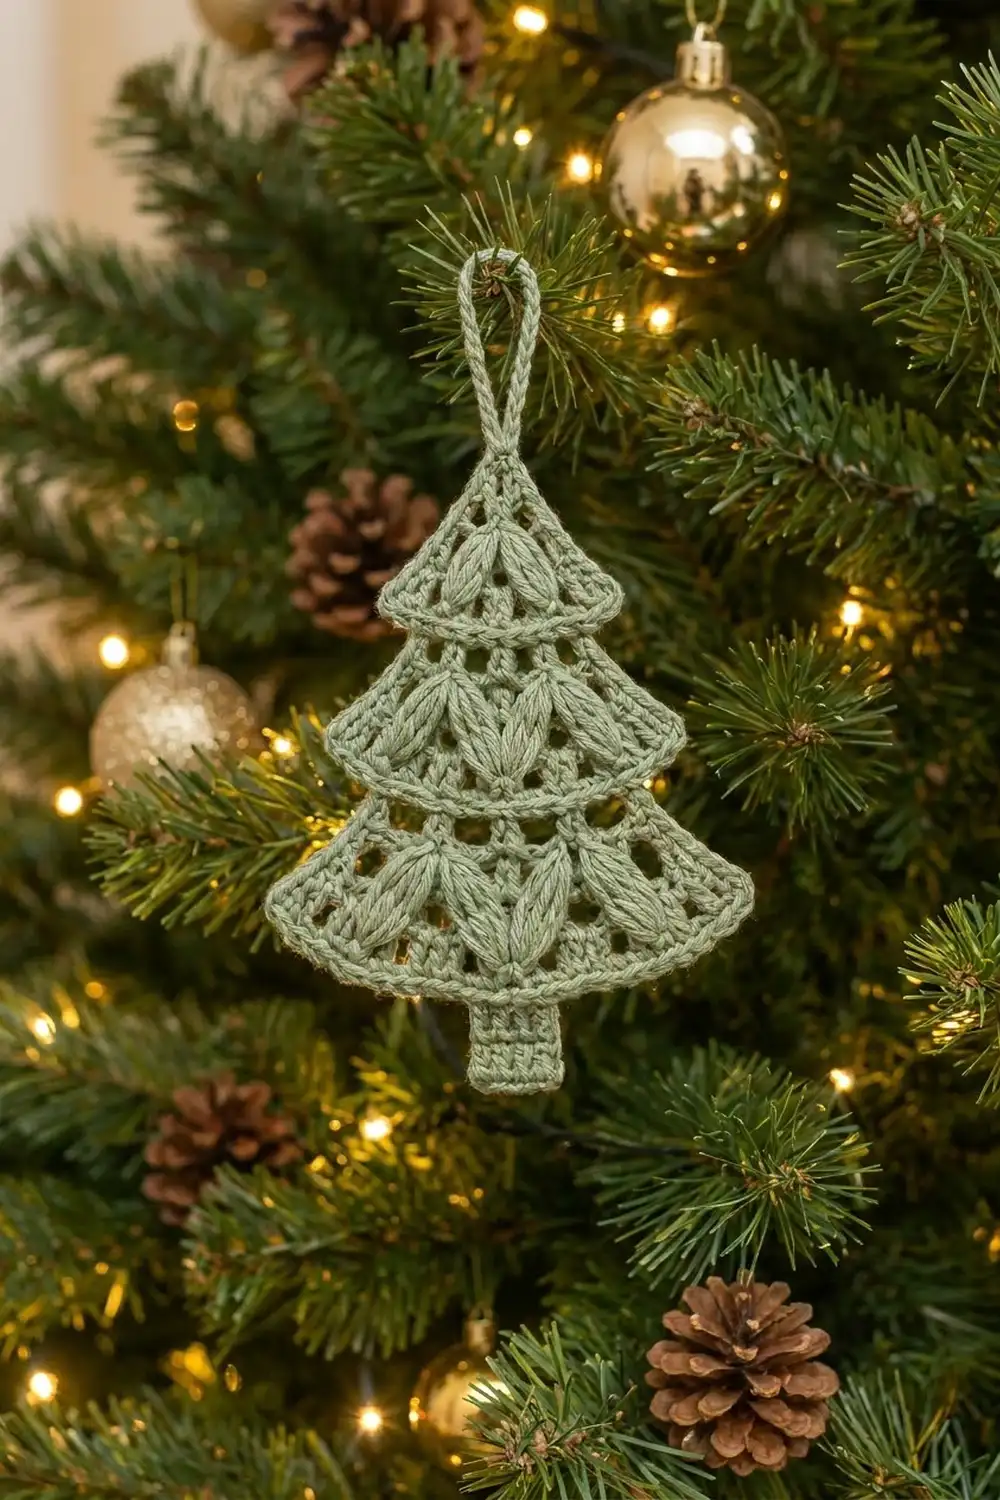
The sample uses one color, a muted sage green. It gives the ornament a calm, Scandinavian look against real greenery and gold baubles. Any solid color works, and cream, red, or white all look lovely.
The pattern uses US crochet terms. The finished ornament measures about 4.25″ (10.8 cm) wide. It is 5″ (12.7 cm) tall from the top of the first tier to the bottom of the trunk, or 6.25″ (15.9 cm) tall with the hanging loop.
Construction is simple. You crochet three tiers from one formula, changing only the number of leaves. You add a border to each tier and make a small trunk. Then you overlap and sew the pieces together and add the loop.
Finished Size and Construction
- Finished size: 4.25″ (10.8 cm) wide x 5″ (12.7 cm) tall, plus a 1.25″ (3.2 cm) loop
- Skill level: Easy-intermediate
- Terminology: US crochet terms
- Yarn weight: Sport weight (#2), cotton
- Hook: 3.0 mm (US C/2 or D/3)
- Number of pieces: 4 (3 tiers + 1 trunk); the loop is worked onto Tier 1
- Layout: 3 tiers stacked vertically, trunk centered below
- Piece sizes (with border): Tier 1 2.75″ (7.0 cm) wide, Tier 2 3.5″ (8.9 cm), Tier 3 4.25″ (10.8 cm); each tier 1.75″ (4.4 cm) tall; trunk 0.9″ (2.3 cm) x 1.25″ (3.2 cm)
- Size before border: Tier bottom widths 2.4″ (6.1 cm), 3.1″ (7.9 cm), 3.8″ (9.7 cm)
- Border depth: about 0.2″ (0.5 cm), one round of sc
Materials
Yarn: Choose a smooth, mercerized or matte sport-weight cotton. Cotton keeps the leaf stitches crisp and blocks into a flat, firm ornament. Avoid fuzzy or very stretchy yarns, which blur the lace.
- Sage green: 10 g, about 28 m (31 yd)
One ornament uses about 6 g. The quantity above includes extra for your gauge swatch and for weaving in ends.
Tools:
– 3.0 mm crochet hook
– Tapestry needle
– Scissors
– 2 locking stitch markers
– Blocking mat and rustproof pins
– Spray starch or fabric stiffener (optional)
Abbreviations (US Terms)
- ch – chain
- sc – single crochet
- dc – double crochet
- sl st – slip stitch
- sk – skip
- sp – space
- st(s) – stitch(es)
- yo – yarn over
- RS / WS – right side / wrong side
- rep – repeat
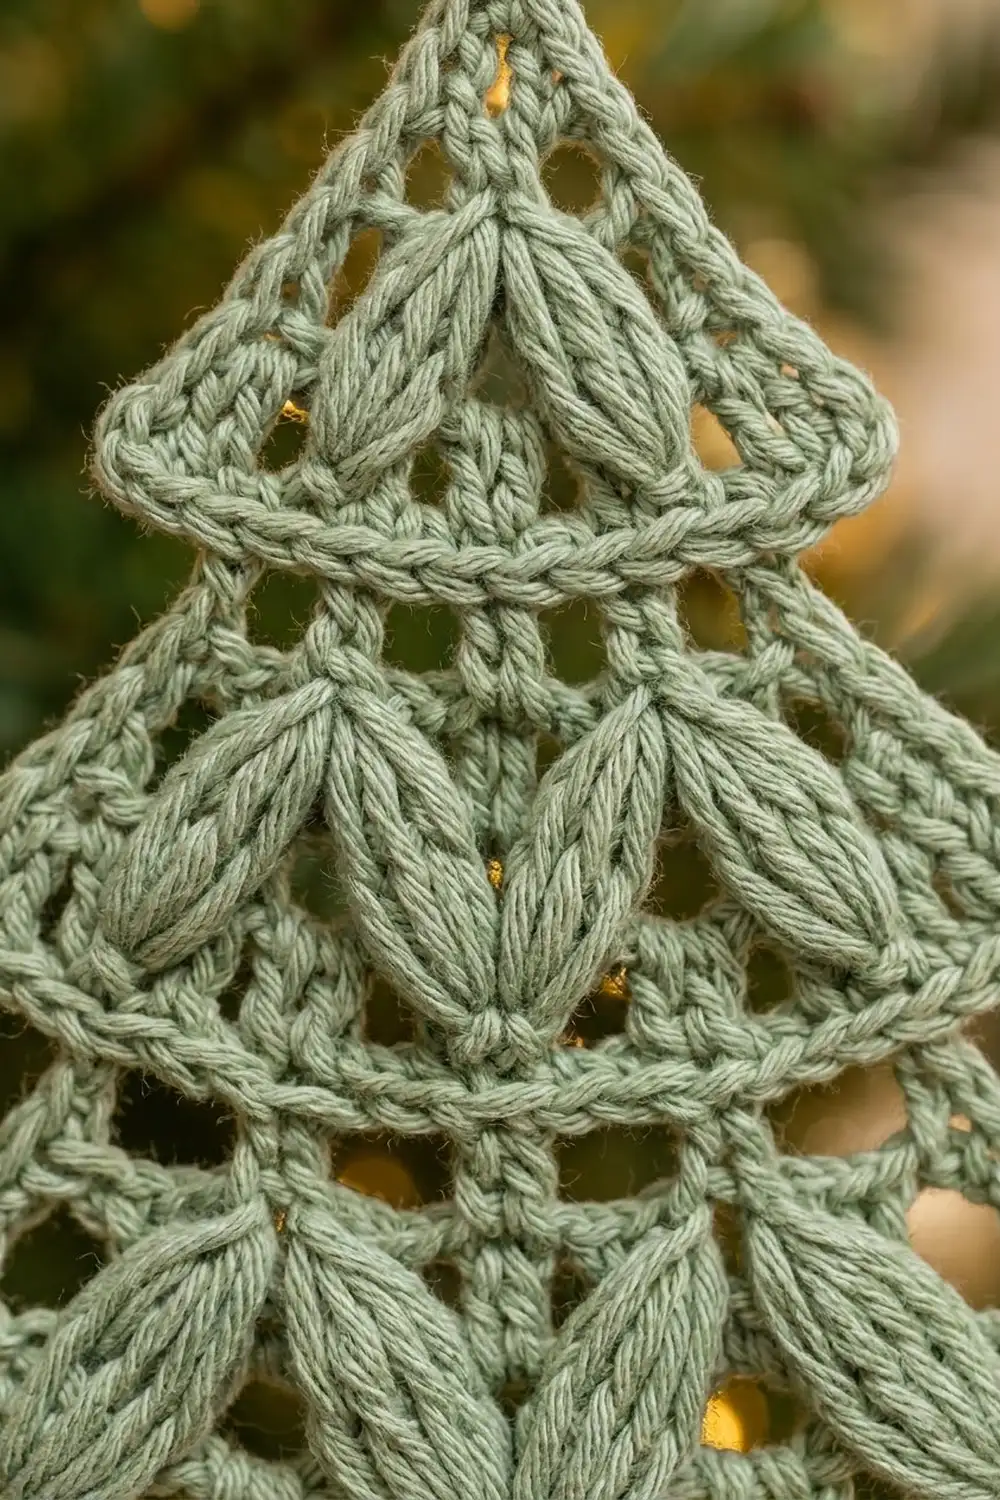
Special stitch – Leaf (elongated puff): [Yo, insert hook in the indicated sp, yo, pull up a loop to 0.4″ (1.0 cm) tall] 3 times (7 loops on hook). Yo, pull through all 7 loops, ch 1 to lock. The locking ch 1 is not counted. Each Leaf counts as 1 stitch.
Gauge and Checkpoints
Gauge: 22 dc and 13 rows = 4″ (10.2 cm), worked in rows with the 3.0 mm hook. In sc, 22 sts = 4″ (10.2 cm).
Make Tier 1 first and use it as your test piece. It takes about 15 minutes and tells you whether your gauge is right.
Checkpoints for Tier 1:
– After Row 1 (7 dc): about 1.25″ (3.2 cm) wide
– After Row 4 (13 dc): about 2.4″ (6.1 cm) wide along the bottom edge
– After the border: about 2.75″ (7.0 cm) wide and 1.75″ (4.4 cm) tall
If your tier is too big, go down to a 2.75 mm hook and keep your Leaf loops at 0.4″ (1.0 cm). If it is too small, go up to a 3.25 mm hook. Leaf height affects tier height more than anything else, so check it first.
Tier Pattern
All three tiers follow the same formula. L is the number of leaves:
| Tier | L | Foundation ch | Row 1 | Row 2 | Row 3 | Row 4 |
|---|---|---|---|---|---|---|
| Tier 1 (top) | 3 | 9 | 7 dc | 4 dc, 3 ch-2 sps | 3 Leaves, 4 dc | 13 dc |
| Tier 2 (middle) | 4 | 11 | 9 dc | 5 dc, 4 ch-2 sps | 4 Leaves, 5 dc | 17 dc |
| Tier 3 (bottom) | 5 | 13 | 11 dc | 6 dc, 5 ch-2 sps | 5 Leaves, 6 dc | 21 dc |
Each tier is worked flat in rows. You start at the narrow top edge and widen toward the bottom.
Foundation: Ch 2L + 3 (9 / 11 / 13).
Row 1 (RS): Dc in 4th ch from hook and in each ch across, turn. The skipped 3 ch count as the first dc. (2L + 1 dc: 7 / 9 / 11)
Row 2 (WS): Ch 5 (counts as dc + ch 2), sk next dc, dc in next dc. Ch 2, sk next dc, dc in next dc; rep from * across, working the last dc in the top of the turning ch. Turn. (L + 1 dc and L ch-2 sps: 4 dc + 3 sps / 5 dc + 4 sps / 6 dc + 5 sps)*
This row makes the small open windows above the leaves.
Row 3 (RS): Ch 3 (counts as dc), ch 1. Leaf in next ch-2 sp, ch 1, dc in next dc, ch 1; rep from * across, ending the last rep at , with the final dc in the 3rd ch of the turning ch-5. Turn. (L Leaves, L + 1 dc, 2L ch-1 sps: 3 Leaves + 4 dc + 6 sps / 4 + 5 + 8 / 5 + 6 + 10)*
Every Leaf has a ch-1 sp on each side. Because this is a RS row, the Leaves puff toward the RS.
Row 4 (WS): Ch 3 (counts as dc). Dc in next ch-1 sp, dc in next st (Leaf or dc); rep from * across, working the final dc in the top of the turning ch-3. Turn. (4L + 1 dc: 13 / 17 / 21)*
Row 4 has 1 dc for every stitch and every space in Row 3. That is L Leaves plus L + 1 dc plus 2L spaces, which equals 4L + 1. This solid band forms the flared bottom of the tier. Do not fasten off. Go straight into the Border Round (see the Border section).
Checkpoint: Row 4 measures 2.4″ (6.1 cm), 3.1″ (7.9 cm), or 3.8″ (9.7 cm) across for Tiers 1, 2, and 3.
Trunk
Foundation: Ch 7.
Row 1: Dc in 4th ch from hook and in each ch across, turn. (5 dc)
Rows 2–4: Ch 3 (counts as dc), dc in each dc across, ending in the top of the turning ch, turn. (5 dc)
Fasten off, leaving a 10″ (25.4 cm) tail for sewing. The trunk measures 0.9″ (2.3 cm) wide and 1.25″ (3.2 cm) tall. Its vertical dc posts look like ribbed bark.
Make All Pieces
All pieces use sage green:
- Tier 1 (L = 3): make 1
- Tier 2 (L = 4): make 1
- Tier 3 (L = 5): make 1
- Trunk: make 1
Finish the border on all three tiers before you start joining. Then lay out the pieces RS up:
          [ loop ]
        [  Tier 1  ]
      [    Tier 2    ]
    [      Tier 3      ]
          [ trunk ]
Each lower piece sits behind the piece above it, overlapping by 0.5″ (1.3 cm).
Joining
Method: Whipstitch from the WS with a tapestry needle and the same yarn. You only sew the top edge of each lower piece. This leaves the bottom edges of the upper tiers free, so their outlines show.
Tier 2 to Tier 1: Turn Tier 1 WS up. Find the base of its Row 4, where the Row 4 dc posts meet Row 3. Lay Tier 2 WS up underneath it, with Tier 2’s top border edge along that line. Tier 2’s top side has 13 sc, and Tier 1’s Row 4 has 13 dc. Sew them one to one, catching the back of each Row 4 dc post near its base.
Tier 3 to Tier 2: Tier 3’s top side has 15 sc, and Tier 2’s Row 4 has 17 dc. Place markers on the 2nd and 16th dc of Tier 2’s Row 4. Sew Tier 3’s 15 sc one to one into dc 2 through 16, leaving 1 dc free at each end.
Trunk to Tier 3: Tier 3’s Row 4 has 21 dc. Mark the 9th and 13th dc. Sew the trunk’s 5 top dc one to one into dc 9 through 13, leaving 8 dc free on each side.
Tension: Pull each stitch snug but not tight. The sewing should disappear into the fabric without puckering the front. Check the RS often; no sewing yarn should show through the mesh windows.
Size checkpoint: With a 0.5″ (1.3 cm) overlap at each join, the assembled tree is 1.75″ + 1.25″ + 1.25″ + 0.75″ = 5″ (12.7 cm) tall. That is the full Tier 1, the visible parts of Tiers 2 and 3, and the visible part of the trunk.
Border
The border is one round of sc, worked on each tier right after Row 4 and before joining. Its gauge matches the body: 22 sc = 4″ (10.2 cm). It is about 0.2″ (0.5 cm) deep.
This is a trim round. Each edge stitch gets 1 sc, each row end gets a set number of sc, and each of the 4 corners gets 2 extra sc.
Border Round (RS): With RS facing, ch 1.
- Bottom (along Row 4): 3 sc in first dc (corner), sc in each of next 4L – 1 dc, 3 sc in last dc (corner).
- First side (row ends): 2 sc in Row 4 end, 3 sc in Row 3 end, 2 sc in Row 2 end, 2 sc in Row 1 end. (9 sc)
- Top (foundation ch): 3 sc in first ch (corner), sc in each of next 2L – 1 ch, 3 sc in last ch (corner).
- Second side: 2 sc in Row 1 end, 2 sc in Row 2 end, 3 sc in Row 3 end, 2 sc in Row 4 end. (9 sc)
- Sl st to first sc. Fasten off and weave in ends.
Counts per side:
| Tier | Bottom | Side | Top | Side | Total |
|---|---|---|---|---|---|
| Tier 1 | 13 + 4 = 17 | 9 | 7 + 4 = 11 | 9 | 46 |
| Tier 2 | 17 + 4 = 21 | 9 | 9 + 4 = 13 | 9 | 52 |
| Tier 3 | 21 + 4 = 25 | 9 | 11 + 4 = 15 | 9 | 58 |
Why the math works: The bottom has 4L + 1 dc, each worked once, plus 2 extra sc at each of its 2 corners (+4). The top has 2L + 1 foundation ch, each worked once, plus 4 extra sc at its corners. Every tier is 4 rows tall, so each side always takes 9 sc. The total is (4L + 1) + (2L + 1) + 18 + 8 = 6L + 28, which gives 46, 52, and 58. The top-side counts of 13 and 15 are exactly the numbers you sew into the Row 4 dc of the tier above.
Hanging loop: Join yarn with a sl st in the center sc of Tier 1’s top side (the 6th of its 11 sc, counting the corner sc). Ch 14, sl st in the same sc. Ch 1, work 20 sc into the loop, then sl st at the base. Fasten off and weave in the end. The loop measures 1.25″ (3.2 cm) tall.
Final Blocking
- Weave in all remaining ends on the WS, running them through the solid dc rows rather than the mesh.
- Mist the ornament with water until damp, or dip it in diluted fabric stiffener and squeeze out the excess.
- Pin it RS up on the blocking mat. Pin the top center of Tier 1 and the bottom center of the trunk 5″ (12.7 cm) apart.
- Pin the 2 bottom corners of each tier to its width: 2.75″ (7.0 cm), 3.5″ (8.9 cm), and 4.25″ (10.8 cm). Keep all three tiers centered on the same vertical line.
- Ease each bottom edge into a gentle downward curve, with the center pinned lowest.
- Pinch each Leaf lengthwise with your fingers so it sits plump and rounded.
- Let it dry completely, for at least 6 hours, before unpinning.
Final Quality-Control Checklist
- The tiers have 3, 4, and 5 Leaves, all puffing to the front.
- Row 4 counts are 13, 17, and 21 dc.
- Border totals are 46, 52, and 58 sc.
- Each lower tier overlaps the one above by 0.5″ (1.3 cm) and is centered.
- The trunk is centered, with 8 dc free on each side.
- The tree is 4.25″ (10.8 cm) wide and 5″ (12.7 cm) tall, plus a 1.25″ (3.2 cm) loop.
- No sewing stitches show on the RS.
- The ornament hangs straight from its loop.
Troubleshooting
- Leaves look flat or thin: Pull each loop up to the full 0.4″ (1.0 cm) and keep the loops even before closing.
- Leaves lean to one side: Hold the loops on the hook with your finger so they don’t slide unevenly.
- Tier curls or cups: Your Row 4 tension is too tight. Work it more loosely, or block with more stiffener.
- Bottom edge ruffles: Check that the border has exactly 1 sc per Row 4 dc, with extra sc only at the corners.
- Tiers too tall: Your Leaf loops are too long. Shorten the Leaves, not the dc rows.
- Ornament hangs crooked: Move the loop to the exact center sc and re-block with the pins on a vertical line.
Care
Hand wash in cool water with mild soap, press out the water in a towel, and dry flat, pinned back to shape. Stiffen again after washing if needed.
Final Notes
The measurement chain is short and easy to check. A gauge of 22 dc to 4″ (10.2 cm) gives Row 4 widths of 2.4″ (6.1 cm), 3.1″ (7.9 cm), and 3.8″ (9.7 cm). The border brings these to 2.75″ (7.0 cm), 3.5″ (8.9 cm), and 4.25″ (10.8 cm), and each tier is 1.75″ (4.4 cm) tall. Overlapping the tiers by 0.5″ (1.3 cm) and adding the trunk gives a 5″ (12.7 cm) tree, plus a 1.25″ (3.2 cm) loop. Once you’ve made one, the next goes quickly, and a few in one color make a lovely matching set for the tree.
Happy crocheting!