

The Frosted Spire Snowflake is a light, airy ornament with six slim arms. Each arm ends in a small trefoil of picots, and each one carries a pair of branches with picot tips. The finished piece looks delicate but holds its shape well once it is starched.
This sample uses one color: a soft powder blue that looks like frost on a window. It also works in white, silver-gray, or pale lavender. The pattern uses US crochet terms throughout.
The blocked snowflake measures 4.5 in (11.4 cm) from tip to tip, plus a hanging loop of 1.25 in (3.2 cm). Before blocking it measures about 4 in (10.2 cm).
The construction is simple. You make a solid ring of double crochet, then a round of chain loops. The last round builds all six arms, working each arm out along a chain and back down with slip stitches. The thread is never cut between arms. To finish, you add a hanging loop and block the piece with starch.
Finished Size and Construction
- Finished size: 4.5 in (11.4 cm) tip to tip, blocked
- Hanging loop: 1.25 in (3.2 cm) above the top tip
- Skill level: Intermediate (picots and working back along chains)
- Terminology: US crochet terms
- Thread weight: Size 3 crochet cotton (Lace, 0)
- Hook: 2.25 mm (US B-1)
- Number of pieces: 1
- Layout: Single motif, six arms spaced at 60 degrees
- Piece size: 4.5 in (11.4 cm) across
- Size before arm round (after Round 2): 1.5 in (3.8 cm) across
- Arm round depth: 1.5 in (3.8 cm) per side, measured outward from the Round 2 loops
Materials
Thread: Use a mercerized cotton thread in size 3. Mercerized cotton has a slight sheen, shows picots crisply, and takes starch well. Avoid fuzzy or acrylic threads, because they blur the picots and will not hold a starched shape.
- Light blue (powder blue): 4 g, about 6 m (6.6 yd)
This amount includes a margin for a gauge swatch, the hanging loop, and weaving in ends. The snowflake itself uses about 4.5 m (4.9 yd).
Tools:
– 2.25 mm (US B-1) crochet hook
– Fine tapestry needle
– Small scissors
– 1 stitch marker
– Fabric starch, or a mix of white glue and water at a ratio of 1:1
– Foam blocking board or a clean piece of cardboard covered with plastic wrap
– Rust-proof pins
– Ruler or tape measure
Abbreviations (US Terms)
- ch – chain
- sl st – slip stitch
- sc – single crochet
- dc – double crochet
- sp – space
- st(s) – stitch(es)
- rep – repeat
Special stitches:
- Picot: Ch 3, sl st in the 3rd ch from the hook. This makes one small round loop.
- Trefoil tip: [Picot] 3 times, then sl st in the chain that the first picot was worked from. This pulls the three picots into a three-leaf cluster.
- Two-picot cluster: [Picot] 2 times, then sl st in the chain that the first picot was worked from.
Gauge and Checkpoints
Gauge is not critical for an ornament, but it controls the final size and how lacy the piece looks. Make one snowflake first and check it at each stage.
Chain gauge: 8 ch = 1 in (2.5 cm) with size 3 thread and a 2.25 mm hook.
Checkpoints:
– After Round 1: The ring measures 0.75 in (1.9 cm) across, and the center hole is about 0.25 in (0.6 cm).
– After Round 2: The piece measures 1.5 in (3.8 cm) across, from the outer edge of one ch-5 loop to the loop opposite it.
– After Round 3, unblocked: The piece measures about 4 in (10.2 cm) from tip to tip.
– After blocking: The piece measures 4.5 in (11.4 cm) from tip to tip.
If it is too big: Change to a 2 mm hook, or tighten your chains. Loose chains are the most common cause of long, floppy arms.
If it is too small: Change to a 2.5 mm hook, or loosen your chains slightly. You can also stretch the piece a little more when you block it.
Pattern
Round 1 – Center Ring
Ch 6, sl st in the first ch to form a ring.
Ch 3 (counts as the first dc), work 17 dc in the ring, sl st in the top of the beginning ch-3.
Stitch count: 18 dc.
Pull gently on the beginning tail to close the ring slightly. Leave a hole about 0.25 in (0.6 cm) wide, because the open center is part of the design. The ring should measure 0.75 in (1.9 cm) across.
Round 2 – Chain Loops
Ch 1. Sc in the same st as the sl st. *Ch 5, skip the next 2 dc, sc in the next dc. Rep from * 4 more times. Ch 5, skip the last 2 dc, sl st in the first sc.
Stitch count: 6 sc and 6 ch-5 spaces (36 sts including chains).
Check the math: 18 dc ÷ 3 = 6. Each repeat uses 3 dc: 1 dc holds the sc and 2 dc are skipped. That gives 6 sc base points and 6 loops, evenly spaced at 60 degrees. These loops are the foundation for the six arms and make the small open petals around the center.
Measure the piece now. It should be 1.5 in (3.8 cm) across. Place a stitch marker in the first ch-5 space.
Border: Round 3 – Arms and Picot Tips
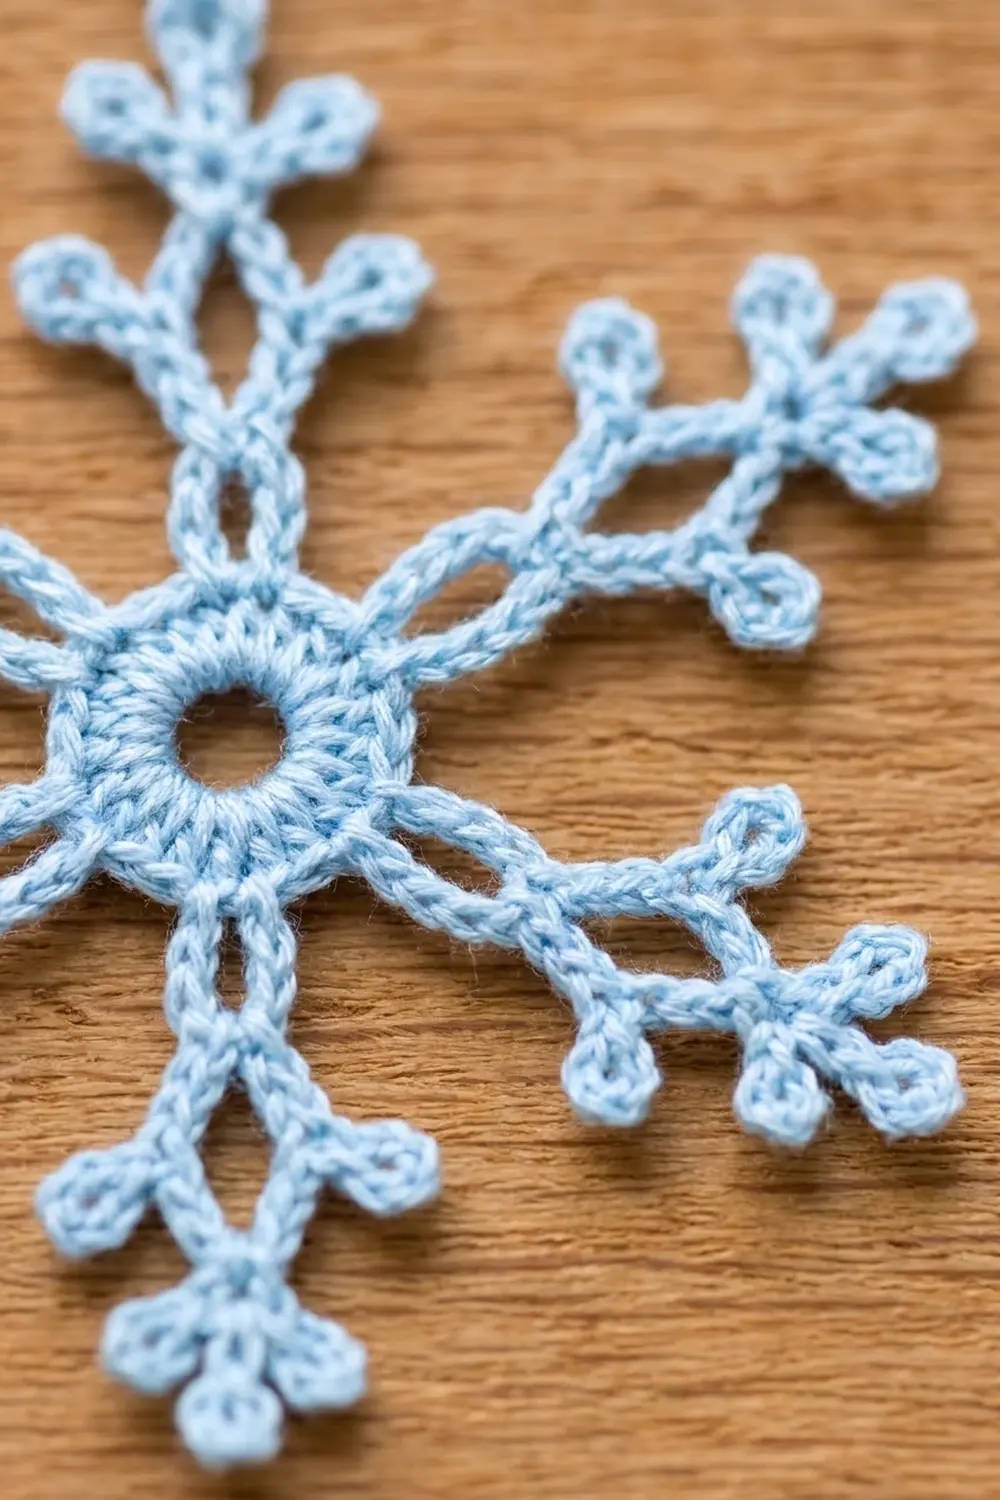
Round 3 is the edging round. It builds all six arms and every picot in the outline. Each of the six “sides” is one ch-5 space from Round 2.
Border gauge: A 9-ch spine plus its trefoil tip should reach about 1.5 in (3.8 cm) past the Round 2 loop. The 9 ch alone measure about 1.125 in (2.9 cm), and the trefoil adds about 0.375 in (1.0 cm).
To start, sl st in each of the first 2 ch of the next ch-5 space, then sl st in the space. Your hook is now centered over the first loop.
One arm (work in one ch-5 space):
- Work 2 sc in the ch-5 space.
- Spine: Ch 9.
- Tip: Work 1 trefoil tip. The final sl st goes into the 9th spine ch, the one closest to the hook.
- Sl st in each of the next 3 spine ch, working back toward the center. You are now in the 6th spine ch, counted from the base.
- Branch A: Ch 4, work 1 two-picot cluster (the closing sl st goes into the 4th branch ch). Sl st in each of the remaining 3 branch ch, then sl st in the same 6th spine ch.
- Branch B: Repeat Step 5 from the same 6th spine ch.
- Sl st in each of the remaining 5 spine ch, back to the base of the arm.
- Work 2 more sc in the same ch-5 space.
- Sl st in the next sc of Round 2.
Repeat for the round: *Work Steps 1–9 in the next ch-5 space. Rep from * 4 more times, for 6 arms in total. The last sl st of Step 9 lands in the sc where Round 2 was joined.
Fasten off, leaving a 6 in (15.2 cm) tail.
Count per side (one ch-5 space):
– 4 sc (2 before the arm and 2 after)
– 1 arm: 9 spine ch, 1 trefoil tip with 3 picots, and 2 branches with 2 picots each
– 1 sl st into the Round 2 sc
Count for the whole round:
– 24 sc (6 sides × 4 sc)
– 6 sl st into the Round 2 sc
– 6 arms
– 42 picots (6 arms × 7 picots: 3 on the tip and 2 + 2 on the branches)
Why the math works: Every arm starts in the middle of its ch-5 space, with exactly 2 sc on each side, so the arms stay centered and balanced. Each arm is worked out along a chain and back down with sl sts, so it adds no width to the center. The center ring stays flat while the arms carry all the length. The branches start from the 6th of 9 spine ch, which puts them about two-thirds of the way up the arm. That leaves room for the trefoil tip to sit clear of the branches.
Branch placement: Branch A and Branch B both start from the same spine chain. When you block, pin one branch to the left of the spine and one to the right, at about a 45 degree angle, so they form a V that points toward the tip.
Hanging Loop
Choose the arm you want at the top. Join the thread with a sl st in the middle picot of its trefoil tip.
Ch 20, sl st in the same middle picot. Do not turn. Work 24 sc into the ch-20 loop, then sl st in the first sc. Fasten off and weave in the ends.
Loop count: 24 sc. The 24 sc over 20 ch give a firm, slightly rounded loop that hangs about 1.25 in (3.2 cm) above the tip. If you would rather use a ribbon or a hook, you can skip the loop.
Weave all tails through the sl sts of the nearest spine. Do not trim them closer than 0.25 in (0.6 cm) until after the piece is starched.
Final Blocking
Blocking turns a curled, rumpled snowflake into a flat, crisp ornament.
- Mark a guide. On paper under plastic wrap, draw a circle 4.5 in (11.4 cm) across, with six lines through its center spaced at 60 degrees.
- Wet the piece. Soak the snowflake in starch, or in the 1:1 glue mix, for 1 minute. Squeeze it gently in a towel. Do not wring it.
- Pin the center. Lay the center ring over the center of your guide. Put one pin through the center hole if needed to keep it round.
- Pin the tips. Pin the middle picot of each trefoil tip onto a guide line, right at the circle’s edge. Pin opposite tips in pairs so the shape stays even.
- Open the trefoils. Pin or nudge each trefoil into a three-leaf shape, with the middle picot pointing straight out.
- Set the branches. Pin each branch pair into a V at about 45 degrees from the spine, with the two-picot clusters opened slightly.
- Shape the loop. Lay the hanging loop flat and straight above the top tip.
- Dry fully. Leave the piece pinned for 12–24 hours, until it is stiff and dry.
- Unpin and trim. Remove the pins, trim the woven-in tails, and check that the piece measures 4.5 in (11.4 cm) from tip to tip.
Final Quality-Control Checklist
- Round 1 has 18 dc, and the center hole is open and round.
- Round 2 has 6 sc and 6 ch-5 loops of equal size.
- There are 6 arms, each starting from the center of its loop.
- Each arm has a 9-ch spine, 1 trefoil tip, and 2 branches.
- There are 42 picots in total, and none of them are twisted or missing.
- The branches sit in matching V shapes on every arm.
- The piece measures 4.5 in (11.4 cm) from tip to tip.
- The hanging loop is firm, with 24 sc, and is centered on the top tip.
- All ends are secure and invisible.
- The piece lies flat and is stiff, with no curling.
Troubleshooting
The center ring ruffles. Your dc are too loose, or the ch-6 ring is too large. Start again with a ch-5 ring, or tighten the dc.
The center ring cups into a bowl. You have fewer than 18 dc, or your tension is tight. Recount the stitches, or loosen your tension.
The arms are different lengths. Your chain tension varies. Count the spine chains (9 each) and keep the same yarn tension for every chain.
The trefoils look like a straight row of loops. You skipped the closing sl st into the base spine chain. That sl st is what pulls the picots into a cluster.
The branches start too low or too high. Count the sl sts back down the spine. There should be exactly 3 after the tip, which puts the branches in the 6th spine ch.
The snowflake goes limp after a few weeks. The starch was too weak. Re-block it with a stronger starch mix.
The arms twist. You worked the sl sts into the front loop only on some chains. Work every return sl st into the back bump or the same loop each time.
Care
Store the snowflake flat in a box between sheets of tissue paper. If it gets dirty or soft, hand wash it in cool water and re-block it with fresh starch.
Final Notes
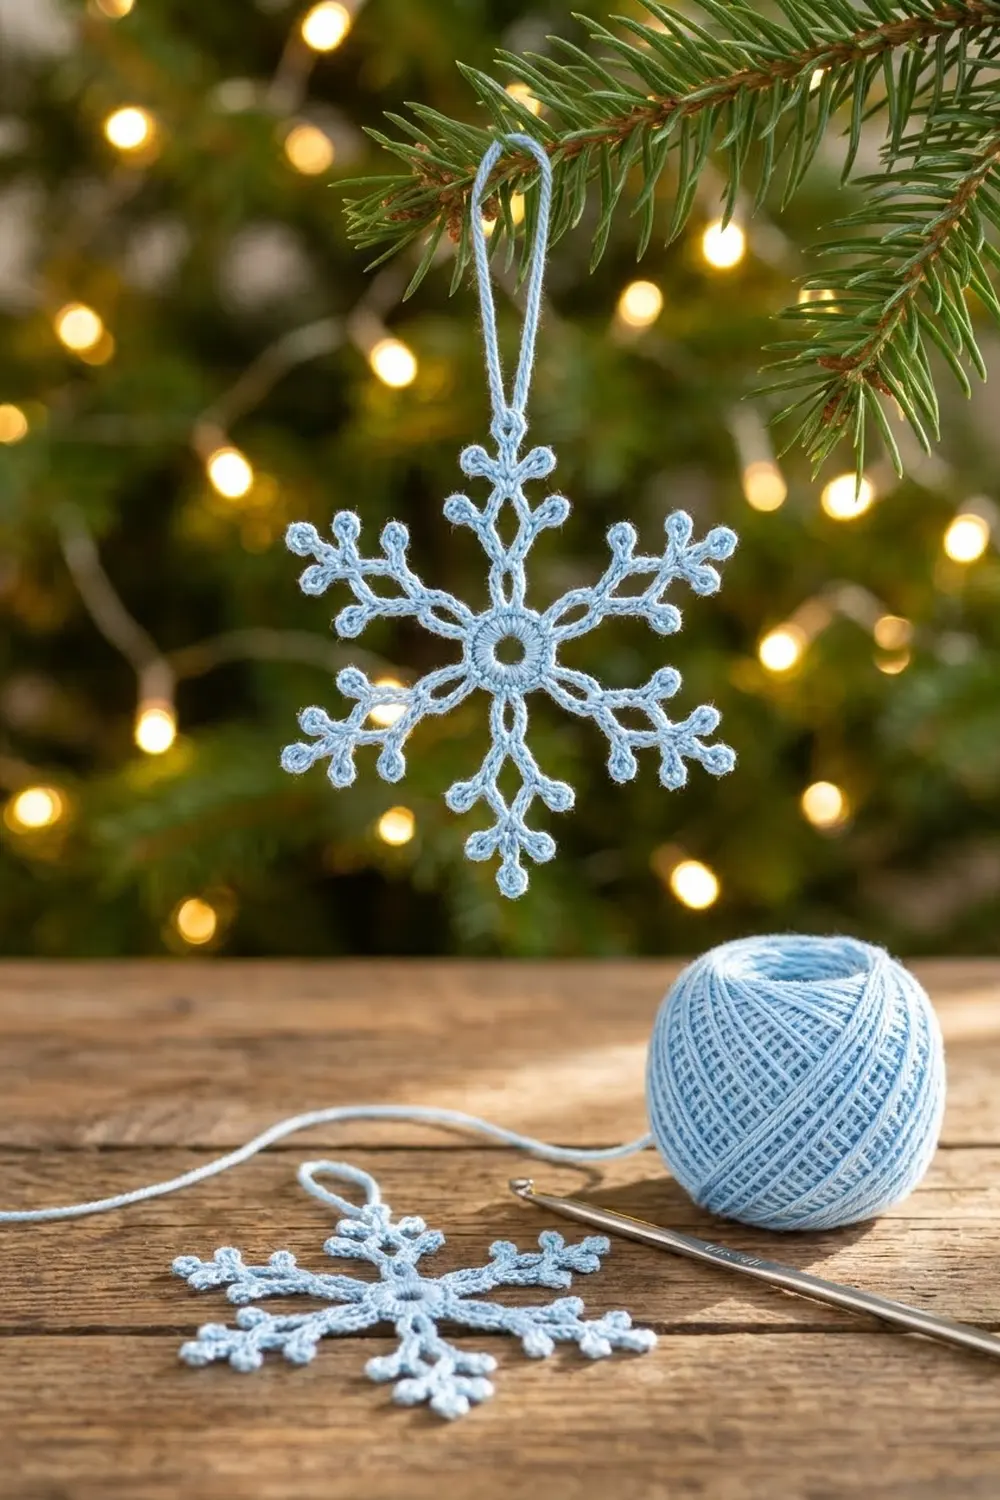
Each stage builds on the one before. The 18-dc center ring measures 0.75 in (1.9 cm). Round 2 turns it into 6 evenly spaced loops, with the piece measuring 1.5 in (3.8 cm). Round 3 adds 1.5 in (3.8 cm) of arm on every side, which gives a blocked size of 4.5 in (11.4 cm), plus a 1.25 in (3.2 cm) hanging loop. If each checkpoint is right, the finished snowflake will be too. Once you have made one, a few more in white or silver make a quick matching set for your tree.
Happy crocheting!