
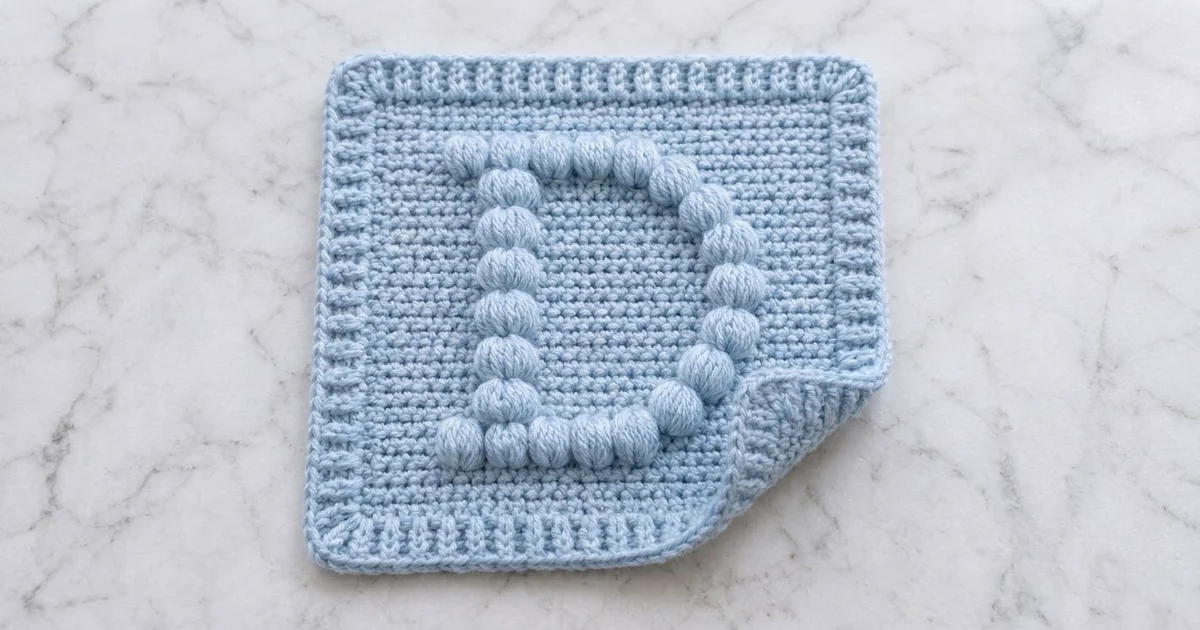
This square has a chunky, raised letter “D” made of plump bobbles on a smooth single crochet background. It is calm and tidy, and the letter is easy to read from across the room. It works well as a monogram gift, a nursery decoration, a mug rug, or a test piece before an alphabet project.
The sample is one color, a soft powder blue. Using a single shade keeps the look modern and lets the texture carry the design. The bobbles catch the light and cast small shadows, so the letter stands out without any colorwork.
The pattern uses US crochet terms. The finished square is 8.5 in × 8.5 in (21.6 cm × 21.6 cm) after blocking.
Construction is simple. You work the center panel back and forth in single crochet rows and place the bobbles on wrong-side rows so they pop toward the right side. Then you work three rounds of border around the panel: single crochet, double crochet, and single crochet.
Finished Size and Construction
- Finished size: 8.5 in × 8.5 in (21.6 cm × 21.6 cm)
- Skill level: Easy / advanced beginner
- Terminology: US crochet terms
- Yarn weight: Worsted (#4, medium)
- Hook: 5.0 mm (US H-8)
- Number of pieces: 1
- Layout: One single square, no joining
- Center panel: 28 stitches × 35 rows
- Size before border: 7 in × 7 in (17.8 cm × 17.8 cm)
- Border depth: 0.75 in (1.9 cm) per side
- Letter size: about 3.25 in wide × 4.2 in tall (8.3 cm × 10.7 cm)
Materials
Yarn: Use a smooth worsted-weight yarn. Acrylic, cotton blend, or soft wool all work. A smooth, plied yarn gives the clearest bobbles. Avoid fuzzy or boucle yarn, which hides the letter shape.
- Light blue: 45 g / about 90 m (98 yd)
The quantity includes a margin of about 15% for your gauge swatch and small differences in tension.
Tools:
- 5.0 mm (US H-8) crochet hook
- Tapestry needle
- Scissors
- 2 locking stitch markers
- Measuring tape or ruler
- Blocking mat and rust-proof pins
- Spray bottle with water
Abbreviations (US Terms)
- ch – chain
- sc – single crochet
- dc – double crochet
- sl st – slip stitch
- st(s) – stitch(es)
- sp – space
- RS / WS – right side / wrong side
- rnd – round
Special stitch – Bobble (5-dc bobble): Yarn over, insert the hook in the stitch, yarn over and pull up a loop, yarn over and pull through 2 loops; repeat from * to * 4 more times in the same stitch (6 loops on the hook). Yarn over and pull through all 6 loops. A bobble counts as 1 stitch. Because you work it on a WS row, it pushes out toward the RS.
Standing sc: With a slip knot on your hook, insert the hook in the stitch, yarn over, pull up a loop, yarn over, and pull through both loops.
Gauge and Checkpoints
Gauge: 16 sc × 20 rows = 4 in (10.2 cm) in single crochet rows.
Make a swatch of 20 sc × 24 rows and measure the 16 stitches in the middle. All the measurements in this pattern depend on this gauge.
The square is a single piece, so it also works as its own test piece. Measure at each checkpoint and fix problems early.
Checkpoints:
- After Row 1: the width is 7 in (17.8 cm).
- After Row 7: the height is 1.4 in (3.6 cm), which is the margin below the letter.
- After Row 18: the height is 3.6 in (9.1 cm).
- After Row 35: the panel is 7 in × 7 in (17.8 cm × 17.8 cm).
- After border Rnd 2: each side is 8 in (20.3 cm).
- After border Rnd 3: each side is 8.5 in (21.6 cm).
If the piece is too big: go down one hook size, to 4.5 mm.
If the piece is too small: go up one hook size, to 5.5 mm.
If your width is right but the rows are too tall, tighten the yarn slightly as you pull through the final loop of each sc. Width matters most, because the border count is built on 28 stitches per side.
Center Panel
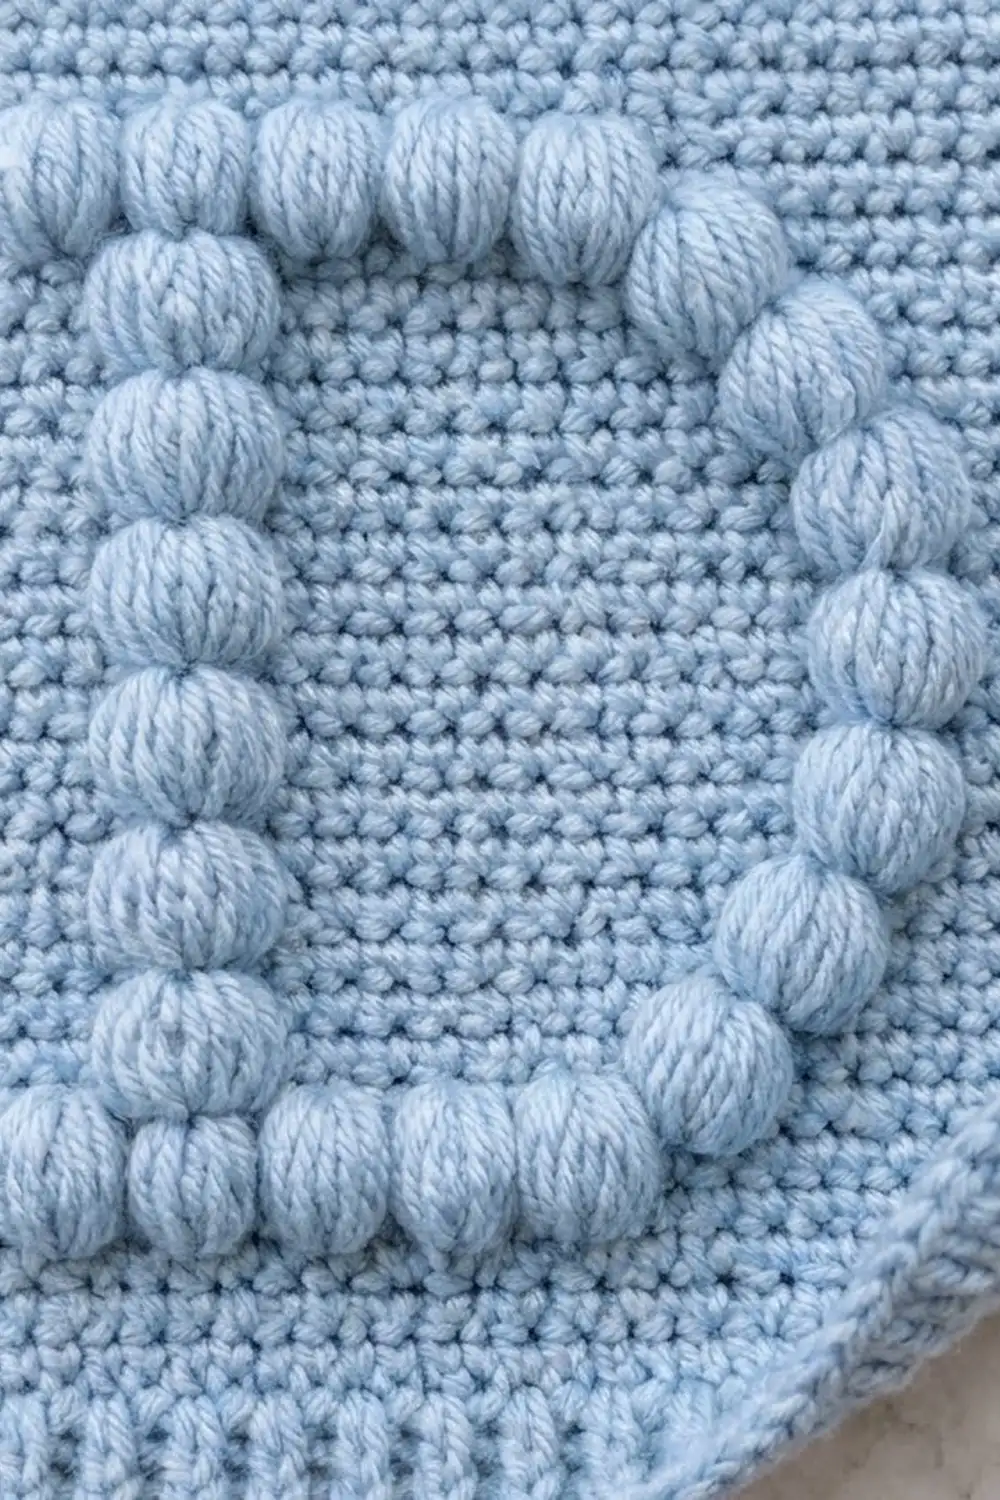
How to read the letter rows: You work all bobbles on WS (even) rows. With the WS facing, you move left to right across the RS image, so the first stitch of each WS row is column 1, at the left edge of the finished square. The letter stem sits in column 8 and the right curve reaches column 20. Bobbles are always separated by at least 1 sc, both across a row and up the rows.
Foundation: Ch 29.
Row 1 (RS): Sc in 2nd ch from hook and in each ch across, turn. (28 sc)
Rows 2–7: Ch 1 (does not count as a stitch), sc in each st across, turn. (28 sc)
Place a marker on Row 1 to mark the RS.
Row 8 (WS, bottom bar): Ch 1, sc in next 7 sts, (bobble, sc) 4 times, bobble, sc in last 12 sts, turn. (28 sts: 5 bobbles + 23 sc)
Check: 7 + 8 + 1 + 12 = 28.
Row 9 (RS): Ch 1, sc in each st across, turn. (28 sc)
On every RS row, work 1 sc firmly into the top of each bobble. Each bobble closes with a single loop, which is easy to miss. If you miss it, you lose a stitch.
Row 10 (WS, start of curve): Ch 1, sc in next 7 sts, bobble, sc in next 9 sts, bobble, sc in last 10 sts, turn. (28 sts: 2 bobbles + 26 sc)
The bobbles sit in columns 8 and 18. Check: 7 + 1 + 9 + 1 + 10 = 28.
Row 11: Repeat Row 9. (28 sc)
Row 12 (WS, straight sides): Ch 1, sc in next 7 sts, bobble, sc in next 11 sts, bobble, sc in last 8 sts, turn. (28 sts: 2 bobbles + 26 sc)
The bobbles sit in columns 8 and 20. Check: 7 + 1 + 11 + 1 + 8 = 28.
Row 13: Repeat Row 9.
Rows 14–25: Repeat Rows 12–13 six more times. This gives straight-side bobble rows on Rows 12, 14, 16, 18, 20, 22, and 24. (28 sts per row)
Row 26 (WS, end of curve): Repeat Row 10. (28 sts: 2 bobbles + 26 sc)
Row 27: Repeat Row 9.
Row 28 (WS, top bar): Repeat Row 8. (28 sts: 5 bobbles + 23 sc)
Rows 29–35: Repeat Row 9. (28 sc)
At the end of Row 35, fasten off. Weave in the starting tail along the bottom edge.
Letter summary: There are 11 bobble rows: Rows 8, 10, 12, 14, 16, 18, 20, 22, 24, 26, and 28. The letter has 28 bobbles in total: 5 in the bottom bar, 5 in the top bar, and 2 in each of the 9 rows between them. The stem is 11 bobbles tall. The right side steps from column 16 to 18 to 20, which makes the rounded shoulders of the “D.”
The margin is 7 rows below the letter (Rows 1–7) and 7 rows above it (Rows 29–35), so the letter is centered vertically. Across the panel, there are 7 sc to the left of the stem and 8 sc to the right of the curve. This puts a little more empty space on the open side of the letter, which looks balanced.
Panel checkpoint: 28 sts × 35 rows = 7 in × 7 in (17.8 cm × 17.8 cm). If the panel is not square, lightly pin and steam it before you start the border.
Border
Border gauge: Along the panel edges, work 4 sc per inch (2.5 cm). This matches the panel gauge of 16 sts per 4 in (10.2 cm), so the edges stay flat.
The 35 row ends on each side need exactly 28 sc. Work them as: (sc in next 4 row ends, skip 1 row end) 7 times. That gives 7 × 4 = 28 sc across 7 × 5 = 35 row ends.
The counts below give the stitches along each side between the corner spaces. The corner chain spaces are counted separately.
Rnd 1 (RS): With the RS facing, join with a standing sc in the first st of Row 35 (top right). Sc in the next 27 sts. (28 sc on the top side)
Ch 2 for the corner. Working down the left side, (sc in next 4 row ends, skip 1) 7 times. (28 sc)
Ch 2. Working in the free loops of the foundation chain, sc in each of the 28 chains. (28 sc)
Ch 2. Working up the right side, (sc in next 4 row ends, skip 1) 7 times. (28 sc)
Ch 2. Join with a sl st to the first sc.
(112 sc: 28 per side, plus 4 ch-2 corner spaces)
Rnd 2: Ch 3 (counts as dc), dc in next 27 sts. *[(2 dc, ch 2, 2 dc) in next ch-2 corner sp, dc in next 28 sts] 3 times, (2 dc, ch 2, 2 dc) in last corner sp. Join with a sl st to the top of the beginning ch-3.
(128 dc: 32 per side, plus 4 ch-2 corner spaces)
Each side has 28 dc worked one into each sc, plus 2 dc from each corner group: 28 + 2 + 2 = 32. The vertical posts of this round make the ribbed look of the border.
Checkpoint: each side measures 8 in (20.3 cm).
Rnd 3: Ch 1, sc in the same st and in each dc to the corner. *(sc, ch 1, sc) in the corner sp, sc in each dc to the next corner; repeat from * around, ending with (sc, ch 1, sc) in the last corner sp and sc in the remaining dc. Join with a sl st to the first sc.
(136 sc: 34 per side, plus 4 ch-1 corner spaces)
Each side has 32 sc worked one into each dc, plus 2 corner sc: 32 + 2 = 34. The 34 per side already includes those 2 corner stitches.
Fasten off and weave in all ends.
Why the math works: The panel has 28 sts per side, which is 7 in (17.8 cm). Each border round adds stitches at the corners only. Rnd 2 adds 4 per side, which is 1 in (2.5 cm) of width, or 0.5 in (1.3 cm) on each edge. That matches the combined depth of Rnds 1 and 2. Rnd 3 adds 2 per side, which is 0.5 in (1.3 cm) of width, or 0.25 in (0.6 cm) on each edge. That matches the depth of 1 sc round.
The final count of 34 sts ÷ 4 sts per inch = 8.5 in (21.6 cm). So the border lies flat: it does not ruffle and it does not cup.
Final Blocking
- Lightly spray the square with water until it is damp, not soaked.
- Lay it RS up on the blocking mat.
- Pin the four corners to an 8.5 in × 8.5 in (21.6 cm × 21.6 cm) square.
- Add pins along each side about every 1 in (2.5 cm), keeping the edges straight.
- Gently round each bobble with your fingertips. Do not press the letter flat.
- If you use steam, hold the iron 1 in (2.5 cm) above the fabric. Never let it touch acrylic yarn.
- Let the square dry completely before you unpin it.
Final Quality-Control Checklist
- [ ] The square measures 8.5 in × 8.5 in (21.6 cm × 21.6 cm), within 1/4 in (0.6 cm).
- [ ] There are 28 bobbles, and all of them pop out on the RS.
- [ ] The stem is straight and 11 bobbles tall, in column 8.
- [ ] Both curves are symmetrical (Rows 10 and 26 match).
- [ ] The final border round has 34 sc per side.
- [ ] The corners are square and lie flat.
- [ ] All ends are woven in securely along the back.
Troubleshooting
The bobbles appear on the wrong side. You worked them on RS rows. Bobbles must go on even (WS) rows.
The stitch count drops after a bobble row. You missed the top of a bobble on the next RS row. Look for the single closing loop on top of each bobble and work 1 sc into it.
The letter leans or the curve is uneven. Count the sc between the bobbles on each row and check them against the column notes. Using stitch markers on columns 8 and 20 helps.
The bobbles look flat. Pull all 6 loops through firmly at the end of the bobble, and keep the sc on each side of it snug.
The border ruffles. You have too many stitches per side, or your hook is too large. Recount to 28, 32, and 34 per side.
The border cups. You skipped too many row ends. Follow the “4 sc, skip 1” repeat exactly.
The panel is a rectangle. Your row gauge is off. Block it to 7 in (17.8 cm) before you start the border, or add or remove 1 plain row at Row 35.
Care
Hand wash in cool water, or machine wash on a gentle cycle in a laundry bag. Lay flat to dry and reshape the bobbles while the square is still damp.
Final Notes
The measurement chain for this square is short:
- Gauge: 16 sc = 4 in (10.2 cm)
- Center panel: 28 sts × 35 rows = 7 in (17.8 cm) square
- Border Rnd 1: 28 sc per side
- Border Rnd 2: 32 dc per side = 8 in (20.3 cm)
- Border Rnd 3: 34 sc per side = 8.5 in (21.6 cm)
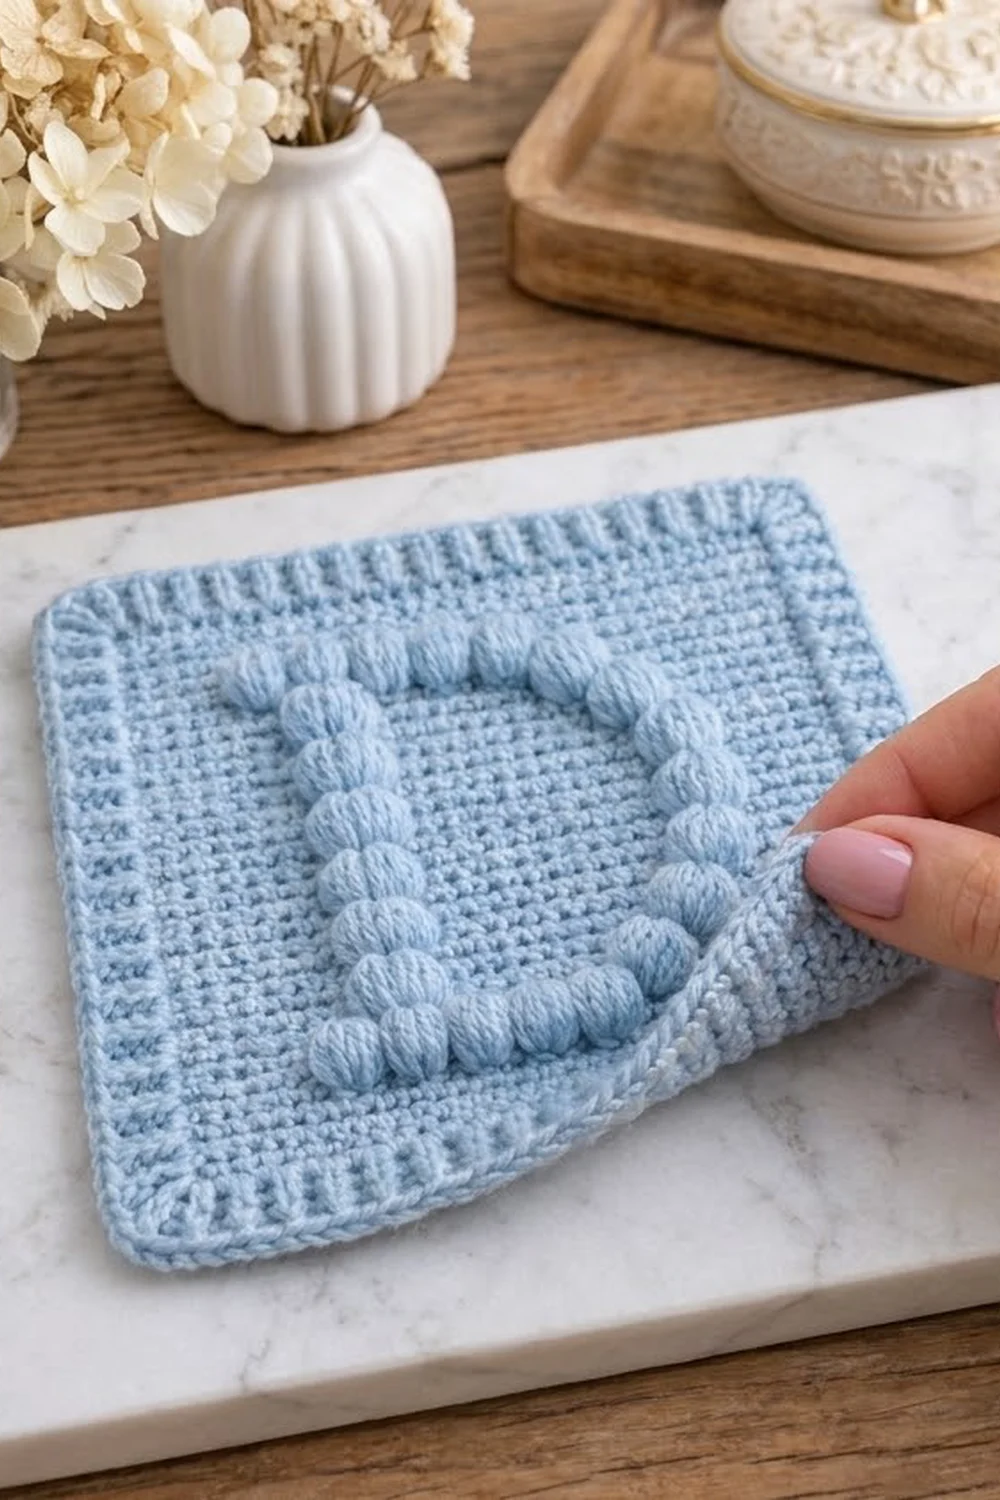
If you check your gauge first and count at every checkpoint, the square will come out flat, square, and the right size, with a clear, bubbly “D” in the center.
Happy crocheting!