

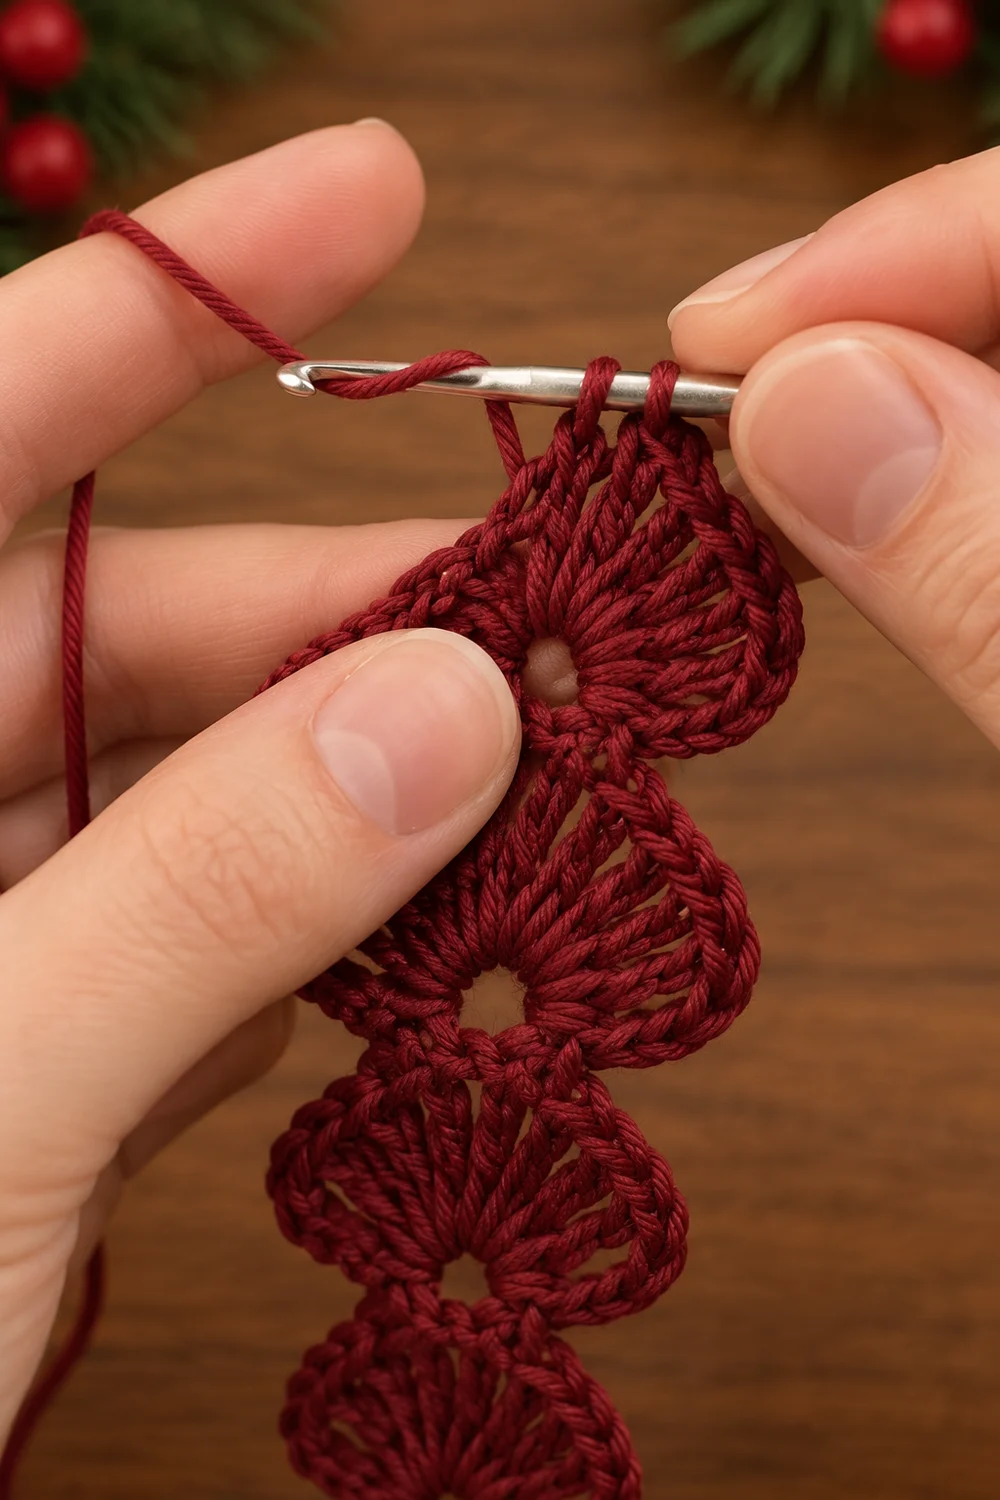
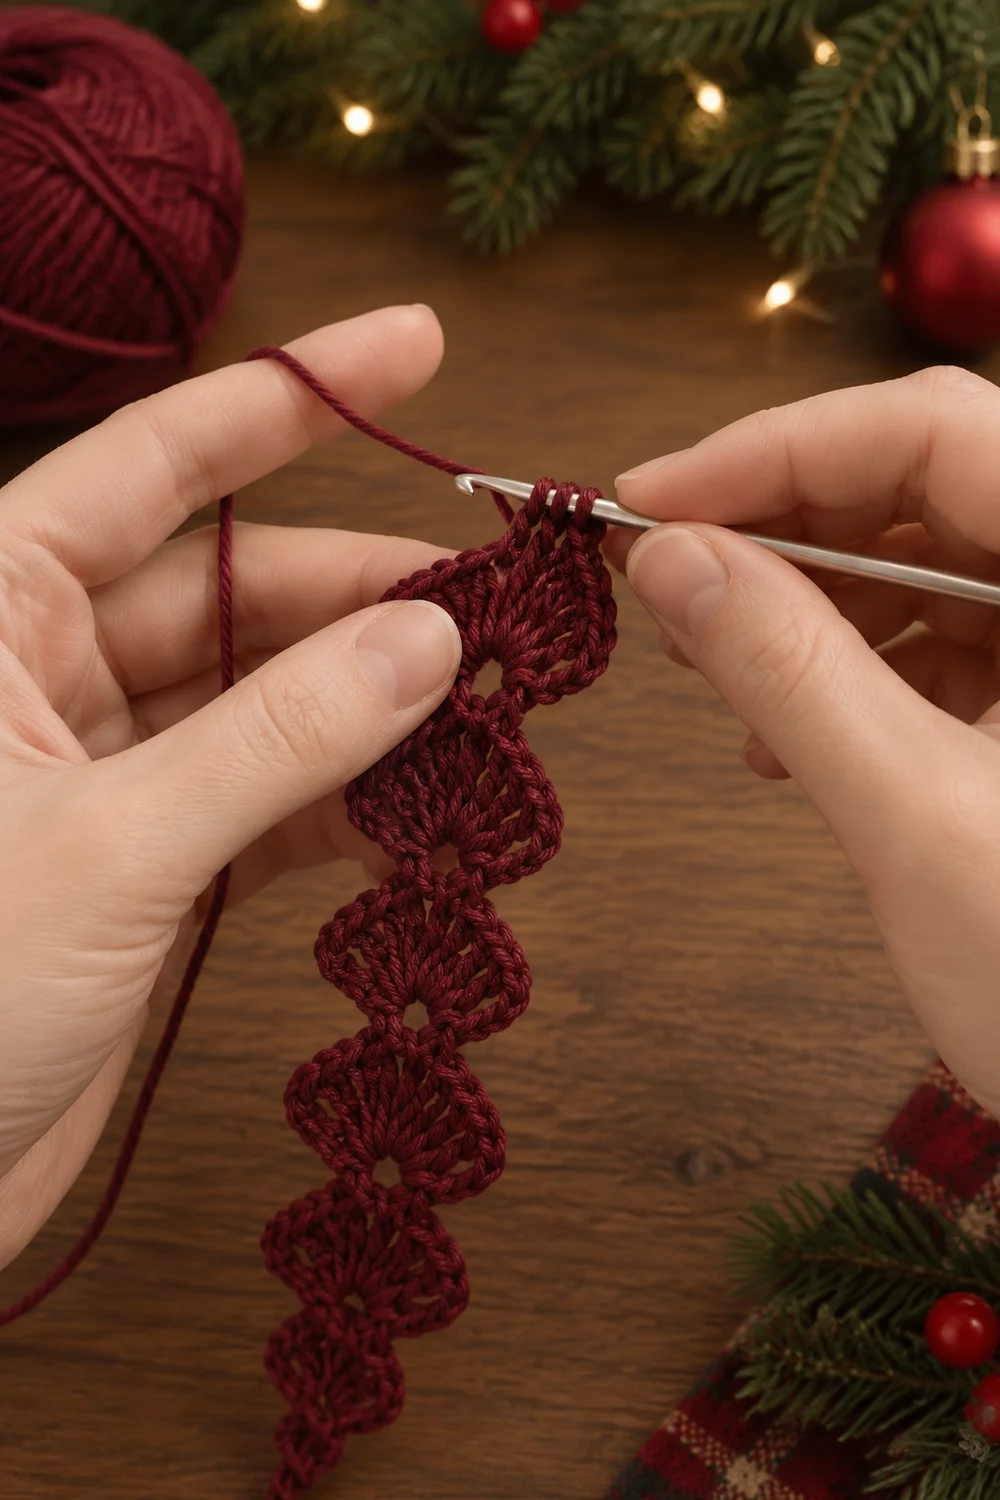
The Winterberry Shell Trim is a small, lacy strip worked in deep burgundy yarn. A row of shell stitches fans out along each long edge, so the piece has a soft, scalloped outline on both sides. It looks like the classic trim on an old-fashioned Christmas stocking cuff.
The design uses one color. A wine-red or burgundy yarn shows off the stitch definition, and a smooth cotton gives the cleanest scallops. The style is traditional and simple, so the trim suits holiday crafts, gift tags, and stocking decorations.
This pattern uses US crochet terms throughout. The finished trim measures 3 in (7.6 cm) long and 1.25 in (3.2 cm) wide after blocking.
You work the trim as a single piece. Start with one foundation row of single crochet, then add a shell row along the top edge. Next, work a matching shell row along the foundation edge as the border. A slip-stitch round around the whole strip keeps the edges crisp.
Finished Size and Construction
- Finished size: 3 in (7.6 cm) long x 1.25 in (3.2 cm) wide
- Skill level: Easy
- Terminology: US crochet terms
- Yarn weight: Sport weight (#2), cotton or cotton blend
- Hook: 3.25 mm (US D/3)
- Number of pieces: 1
- Layout: Single horizontal strip with scallops on both long edges
- Piece size: 3 in (7.6 cm) x 1.25 in (3.2 cm)
- Size before border: 3 in (7.6 cm) x 0.75 in (1.9 cm)
- Border depth: 0.5 in (1.3 cm), added along the foundation edge only
Materials
Yarn advice: Choose a smooth, tightly plied sport-weight cotton. Mercerized cotton gives sharp shells with a slight sheen. Avoid fuzzy or brushed yarns, because they blur the scallop edges. Wool blends work, but the shells will be softer and less defined.
Yarn:
- Burgundy (wine red): 5 g, about 15 m (16.4 yd)
This quantity includes a margin for your gauge swatch, weaving in ends, and small tension differences.
Tools:
- 3.25 mm (US D/3) crochet hook
- 2.75 mm (US C/2) and 3.5 mm (US E/4) hooks, for gauge adjustment if needed
- Tapestry needle
- Scissors
- Rustproof pins
- Blocking mat or folded towel
- Spray bottle with water
- Ruler or measuring tape with inches and cm
Abbreviations (US Terms)
- ch – chain
- sc – single crochet
- dc – double crochet
- sl st – slip stitch
- st(s) – stitch(es)
- sk – skip
- RS – right side
- rep – repeat
Special stitch:
- Shell – Work 5 dc into the same stitch. Each shell fans out into one scallop.
Gauge and Checkpoints
The trim is small, so the first piece is your gauge test. Work Row 1, measure it, and adjust your hook before you continue.
Gauge: 19 sc = 3 in (7.6 cm) in Row 1.
Each shell row adds 0.5 in (1.3 cm) of depth. The single crochet row adds 0.25 in (0.6 cm).
Checkpoints:
- After Row 1: The sc row measures 3 in (7.6 cm) long and 0.25 in (0.6 cm) tall.
- After Row 2: The strip measures 3 in (7.6 cm) long and 0.75 in (1.9 cm) wide. The shells stand 0.5 in (1.3 cm) above the sc row.
- After Border Row 1: The strip measures 3 in (7.6 cm) long and 1.25 in (3.2 cm) wide.
- After Border Round 2: The size stays the same. The slip stitches only firm up the edge.
If your strip is too big: Rip back and try a 2.75 mm (US C/2) hook.
If your strip is too small: Rip back and try a 3.5 mm (US E/4) hook.
Shell height matters too. If your shells measure more than 0.5 in (1.3 cm) tall, your dc stitches are loose. Pull each dc snug before you start the next one.
Main Pattern: Trim Strip
Foundation and Row 1 (Single Crochet Base)
Leave a 6 in (15.2 cm) tail.
Row 1: Ch 20. Sc in 2nd ch from hook and in each ch across. Turn.
Stitch count: 19 sc.
This row sets the length of the trim. The 19 sc fit a 6-stitch shell repeat plus 1 (3 x 6 + 1 = 19), so three shells fit exactly with a sc at each end.
Checkpoint: 3 in (7.6 cm) long.
Row 2 (Top Shell Edge)
Row 2 (RS): Ch 1 (does not count as a st). Sc in first sc. Sk 2 sc, shell in next sc, sk 2 sc, sc in next sc. Rep from * 2 more times.
Stitch count: 3 shells and 4 sc (15 dc + 4 sc = 19 sts).
The shells sit in sc 4, 10, and 16 of Row 1. The anchoring sc sit in sc 1, 7, 13, and 19. Every Row 1 stitch is either worked into or skipped in pairs, so the row ends exactly in the last sc.
Fasten off, leaving a 6 in (15.2 cm) tail.
Checkpoint: 3 in (7.6 cm) long x 0.75 in (1.9 cm) wide. Each shell should fan out evenly and lie flat. If the shells cup upward, your dc stitches are too tight. If they ruffle, they are too loose.
Border
The border has two parts. Border Row 1 adds a matching scallop edge along the foundation side. Border Round 2 is a slip-stitch round that frames the whole strip.
Border gauge: The border uses the same gauge as the main strip, 19 sts = 3 in (7.6 cm). It is not worked tighter or looser.
Border Row 1 (Bottom Shell Edge)
Turn the strip so the foundation chain is on top and the RS faces you. You will work into the 19 free bottom loops of the foundation chain. These loops sit directly under the 19 sc of Row 1.
Border Row 1: Join yarn with a sl st in the first foundation loop at the right-hand end. Ch 1 (does not count as a st). Sc in same loop. Sk 2 loops, shell in next loop, sk 2 loops, sc in next loop. Rep from * 2 more times.
Stitch count: 3 shells and 4 sc (15 dc + 4 sc = 19 sts).
Fasten off, leaving a 6 in (15.2 cm) tail.
Why the math works: The foundation edge has 19 loops, the same as Row 1’s 19 sc. That number is a multiple of 6 plus 1, so the shell repeat fits exactly, just like Row 2. The bottom shells land in loops 4, 10, and 16, directly below the top shells. As a result, the scallops mirror each other across the strip and give a balanced outline.
Checkpoint: 3 in (7.6 cm) long x 1.25 in (3.2 cm) wide.
Border Round 2 (Slip-Stitch Frame)
Keep this round loose. Tight slip stitches will pull the shells inward and flatten the scallops.
Border Round 2: With RS facing, join yarn with a sl st in the first sc of Row 2 (top right end).
- Side 1 (top shell edge): Sl st in each st across Row 2, including the joining sl st. 19 sl st.
- End 1 (short end): Work 1 sl st in the end of Row 2, 1 sl st in the end of Row 1, and 1 sl st in the end of Border Row 1. 3 sl st.
- Side 2 (bottom shell edge): Sl st in each st across Border Row 1. 19 sl st.
- End 2 (short end): Work 1 sl st in the end of Border Row 1, 1 sl st in the end of Row 1, and 1 sl st in the end of Row 2. 3 sl st.
Join with a sl st to the first sl st. Fasten off.
Stitch count: 44 sl st (19 + 3 + 19 + 3).
Each long side gets exactly 1 sl st per existing stitch, so no extra stitches are added and the scallop shape stays the same. Each short end gets 1 sl st per row end, and there are 3 rows on each end.
Checkpoint: 3 in (7.6 cm) long x 1.25 in (3.2 cm) wide. The size should not change.
Optional: For a longer trim, add 6 chains to the foundation for each extra shell. Every 6 chains adds one shell to both edges.
Final Blocking
- Weave in all four tails along the sc row, where they hide best. Trim the ends close.
- Lay the trim RS up on a blocking mat or folded towel.
- Pin both short ends so the strip measures 3 in (7.6 cm) long.
- Gently ease the shells outward. Pin the center dc of each shell so the strip measures 1.25 in (3.2 cm) at its widest point.
- Check that the top and bottom shells line up across the strip.
- Mist the trim lightly with water until it is damp but not soaked.
- Let it dry completely, at least 2 hours, before you remove the pins.
Final Quality-Control Checklist
- [ ] Row 1 has 19 sc and measures 3 in (7.6 cm).
- [ ] Row 2 has 3 shells and 4 sc (19 sts).
- [ ] Border Row 1 has 3 shells and 4 sc (19 sts).
- [ ] Top and bottom shells line up directly across from each other.
- [ ] Border Round 2 has 44 sl st (19 + 3 + 19 + 3).
- [ ] Finished trim measures 3 in (7.6 cm) x 1.25 in (3.2 cm).
- [ ] Each shell fans out flat with no cupping or ruffling.
- [ ] All tails are woven in and hidden in the sc row.
- [ ] The trim lies flat after blocking.
Troubleshooting
The last shell doesn’t fit at the end of the row.
Count your Row 1 stitches. You need exactly 19 sc. Check that you skip 2 stitches on each side of every shell.
The shells curl or cup.
Your dc stitches are too tight. Loosen them, or go up to a 3.5 mm (US E/4) hook for the shell rows only.
The shells ruffle or wave.
Your dc stitches are too loose. Snug each one, or go down to a 2.75 mm (US C/2) hook.
The top and bottom shells don’t line up.
In Border Row 1, you may have started in the wrong loop. Begin in the very first foundation loop at the right-hand end.
The slip-stitch round pulls the edge in.
Work the round more loosely. You can also use a hook one size larger for this round only.
The foundation loops are hard to find.
Work the foundation chain loosely next time. You can also make the chain with a hook one size larger.
Care
Hand wash in cool water with mild soap, and press out the water gently in a towel. Lay flat and pin to shape to dry, and avoid the dryer.
Final Notes
The Winterberry Shell Trim follows one simple measurement chain. Row 1 sets the length at 19 sc, which equals 3 in (7.6 cm). Row 2 adds three shells and brings the width to 0.75 in (1.9 cm). Border Row 1 mirrors those shells on the foundation edge and brings the width to 1.25 in (3.2 cm). Border Round 2 frames the strip with 44 slip stitches without changing its size.
If Row 1 measures correctly, every row after it will fit. Check your gauge early, keep your shells even, and block with care.
Happy crocheting!