

This valance is a row of ten forest-green hexagons, each with a cream snowflake inside. A loop tab at the top of each hexagon slides onto a curtain rod. From the bottom point of each hexagon hangs a green cord with small ornaments: cream snowflakes, green trees, red stars, cream bells, green rings and wooden beads, with a green tassel at the end.
The colors are a classic Nordic mix of forest green, warm cream and a little cranberry red, with natural wood. The style is cozy and rustic, and it looks best against a frosted window or string lights.
The pattern uses US crochet terms. The finished strip measures 52.6 in (133.6 cm) wide and 6.6 in (16.8 cm) tall. The strands hang about 18 in (45.7 cm) below it, for a total drop of about 24.6 in (62.5 cm).
Here’s the order of work: make ten hexagons, whipstitch them into a row, crochet a two-round border and sew on the tabs. Then make the small ornaments and build one beaded cord under each hexagon.
Finished Size and Construction
- Finished size: 52.6 x 6.6 in (133.6 x 16.8 cm) strip, plus strands of about 18 in (45.7 cm)
- Skill level: Intermediate
- Terminology: US
- Yarn weight: DK (light, #3)
- Hook: 3.5 mm (E-4)
- Number of pieces: 10 hexagons, 10 tabs, 8 mini snowflakes, 4 trees, 2 stars, 2 bells, 4 rings, 10 tassels (the cords are worked in place)
- Layout: 1 row of 10 hexagons, points up and down, joined along their vertical sides
- Hexagon size: 6 in (15.2 cm) point to point, 5.2 in (13.2 cm) flat to flat, 3 in (7.6 cm) per side
- Size before border: 52 x 6 in (132.1 x 15.2 cm)
- Border depth: 0.3 in (0.8 cm), 2 rounds
Materials
Use a smooth cotton or cotton-blend DK yarn. Cotton gives the snowflake arms crisp definition and doesn’t stretch much while hanging. The amounts below assume about 230 m per 100 g.
- Forest green: 250 g (575 m) for the frames, border, tabs, cords, trees, rings and tassels
- Cream: 100 g (230 m) for the snowflake centers, mini snowflakes and bells
- Cranberry red: 25 g (58 m) for the stars
Tools:
- 3.5 mm (E-4) crochet hook
- Thirty 12 mm natural wooden beads with holes of at least 4 mm
- Tapestry needle
- Stitch markers
- Scissors
- A 3.5 in (8.9 cm) piece of cardboard for the tassels
- Blocking mats and pins
All quantities include a margin of roughly 15-20 percent.
Abbreviations (US Terms)
- ch – chain
- sl st – slip stitch
- sc – single crochet
- hdc – half double crochet
- dc – double crochet
- dtr – double treble crochet (yo 3 times, insert hook, pull up a loop, [yo, pull through 2 loops] 4 times)
- sc2tog – single crochet 2 together
- BLO – back loop only
- rev sc – reverse single crochet (crab stitch)
- sp – space
Special stitch – Arm:
1. Ch 8.
2. Sl st in the 4th ch from the hook (first tip loop).
3. [Ch 3, sl st in the same ch] twice (second and third tip loops).
4. [Sl st in the next ch, ch 3, sl st in the same ch] twice (2 branch picots).
5. Sl st in the last 2 ch.
This gives a three-loop trefoil tip and two picot branches, and it uses all 8 chains.
Special stitch – Mini Arm:
1. Ch 6.
2. Sl st in the 4th ch from the hook.
3. [Ch 3, sl st in the same ch] twice.
4. Sl st in the next ch, ch 3, sl st in the same ch.
5. Sl st in the last ch.
Gauge and Checkpoints
Gauge is 20 sc = 4 in (10.2 cm). Make one complete hexagon first and check it at each stage:
- After Round 1: the ring is 1 in (2.5 cm) across.
- After Round 3: the snowflake is 4.8 in (12.2 cm) from tip to opposite tip when laid flat.
- After Round 6: the hexagon is 6 in (15.2 cm) point to point, 5.2 in (13.2 cm) flat to flat and 3 in (7.6 cm) per side.
Too big? Use a 3.25 mm hook. Too small? Use a 3.75 mm hook. Never change the stitch counts. An error of 0.1 in (0.3 cm) per hexagon adds up to 1 in (2.5 cm) across the valance.
Hexagon (Make 10)
Snowflake (Cream)
Round 1: Make a magic ring. Ch 3 (counts as dc), then work 11 dc in the ring. Join with a sl st to the top of the ch-3. (12 dc)
Round 2: Ch 1, sc in the same st, ch 3, skip the next dc. Sc in the next dc, ch 3, skip the next dc; repeat from * 4 more times. Join to the first sc. (6 sc, 6 ch-3 sps)
Round 3: Sl st into the first ch-3 sp, then ch 1. (Sc, Arm, sc) in the ch-3 sp, sc in the next sc; repeat from * 5 more times. Join and fasten off. (18 sc, 6 Arms)
The single sc between two arms is the “valley sc.”
Frame (Green)
Choose one arm as the top. The arms point at the six corners of the hexagon, so the motif has a point at the top and bottom and flat vertical sides at the left and right.
Round 4: Join green with a sc in the center tip loop of any Arm, then ch 2 and sc in the same loop. Ch 3, dtr in the next valley sc, ch 3, (sc, ch 2, sc) in the center tip loop of the next Arm; repeat from * 4 more times. Ch 3, dtr in the last valley sc, ch 3, then join. (12 sc, 6 dtr, 6 corner ch-2 sps, 12 ch-3 sps)
Round 5: Sl st into the corner sp. Ch 3 (counts as dc), then work (dc, ch 2, 2 dc) in the same sp. Dc in the sc, 3 dc in the ch-3 sp, dc in the dtr, 3 dc in the ch-3 sp, dc in the sc, (2 dc, ch 2, 2 dc) in the corner sp; repeat around, leaving out the final corner. Join. (78 dc: 13 per side between corner spaces, 6 ch-2 sps)
Round 6: Ch 1. Sc in each dc to the corner, (sc, ch 2, sc) in the corner sp; repeat around and join. (90 sc: 15 per side, 6 ch-2 sps) Fasten off. On four of the hexagons, leave a 24 in (61.0 cm) tail for joining.
Each side’s 15 sc are the 13 sc worked one into each dc, plus the 2 corner sc at its ends.
Make All Pieces
- Green and cream: 10 hexagons
- Green: 10 tabs, 4 trees, 4 rings, 10 tassels
- Cream: 8 mini snowflakes, 2 bells
- Red: 2 stars
Tab
Ch 6, then sc in the 2nd ch from the hook and across. (5 sc)
Rows 2-14: Ch 1, turn, sc across. (5 sc)
The tab measures 1 x 2.8 in (2.5 x 7.1 cm).
Mini Snowflake
Round 1: Make a magic ring. Ch 3, work 11 dc in the ring and join. (12 dc)
Round 2: Ch 1. Sc in the next dc, Mini Arm, sc in the next dc; repeat 6 times and join. (12 sc, 6 Mini Arms)
It measures 2.6 in (6.6 cm) tip to tip.
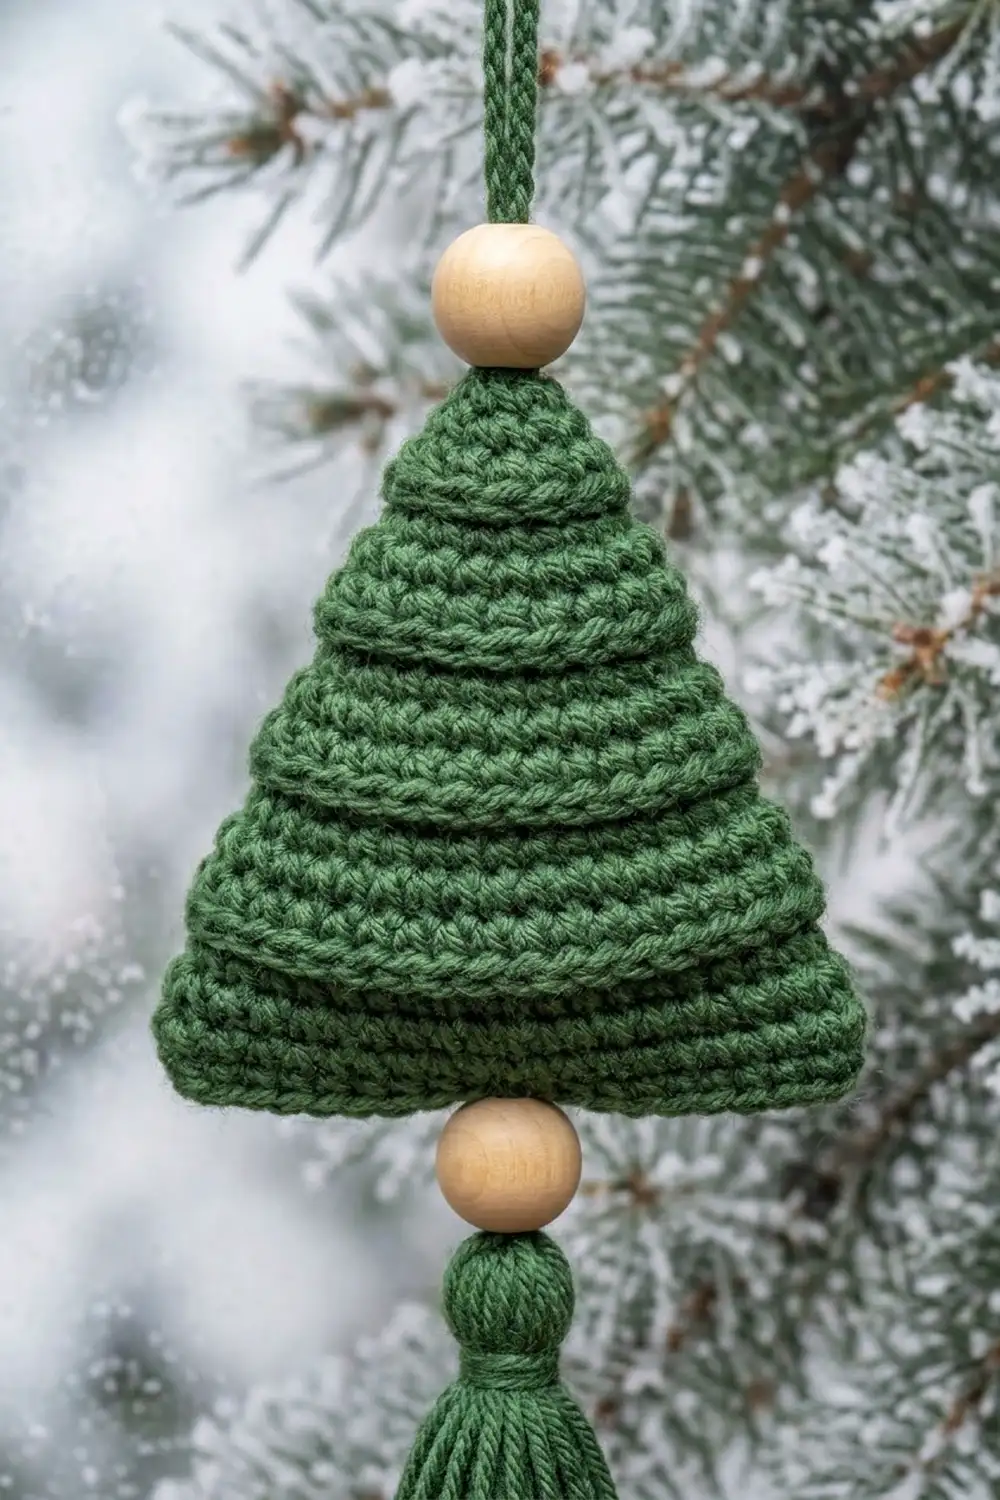
Tree
Row 1 (RS): Ch 13, then sc in the 2nd ch from the hook and across. (12)
From Row 2 on, ch 1 and turn at the start of every row.
| Row | Instructions | Count |
|---|---|---|
| 2 | sc2tog, sc to the last 2, sc2tog | 10 |
| 3 | Sc across in BLO | 10 |
| 4 | Decrease as in Row 2 | 8 |
| 5 | Sc across | 8 |
| 6 | Decrease as in Row 2 | 6 |
| 7 | Sc across in BLO | 6 |
| 8 | Decrease as in Row 2 | 4 |
| 9 | Sc across | 4 |
| 10 | Decrease as in Row 2 | 2 |
| 11 | sc2tog | 1 |
The unworked front loops from Rows 3 and 7 form ridges on the right side, which split the tree into three tiers. The finished tree is 2.4 in (6.1 cm) wide at the base and 2.2 in (5.6 cm) tall.
Star
Round 1: Make a magic ring. Ch 1, work 10 sc in the ring and join. (10)
Round 2: Ch 5. Starting in the 2nd ch from the hook, work sl st, sc, hdc and dc back along the chain. Skip 1 sc, then sl st in the next sc; repeat 5 times. (5 points)
Use cream to add a French knot at the center. The star measures 2 in (5.1 cm).
Bell
Work in a spiral from the top down.
- Round 1: 6 sc in a magic ring, leaving the center slightly open. (6)
- Round 2: 2 sc in each st around. (12)
- Rounds 3-6: Sc around. (12)
- Round 7: Sc in the next st, 2 sc in the next st; repeat around. (18)
- Round 8: Sc around. (18)
- Round 9: Sc in the next 2 sts, 2 sc in the next st; repeat around. (24)
- Round 10: Sc around. (24)
- Round 11: Rev sc around. (24)
The bell is 2.2 in (5.6 cm) tall with a 1.5 in (3.8 cm) mouth.
Ring
Ch 18 and join into a ring. Ch 1, work 36 sc into the ring and join. (36) It measures 2 in (5.1 cm) across.
Tassel
- Wrap green 30 times around the 3.5 in (8.9 cm) card.
- Tie the wraps together at the top.
- Wrap the neck 0.5 in (1.3 cm) below the tie.
- Cut the bottom loops and trim the tassel to 3 in (7.6 cm).
Layout Grid and Strand Plan
Layout grid (front view, left to right):
ROW 1: HEX HEX HEX HEX HEX HEX HEX HEX HEX HEX
Strand plan (ornaments listed top to bottom; every strand ends in a tassel):
| Strand | Ornament 1 | Ornament 2 |
|---|---|---|
| 1 | Snowflake | Ring |
| 2 | Tree | Snowflake |
| 3 | Snowflake | Bell |
| 4 | Star | Snowflake |
| 5 | Tree | Ring |
| 6 | Snowflake | Bell |
| 7 | Star | Tree |
| 8 | Snowflake | Ring |
| 9 | Tree | Snowflake |
| 10 | Snowflake | Ring |
Joining
- Block each hexagon to 6 in (15.2 cm) point to point.
- Hold two hexagons right sides together, with their vertical sides lined up.
- Whipstitch with green through the back loops. Start in the corner ch-2 sp, go through all 15 sc one to one, and end in the opposite ch-2 sp.
Each seam is 15 stitch pairs plus 2 corner pairs, with nothing added or skipped. Make 9 seams in total.
Pull each stitch just snug enough to close the gap. Pulling too hard puckers the seam and tilts the hexagons.
Size checkpoint: 52 x 6 in (132.1 x 15.2 cm), which is 10 hexagons x 5.2 in (13.2 cm).
Border
The border gauge is the same as the body: 5 sc = 1 in (2.5 cm). The strip’s outline has:
- 42 hexagon sides: 20 along the top, 20 along the bottom and 1 at each end
- 24 outer points
- 18 valleys where the seams meet the edges
Round 1 (green): Join anywhere and sc in each sc around. At each outer point, work 3 sc in the ch-2 sp. At each valley, sc2tog over the two joined ch-2 sps. Join.
- Each hexagon side: 15 sc
- Top edge between the end corners: 300 sc + 30 sc (10 peaks) + 9 sc2tog = 339
- Bottom edge: 339
- Left side: 15
- Right side: 15
- 4 end corners: 3 sc each = 12
- Total: 630 sc (one into each existing stitch) + 72 corner sc + 18 sc2tog = 720 sts
Round 2: Ch 1, rev sc in each st around. Join and fasten off. (720 sts, with the same edge counts as Round 1)
Why the math works:
- Working one stitch into each existing stitch keeps every side at 15.
- The 3 sc at each point let the edge turn the corner without cupping.
- The sc2tog at each valley stops the inner corners from ruffling.
- Rev sc is worked one to one, so the count stays at 720.
The border adds 0.3 in (0.8 cm) all around, which brings the strip to 52.6 x 6.6 in (133.6 x 16.8 cm).
Tabs and Strands
Attaching the Tabs
Fold each tab in half and sew both ends to the back of a top point, overlapping the border by 0.5 in (1.3 cm). This leaves a loop 1.4 in (3.6 cm) deep, which fits a rod up to 1 in (2.5 cm) across.
Making the Cords
Use green held double. The cord gauge is 5 ch = 1 in (2.5 cm). Thread 3 beads onto both strands before you start each strand.
- Sl st into the center sc of a bottom point. Ch 15 (3 in, 7.6 cm), slide a bead up, ch 1, sl st into the top of ornament 1 and fasten off.
- Join at the bottom of ornament 1. Ch 10 (2 in, 5.1 cm), slide a bead up, ch 1, sl st into the top of ornament 2 and fasten off.
- Join at the bottom of ornament 2. Ch 15, slide a bead up, ch 1 and fasten off. Tie on the tassel.
Where to Attach Each Ornament
- Snowflakes: the center tip loop of the top arm and of the bottom arm
- Trees: the top point and the center of the base
- Stars: the top point and the valley between the two lower points
- Rings: the top and bottom edges
- Bells: Pass the cord tail through the magic ring and knot it inside the bell. Rejoin at the ring from the inside so the next cord section hangs through the mouth like a clapper.
Final Blocking
- Mist the strip with water until it’s damp.
- Pin it to 52.6 x 6.6 in (133.6 x 16.8 cm), with a pin at every point and valley.
- Check that each hexagon is 5.2 in (13.2 cm) flat to flat.
- Pin the snowflake arms so each one points straight at its corner.
- Pin the mini snowflakes and stars open. Fill the bells with plastic wrap so they hold their shape.
- Let everything dry completely, then hang the valance for a day so the strands settle.
Final Quality-Control Checklist
- 10 hexagons, each 6 in (15.2 cm) point to point
- 15 sc on every side, and all seams lying flat
- 720 sts in each border round, with crisp points and valleys
- 10 tabs, all the same depth
- 10 strands, each with 3 beads and a tassel, matching the strand plan
- All ends woven in twice
Troubleshooting
- Arms curl: Loosen your slip stitches or block more firmly.
- Hexagon cups: Check the (2 dc, ch 2, 2 dc) corners, or go up half a hook size.
- Sides bulge: Replace each dtr with a tr, but keep the 3 dc on each side of it.
- Valleys ruffle: Make sure every valley has an sc2tog, not 2 separate sc.
- Strands twist: Steam them lightly and let them hang.
- Beads won’t slide: Use beads with 5 mm holes, or work that cord single-stranded.
Care
Hand wash in cool water, roll the valance in a towel to remove excess water and dry it flat with the strands straight. Don’t hang it while it’s wet.

Final Notes
The measurement chain:
- A gauge of 20 sc = 4 in (10.2 cm) gives a 3 in (7.6 cm) hexagon side.
- A 3 in side gives a hexagon 5.2 in (13.2 cm) wide.
- Ten hexagons make 52 in (132.1 cm).
- The border brings the strip to 52.6 x 6.6 in (133.6 x 16.8 cm).
- The 18 in (45.7 cm) strands bring the total drop to about 24.6 in (62.5 cm).
If each link in the chain measures correctly, the valance will hang straight and even.
Happy crocheting!