

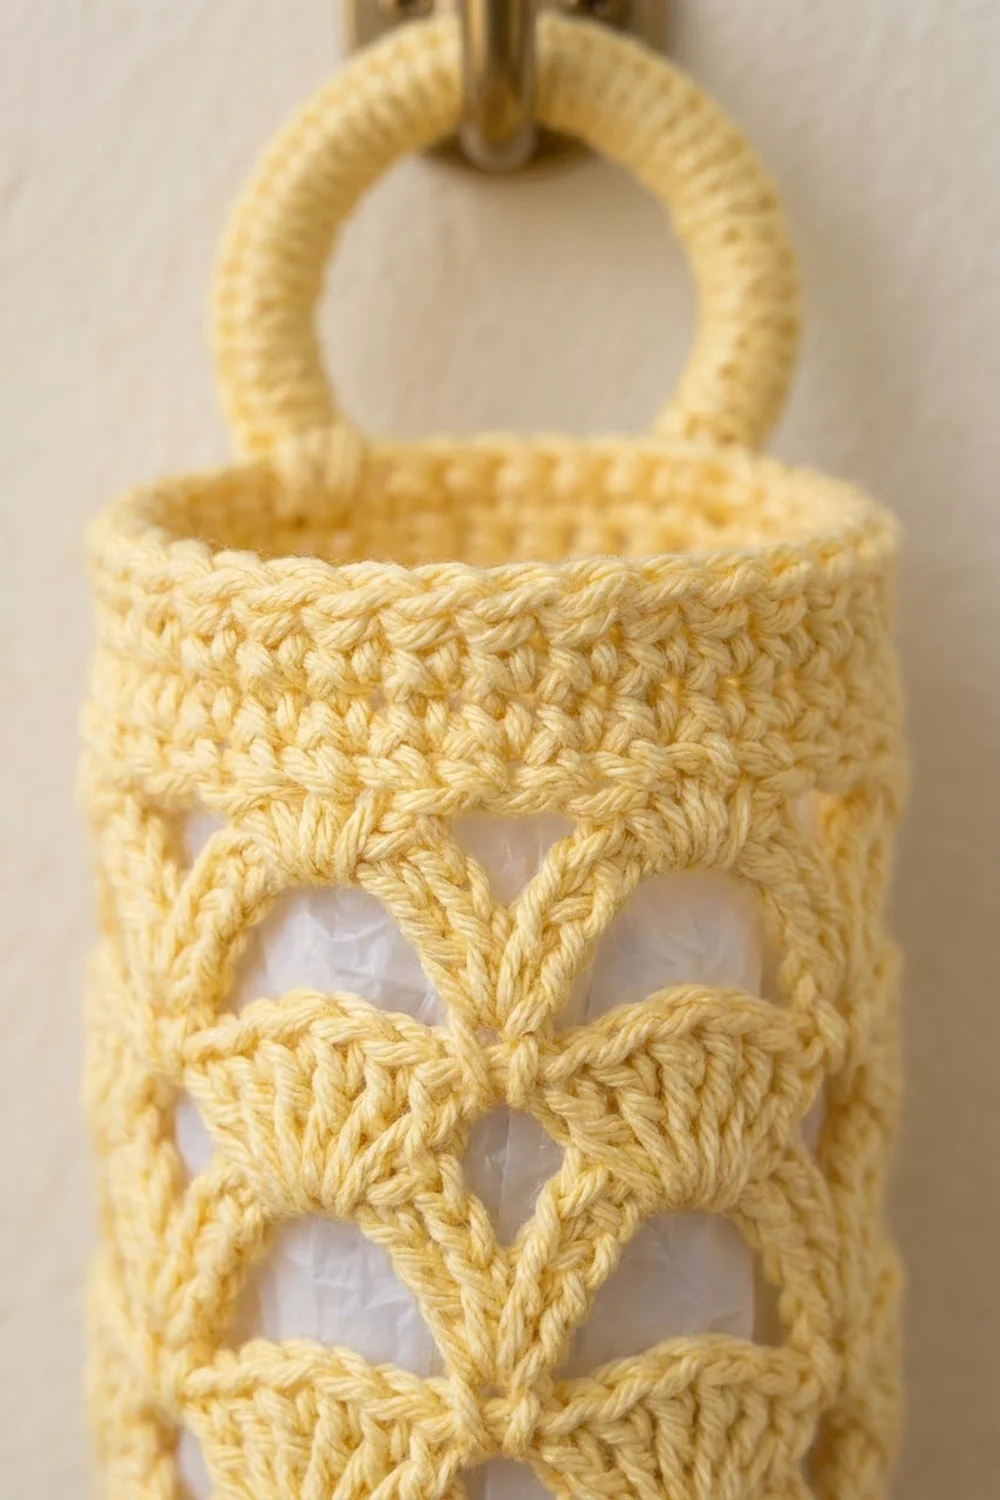
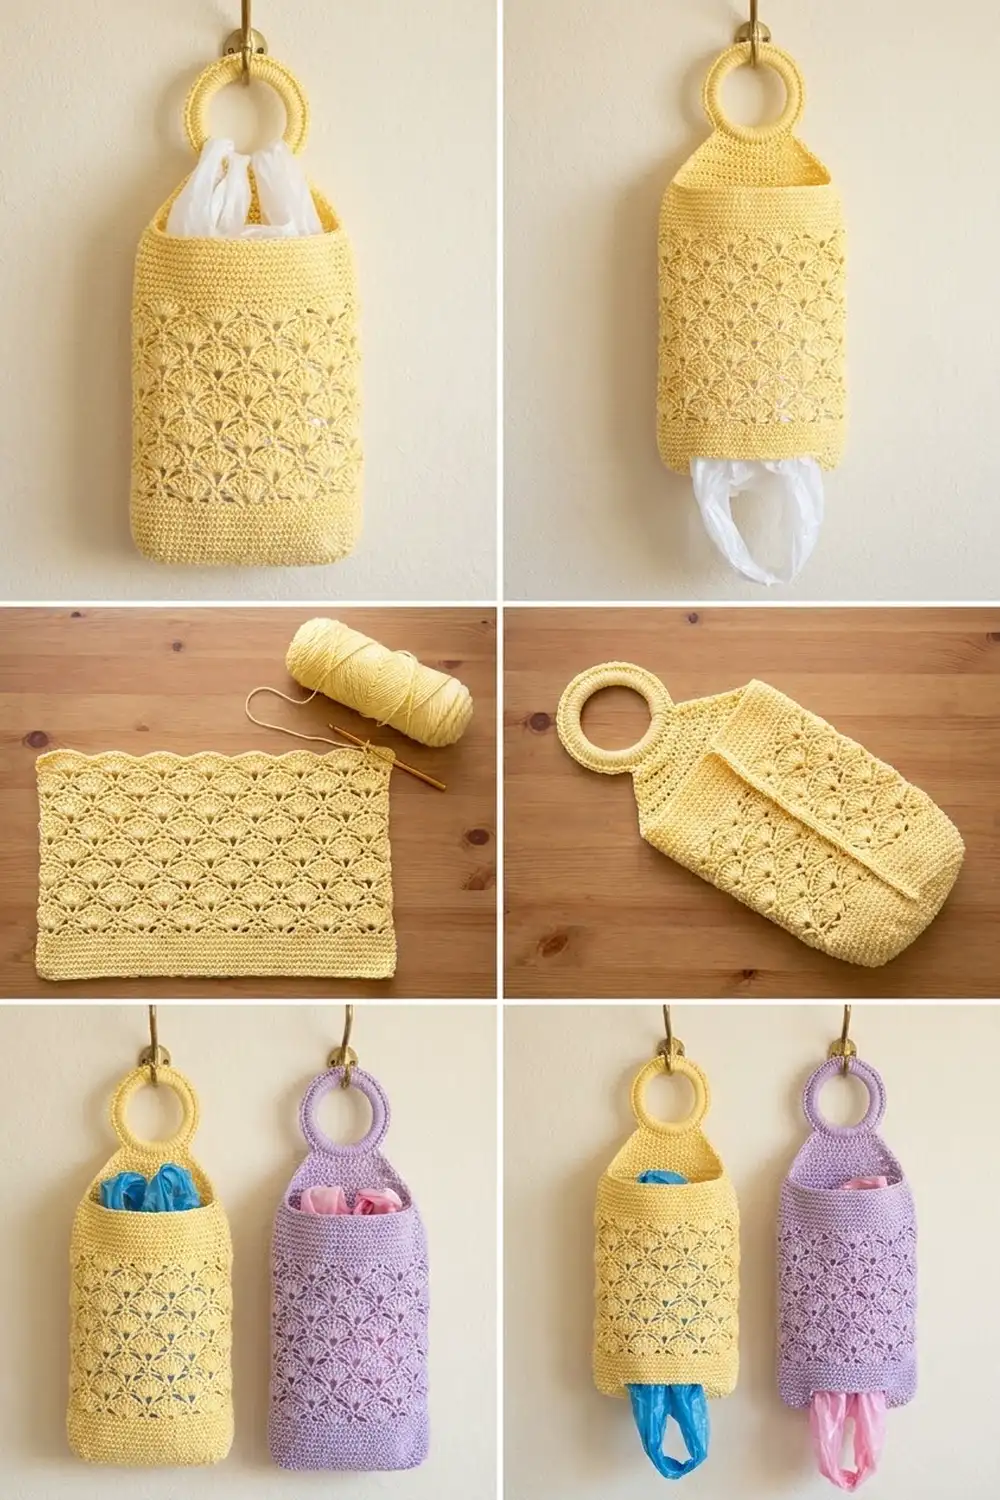
The Buttercup Fan Bag Holder is a tall, lacy tube that hangs from a hook and keeps your stash of plastic bags neat and easy to reach. You push bags in at the top and pull them out one at a time from the bottom. The open fan-shell lace lets the bags show through, so you can always see how many are left.
The sample is in soft butter yellow, and the same pattern is shown in lavender. Any solid cotton color works. The look is cottage-kitchen pretty: rows of scalloped fans set in a brick pattern, with neat single crochet bands top and bottom and a round covered ring for hanging.
This pattern uses US crochet terms. The finished holder is 15.75 in (40.0 cm) tall and 6.75 in (17.1 cm) wide when laid flat, a circumference of 13.5 in (34.3 cm). The covered hanging ring is about 3.25 in (8.3 cm) across.
You work the body flat in rows of fans and mesh, then seam it into a tube. Next you add single crochet bands around the top and bottom openings, with the bottom band drawn in slightly. Last, you cover a ring with single crochet and sew it to the back of the top band.
Finished Size and Construction
- Finished size: 6.75 in (17.1 cm) wide flat × 15.75 in (40.0 cm) tall, not counting the ring
- Skill level: Easy / Intermediate
- Terminology: US crochet terms
- Yarn weight: Worsted (#4), cotton or cotton blend
- Hook: 5.0 mm (H-8)
- Number of pieces: 2 (1 body, 1 covered ring)
- Layout: Ring centered above the back of the tube
- Body panel size before seaming: 13.5 in (34.3 cm) wide × 13.75 in (34.9 cm) tall
- Size before border: 13.75 in (34.9 cm) tall tube
- Border depth: 1 in (2.5 cm) at the top and 1 in (2.5 cm) at the bottom
Materials
Yarn: Use a smooth worsted-weight cotton or cotton blend. Cotton keeps its shape when the holder is stuffed with bags, holds the fans crisp, and stands up to washing. Avoid fuzzy or very stretchy acrylic, because the tube will sag lengthwise.
- Main color, Butter Yellow (or Lavender): 90 g, about 155 m (170 yd)
The holder takes one color, and the ring cover uses the same yarn. Quantities include a margin of about 15% for your gauge swatch and seaming.
Tools:
– 5.0 mm (H-8) crochet hook
– 1 plastic or wooden ring, 2.75 in (7.0 cm) outer diameter
– Tapestry needle
– 4 stitch markers
– Scissors
– Measuring tape
– Blocking mat and rust-proof pins
Abbreviations (US Terms)
- ch – chain
- sl st – slip stitch
- sc – single crochet
- dc – double crochet
- sc2tog – single crochet 2 together
- sk – skip
- sp – space
- st(s) – stitch(es)
- rep – repeat
- RS / WS – right side / wrong side
Special stitches:
– Fan: 5 dc in the same stitch.
– Half fan: 3 dc in the same stitch. When it opens a row, this is ch 3 (counts as dc) plus 2 dc in the same stitch.
Gauge and Checkpoints
Fan pattern gauge: 1 fan repeat (6 sts) = 1.5 in (3.8 cm) wide, and 8 rows = 5 in (12.7 cm) tall.
Border gauge: 16 sc = 4 in (10.2 cm) and 4 rounds = 1 in (2.5 cm).
Test piece first: Ch 26 and work Rows 1–8 of the body pattern, which gives 4 fan repeats. Block it lightly. The swatch should measure 6 in (15.2 cm) wide × 5 in (12.7 cm) tall.
Checkpoints:
– After Row 1: the panel is 13.5 in (34.3 cm) wide.
– After Row 8: 5 in (12.7 cm) tall.
– After Row 16: 10 in (25.4 cm) tall.
– After Row 22: 13.75 in (34.9 cm) tall.
– After the borders: 15.75 in (40.0 cm) tall.
If your swatch is too big, go down to a 4.5 mm hook. If it’s too small, go up to a 5.5 mm hook. Width matters most. If your row height is off by a small amount, you can add or remove one 4-row repeat, but always end on a mesh row.
Body Panel
Foundation: Ch 56. The pattern needs a multiple of 6 + 2.
Row 1 (RS, fan row A): Sc in 2nd ch from hook, sk 2 ch, fan in next ch, sk 2 ch, sc in next ch; rep from * 8 more times. Turn. (55 sts: 9 fans, 10 sc)*
Row 2 (WS, mesh row): Ch 5 (counts as dc + ch 2), sc in center (3rd) dc of next fan, ch 2, dc in next sc. Ch 2, sc in center dc of next fan, ch 2, dc in next sc; rep from * 7 more times. Turn. (19 sts: 10 dc, 9 sc, plus 18 ch-2 sps)*
Row 3 (RS, fan row B): Ch 3 (counts as dc), 2 dc in first dc for a half fan. Sk ch-2 sp, sc in next sc, sk ch-2 sp, fan in next dc; rep from * 7 more times. Sk ch-2 sp, sc in next sc, sk ch-2 sp, 3 dc in 3rd ch of the turning ch-5 for a half fan. Turn. (55 sts: 8 fans, 2 half fans, 9 sc)*
These fans sit over the mesh holes between the Row 1 fans, which creates the brick offset.
Row 4 (WS, mesh row): Ch 1, sc in first dc. Ch 2, dc in next sc, ch 2, sc in center dc of next fan; rep from * 7 more times. Ch 2, dc in next sc, ch 2, sc in top of turning ch-3. Turn. (19 sts: 10 sc, 9 dc, plus 18 ch-2 sps)*
Row 5 (RS, fan row A): Ch 1, sc in first sc, sk ch-2 sp, fan in next dc, sk ch-2 sp, sc in next sc; rep from * 8 more times. Turn. (55 sts: 9 fans, 10 sc)*
Row 5 lines up with Row 1. Each fan arches over the open mesh hole below it.
Rows 6–21: Work Rows 2–5 four more times. (Row 21: 55 sts)
Checkpoint: After Row 8 the panel is 5 in (12.7 cm) tall. After Row 16 it is 10 in (25.4 cm).
Row 22 (WS, mesh row): Work as Row 2. (19 sts: 10 dc, 9 sc, plus 18 ch-2 sps)
This mesh row levels the scalloped tops of the last fans into a straight edge for the top band. Fasten off and leave a 24 in (61.0 cm) tail for seaming.
Checkpoint: The panel is 13.5 in (34.3 cm) wide × 13.75 in (34.9 cm) tall.
Covered Ring
Join the yarn around the ring with a sl st. Ch 1, then work sc tightly over the ring until it is fully covered, 42 sc total. Push the stitches together as you go so no plastic shows. Join with a sl st to the first sc.
Turn the stitch tops to the outer edge of the ring. Fasten off and leave a 12 in (30.5 cm) tail for sewing. The covered ring is about 3.25 in (8.3 cm) across.
Make All Pieces
For one holder, make:
– 1 body panel in the main color (Butter Yellow or Lavender)
– 1 covered ring in the same color
Layout (back view):
        (  ring  )
   [   top band, 4 rnds   ]
   [  fan body, 22 rows   ]
   [ bottom band, 4 rnds  ]
Joining
Method: Whipstitch seam, worked from the WS.
Fold the panel with RS together so the two side edges meet. The foundation edge is at the bottom and Row 22 is at the top. Place markers at the top and bottom corners so the edges stay matched.
Stitch-to-stitch logic: Match row end to row end, from Row 1 to Row 22.
– Sc rows (Rows 1, 4, 5, and so on): 1 whipstitch per row end.
– Dc and half-fan rows: 2 whipstitches per row end, one at the base and one at the top.
Matching row ends one-to-one keeps the seam the same length as the panel, so it won’t twist.
Tension: Pull each stitch snug but not tight. A tight seam shortens the tube and puckers the fans along the back.
Checkpoint: Turn the tube RS out. Flat, it measures 6.75 in (17.1 cm) wide × 13.75 in (34.9 cm) tall. The seam runs straight down the center back.
Border
The border is two bands of single crochet worked in the round, using the border gauge of 16 sc = 4 in (10.2 cm). The holder is a tube with no corners, so each band is one continuous “side” counted all the way around.
Top Band
With the RS facing, join the yarn at the seam at the top edge (Row 22).
Rnd 1: Ch 1. Work into Row 22 like this:
– 2 sc in each ch-2 sp: 18 × 2 = 36 sc
– 1 sc in each sc: 9 sc
– 1 sc in each dc: 8 dc away from the seam, plus 1 sc through both seam dcs together = 9 sc
Join with a sl st to the first sc. (54 sc)
Rnds 2–4: Ch 1, sc in each st around, join. (54 sc)
Fasten off.
Why the math works: Row 22 has 10 dc, 9 sc, and 18 ch-2 sps. The 2 seam dcs merge into one position, so there are 9 dc positions. That gives 36 + 9 + 9 = 54 sc. At 4 sc per inch, 54 sc = 13.5 in (34.3 cm), which exactly matches the tube’s circumference, so the band lies flat without flaring or pulling.
Bottom Band
Turn the tube over. With the RS facing, join the yarn at the seam in the foundation chain.
Rnd 1: Ch 1. Work 1 sc in the free loop of each foundation ch, working the 2 seam chains (under the first and last sc of Row 1) together as 1 sc. Join. (54 sc)
This is 53 single chains plus 1 merged seam stitch.
Rnd 2 (decrease round): Ch 1, sc in next 4 sts, sc2tog; rep from * 8 more times, join. (45 sc)*
That is 9 decreases: 54 − 9 = 45.
Rnds 3–4: Ch 1, sc in each st around, join. (45 sc)
Fasten off.
Why the math works: The foundation chain has 55 usable loops. Merging the 2 seam loops gives 54, the same as the top. The decrease round takes the bottom opening down to 45 sc, which is 11.25 in (28.6 cm) around. That gentle draw-in holds the bags inside so they come out one at a time.
Checkpoint: The holder is 15.75 in (40.0 cm) tall: 1 in (2.5 cm) band + 13.75 in (34.9 cm) body + 1 in (2.5 cm) band.
Attach the Ring
Flatten the tube with the seam at the center back. Slip the bottom 0.5 in (1.3 cm) of the covered ring inside the top band, centered over the seam.
Use the ring tail to whipstitch the ring to Rnds 2–4 of the top band through the back layer only. Make about 10 stitches, working through the ring cover’s sc. Knot securely on the inside and weave in the end. The ring rises about 2.75 in (7.0 cm) above the top edge.
Final Blocking
- Weave in all remaining ends along the seam or inside the bands.
- Soak the holder in cool water for 10 minutes, then gently squeeze out the water. Don’t wring it.
- Roll it in a towel and press to remove extra water.
- Lay it flat with the seam centered on the back. Pin it to 6.75 in (17.1 cm) wide × 15.75 in (40.0 cm) tall.
- Open up each fan with your fingertips so the scallops sit evenly and the mesh holes are round.
- Pin the top band straight. Leave the bottom band to curve in naturally.
- Let it dry completely. For a rounder tube, slide a rolled towel inside while it dries.
Final Quality-Control Checklist
- [ ] Body is 13.5 in (34.3 cm) around and 13.75 in (34.9 cm) tall before the bands
- [ ] Fan rows alternate in a brick offset, with no two fan rows stacked straight
- [ ] Every fan has 5 dc, and the half fans at the seam have 3 dc each
- [ ] Seam is straight, flat, and centered on the back
- [ ] Top band is 54 sc and lies flat
- [ ] Bottom band ends at 45 sc and draws in evenly
- [ ] Total height is 15.75 in (40.0 cm)
- [ ] Ring is fully covered, centered over the seam, and firmly attached
- [ ] All ends are woven in securely
Troubleshooting
Fans lean or drift sideways: You probably worked into a ch-2 sp instead of the dc or sc. Fans go only into dc, and sc go only into fan centers or sc.
Panel is narrower at the top: Check the turning chains. In mesh rows, the ch-5 counts as dc + ch 2, and in Row 3-type rows the ch-3 counts as a dc. Each mesh row needs 19 sts.
Top band ruffles: You have more than 54 sc, usually from working into the seam dcs separately. Merge them into 1 sc.
Top band cinches in: Your sc are tighter than 16 sc = 4 in (10.2 cm). Work the band with a hook one size larger.
Bags fall out of the bottom: Work one more decrease round (sc 3, sc2tog around = 36 sc).
Ring flops forward: Sew through all 3 lower band rounds, and add stitches on both sides of the ring.
Tube is too long: Remove one 4-row repeat (Rows 2–5) and end on a mesh row, which takes off 2.5 in (6.4 cm).
Care
Hand wash or machine wash on a gentle cycle in cool water, then reshape and dry flat. Cotton may shrink slightly in a hot dryer, so air-dry for the best fit.
Final Notes
The measurement chain is simple. One 6-stitch fan repeat is 1.5 in (3.8 cm), so 9 repeats make a 13.5 in (34.3 cm) panel. That becomes a tube that’s 6.75 in (17.1 cm) wide flat. At 8 rows to 5 in (12.7 cm), 22 rows give 13.75 in (34.9 cm) of lace. The top band’s 54 sc match the circumference exactly, and the bottom band draws in to 45 sc. With both 1 in (2.5 cm) bands added, the holder is 15.75 in (40.0 cm) tall, plus a 3.25 in (8.3 cm) ring to hang it by. Check your swatch, count your 55 and 19 stitches on each row, and the rest falls into place.
Happy crocheting!