

This square puts a bold cream letter K in the center of a soft lavender granny frame. The letter is worked as a solid single crochet panel, so it reads cleanly, with crisp serifs and a sharp diagonal arm and leg. Around it, rounds of classic three-double-crochet clusters give the open, lacy texture of a traditional granny square.
The palette is just two colors: a periwinkle lavender for the background, frame, and edging, and a warm cream for the letter. The look is cozy, slightly vintage, and very personal. It works well as a coaster-sized gift, a bag patch, or a keepsake for someone whose name starts with K.
All instructions use US crochet terms. The finished square measures 7.25 in (18.4 cm) on each side after blocking.
Construction is simple. You work a 17-stitch by 19-row single crochet panel with the K charted in tapestry crochet. Next, a round of single crochet squares off the panel, three granny cluster rounds build the frame, and two single crochet rounds finish the edge.
Finished Size and Construction
- Finished size: 7.25 in x 7.25 in (18.4 cm x 18.4 cm)
- Skill level: Intermediate (tapestry color changes)
- Terminology: US crochet terms
- Yarn weight: Worsted (#4)
- Hook: 4.0 mm (US G-6)
- Number of pieces: 1 single square
- Layout: one square, no joining
- Center letter panel: 3.8 in (9.7 cm) square
- Size before border: 6.5 in (16.5 cm) after Rnd 4
- Border depth: 0.375 in (1.0 cm) per side, 2 rounds of sc
Materials
Choose a smooth worsted-weight cotton or cotton blend. Cotton shows the stitch definition of the letter and holds a crisp square. A fuzzy or very splitty yarn will blur the edges of the K.
- Color A, Lavender (periwinkle): about 30 g / 47 m
- Color B, Cream: about 8 g / 13 m
These quantities include a small safety margin for gauge swatching and weaving in ends.
Tools:
- 4.0 mm (US G-6) crochet hook
- Tapestry needle
- Scissors
- 4 locking stitch markers
- Blocking mat and rust-proof pins
- Spray bottle with water
- Ruler or tape measure
Abbreviations (US Terms)
- ch – chain
- sc – single crochet
- dc – double crochet
- sl st – slip stitch
- st(s) – stitch(es)
- sp – space
- sk – skip
- RS / WS – right side / wrong side
- Rnd – round
- A / B – Color A (Lavender) / Color B (Cream)
Special technique – tapestry color change: Work the last sc before a color change until 2 loops remain on the hook. Drop the old color, yarn over with the new color, and pull through both loops. Lay the unused color along the tops of the next stitches and work over it so it stays hidden inside the stitches.
Cluster: 3 dc worked into the same st or sp.
Gauge and Checkpoints
Gauge: 18 sc and 20 rows = 4 in (10.2 cm) in sc with a 4.0 mm hook.
Because this is a single square, the letter panel is your gauge test. Work it first and measure it before you start the granny rounds.
Checkpoints (unblocked, lightly patted flat):
- After Row 19: panel is 3.8 in (9.7 cm) wide and tall
- After Rnd 1: 4.2 in (10.7 cm) square
- After Rnd 2: 5 in (12.7 cm) square
- After Rnd 3: 5.75 in (14.6 cm) square
- After Rnd 4: 6.5 in (16.5 cm) square
- After Rnd 5: 6.9 in (17.5 cm) square
- After Rnd 6: 7.25 in (18.4 cm) square
If your panel is too big (over 4 in / 10.2 cm), go down a hook size to 3.75 mm. If it is too small (under 3.6 in / 9.1 cm), go up to 4.5 mm. Tapestry crochet tends to tighten as you carry yarn, so check your gauge over the color rows, not only the plain rows.
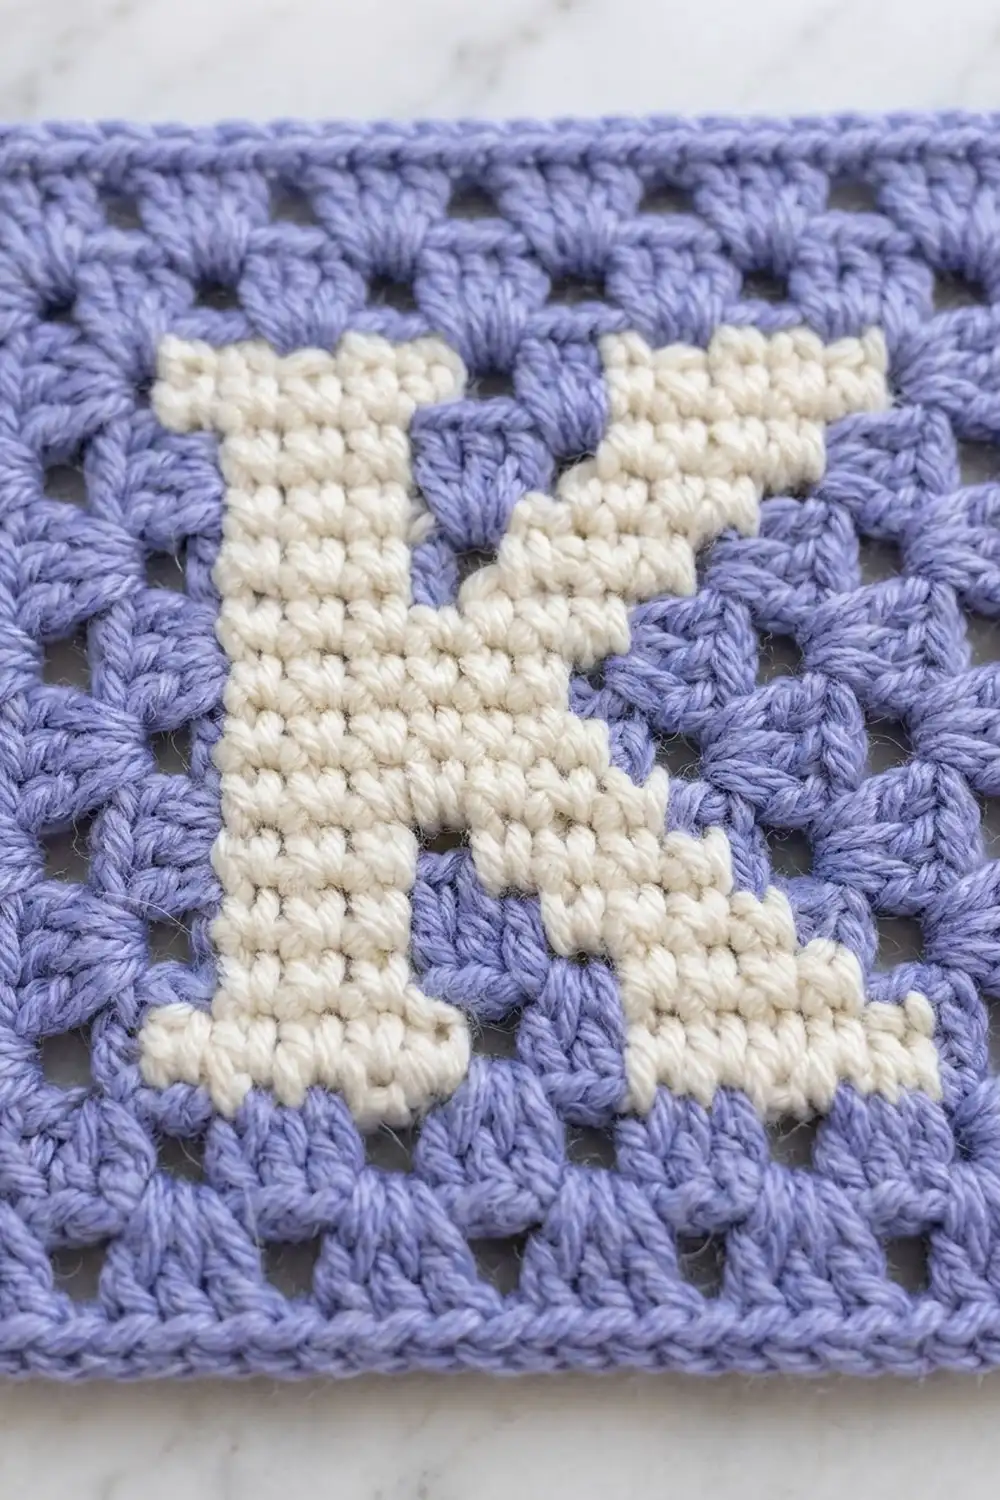
Letter Panel
The chart is shown as viewed from the RS. Columns are numbered 1 to 17 from left to right. A = Lavender, B = Cream. Row 1 is at the bottom.
Row 19: AAAAAAAAAAAAAAAAA
Row 18: AAAAAAAAAAAAAAAAA
Row 17: AABBBBBBAAABBBBAA
Row 16: AAABBBBAAAABBBBAA
Row 15: AAABBBBAAABBBBAAA
Row 14: AAABBBBAABBBBAAAA
Row 13: AAABBBBABBBBAAAAA
Row 12: AAABBBBBBBBAAAAAA
Row 11: AAABBBBBBBAAAAAAA
Row 10: AAABBBBBBAAAAAAAA
Row 9:  AAABBBBBBBAAAAAAA
Row 8:  AAABBBBBBBBAAAAAA
Row 7:  AAABBBBABBBBAAAAA
Row 6:  AAABBBBAABBBBAAAA
Row 5:  AAABBBBAAABBBBAAA
Row 4:  AAABBBBAAAABBBBAA
Row 3:  AABBBBBBAAABBBBAA
Row 2:  AAAAAAAAAAAAAAAAA
Row 1:  AAAAAAAAAAAAAAAAA
The stem sits in columns 4 to 7, with serifs widening to columns 3 to 8 in Rows 3 and 17. The arm and leg are 4 sts wide and shift 1 column per row, meeting the stem at Rows 8 to 12.
RS rows (odd) are worked from column 17 to column 1. WS rows (even) are worked from column 1 to column 17. The written color sequences below are already given in working order.
With A, ch 18.
Row 1 (RS): Sc in 2nd ch from hook and in each ch across, ch 1, turn. (17 sc)
Row 2 (WS): Sc in each st across, ch 1, turn. (17 sc)
Join B on the first color change of Row 3. Carry B only across Rows 3 to 17.
Row 3: A 2, B 4, A 3, B 6, A 2.
Row 4: A 3, B 4, A 4, B 4, A 2.
Row 5: A 3, B 4, A 3, B 4, A 3.
Row 6: A 3, B 4, A 2, B 4, A 4.
Row 7: A 5, B 4, A 1, B 4, A 3.
Row 8: A 3, B 8, A 6.
Row 9: A 7, B 7, A 3.
Row 10: A 3, B 6, A 8.
Row 11: A 7, B 7, A 3.
Row 12: A 3, B 8, A 6.
Row 13: A 5, B 4, A 1, B 4, A 3.
Row 14: A 3, B 4, A 2, B 4, A 4.
Row 15: A 3, B 4, A 3, B 4, A 3.
Row 16: A 3, B 4, A 4, B 4, A 2.
Row 17: A 2, B 4, A 3, B 6, A 2.
Every row holds 17 sc, and each row ends with ch 1, turn. Fasten off B after Row 17, leaving a 6 in (15.2 cm) tail.
Rows 18–19: With A, sc in each st across. At the end of Row 18, ch 1, turn. At the end of Row 19, do not turn. (17 sc)
Checkpoint: The panel should measure 3.8 in (9.7 cm) each way.
Granny Frame
Rnd 1 (squaring round): Continuing with A and RS facing, ch 1, rotate to work down the left edge. Work 17 sc evenly over the 19 row ends, skipping the row ends of Rows 6 and 14. Ch 2. Work 1 sc in each of the 17 free loops of the foundation chain. Ch 2. Work 17 sc up the right edge, again skipping the row ends of Rows 6 and 14. Ch 2. Work 1 sc in each of the 17 sts across the top of Row 19. Ch 2, then sl st to the first sc. Fasten off.
(17 sc per side, 68 sc total, plus 4 ch-2 corner sps)
Place a marker in each corner sp. Count every side; it must be exactly 17 sc for the cluster spacing to work.
Rnd 2: Join A in any corner sp. Ch 3 (counts as dc), (2 dc, ch 2, 3 dc) in the same sp. *[Sk 2 sc, 3 dc in next sc] 5 times, sk 2 sc, (3 dc, ch 2, 3 dc) in next corner sp; repeat from * 2 more times. [Sk 2 sc, 3 dc in next sc] 5 times, sk 2 sc, sl st to top of beginning ch-3.
(5 side clusters per side; 84 dc total: 24 corner dc + 60 side dc)
On each side the clusters land in sc 3, 6, 9, 12, and 15, with 2 skipped sts at each end beside the corners.
Rnd 3: Sl st in next 2 dc and in corner sp. Ch 3, (2 dc, ch 2, 3 dc) in same sp. *Work 3 dc in each sp between clusters along the side (6 times), (3 dc, ch 2, 3 dc) in next corner sp; repeat from * 2 more times. Work 3 dc in each of the 6 sps along the last side, sl st to top of ch-3.
(6 side clusters per side; 96 dc total)
Rnd 4: Repeat Rnd 3, working 3 dc in each of the 7 sps along each side.
(7 side clusters per side; 108 dc total; 27 dc per side counting both corner half-clusters)
Checkpoint: 6.5 in (16.5 cm) square. Do not fasten off.
Border
Border gauge: The border uses the same 4.5 sc per inch as the panel. That means one 6.5 in (16.5 cm) side of Rnd 4 needs about 29 sc, which is what Rnd 5 places between corner centers.
Rnd 5: Ch 1, sc in the same st as the join and in the next 2 dc. *3 sc in the corner ch-2 sp, sc in each of the next 27 dc; repeat from * 2 more times. 3 sc in the last corner sp, sc in each of the remaining 24 dc. Sl st to the first sc.
(Per side: 1 + 27 + 1 = 29 sc between corner centers, or 31 sc counting both corner centers; 108 + 12 = 120 sc total)
Rnd 6: Ch 1, sc in the same st. Sc in each st to the next corner center sc, 3 sc in the corner center sc. Continue around the square in the same way, working 3 sc in each of the 4 corner centers and sc in every other st. Sl st to the first sc. Fasten off.
(Per side: 1 + 29 + 1 = 31 sc between corner centers, or 33 sc counting both corner centers; 116 + 12 = 128 sc total)
Why the math works: Each corner adds 2 sts per round (3 sc in 1 st or sp). That is exactly 1 extra st for each of the two sides meeting there. So each side grows by 2 sc per round: 29, then 31 between corner centers. At 4.5 sc per inch, a 33-st side, corners included, measures 7.3 in (18.5 cm). After blocking, the square settles at 7.25 in (18.4 cm). As a check, 4 sides x 33 sts = 132, minus 4 shared corner sts, gives 128. That matches the round total.
Final Blocking
- Weave in all ends, keeping cream tails behind cream stitches and lavender tails behind lavender stitches.
- Pin the square RS up on a blocking mat at 7.25 in (18.4 cm) per side.
- Place one pin in each corner first, then pin the middle of each side.
- Add pins every 1 in (2.5 cm) along each edge, keeping the edges straight.
- Mist the square with water until it is evenly damp, not dripping.
- Gently press the letter panel flat with your palm.
- Let it dry completely, at least 12 hours, before unpinning.
Final Quality-Control Checklist
- The square measures 7.25 in (18.4 cm) on all four sides.
- Diagonals from corner to corner are equal.
- The K stem is 4 sts wide with 6-st serifs at top and bottom.
- Arm and leg each step 1 st per row with clean diagonal edges.
- No cream shows through lavender areas, and no lavender shows through the letter.
- Each side of Rnd 4 has 7 side clusters plus 2 corner half-clusters.
- Rnd 6 holds 128 sc with 3 sc at each corner.
- All ends are woven in securely and trimmed.
Troubleshooting
The letter edges look jagged. Make every color change on the last yarn over of the previous stitch, not inside the new stitch.
Carried yarn peeks through. Hold the carried strand snugly along the tops of the stitches. Also check that it isn’t drifting to the front loops.
The panel puckers. You are carrying too tightly. Spread the stitches on the hook after each color change.
A side of Rnd 1 has the wrong count. Recount the row ends and skip only the ends of Rows 6 and 14. Each side must have exactly 17 sc.
The granny rounds ruffle. Your dc may be loose. Try a 3.75 mm hook for Rnds 2 to 4 only.
The corners curl. Make the corner ch-2 a little looser, and block firmly with pins at the very tip of each corner.
The square is not square. Compare the side counts in Rnd 5 and Rnd 6, then re-block, pinning the diagonals to equal length.
Care
Hand wash in cool water with a mild soap, gently press out the water in a towel, and dry flat, reshaping to 7.25 in (18.4 cm). Avoid wringing or tumble drying so the letter stays crisp.
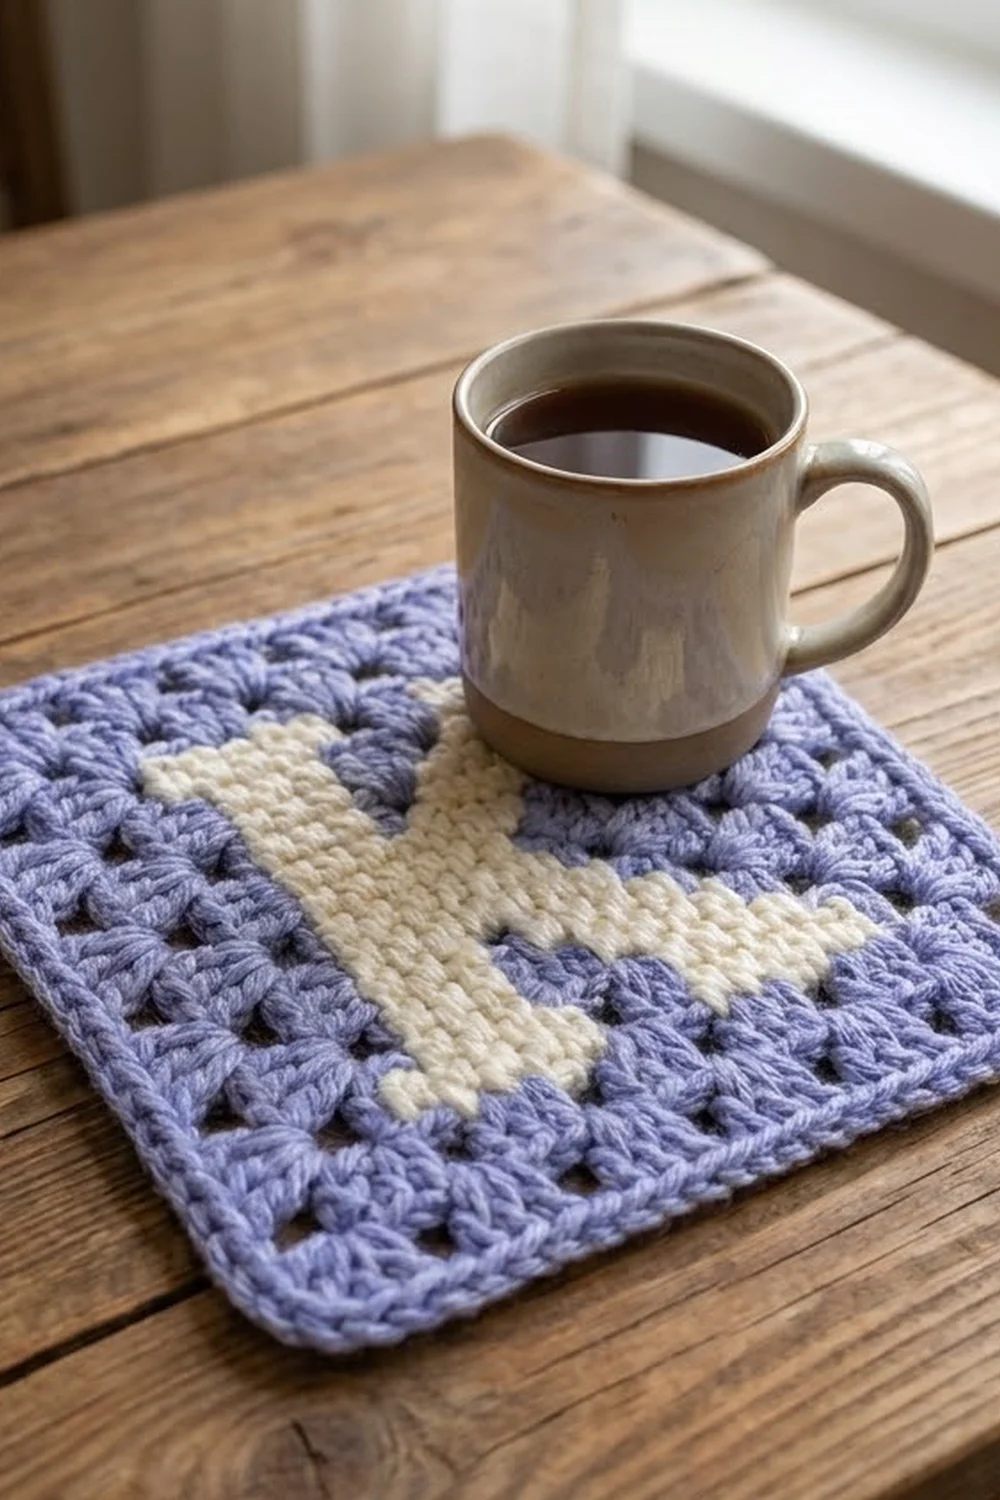
Final Notes
The measurement chain is simple and easy to check. Start with a 17 x 19 sc letter panel at 3.8 in (9.7 cm). Square it to 4.2 in (10.7 cm) with 17 sc per side. Grow it through granny rounds to 5 in (12.7 cm), 5.75 in (14.6 cm), and 6.5 in (16.5 cm). Finish with two sc border rounds to 6.9 in (17.5 cm) and a blocked 7.25 in (18.4 cm). If each checkpoint matches, your square will match too. Swap in any initial by charting it on the same 17 x 19 grid.
Happy crocheting!