
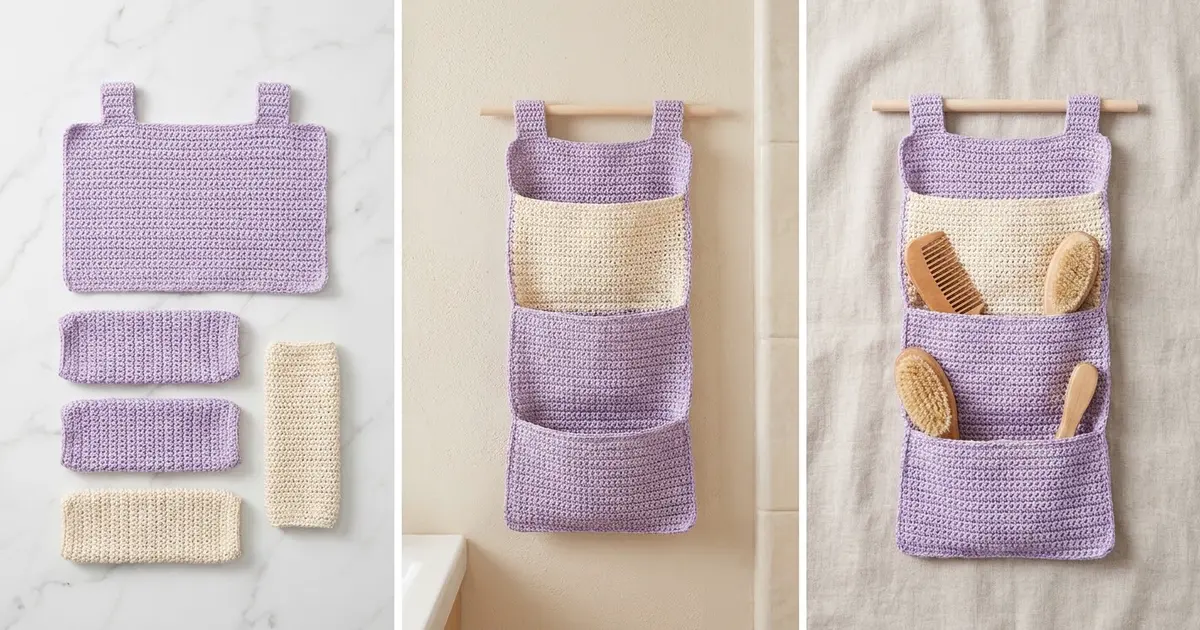
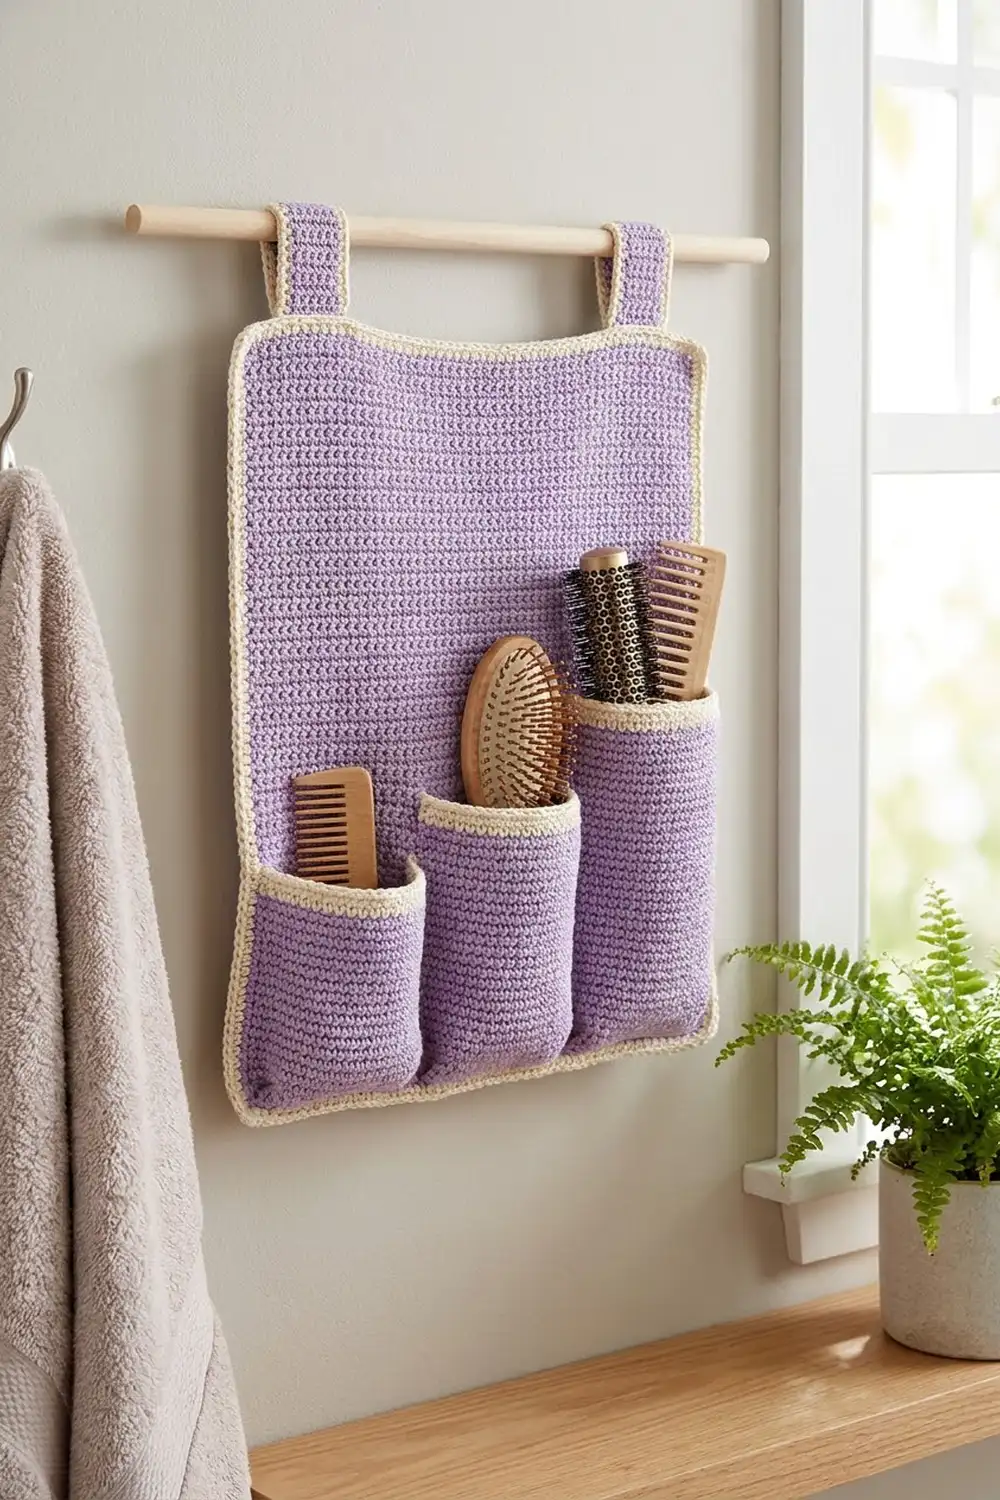
The Lavender Vanity Hanging Organizer is a soft, practical wall piece for brushes, combs, and styling tools. A rectangular lavender back panel with gently rounded corners hangs from a wooden dowel by two tabs. Three pockets in graduated heights sit side by side along the bottom.
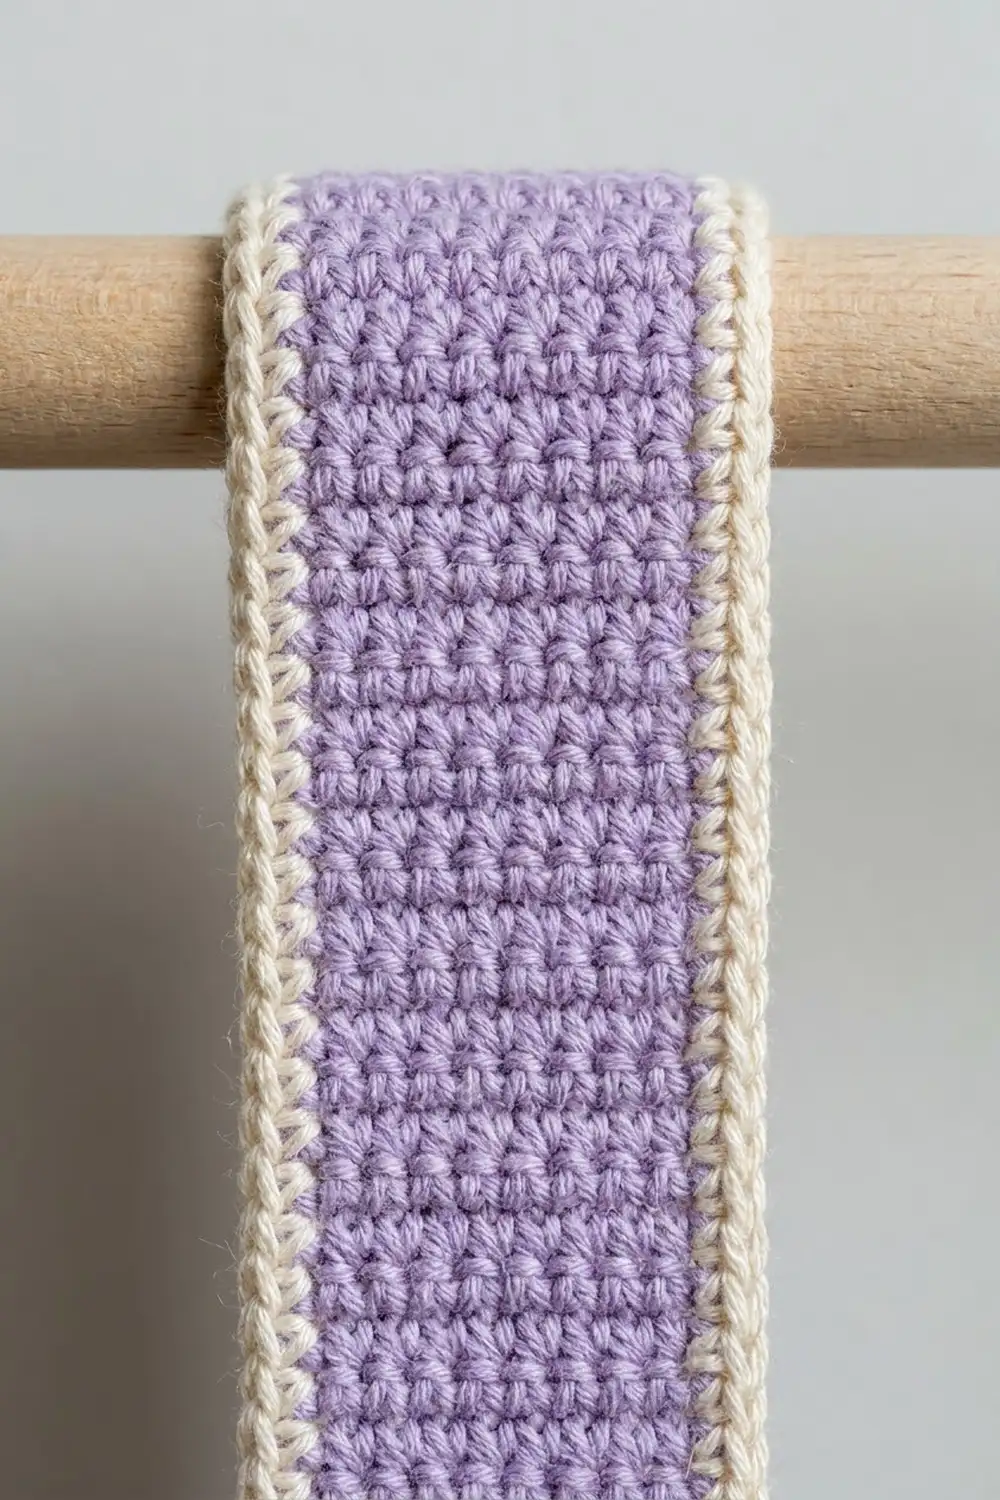
Every piece is worked in dense single crochet in a muted lavender with a crisp cream edge. The cream outlines the panel, runs up and around both tabs, and caps each pocket rim, so the organizer reads as one tidy set.
This pattern uses US crochet terms. The finished panel measures 14 in wide x 9 in tall (35.6 cm x 22.9 cm), not counting the tabs. The pockets are 4 in (10.2 cm) wide and 3.5 in, 5 in, and 6.5 in (8.9 cm, 12.7 cm, and 16.5 cm) tall.
Here is the construction in order:
1. Crochet the back panel in rows.
2. Work the two tabs directly off its top edge.
3. Make three pockets as flattened tubes worked in the round.
4. Sew the pockets onto the panel.
5. Work a two-round cream border around the panel and tabs.
6. Fold the tabs over the dowel.
Finished Size and Construction
- Finished panel size: 14 in x 9 in (35.6 cm x 22.9 cm), excluding tabs
- Skill level: Easy / advanced beginner
- Terminology: US crochet terms
- Yarn weight: Worsted (#4)
- Hook: 5.0 mm (H-8)
- Number of pieces: 4 (1 back panel with 2 tabs worked on, 3 pockets)
- Layout: 3 pockets in one row along the bottom of the panel, short to tall from left to right
- Piece sizes: panel 13 in x 8 in (33.0 cm x 20.3 cm) before the border; each pocket 4 in (10.2 cm) wide
- Border depth: 2 rounds, about 1/2 in (1.3 cm) on every side
Materials
Choose a smooth worsted weight cotton or cotton-acrylic blend with good stitch definition. It makes a firm fabric that keeps its shape on the wall and handles bathroom humidity well. Avoid fuzzy or very stretchy yarns, which let the pockets sag.
- Color A, lavender: 100 g / 200 m (219 yd)
- Color B, cream: 25 g / 50 m (55 yd)
These quantities include a margin of about 20 percent for swatching, tails, and sewing.
Tools:
- 5.0 mm (H-8) crochet hook
- Wooden dowel, 1/2 in (1.3 cm) diameter, 16 in (40.6 cm) long
- Tapestry needle
- Stitch markers (at least 6)
- Scissors and measuring tape
- Blocking mat, rust-proof pins, and a spray bottle
Abbreviations (US Terms)
- ch: chain
- sc: single crochet
- sl st: slip stitch
- st(s): stitch(es)
- rnd: round
- RS: right side
- Corner group: the 3 sc worked into one corner stitch in Border Rnd 1. The middle sc of the three is the corner center stitch.
No special stitches are needed. The whole organizer is plain single crochet.
Gauge and Checkpoints
Gauge: 16 sc and 18 rows = 4 in (10.2 cm) in sc, worked flat or in the round.
Make the short pocket first. It is quick and uses the same gauge as the panel, so it works as a swatch. Lay it flat and measure: it must be 4 in (10.2 cm) wide.
Checkpoints:
- Short pocket, flat: 4 in (10.2 cm) wide, about 3.5 in (8.9 cm) tall
- Panel after Row 10: 13 in (33.0 cm) wide
- Panel after Row 36: 13 in x 8 in (33.0 cm x 20.3 cm)
- Each tab: 1.5 in (3.8 cm) wide, about 3 1/8 in (7.9 cm) tall
- After border: 14 in x 9 in (35.6 cm x 22.9 cm)
If your piece is too big, switch to a 4.5 mm hook. If it is too small, switch to a 5.5 mm hook. Do not change the stitch counts: the pocket layout depends on the panel being exactly 52 stitches wide.
Back Panel
With Color A, ch 53.
Row 1 (RS): Sc in 2nd ch from hook and in each ch across. Turn. (52 sts)
Rows 2–36: Ch 1 (does not count as a st), sc in each st across. Turn. (52 sts)
Row 1 is the bottom edge and Row 36 is the top. Check that the panel measures 13 in x 8 in (33.0 cm x 20.3 cm), then fasten off.
Hanging Tabs
Work the tabs in Color A directly off the top of the panel.
- Hold the panel with the RS facing and Row 36 at the top.
- Number the Row 36 sts 1 to 52, starting at the right edge.
- Place markers in sts 6, 11, 42, and 47.
First tab, Row 1: Join Color A in st 6, ch 1, sc in the same st and in the next 5 sts (ending in st 11). Turn. (6 sts)
Rows 2–14: Ch 1, sc in each st across. Turn. (6 sts)
Fasten off. Work the second tab the same way over sts 42–47.
Each tab is 1.5 in (3.8 cm) wide and about 3 1/8 in (7.9 cm) tall. The top edge now has 5 free sts at each outer edge and 30 free sts between the tabs: 5 + 6 + 30 + 6 + 5 = 52.
Pockets
All three pockets start the same way and differ only in height. Each one is a flattened tube with a sealed bottom. Work it in joined rounds so the join sits at one side fold.
With Color A, ch 17.
Rnd 1: Sc in 2nd ch from hook and in each ch across (16 sc). Rotate the work and sc in the bottom loop of each of the same 16 chs (16 sc). Join with sl st to the first sc. (32 sts)
This round closes the bottom with a flat seam and gives 16 sts on each face of the pocket.
Following rnds: Ch 1, sc in each st around, join with sl st to the first sc. (32 sts)
Repeat this round in Color A for the rounds listed below.
- Short pocket: Rnds 2–14. (32 sts each rnd)
- Medium pocket: Rnds 2–20. (32 sts each rnd)
- Tall pocket: Rnds 2–27. (32 sts each rnd)
Cream rim (all pockets): Join Color B and work 2 more rounds of ch 1, sc in each st around, join. (32 sts each rnd)
Fasten off and weave in the Color B tails. On each pocket, keep a 24 in (61.0 cm) Color A tail at the starting chain for sewing.
| Total rnds | Height | Width | |
|---|---|---|---|
| Short | 16 | 3.5 in (8.9 cm) | 4 in (10.2 cm) |
| Medium | 22 | 5 in (12.7 cm) | 4 in (10.2 cm) |
| Tall | 29 | 6.5 in (16.5 cm) | 4 in (10.2 cm) |
Make All Pieces
- Color A: 1 back panel with 2 tabs, plus the lavender bodies of 3 pockets (1 short, 1 medium, 1 tall)
- Color B: the rims of 3 pockets (2 rnds each) and the panel border
Layout (RS facing, Row 1 at the bottom):
   [TAB]                          [TAB]
+----------------------------------------+
|                                        |
|                           [ TALL   ]   |
|             [ MEDIUM ]    [        ]   |
|  [ SHORT ]  [        ]    [        ]   |
|  [       ]  [        ]    [        ]   |
+----------------------------------------+
   sts 2-17    sts 19-34    sts 36-51
Joining the Pockets
Hold the panel with the RS facing and Row 1 at the bottom. Number the Row 1 sts 1–52 from left to right, then pin the pockets in place:
- Short pocket: over sts 2–17
- Medium pocket: over sts 19–34
- Tall pocket: over sts 36–51
This leaves 1 free st at each outer edge and 1 free st between pockets: 1 + 16 + 1 + 16 + 1 + 16 + 1 = 52. Each gap is 1/4 in (0.6 cm), and the pockets fill 12 in (30.5 cm) of the 13 in (33.0 cm) width. Rest the bottom of each pocket on Row 2 so Row 1 stays clear for the border.
Method: Thread the Color A tail on a tapestry needle and whipstitch the back face of each pocket to the panel.
- Bottom edge: Sew 1 pocket st to 1 panel st along Row 2, for 16 sts to 16 sts.
- Side folds: The pockets and panel share the same row gauge, so sew 1 pocket round to 1 panel row. Sew both folds up through the last Color A round, and leave the cream rim free.
Keep the tension snug but not tight. The panel should stay flat while the pocket front bows slightly open.
Size checkpoint: The panel must still measure 13 in x 8 in (33.0 cm x 20.3 cm), with no puckering. If any seam puckers, resew it more loosely.
Border
Border gauge: 4 sc per 1 in (2.5 cm) along every edge, and 2 rounds of sc = about 1/2 in (1.3 cm) deep.
Rnd 1: With the RS facing, join Color B in st 1 of Row 36 (top right corner). Ch 1, then work:
- Top right corner: 3 sc in st 1 (corner group).
- Top edge: Sc in sts 2–5. (4 sc)
- First tab: Sc in each of 13 row ends up the tab. Work 3 sc in the first st of tab Row 14, sc in the next 4 sts, and 3 sc in the last st. Sc in each of 13 row ends down the other side. (36 sts)
- Between the tabs: Sc in sts 12–41. (30 sc)
- Second tab: Work as for the first tab. (36 sts)
- Top edge: Sc in sts 48–51. (4 sc)
- Top left corner: 3 sc in st 52 (corner group).
- Left side: Working down the row ends from Row 35 to Row 2 (34 row ends), *sc in each of the next 16 row ends, skip 1 row end; repeat from * once more. (32 sc)
- Bottom edge: 3 sc in the first foundation ch (corner group), sc in the next 50 chs, 3 sc in the last ch (corner group).
- Right side: Work up the row ends as for the left side. (32 sc)
- Join with sl st to the first sc.
Rnd 1 count: Not counting the corner groups, the top has 4 + 36 + 30 + 36 + 4 = 110 sts, the bottom has 50, and each side has 32. Adding the 4 corner groups (4 x 3 = 12) gives 110 + 50 + 32 + 32 + 12 = 236 sts.
Rnd 2: Ch 1, sc in each st around. There are 8 corner groups: 4 at the panel corners and 4 at the tab tops. At each one, work 2 sc in the first st, sc in the center st, and 2 sc in the third st. Join. (252 sts)
Rnd 2 count: Each corner group grows from 3 sts to 5, so each tab now has 40 sts. The top has 4 + 40 + 30 + 40 + 4 = 118 sts, the bottom has 50, and each side has 32. Adding the 4 panel corner groups (4 x 5 = 20) gives 118 + 50 + 32 + 32 + 20 = 252 sts.
Why the math works:
– The straight runs match the panel: 50 sts on the top and bottom and 32 on each side, all at 4 sc per 1 in (2.5 cm).
– Skipping 2 of the 34 side row ends brings the denser row gauge down to the same 4 sc per 1 in (2.5 cm).
– All the growth happens at the corners. Spreading each +2 increase over three stitches makes the corners round instead of pointed.
– Adding 1/2 in (1.3 cm) of border on every side turns the 13 in x 8 in (33.0 cm x 20.3 cm) panel into 14 in x 9 in (35.6 cm x 22.9 cm).
Fasten off and weave in all ends.
Final Blocking
- Mist the whole organizer until it is damp, not soaked.
- Lay it RS up on a blocking mat.
- Pin the panel to 14 in x 9 in (35.6 cm x 22.9 cm), easing the corners into smooth curves.
- Pin each tab straight, 2.5 in (6.4 cm) wide including the border.
- Stuff each pocket lightly with a folded cloth so the openings dry slightly open.
- Let it dry completely, at least 12 hours.
- Unpin. Pass the dowel behind both tabs and fold the top 1.5 in (3.8 cm) of each tab over it to the back. Whipstitch each tab tip to the back of its base with Color A. About 2 in (5.1 cm) of each tab stays visible.
- Center the dowel so about 1 in (2.5 cm) sticks out on each side.
Final Quality-Control Checklist
- The panel measures 14 in x 9 in (35.6 cm x 22.9 cm), excluding tabs.
- Border Rnd 2 has 252 sts, and all four panel corners are evenly rounded.
- Both tabs are the same height and sit 5 sts in from the panel edges.
- The pockets run short, medium, tall from left to right, with their bottoms level on Row 2.
- The gaps between pockets are an even 1/4 in (0.6 cm).
- The cream rims are free and unsewn.
- There is no puckering behind the pockets.
- All ends are woven in securely.
Troubleshooting
- Side edges wave: You worked too many sc on the sides. Make sure you skipped 2 row ends on each side in Rnd 1.
- Corners cup: There aren’t enough increases. Check that each Rnd 2 corner group has 5 sts.
- Border ruffles: Your tension is too loose. Rework the border with a 4.5 mm hook.
- Pocket is wider than 4 in (10.2 cm): Your gauge is loose. Remake the pocket with a smaller hook.
- Pocket twists: You worked a spiral instead of joined rounds. Join every round with a sl st.
- Organizer hangs crooked: The tabs are folded unevenly. Refold both to exactly 1.5 in (3.8 cm).
Care
Remove the dowel first. Hand wash in cool water with mild soap, roll the organizer in a towel to press out the water, and dry it flat.
Final Notes
Each measurement builds on the one before it:
– Gauge is 16 sc = 4 in (10.2 cm).
– Each pocket is 16 sts = 4 in (10.2 cm) wide.
– The panel is 52 sts = 13 in (33.0 cm) wide and 36 rows = 8 in (20.3 cm) tall.
– Three pockets plus four 1-st gaps fill exactly 52 sts.
– Two border rounds add 1/2 in (1.3 cm) per side, for a finished size of 14 in x 9 in (35.6 cm x 22.9 cm).
If every checkpoint matches, your organizer will hang straight and hold your brushes neatly.
Happy crocheting!