

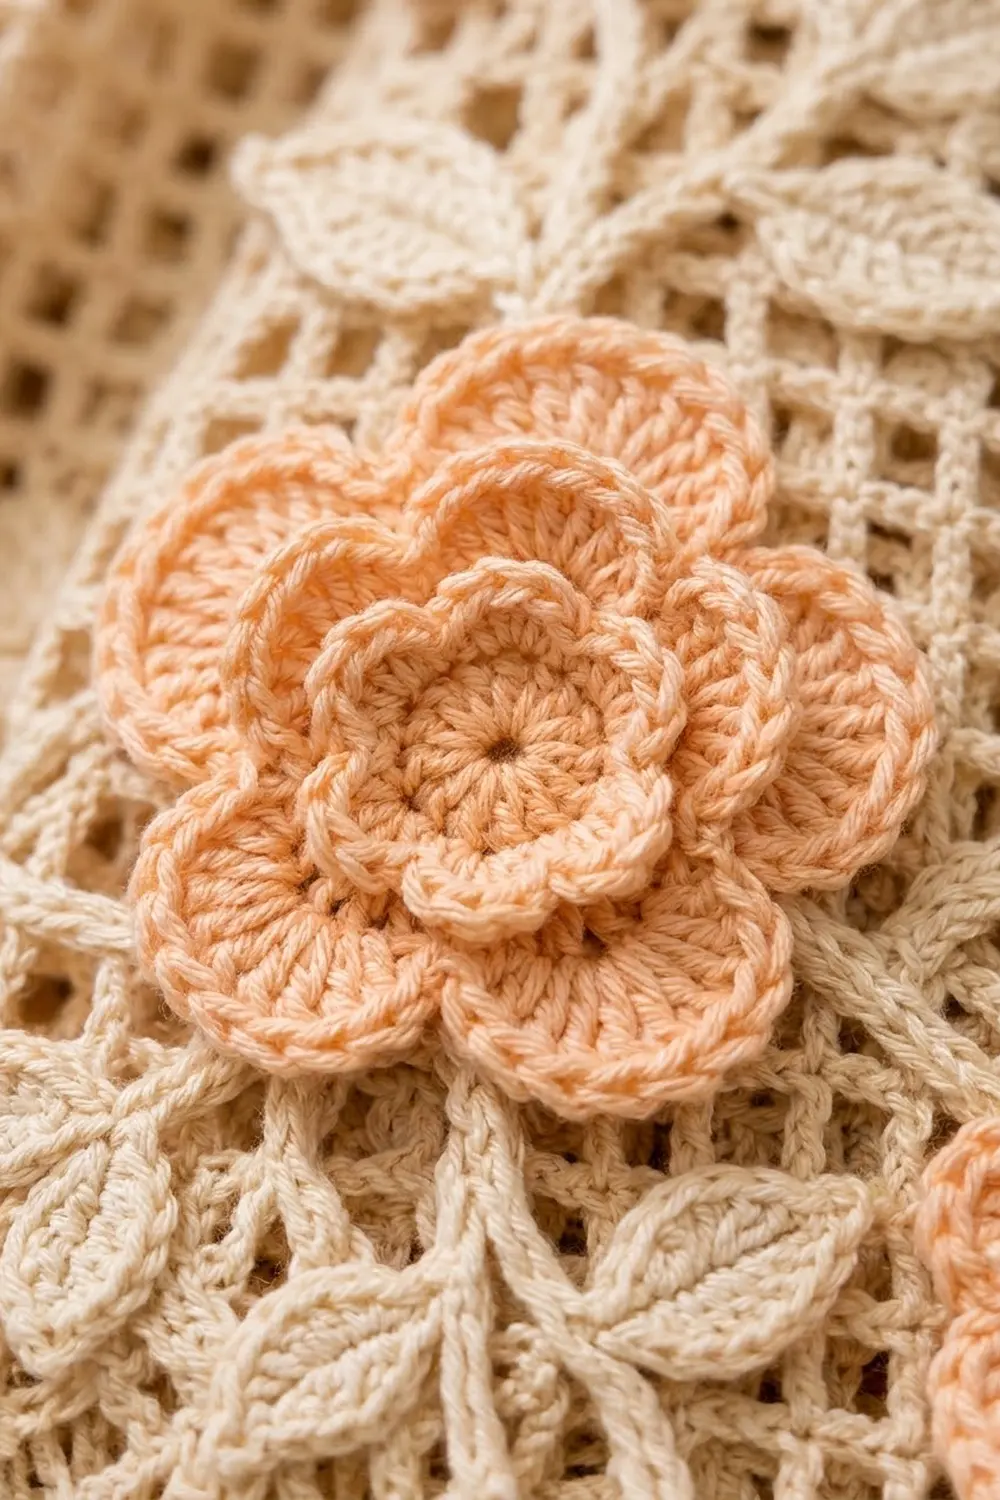
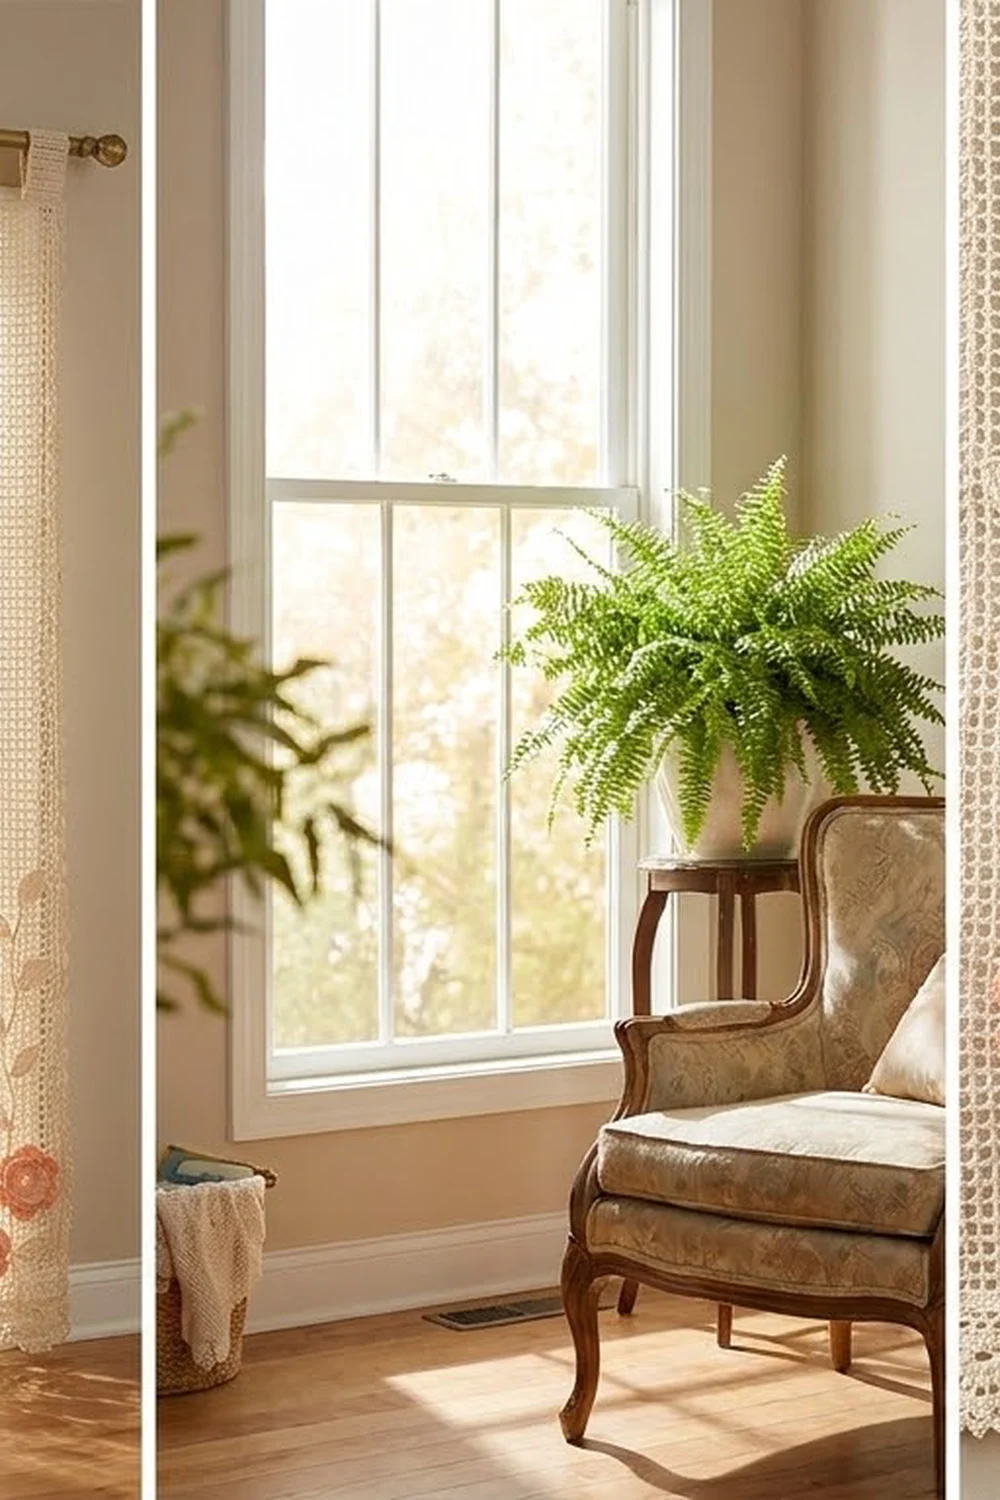
Peach Blossom Trellis is a filet-style curtain panel with open square mesh in soft cream. Leafy vines climb up from the hem, and plump two-layer peach flowers sit above a lacy scalloped edge. Light passes through the mesh, while the flowers and leaves add texture.
There are two colors: warm cream for the mesh, border, tabs, vines and leaves, and soft peach for the flowers. The style is cottage-romantic. The pattern uses US crochet terms throughout.
Each panel measures 36.5 in (92.7 cm) wide and 83.5 in (212.1 cm) long, from the top of the tab loops to the deepest scallop. The photo shows a pair, so you make two identical panels that hang separately.
You work the mesh body in rows from the hem up. Next comes one round of single crochet around the edge, then six tabs on the top edge and three scallop rows along the bottom. Last, you make the flowers, vine cords and leaves and sew them on.
Finished Size and Construction
- Finished size (one panel): 36.5 in x 83.5 in (92.7 cm x 212.1 cm)
- Skill level: Intermediate
- Terminology: US crochet terms
- Yarn weight: Worsted (#4) cotton
- Hook: 5.0 mm (H-8)
- Number of pieces: 2 separate panels; each panel has 1 mesh body, 7 flowers, 4 vine cords and 40 leaves
- Layout: One mesh body, 48 squares wide x 104 rows tall, with appliqués sewn on
- Piece size: each mesh square is 0.75 in (1.9 cm)
- Size before border: 36 in x 78 in (91.4 cm x 198.1 cm)
- Border depth: 0.25 in (0.6 cm) on the sides and top; 2.25 in (5.7 cm) at the hem (edge round plus scallops)
Materials
Choose a smooth mercerized or combed worsted cotton. It keeps the squares crisp and handles sun and washing well. Avoid fuzzy yarns, because they blur the mesh.
These amounts are for the pair of panels, based on 155 m (170 yd) per 100 g:
- Cream: 1,500 g, about 2,325 m (2,543 yd); 750 g per panel
- Peach: 150 g, about 233 m (255 yd); 75 g per panel
Both amounts include a margin of about 15% for gauge differences and swatching.
Tools:
- 5.0 mm (H-8) hook
- Tapestry needle
- Tape measure
- Stitch markers
- Rust-proof pins
- Spray bottle
- A large blocking surface
- A curtain rod up to 1.5 in (3.8 cm) in diameter
Abbreviations (US Terms)
- ch – chain
- sl st – slip stitch
- sc – single crochet
- hdc – half double crochet
- dc – double crochet
- tr – treble crochet
- sk – skip
- sp – space
- st(s) – stitch(es)
Special stitches:
- Mesh square: ch 2, sk 2 sts (or the next ch-2 sp), dc in next st. One square is 3 sts wide.
- Picot: ch 3, sl st in the 3rd ch from hook.
Gauge and Checkpoints
Gauge: 8 squares and 8 rows = 6 in (15.2 cm), so each square is 0.75 in (1.9 cm). In sc, 4 sts = 1 in (2.5 cm).
Test first:
- Ch 29.
- Dc in the 8th ch from hook, then (ch 2, sk 2 ch, dc in next ch) across for 8 squares.
- Work 7 more rows like mesh Row 2.
- Block the swatch and measure it.
Also make one flower and one leaf. The flower should be 4 in (10.2 cm) across and the leaf 2.5 in (6.4 cm) long.
Checkpoints:
- Row 1: 36 in (91.4 cm) wide
- Row 8: 6 in (15.2 cm) tall
- Row 52: 39 in (99.1 cm) tall
- Row 104: 36 in x 78 in (91.4 cm x 198.1 cm)
- Flower: 2.5 in (6.4 cm) after Rnd 3 and 4 in (10.2 cm) after Rnd 5
If your swatch is too big, use a hook 0.5 mm smaller. If it’s too small, go 0.5 mm larger. An error of 0.05 in (0.1 cm) per square adds up to 2.4 in (6.1 cm) across the panel.
Mesh Body (make 1 per panel)
With cream, ch 149.
Row 1: Dc in the 8th ch from hook (the skipped chs count as dc + ch 2), *ch 2, sk 2 ch, dc in next ch; repeat from * across. Turn. (48 squares; 49 dc)
Row 2: Ch 5 (counts as dc + ch 2), dc in next dc, *ch 2, dc in next dc; repeat from * across, with the last dc in the 3rd ch of the turning ch. Turn. (48 squares; 49 dc)
Rows 3–104: Repeat Row 2. Do not fasten off. (48 squares per row)
Keep the ch-2s relaxed so the squares stay square.
Edge Round
Rnd 1:
- Ch 1, 3 sc in the last dc of Row 104 (corner).
- Work 3 sc around each row-end post down the side (104 rows).
- 3 sc in the foundation corner ch (corner).
- Sc in the next 143 foundation chs.
- 3 sc in the last foundation ch (corner).
- Work 3 sc around each row-end post up the side (104 rows).
- 3 sc in the first st of Row 104 (corner).
- Sc in the next 143 sts across the top.
- Sl st to the first sc. Fasten off.
Count per side (corner to corner, both corners included):
- Top: 1 + 1 + 143 + 1 + 1 = 147
- Bottom: 147
- Each long side: 1 + 1 + 312 + 1 + 1 = 316
- Total: 4 corners + 8 flank sc + 286 + 624 = 922 sc
Why the math works: 48 squares x 3 sts + 1 = 145 sts, which is 143 plus the 2 corner sts. Each row is 0.75 in (1.9 cm) tall, so 3 sc per row matches the 4 sc per inch gauge, and the edges stay flat.
Tabs (make 6 per panel)
Number the 147 top sc from right to left, starting at the corner. Tabs go on sts 1–12, 28–39, 55–66, 82–93, 109–120 and 136–147, with 15-st gaps between them. That’s 6 tabs x 12 sts + 5 gaps x 15 sts = 147.
Row 1: With the right side facing, join cream in the first st of the tab, ch 3 (counts as dc), dc in the next 11 sts. Turn. (12 dc)
Rows 2–8: Ch 3, dc in each st across. Turn. (12 dc)
Fasten off and leave a 12 in (30.5 cm) tail. Each tab is 3 in (7.6 cm) wide and 6 in (15.2 cm) long. Fold it to the back and whipstitch Row 8 to the top mesh row. This makes a 3 in (7.6 cm) loop.
Scalloped Hem
Work across the 145 bottom sts between the two corners. Since 145 = 1 + 6 x 24, you get 24 base loops, which pair into 12 scallops of 3 in (7.6 cm) each.
Row 1: With the right side facing, join cream in the flank sc next to the bottom-right corner. Ch 1, sc in the same st, *ch 5, sk 5, sc in next st; repeat from * across. Turn. (25 sc, 24 ch-5 loops)
Row 2: Ch 1, sc in the first sc, *9 dc in the next ch-5 loop, sc in next sc, (sc, ch 3, sc) in the next ch-5 loop, sc in next sc; repeat from * 11 more times. Turn. (108 dc in 12 shells; 49 sc; 12 ch-3 sps)
Row 3: Ch 1, sl st in the first sc, *sc in the next 4 dc, (sc, picot, sc) in the center dc, sc in the next 4 dc, sl st in the next sc, sk the next sc, (sc, picot, sc) in the ch-3 sp, sk the next sc, sl st in the next sc; repeat from * 11 more times. Fasten off. (144 sc, 24 picots, 25 sl sts)
The finished hem has 12 rounded shells with picot tips. It hangs 2 in (5.1 cm) below the edge round.
Flowers (make 7 per panel)
With peach, make a magic ring.
Rnd 1: Ch 1, 10 sc in the ring, sl st to the first sc. Pull the ring snug but leave a small hole in the center. (10 sc)
Rnd 2: Ch 1, sc in the same st, ch 3, sk next st, *sc in next st, ch 3, sk next st; repeat from * 3 more times, sl st to the first sc. (5 sc, 5 ch-3 loops)
Rnd 3: In each ch-3 loop work (sc, hdc, 3 dc, hdc, sc), then sl st to the first sc. (5 petals; 35 sts) The flower now measures 2.5 in (6.4 cm).
Rnd 4: Fold the petals forward. Ch 1, sc around the back post of the first Rnd 2 sc, *ch 5, sc around the back post of the next Rnd 2 sc; repeat from * 3 more times, ch 5, sl st to the first sc. (5 sc, 5 ch-5 loops)
Rnd 5: In each ch-5 loop work (sc, hdc, 2 dc, 3 tr, 2 dc, hdc, sc), then sl st to the first sc. (5 petals; 55 sts)
Fasten off and leave an 18 in (45.7 cm) tail. The flower has a raised center ring, 5 small inner petals and 5 larger outer petals, and measures 4 in (10.2 cm) across.
Leaves (make 40 per panel)
With cream, ch 9.
Rnd 1: Sc in the 2nd ch from hook, hdc in next ch, dc in next 3 ch, hdc in next ch, sc in next ch, 3 sc in the last ch (tip). Working along the other side of the chain: sc, hdc, dc in next 3 ch, hdc, sc. Sl st to the first sc. (17 sts)
Fasten off and leave a 12 in (30.5 cm) tail. The leaf is a pointed oval, 2.5 in x 1.25 in (6.4 cm x 3.2 cm). The foundation chain forms the center vein.
Vine Cords (make 4 per panel)
With cream, ch 141. Sl st in the back bump of the 2nd ch from hook and in each ch across. (140 sl sts)
Each cord should be 40 in (101.6 cm) long (7 ch = 2 in, or 5.1 cm). Add or remove chains if needed.
Make All Pieces
Totals for the pair:
- Cream: 2 mesh bodies (with edge round, tabs and hem), 8 vine cords and 80 leaves
- Peach: 14 flowers
Layout for one panel: positions are measured from the left edge, and heights from the bottom of the mesh.
Position (in):  4.5   9     13.5  18    22.5  27    31.5
Position (cm):  11.4  22.9  34.3  45.7  57.2  68.6  80.0
Piece:          V1    Mid   V2    Mid   V3    Mid   V4
Flower height:  1.5   6     1.5   6     1.5   6     1.5
- Base flowers (4): Center one under each vine, 1.5 in (3.8 cm) up. The lower petals overlap the edge round.
- Mid flowers (3): Center them between the vines, 6 in (15.2 cm) up.
- Vines: Start each vine at the top of its base flower. It climbs 40 in (101.6 cm) in a gentle wave and swings no more than 0.75 in (1.9 cm) to either side.
- Leaves: Sew 10 per vine. Place the first one 3 in (7.6 cm) above the flower, then alternate sides every 4 in (10.2 cm).
Joining: Attaching the Appliqués
First, block the mesh body. Then pin every piece to the layout and check the positions with a tape measure.
Method: Whipstitch with the tails, about one stitch every 0.5 in (1.3 cm). Each stitch catches the appliqué and one mesh bar (a dc post or ch-2) underneath. Where a cord crosses an open square, carry the yarn behind the cord to the next bar. Sew leaves along the base and vein only. Sew flowers through Rnd 1 and the base of the Rnd 5 petals, leaving the petal tips free.
Tension: Sew loosely. The squares next to an appliqué should look the same as open squares. Smooth the panel flat after each piece.
Size checkpoint: When you’re done, the panel should still be 36.5 in (92.7 cm) wide at the top and at the hem.
Final Blocking
- Weave the ends along dc posts. Leave 1 in (2.5 cm) of tail until the panel is dry.
- Soak the panel in cool water for 15 minutes. Press out the water without wringing.
- Roll the panel in towels.
- Lay it flat, right side up. Pin the length to 80.5 in (204.5 cm), not counting the tabs.
- Pin the width to 36.5 in (92.7 cm) at the top, middle and hem.
- Pin each scallop tip and picot.
- Shape the petals with your fingers and spray them lightly.
- Let it dry fully, then trim the tails.
Final Quality-Control Checklist
- [ ] 48 squares in every row
- [ ] Mesh body is 36 in x 78 in (91.4 cm x 198.1 cm)
- [ ] Edge round has 147 / 147 / 316 / 316 sts per side
- [ ] 6 tabs, each 12 dc x 8 rows
- [ ] 12 scallops, each with picots
- [ ] 7 flowers, each 4 in (10.2 cm) across with 5 + 5 petals
- [ ] 4 vines and 40 leaves per panel
- [ ] Both panels match in length to within 0.5 in (1.3 cm)
Troubleshooting
- Squares are tall rectangles: Your dc are too loose. Pull up shorter loops.
- Panel narrows: You missed the turning-ch dc. Count 49 dc in every row.
- Side edges ruffle: There are too many sc. Recount to 312 between the corners.
- Scallops cup: Loosen the Row 2 dc or add more pins when blocking.
- Mesh puckers under an appliqué: Remove the tight stitches and sew again more loosely.
Care
Hand-wash in cool water with mild detergent, and dry flat with the scallops pinned. Limit harsh direct sun so the peach doesn’t fade.
Final Notes
Each square is 0.75 in (1.9 cm), so 48 squares by 104 rows makes a 36 in x 78 in (91.4 cm x 198.1 cm) body. The edge round brings the width to 36.5 in (92.7 cm). The 2 in (5.1 cm) scallops and 3 in (7.6 cm) tab loops bring the length to 83.5 in (212.1 cm). Check gauge on the swatch, at Row 8 and at Row 52, and both panels will match.
Happy crocheting!