
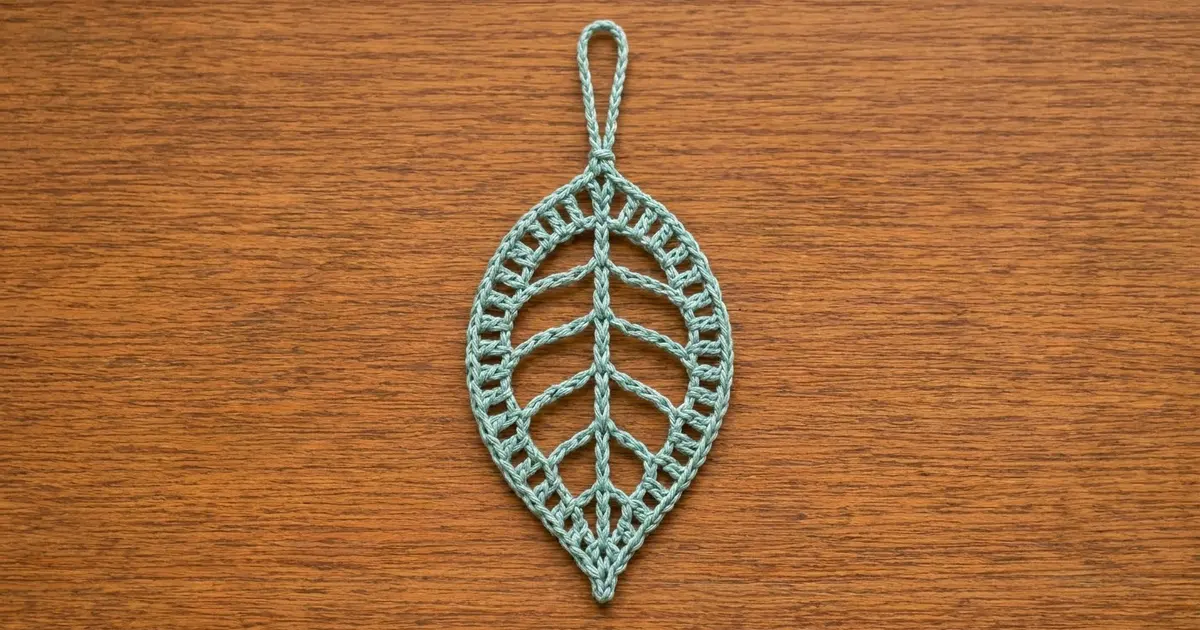
This little leaf ornament looks like a delicate skeleton leaf. It has a corded midrib, five curved veins on each side and an open ladder border that catches the light when it hangs on the tree. The sample is in a soft sea-glass teal, a calm color that suits a natural or Nordic-style Christmas.
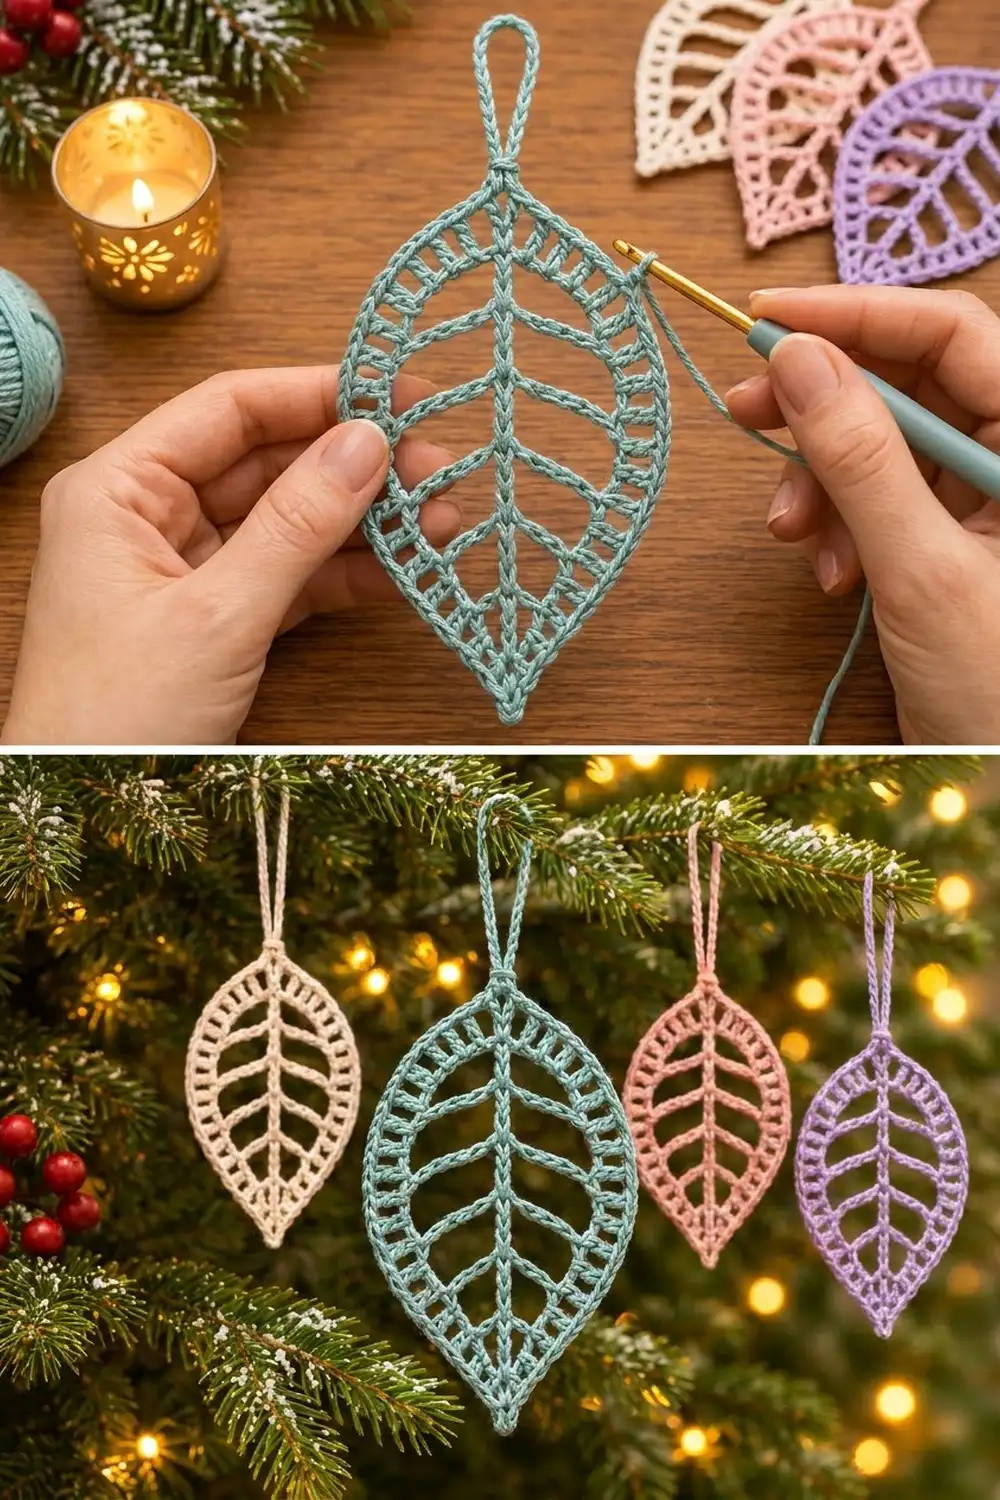
The same leaf also works well in cream, blush pink and lavender. Make one in each color and you have a soft pastel set to hang on the tree, tie onto a gift or attach to a garland. Each ornament is a separate piece.
This pattern uses US crochet terms. The finished leaf is 3.5 in (8.9 cm) wide and 7 in (17.8 cm) tall without the loop, or about 8.5 in (21.6 cm) tall with the loop.
You’ll work it in one piece without cutting the yarn. First you chain the midrib and slip stitch back along it. Next you build the outline and veins in one pass around the midrib. Then you add a double crochet ladder border, a single crochet edge and a corded hanging loop.
Finished Size and Construction
- Finished size: 3.5 in (8.9 cm) wide x 7 in (17.8 cm) tall, plus a 1.5 in (3.8 cm) loop
- Skill level: Easy-Intermediate
- Terminology: US crochet terms
- Yarn weight: Sport weight (#2) cotton
- Hook: 3.0 mm (US C/2 or D/3)
- Number of pieces: 1
- Layout: Single motif, hung vertically from the top point
- Piece size: 3.5 in (8.9 cm) x 7 in (17.8 cm)
- Size before border: 2.5 in (6.4 cm) x 6 in (15.2 cm)
- Border depth: 0.5 in (1.3 cm) on every side
Materials
Use a smooth mercerized cotton or cotton blend in sport weight, about 155 m per 50 g. Mercerized cotton shows off the corded veins and holds a crisp shape after blocking. Avoid fuzzy yarns, because they blur the open ladder.
Yarn (per ornament):
– Sea Glass Teal (main sample): 5 g / 16 m
Optional extra colors (one ornament each):
– Cream: 5 g / 16 m
– Blush Pink: 5 g / 16 m
– Lavender: 5 g / 16 m
Each leaf uses one color only. Medium and light shades show the corded texture best. Very dark colors hide the veins unless the ornament hangs in front of lights.
Tools:
– 3.0 mm crochet hook
– Tapestry needle
– Scissors
– Stitch markers (2-3)
– Rustproof pins and a foam blocking mat
– Spray bottle; spray starch is optional
The quantities include a margin of about 25% for a gauge swatch and weaving in ends.
Abbreviations (US Terms)
- ch – chain
- sl st – slip stitch
- sc – single crochet
- dc – double crochet
- sk – skip
- sp – space
- st(s) – stitch(es)
- beg – beginning
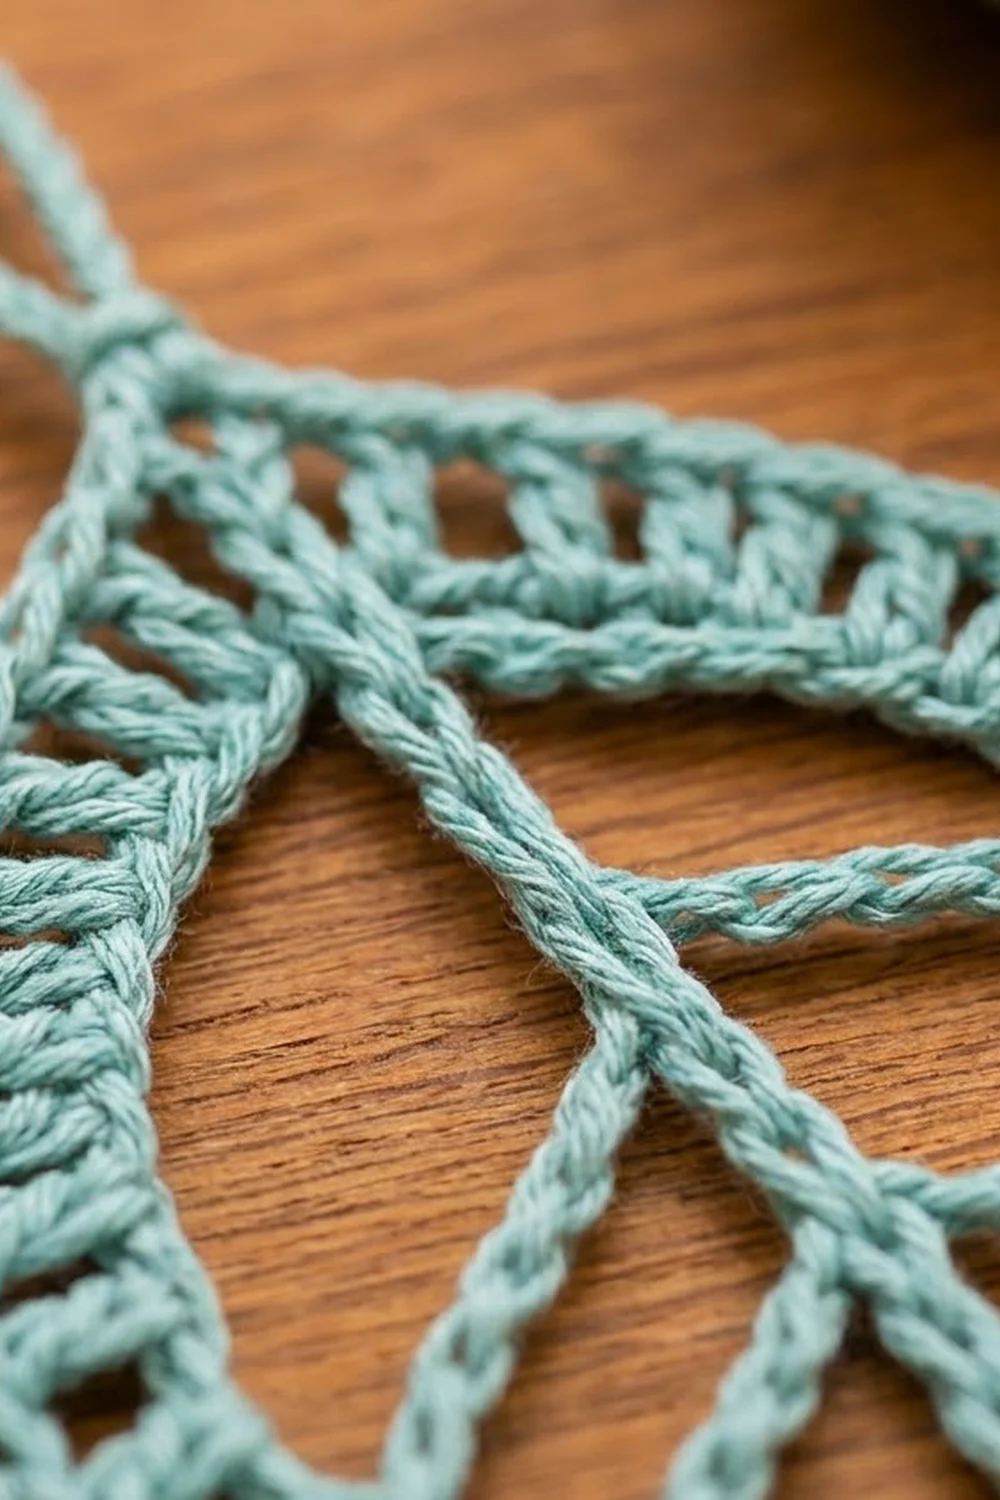
Special technique – corded line: Chain the number given, then sl st back into each of those chains, working into the back bump. This gives the twisted, rope-like look of the midrib, veins and hanging loop.
Gauge and Checkpoints
Chain gauge: 6 ch = 1 in (2.5 cm), measured on a relaxed chain.
Border gauge: 3 ladder rungs (dc + ch 1) = 1 in (2.5 cm). One dc is about 0.4 in (1.0 cm) tall.
Because this is a single motif, the leaf itself is your test piece. To check chain gauge, make 13 ch, skip the loop on the hook, and measure the 12 ch that follow. They should measure 2 in (5.1 cm). Measure at each checkpoint before you move on:
- After the midrib: 36 sl sts = 6 in (15.2 cm).
- After Round 1 (frame and veins): 2.5 in (6.4 cm) wide x 6 in (15.2 cm) tall, laid flat.
- After Round 2 (ladder): about 3.3 in (8.4 cm) x 6.8 in (17.3 cm).
- After Round 3 (edge): 3.5 in (8.9 cm) x 7 in (17.8 cm).
If your leaf is too big: go down to a 2.75 mm hook, or tighten your chains. Loose chains are the most common cause.
If your leaf is too small: go up to a 3.25 mm hook. A finer yarn will give you a smaller leaf with the same counts, which is fine for gift tags.
Keep the stitch counts the same and change only the hook size. The shaping depends on those counts.
Midrib
Ch 37.
Sl st in the 2nd ch from the hook (this is the back bump) and in each ch across: 36 sl sts.
Leave the skipped chain at the far end alone. That chain is the bottom tip. You are now at the top tip.
Number the midrib sl sts from the top. The sl st you just made is #1 and the one next to the bottom tip is #36. Place markers in sl sts #9, #16, #23 and #30 so you can find them easily. Sl st #34 sits 3 sts above the bottom tip.
Checkpoint: 36 sl sts = 6 in (15.2 cm). Don’t fasten off.
Round 1: Frame and Veins
This round makes the outer chain outline and the corded veins in one continuous pass. The right side goes down from the top tip and the left side comes back up.
Each vein goes inward from an outline point and down to the midrib, so from the midrib it looks like it rises outward.
Right side (working down):
- Ch 7 (outline), ch 5 (vein), sl st in midrib #9, sl st in each of the 5 vein ch.
- Ch 7, ch 7, sl st in midrib #16, sl st in each of the 7 vein ch.
- Ch 7, ch 8, sl st in midrib #23, sl st in each of the 8 vein ch.
- Ch 7, ch 7, sl st in midrib #30, sl st in each of the 7 vein ch.
- Ch 7, ch 5, sl st in midrib #34, sl st in each of the 5 vein ch.
- Ch 6, sl st in the bottom-tip ch.
Right outline count: 7 + 7 + 7 + 7 + 7 + 6 = 41 outline ch.
Left side (working up): Use the same midrib sl sts as the right side, working into the opposite side of each st. This way each pair of veins meets at one point.
- Ch 6, ch 5, sl st in midrib #34, sl st in each of the 5 vein ch.
- Ch 7, ch 7, sl st in midrib #30, sl st in each of the 7 vein ch.
- Ch 7, ch 8, sl st in midrib #23, sl st in each of the 8 vein ch.
- Ch 7, ch 7, sl st in midrib #16, sl st in each of the 7 vein ch.
- Ch 7, ch 5, sl st in midrib #9, sl st in each of the 5 vein ch.
- Ch 7, sl st in midrib #1 at the top tip.
Left outline count: 6 + 7 + 7 + 7 + 7 + 7 = 41 outline ch.
Round 1 totals: 82 outline ch (41 per side), plus 5 veins per side with 5, 7, 8, 7 and 5 ch each.
Tension tip: Make the slip stitches back along each vein the same size as your chains. If they’re tighter, the vein will be shorter than its outline segment and the leaf will start to curl.
Checkpoint: Lay the leaf flat and ease the outline into a smooth pointed oval. It should measure 2.5 in (6.4 cm) x 6 in (15.2 cm). The veins should sit fairly flat. If they pull the outline inward, your vein chains are too tight.
Border
The border has two rounds: an open double crochet ladder and a single crochet edge. Work only into the 41 outline ch on each side and into the two tips. Don’t work into the veins.
Border gauge reminder: 3 rungs = 1 in (2.5 cm). Each dc is about 0.4 in (1.0 cm) tall.
Round 2: Ladder
Ch 5 (counts as dc + ch 2), dc in the same top-tip st, ch 1.
Right side: dc in the 1st outline ch, ch 1, sk next ch, dc in next ch; repeat from * 20 more times: 21 dc and 20 ch-1 sps. Ch 1.
Bottom tip: (dc, ch 2, dc) in the bottom-tip ch, ch 1.
Left side: work the same as the right side: 21 dc and 20 ch-1 sps. Ch 1. Sl st in the 3rd ch of the beg ch-5.
Where a vein meets the outline, the outline chain is a bit crowded. Still work into the outline chain itself, not into the vein’s slip stitches. That keeps your count right.
Round 2 count: 46 dc in total. That’s 21 per side plus 2 at each tip. There are 44 ch-1 sps (20 per side plus 2 next to each tip) and 2 ch-2 tip sps.
Why the math works: on each side, 1 dc plus 20 repeats of (ch 1, sk 1, dc 1) uses exactly 1 + 40 = 41 ch. Every outline chain is used and no chain is counted twice. Because the count is odd, a dc lands on the first and last chain of each side, so both tips match.
Round 3: Edge
Sl st in the next ch-2 sp (the top point). Ch 1, (sc, ch 2, sc) in the same sp.
Sc in each dc and in each ch-1 sp all the way down the right side. At the bottom point, work (sc, ch 2, sc) in the ch-2 sp. Sc in each dc and ch-1 sp up the left side, ending with an sc in the 3rd ch of the beg ch-5. Sl st in the first sc.
Round 3 count: 94 sc and 2 ch-2 points. That’s 46 sc in dc, 44 sc in ch-1 sps and 4 sc in the tip sps.
Per side: 47 sc between the two ch-2 points. They come from 1 tip sc, 1 tip dc, 1 ch-1 sp, 21 dc, 20 ch-1 sps, 1 ch-1 sp, 1 tip dc and 1 tip sc. 47 x 2 = 94, which matches the round total.
Why the math works: you work one sc into every stitch and every space, so the edge stays the same length as the ladder and doesn’t ruffle or cup. The only extra stitches are at the 2 tips, where (sc, ch 2, sc) makes a neat point.
Checkpoint: 3.5 in (8.9 cm) x 7 in (17.8 cm). The border should add 0.5 in (1.3 cm) on every side.
Hanging Loop
Sl st in the top ch-2 point. Ch 20, then sl st in the same ch-2 point. Sl st in each of the 20 loop ch to cord the loop, and finish with a sl st in the ch-2 point.
The loop stands about 1.5 in (3.8 cm) tall. Fasten off and weave in both ends along the midrib, where they won’t show. For a longer hanger on wide branches, make the loop ch 26 instead. It will stand about 2 in (5.1 cm) tall and the leaf itself stays the same.
Final Blocking
- Wet the leaf in cool water and press out the excess in a towel. Don’t wring it.
- Lay it on the blocking mat and gently shape it into a pointed oval, 3.5 in (8.9 cm) x 7 in (17.8 cm).
- Pin both ch-2 points first, then pin the midrib straight from tip to tip.
- Pin each vein so it curves outward, with each pair matching the opposite side.
- Pin the outer sc edge every 0.75 in (1.9 cm), keeping the ladder rungs straight and evenly spaced.
- Pin the loop flat and straight.
- For a crisp ornament, mist it with spray starch.
- Leave it to dry completely, usually overnight, before you unpin it.
Final Quality-Control Checklist
- [ ] Midrib has 36 sl sts and lies straight
- [ ] 5 veins per side, and each pair meets at the same midrib st (#9, #16, #23, #30, #34)
- [ ] 41 outline ch per side
- [ ] Round 2: 46 dc, 44 ch-1 sps, 2 ch-2 tip sps
- [ ] Round 3: 94 sc, 47 per side, 2 ch-2 points
- [ ] Finished size 3.5 in (8.9 cm) x 7 in (17.8 cm)
- [ ] Loop is about 1.5 in (3.8 cm) tall and corded
- [ ] Ends are woven in securely along the midrib
Troubleshooting
The veins pucker the outline. Your vein chains are tight. Rework those veins with looser chains or go up a hook size just for the veins.
The leaf curls toward the back. Your corded sl sts are tight. Loosen them, or block with starch and let the leaf dry flat under light weight.
The border ruffles. Check that you’re skipping one chain between dc on Round 2. Also check that you work only one sc in each ch-1 sp on Round 3.
The border cups or pulls in. Your ch-1 spaces are too short. Make them a bit looser so the rungs fan out around the curves.
The tips are blunt. Make sure each tip has (dc, ch 2, dc) on Round 2 and (sc, ch 2, sc) on Round 3. Pin the points firmly when blocking.
The two halves don’t match. Count the outline chains on each side. There should be 41 per side, in segments of 7, 7, 7, 7, 7, 6 on the right and 6, 7, 7, 7, 7, 7 on the left.
You end Round 2 with the wrong number of dc. You’ve probably worked into a vein junction twice. Count the dc in groups of five and compare each group with the outline chains it covers.
The ornament hangs crooked. The loop isn’t centered on the top point. Re-pin the leaf when it’s damp and hang it to dry so it settles straight.
Care
Hand wash in cool water, press out the water with a towel and dry flat, reshaping the leaf as you go. Re-starch it lightly if it softens after storage.
Final Notes
Each measurement builds on the last. At 6 ch = 1 in (2.5 cm), the 36-st midrib is 6 in (15.2 cm) long. The 41-ch outline per side makes a 2.5 in (6.4 cm) x 6 in (15.2 cm) frame. The ladder and sc edge add 0.5 in (1.3 cm) all around, so the finished leaf is 3.5 in (8.9 cm) x 7 in (17.8 cm). The loop brings the total height to about 8.5 in (21.6 cm). If you check each stage, the finished leaf will come out the right size.
Happy crocheting!