
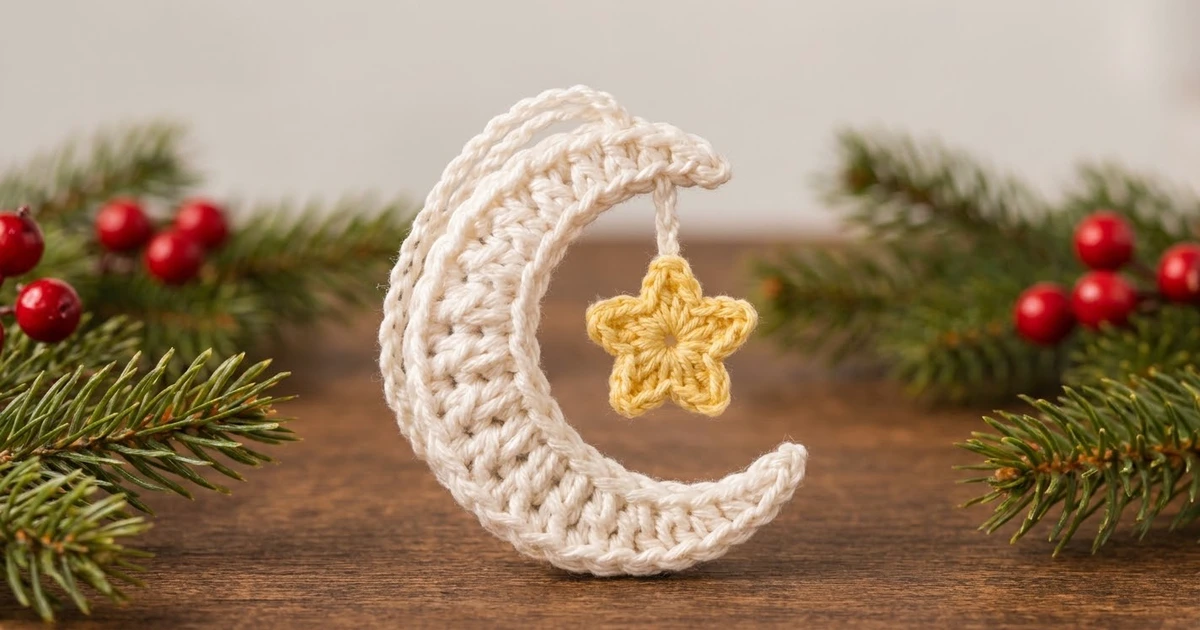
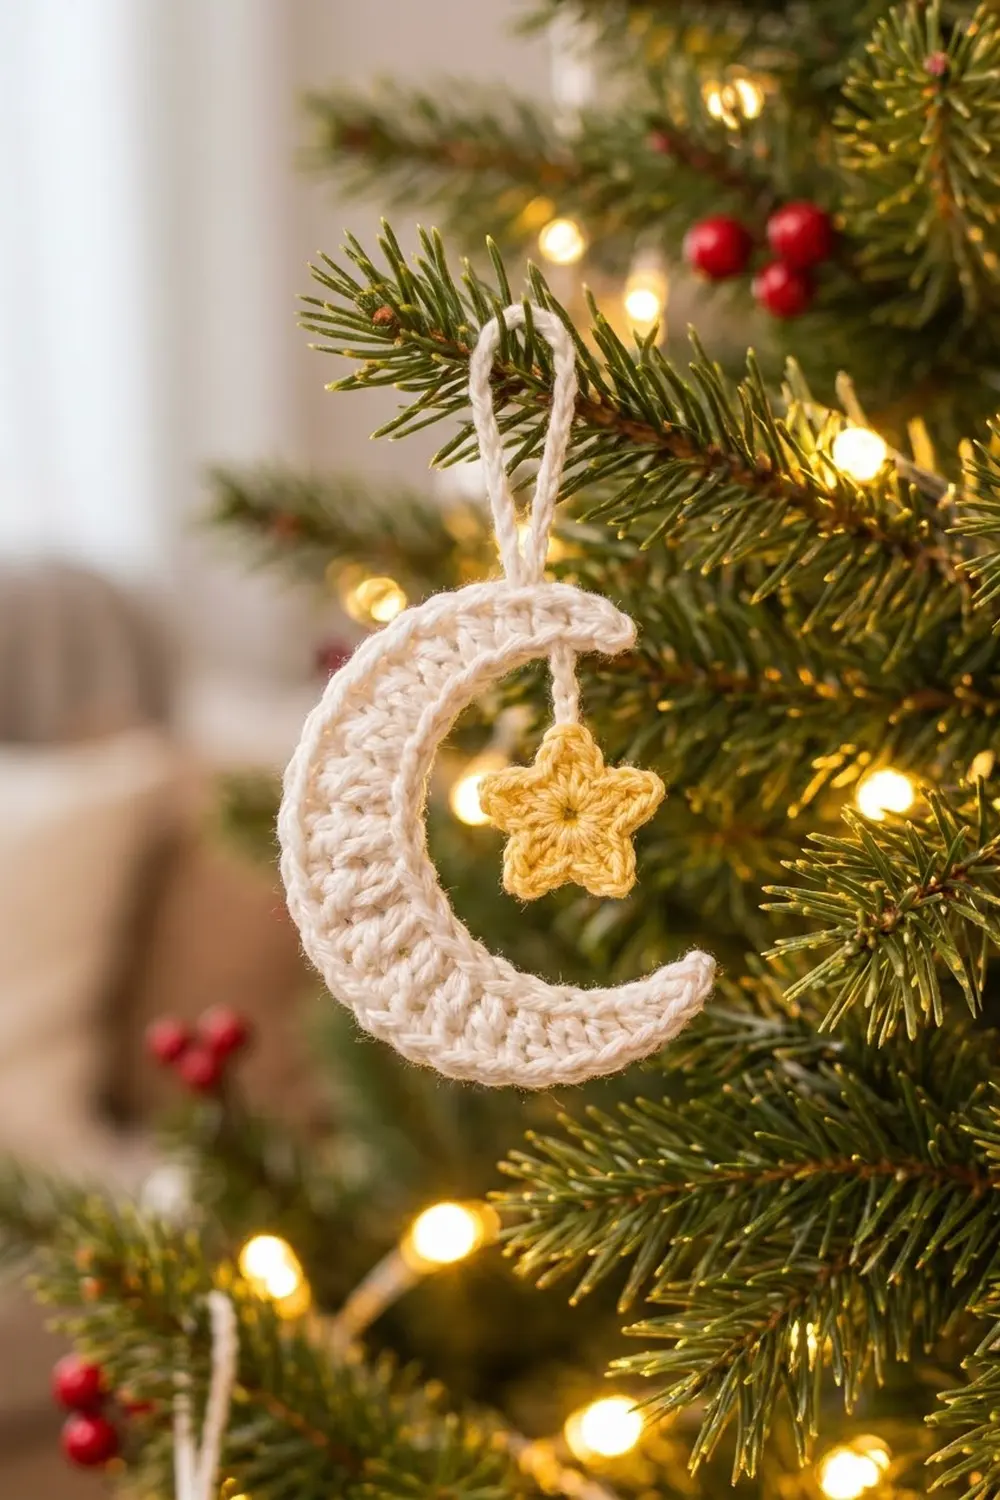
The Starlit Crescent is a small hanging ornament: a soft cream crescent moon with a little butter-yellow star dangling inside its curve. A thin cream chain loop at the top lets it hang from a tree branch, a window latch, or a gift.
The palette is just two colors, cream and pale yellow, so it fits rustic, Scandinavian, or classic red-and-green holiday decor. In cotton yarn the stitches stay crisp, and the dc rows give the moon a gently ridged, woven texture.
This pattern uses US crochet terms. The moon measures about 4 in (10.2 cm) tall and 3 in (7.6 cm) wide. The star measures about 1.75 in (4.4 cm) from point to point, and the hanging loop is about 3 in (7.6 cm) long.
The moon is worked flat in three short rows on a foundation chain. Stitch heights step up toward the center and the increases sit along the outer edge, so the strip curves into a crescent by itself. A round of sc then edges the whole moon. The star is worked in the round from a magic ring. Two cream chains finish the ornament: one holds the star and one makes the hanging loop.
Finished Size and Construction
- Finished moon size: 4 in (10.2 cm) tall × 3 in (7.6 cm) wide
- Moon band width at center: 1.3 in (3.3 cm)
- Star size: 1.75 in (4.4 cm) point to point
- Skill level: Easy
- Terminology: US crochet terms
- Yarn weight: Worsted weight (4), cotton or cotton blend
- Hook: 4.0 mm (US G-6)
- Number of pieces: 2 (1 moon, 1 star), plus 2 chains worked during assembly
- Layout: The star hangs inside the moon’s curve from the upper horn, and the hanging loop sits on the top outer edge
- Moon size before border: 3.6 in (9.1 cm) tall × 2.6 in (6.6 cm) wide, band 0.9 in (2.3 cm) at center
- Border depth: 0.2 in (0.5 cm) on every edge
Materials
Choose a smooth, mercerized or soft-spun cotton. Cotton holds the crescent’s crisp points and shows the stitch texture clearly. Acrylic also works, but it is springier and needs firmer blocking.
- Cream (Color A): about 12 g / 25 m (27 yd) for the moon, the edging, the star chain, and the hanging loop
- Pale yellow (Color B): about 5 g / 10 m (11 yd) for the star
These quantities include a margin of roughly 20 percent for checking gauge and weaving in ends.
Tools:
- 4.0 mm (US G-6) crochet hook
- Tapestry needle
- Scissors
- 2 locking stitch markers
- Ruler or tape measure
- Pins and a blocking mat or folded towel
- Spray bottle with water
Abbreviations (US Terms)
- ch – chain
- sl st – slip stitch
- sc – single crochet
- hdc – half double crochet
- dc – double crochet
- st(s) – stitch(es)
- RS / WS – right side / wrong side
- MR – magic ring
Special technique – Magic ring (MR): Wrap the yarn around two fingers to make a loop. Insert the hook, pull up a loop, and work the round’s stitches over both strands of the ring. Pull the tail to close the center.
2 dc in next st: Work 2 dc into the same stitch. This is an increase of 1 stitch.
Gauge and Checkpoints
Gauge: 18 sc = 4 in (10.2 cm) in rows of sc, using a 4.0 mm hook. That is 4.5 sc per inch. One row of dc is about 0.4 in (1.0 cm) tall.
The ornament is small, so the moon itself is your test piece. Work Rows 1 to 3, then check them against the measurements below before you add the border.
Checkpoints:
- After Row 1: a straight strip of 23 sc, 5.1 in (13.0 cm) long
- After Row 2: the strip begins to curve, and the band is about 0.6 in (1.5 cm) wide at the center
- After Row 3: a crescent 3.6 in (9.1 cm) tall × 2.6 in (6.6 cm) wide, with a band of 0.9 in (2.3 cm)
- After the border: 4 in (10.2 cm) × 3 in (7.6 cm)
- Star after Round 1: a circle 0.9 in (2.3 cm) across
- Star after Round 2: 1.75 in (4.4 cm) point to point
If your Row 1 is longer than 5.1 in (13.0 cm), your stitches are loose. Go down to a 3.75 mm (US F-5) hook. If it is shorter, go up to a 4.5 mm (US 7) hook. A difference of 0.25 in (0.6 cm) or less on Row 1 is fine.
Moon Pattern
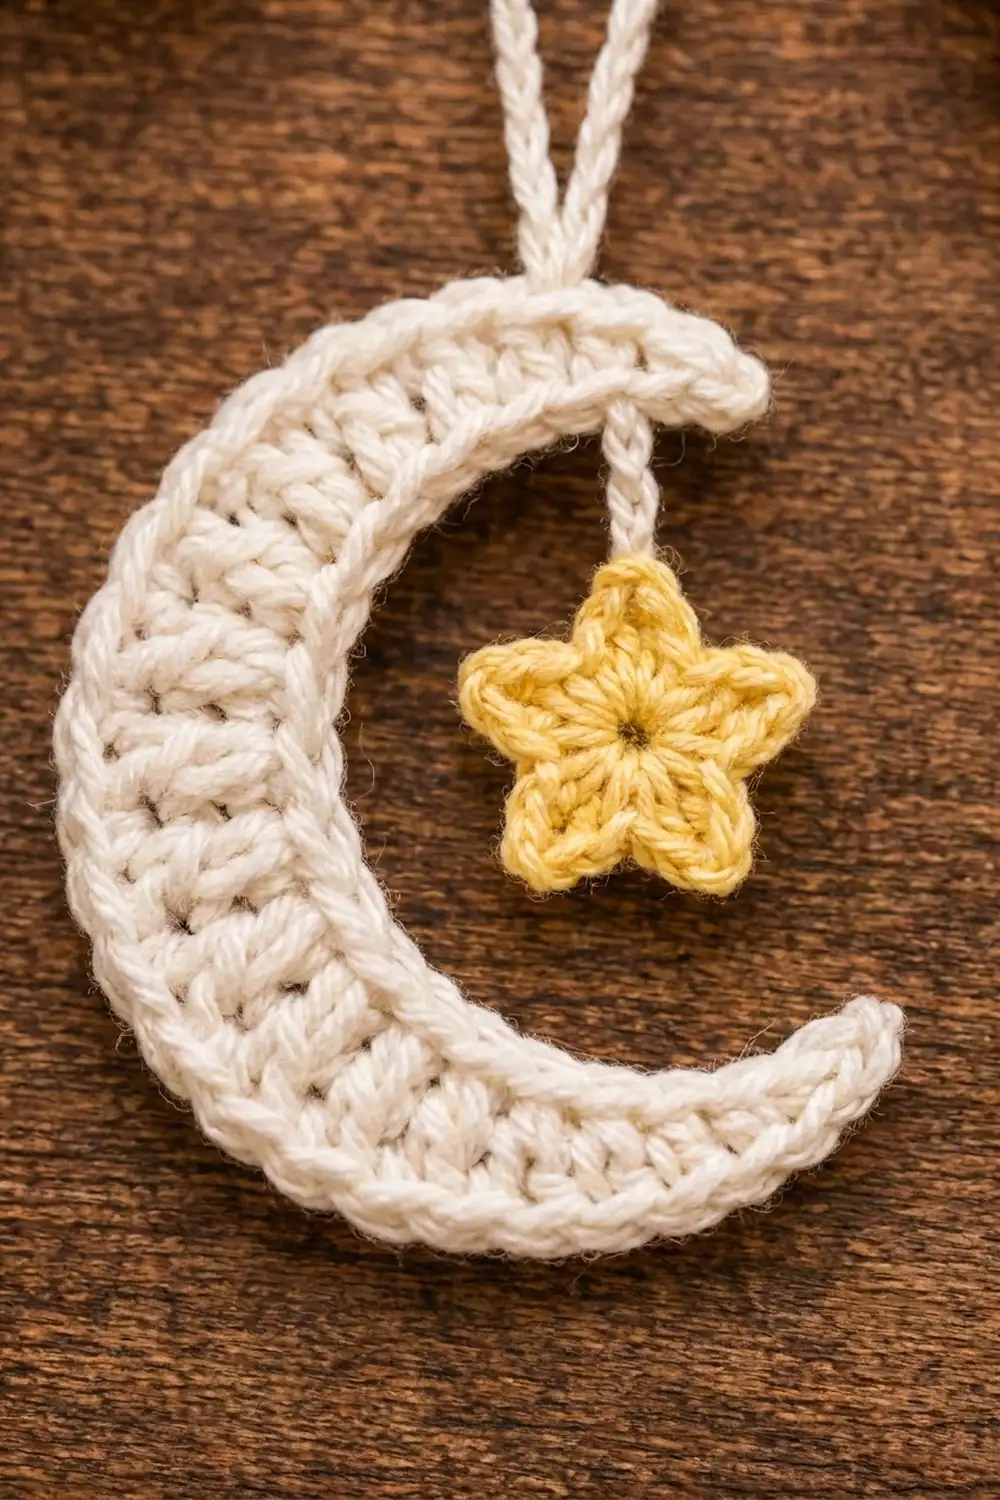
Use Color A (cream). The foundation chain becomes the inner (concave) edge, and Row 3 becomes the outer (convex) edge.
Foundation: Ch 24.
Row 1 (RS): Sc in 2nd ch from hook and in each ch across. Turn. (23 sc)
Place a marker in the last sc you made. That end is Tip A. The other end is Tip B.
Row 2 (WS): Ch 1 (does not count as a st). Sl st in first st, sc in next 2 sts, hdc in next 2 sts, dc in next 2 sts, [2 dc in next st, dc in next st] 4 times, 2 dc in next st, dc in next 2 sts, hdc in next 2 sts, sc in next 2 sts, sl st in last st. Turn. (28 sts)
Check: you worked into all 23 stitches of Row 1 (1 + 2 + 2 + 2 + 9 + 2 + 2 + 2 + 1 = 23). The 9 center stitches produced 14 dc, adding 5 stitches, so 23 + 5 = 28.
The short stitches at each end keep the tips narrow. The taller dc and the increases in the center widen the band and make the outer edge longer than the inner edge, which is what curves the strip.
Row 3 (RS): Ch 1 (does not count as a st). Sl st in first 2 sts, sc in next 2 sts, hdc in next 2 sts, dc in next 2 sts, [2 dc in next st, dc in next st] 6 times, dc in next 2 sts, hdc in next 2 sts, sc in next 2 sts, sl st in last 2 sts. Do not turn. (34 sts)
Check: 8 stitches at each end (2 sl st, 2 sc, 2 hdc, 2 dc) plus 12 center stitches uses all 28 stitches of Row 2. The 12 center stitches produced 18 dc, adding 6 stitches, so 28 + 6 = 34.
You are now at Tip A, next to the marker. Lay the piece flat. It should form a crescent with the foundation chain on the inside of the curve. Measure it against the Row 3 checkpoint, then go straight on to the border without fastening off.
Star Pattern
Use Color B (pale yellow).
Round 1: Make an MR. Ch 2 (does not count as a st), then work 10 dc into the ring. Pull the tail to close the ring. Join with a sl st to the first dc. (10 dc)
Round 2 (points): Ch 4, sl st in 2nd ch from hook, sc in next ch, hdc in next ch, skip next dc, sl st in next dc. Repeat from * to * 4 more times. Work the last sl st into the joining sl st of Round 1. (5 points)
Each point uses 2 dc of Round 1 (5 × 2 = 10), so the points come out evenly spaced. Each point steps down from hdc at its base to sl st at its tip, which makes it sharp and tapered.
Fasten off, leaving a 4 in (10.2 cm) tail. Weave this tail and the MR tail into the WS. The smooth side of Round 1 is the RS.
Make All Pieces
For one ornament you need:
- Color A (cream): 1 moon (Rows 1 to 3 plus border), 1 star chain, 1 hanging loop
- Color B (pale yellow): 1 star
Layout (front view, moon opening facing right):
        [ hanging loop ]
              |
   ( upper horn of moon )--Tip B
  (          |
 (         [ star chain ]
(            |
(         [ STAR ]
 (
  (
   ( lower horn of moon )--Tip A
Joining
Assembly happens in two steps. First work the moon border (next section). Then come back here and attach the two chains. Both chains are worked into border stitches, so the border must be finished first.
Hold the moon RS up, with the opening facing right and Tip B at the top.
Hanging loop: Starting from Tip B, count 9 border sc along the outer edge. Join Color A with a sl st in the 9th sc. Ch 30, then sl st in the same sc. Fasten off. At about 5 ch per inch, the 30 chains fold into a loop about 3 in (7.6 cm) long.
Star chain: Starting from Tip B, count 6 border sc along the inner edge. Join Color A with a sl st in the 6th sc. Ch 5, which is about 1 in (2.5 cm). Sl st into the tip of one star point, working through the ch at the very tip. Fasten off.
Tension advice: Chain at your normal tension. Tight chains make the star tilt and pucker the moon’s edge. Loose chains sag and look stringy.
Size checkpoint: Hold the ornament by the loop. The star should hang freely inside the curve, with about 0.5 in (1.3 cm) of clear space above the lower horn. If it touches the horn, undo the star chain and work it 1 ch shorter.
Border
Border gauge: One round of sc, at 4.5 sc per inch, adds 0.2 in (0.5 cm) to every edge.
You are at Tip A at the end of Row 3, with the RS facing you.
Border Round: Ch 1 (does not count as a st).
- Tip A: 2 sc in the side of the last sc of Row 1. (2 sc)
- Inner edge: Rotate the piece and sc in the free loop of each of the 23 foundation chains. (23 sc)
- Tip B: 2 sc in the side of the first sc of Row 1. (2 sc)
- Outer edge: Sc in each of the 34 sts of Row 3, including the slip stitches. (34 sc)
- Join with a sl st to the first sc. (61 sc total)
Fasten off and weave in the ends on the WS. Remove the marker.
Why the math works: The inner edge matches the foundation exactly, with 23 stitches over 5.1 in (13.0 cm), so it lies flat without ruffling. The outer edge matches Row 3 exactly, with 34 stitches over about 7.6 in (19.3 cm). The 11 extra stitches on the outer edge hold the curve without forcing it, and the 2 sc at each tip turn the point without adding bulk. The sections add up to 2 + 23 + 2 + 34 = 61 sc. The border adds 0.2 in (0.5 cm) all around. The moon grows from 3.6 in × 2.6 in (9.1 cm × 6.6 cm) to 4 in × 3 in (10.2 cm × 7.6 cm), and the band grows from 0.9 in (2.3 cm) to 1.3 in (3.3 cm).
Now go back to the Joining section and attach the hanging loop and the star.
Final Blocking
- Lightly spray the moon and the star with water until damp but not dripping.
- Lay the moon RS up on a blocking mat or folded towel.
- Pin the center of the outer edge first, then the center of the inner edge. Check that the band measures 1.3 in (3.3 cm).
- Pin Tip A and Tip B into sharp points. Check that the moon measures 4 in (10.2 cm) tall and 3 in (7.6 cm) wide.
- Pin the star flat to 1.75 in (4.4 cm), with one pin at each of its 5 points.
- Straighten the hanging loop and the star chain so they lie without twists.
- Let everything dry completely before removing the pins.
Final Quality-Control Checklist
- Row 1 has 23 sc, Row 2 has 28 sts, and Row 3 has 34 sts
- The border round has 61 sc: 2 + 23 + 2 + 34
- The moon measures 4 in × 3 in (10.2 cm × 7.6 cm)
- Both tips are pointed and the same length
- The star has 5 evenly spaced points and measures 1.75 in (4.4 cm)
- The star hangs freely inside the curve
- The hanging loop is about 3 in (7.6 cm) long and firmly attached
- All ends are woven in on the WS
Troubleshooting
The moon stays straight instead of curving: The center increases are missing, or your dc are too short. Recount Rows 2 and 3 (28 and 34 sts).
The moon ruffles or cups: The outer edge has too many stitches. Check that the border has exactly 34 sc along Row 3.
The tips are blunt: Work only 2 sc at each tip, and pull each tip into a point during blocking.
The inner edge puckers: You may have skipped foundation loops. Recount: the inner edge needs exactly 23 sc.
The star points curl: Your ch 4 is too tight. Chain more loosely, or use a hook 0.5 mm larger for Round 2 only.
The star hangs crooked: Attach the chain at the very tip of the point, not beside it.
Care
Hand wash in cool water with mild soap. Press out the water in a towel and dry flat. Store the ornament flat or hang it by its loop so the crescent keeps its shape.
Final Notes
The measurement chain is short and easy to check. At 18 sc = 4 in (10.2 cm), the 23 sc of Row 1 measure 5.1 in (13.0 cm). Rows 2 and 3 grow to 28 and 34 stitches and shape a crescent 3.6 in × 2.6 in (9.1 cm × 6.6 cm). The 61-stitch border brings the moon to 4 in × 3 in (10.2 cm × 7.6 cm). The 1.75 in (4.4 cm) star hangs on a 1 in (2.5 cm) chain, and the moon hangs from a 3 in (7.6 cm) loop.
If each checkpoint matches, every Starlit Crescent you make will come out the same size, whether you make one for a gift tag or a dozen for the tree.
Happy crocheting!