

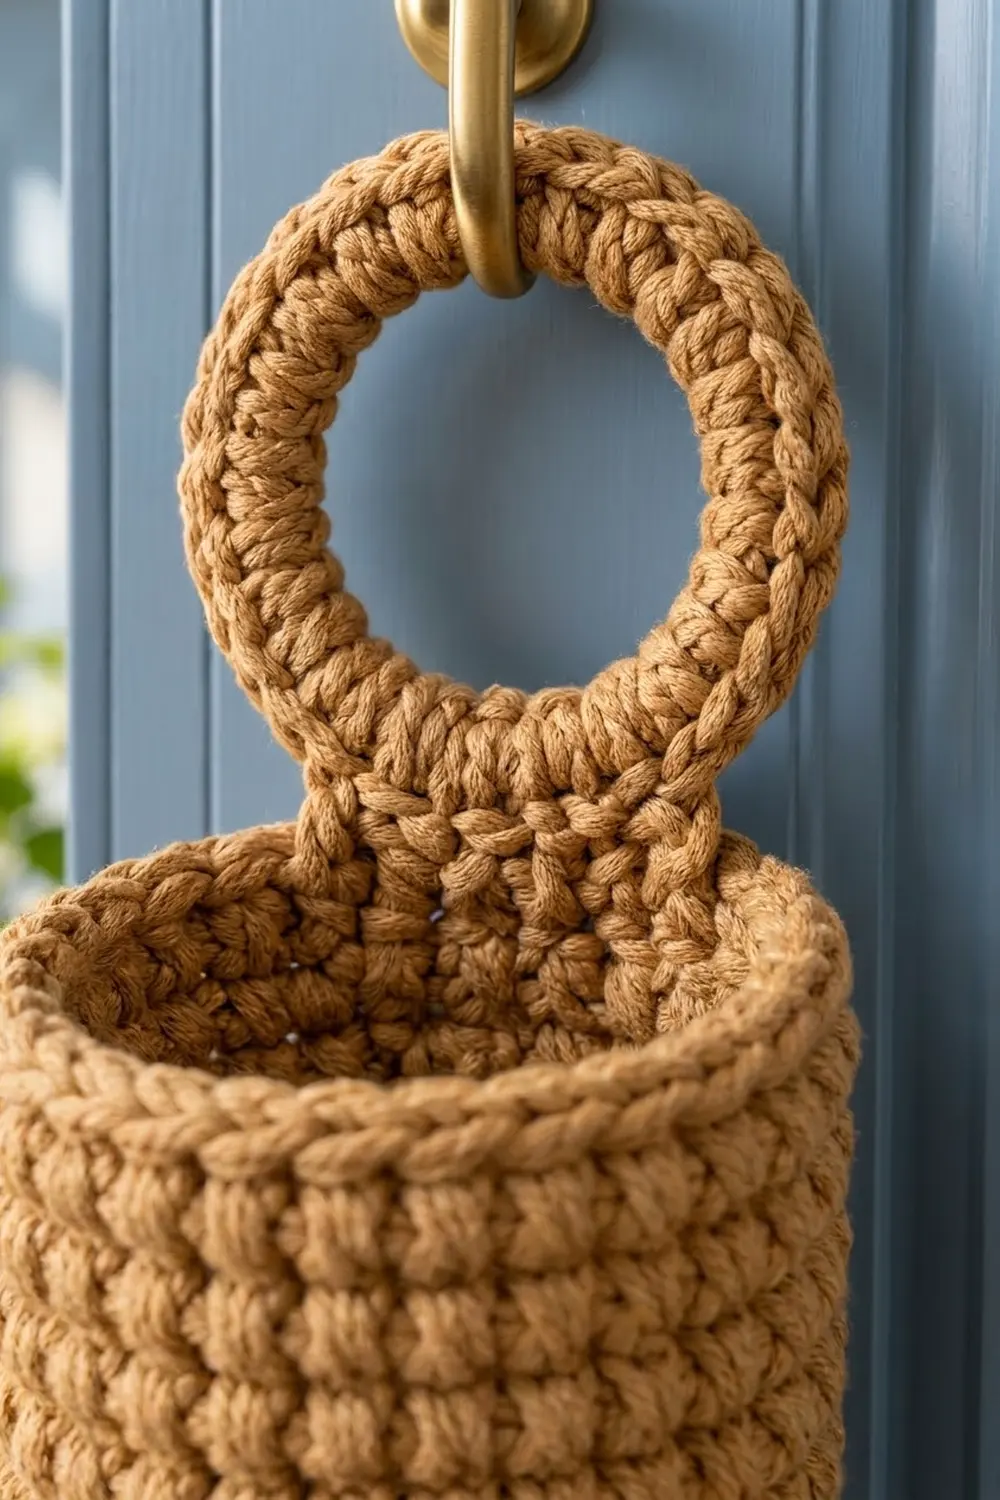
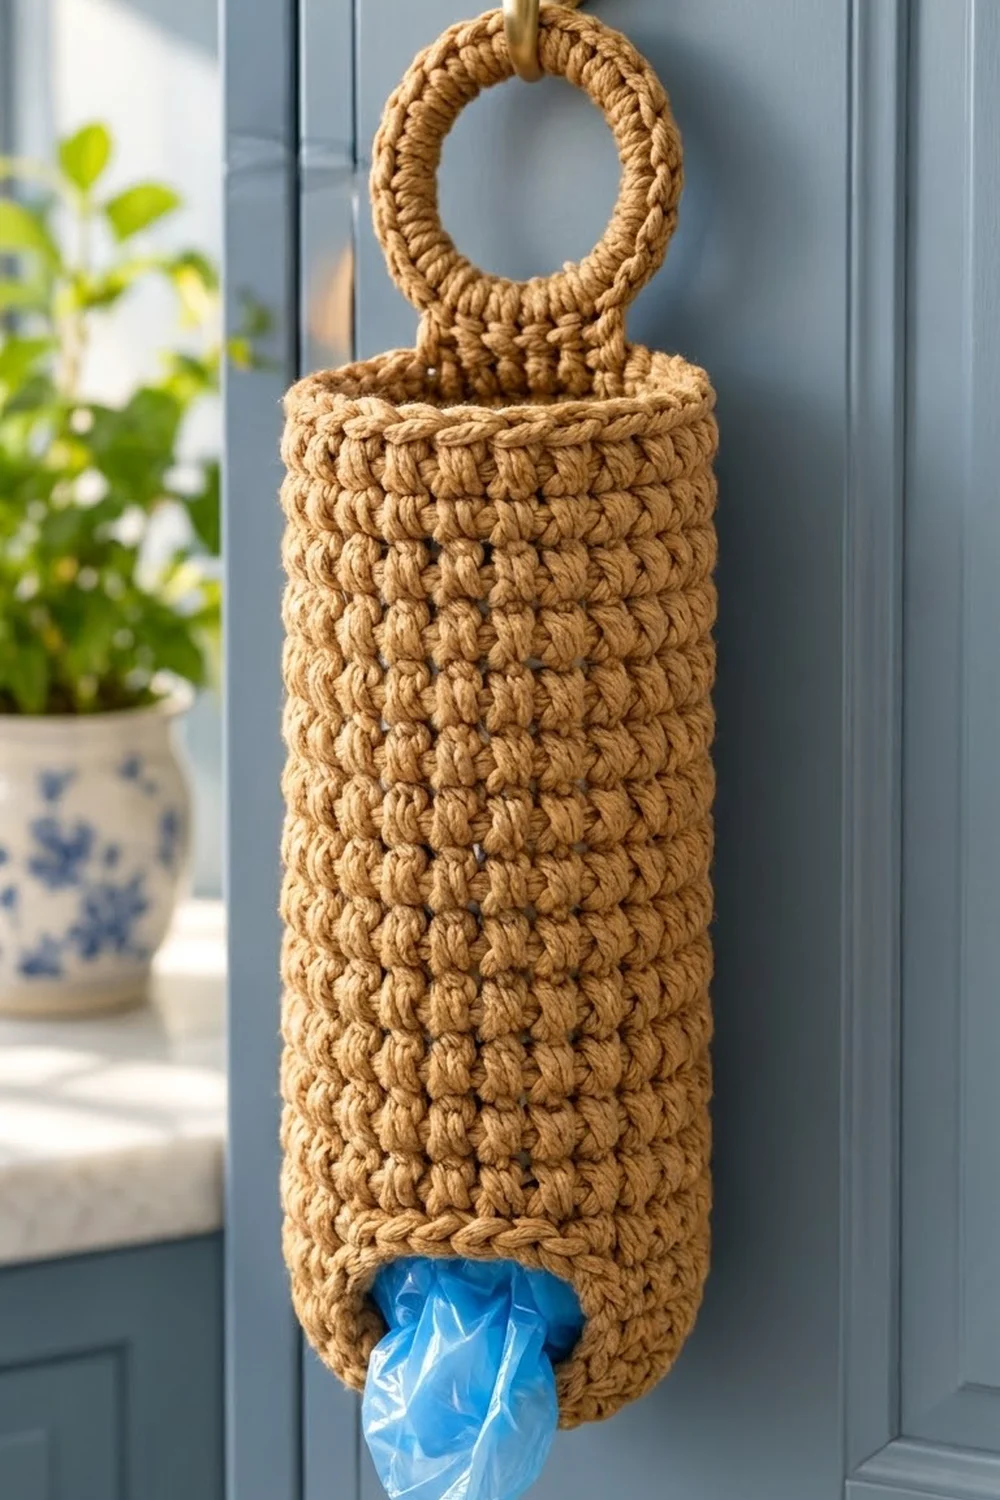
This plastic bag holder is a tall, sturdy tube that hangs from a cabinet knob or hook. You stuff grocery bags in the open top and pull them out one at a time through the round hole in the base. A ring on top makes it easy to hang.
It’s made in one warm caramel color in bulky yarn. Tight single crochet gives it a firm, basket-like grid that holds its shape even when it’s empty. The style is simple and natural, and it suits farmhouse, rustic, or modern kitchens.
The pattern uses US crochet terms. The finished body is 4.5 in (11.4 cm) across and 13.5 in (34.3 cm) tall. With the ring attached, the holder is 17.75 in (45.1 cm) long overall.
You start with the base, which is a flat ring worked outward from a chain loop that becomes the dispensing hole. A back-loop round turns the edge upward, and plain rounds build the tube. The top gets a sc round and a reverse sc round. Then you cover a 3 in (7.6 cm) ring with stitches, add a short tab, and sew the tab inside the back rim.
Finished Size and Construction
- Finished size: 4.5 in (11.4 cm) diameter × 13.5 in (34.3 cm) tall body; 17.75 in (45.1 cm) overall with the ring
- Skill level: Easy
- Terminology: US crochet terms
- Yarn weight: Bulky (#5)
- Hook: 6 mm (US J-10)
- Number of pieces: 1 holder, made of 2 parts (body and hanging ring) sewn together
- Layout: Single standalone tube with the ring centered at the top back
- Piece size: Body circumference 14 in (35.6 cm) = 42 sts
- Size before border: 12.9 in (32.8 cm) tall after Rnd 46
- Border depth: 2 rounds, about 0.6 in (1.5 cm)
Materials
Yarn: Use a firm bulky yarn with good stitch definition, such as a cotton blend, acrylic, or a smooth cotton cord. Avoid fuzzy or very stretchy yarns, because the holder needs to keep its shape as a column.
- Caramel / golden tan: 200 g, about 280 m (306 yd)
This amount includes about a 15% margin. The holder itself uses about 170 g.
Tools:
- 6 mm (US J-10) crochet hook
- One 3 in (7.6 cm) plastic, metal, or wooden ring (outer diameter)
- 2 stitch markers
- Yarn needle
- Scissors
- Measuring tape
- Rolled towel or a 4.5 in (11.4 cm) cylinder for blocking, such as a large can or rolled cardboard
Abbreviations (US Terms)
- ch – chain
- sl st – slip stitch
- sc – single crochet
- inc – 2 sc in the same stitch
- BLO – back loop only
- st(s) – stitch(es)
- rnd(s) – round(s)
- rev sc – reverse single crochet
Special stitch – reverse single crochet (rev sc): With the right side facing, work from left to right (right to left if you’re left-handed). Insert the hook into the next stitch to the right, yarn over, and pull up a loop. Yarn over again and pull through both loops. This stitch makes a twisted, rope-like edge.
Round notes: Join each round with a sl st to the first sc. The ch 1 at the start of a round doesn’t count as a stitch. Line up the joins at the back so the hanging tab covers them later.
Gauge and Checkpoints
Gauge: 12 sc and 13 rnds = 4 in (10.2 cm) in sc in the round, using a 6 mm hook.
Make the base (Rnds 1–4) first and use it as your swatch. Lay it flat and measure across.
Checkpoints:
- After Rnd 1: The center hole is about 2.5 in (6.4 cm) across.
- After Rnd 4: The base is 4.5 in (11.4 cm) across and lies flat.
- After Rnd 17: The wall (Rnds 5–17) is 4 in (10.2 cm) tall.
- After Rnd 46: The wall is 12.9 in (32.8 cm) tall.
- After the border: The body is 13.5 in (34.3 cm) tall.
If your base is too big (more than 4.75 in / 12.1 cm across), go down to a 5.5 mm hook.
If your base is too small (less than 4.25 in / 10.8 cm across), go up to a 6.5 mm hook.
Getting the width right matters more than the height. If your rounds come out taller or shorter than gauge, add or remove plain rounds before the border until the wall measures 12.9 in (32.8 cm).
Body: Base Ring
The base starts as a chain loop. That loop becomes the dispensing hole.
Foundation: Ch 24. Sl st to the first ch to form a ring, taking care not to twist the chain.
Rnd 1: Ch 1, sc in each ch around. Join. (24 sts)
Rnd 2: Ch 1, sc in next 3 sts, inc in next st; repeat from * 6 times total. Join. (30 sts)
Rnd 3: Ch 1, sc in next 4 sts, inc in next st; repeat from * 6 times total. Join. (36 sts)
Rnd 4: Ch 1, sc in next 5 sts, inc in next st; repeat from * 6 times total. Join. (42 sts)
Each round adds 6 stitches, which is the standard rate for a flat sc circle, so the base stays flat. Check it against the Rnd 4 checkpoint: 4.5 in (11.4 cm) across.
Body: Turning Round
Rnd 5: Ch 1, sc in BLO of each st around. Join. (42 sts)
This is a conversion round with 42 sts worked 1 per existing stitch, plus 0 added. Working in the back loops leaves a ridge on the outside and folds the edge upward, which creates the crisp bottom corner. Place a marker in the first stitch of this round.
Body: Tube Wall
Rnds 6–46: Ch 1, sc in each st around. Join. (42 sts in every round)
That’s 41 plain rounds. Together with Rnd 5, the wall has 42 rounds, which comes to 12.9 in (32.8 cm) tall.
Measure at Rnd 17. The wall should be 4 in (10.2 cm) tall. Also check that the tube is 14 in (35.6 cm) around. If it measures more than 14.5 in (36.8 cm), your tension has loosened since the base, so tighten up.
Keep your joins lined up in one column at the back. If the seam starts drifting, put a marker in the first stitch of every round so it stays on track.
Hanging Ring
Rnd 1: Make a slip knot on your hook. Holding the 3 in (7.6 cm) ring, insert the hook through the center of the ring and work sc over the ring all the way around. Push the stitches together as you go so none of the ring shows. Join to the first sc. (30 sts)
If the ring still shows after 30 sts, add up to 2 more. Write down your number, because Rnd 2 changes to match.
Rnd 2: Ch 1, rev sc in each of the next 24 sts. Fasten off. (24 rev sc; 6 sts left unworked)
This trim round has 24 sts worked 1 per existing stitch, plus 0 added. The 6 sts you skipped are where the tab goes. If you added stitches in Rnd 1, work those extra stitches in rev sc here too, so the 6 tab stitches stay the same.
Tab Row 1: With the right side facing, join yarn with a sc in the first unworked st. Sc in the next 5 sts. (6 sts)
Tab Rows 2–4: Ch 1, turn, sc in each st across. (6 sts)
Fasten off and leave a 16 in (40.6 cm) tail for sewing. The tab is 2 in (5.1 cm) wide and 1.25 in (3.2 cm) long. The covered ring is about 3.75 in (9.5 cm) across.
Border: Top Rim
Work the border straight after Rnd 46, without fastening off.
Border gauge: Same as the body: 12 sts = 4 in (10.2 cm). The 2 border rounds add about 0.6 in (1.5 cm) of height.
Rnd 47: Ch 1, sc in each st around. Join. (42 sts)
Rnd 48: Ch 1, rev sc in each st around. Join and fasten off. (42 rev sc)
A tube doesn’t have corners, but you can think of the rim as two halves. The front half has 21 sts and the back half has 21 sts, so 21 + 21 = 42. The back half is centered on the line of joins, and the tab will be centered there too.
Border: Bottom Opening Edge
Turn the holder upside down. Join yarn in any remaining loop of the foundation chain, on the inside edge of the hole.
Bottom Rnd: Ch 1, rev sc in each foundation loop around. Join and fasten off. (24 rev sc)
This firms up the hole and matches the twisted edge at the top. Use a light hand so the hole stays 2.5 in (6.4 cm) across.
Why the math works: Both borders use exactly 1 stitch per existing stitch: 42 at the top and 24 at the bottom. Neither adds anything, so the rim stays 14 in (35.6 cm) around and the hole stays 8 in (20.3 cm) around. Adding stitches would make the edge ruffle, and skipping stitches would pull it in.
Assembly: Attach the Ring
- Find the line of joins at the back of the body.
- Set the tab inside the rim, centered on that line, so the 3 sts on each side of the tab’s center match the 3 rim sts on each side of the seam. The tab covers 6 of the rim’s 42 sts.
- Slide Tab Rows 2–4 down inside the rim so they overlap the wall by 0.75 in (1.9 cm). This leaves 0.5 in (1.3 cm) of tab showing between the rim and the ring.
- Using the tail, whipstitch the tab’s side edges and its last row to the inside of the wall. Then stitch across the tab just below Rnd 47 for strength.
- Weave in the ends between stitch layers inside the tube.
The top of the ring now sits 4.25 in (10.8 cm) above the rim, so the holder is 13.5 + 4.25 = 17.75 in (45.1 cm) long overall.
Final Blocking
- Lightly dampen the body with a spray bottle, or steam it gently if you used acrylic, without touching the iron to the yarn.
- Slide the body over a 4.5 in (11.4 cm) cylinder or a firmly rolled towel.
- Smooth the stitch columns so they run straight up and down, without spiraling.
- Press the base ring flat against a flat surface so the bottom corner stays crisp.
- Lay the hanging ring flat and pat it round.
- Let everything dry completely before you remove the form.
- Measure: 4.5 in (11.4 cm) across, 13.5 in (34.3 cm) tall, and 17.75 in (45.1 cm) overall.
Final Quality-Control Checklist
- Base Rnd 4 has 42 sts and lies flat.
- Every wall round from Rnd 5 to Rnd 47 has exactly 42 sts.
- The tube is 14 in (35.6 cm) around and the same width from top to bottom.
- The bottom hole is 2.5 in (6.4 cm) across with 24 rev sc.
- The top rim has 42 rev sc with no ruffling.
- The ring is fully covered, with no gaps.
- The tab is centered over the line of joins and sewn securely.
- All ends are woven in on the inside.
- A test bag pulls out smoothly through the bottom hole.
Troubleshooting
The base cups like a bowl: Your tension is too tight on the increase rounds. Redo Rnds 2–4 a little looser, or go up a hook size for the base only.
The base ruffles: Check that you have 30, 36, and 42 sts after Rnds 2–4. Too many increases cause waves.
The tube flares or narrows: Count each round. Missing a stitch at the join is the usual cause, so mark the first stitch of every round.
The seam spirals: Always work the first sc into the same stitch you joined into, not the next stitch over.
The ring shows through: Pack the stitches tighter, or add 1–2 sc in Rnd 1 and work them into Rnd 2 as well.
The holder sags when full: Use a firmer yarn or a smaller hook. Don’t overfill it, because about 20–25 bags is plenty.
Bags pull out in a clump: Tighten the bottom rev sc round slightly to make the hole smaller.
Care
If you used cotton or acrylic, wash the holder by hand or on a gentle cycle in cool water. Reshape it while damp and lay it flat to dry, without wringing or hanging it by the ring while it’s wet.
Final Notes
Everything starts from the gauge of 12 sc = 4 in (10.2 cm):
- A 24-st chain loop makes a 2.5 in (6.4 cm) hole.
- Rnd 4 reaches 42 sts, which makes a 4.5 in (11.4 cm) base.
- 42 wall rounds give 12.9 in (32.8 cm) of height.
- 2 border rounds bring the body to 13.5 in (34.3 cm).
- The sewn-on ring brings it to 17.75 in (45.1 cm) overall.
If your numbers match at each checkpoint, the finished holder will too.
Happy crocheting!