

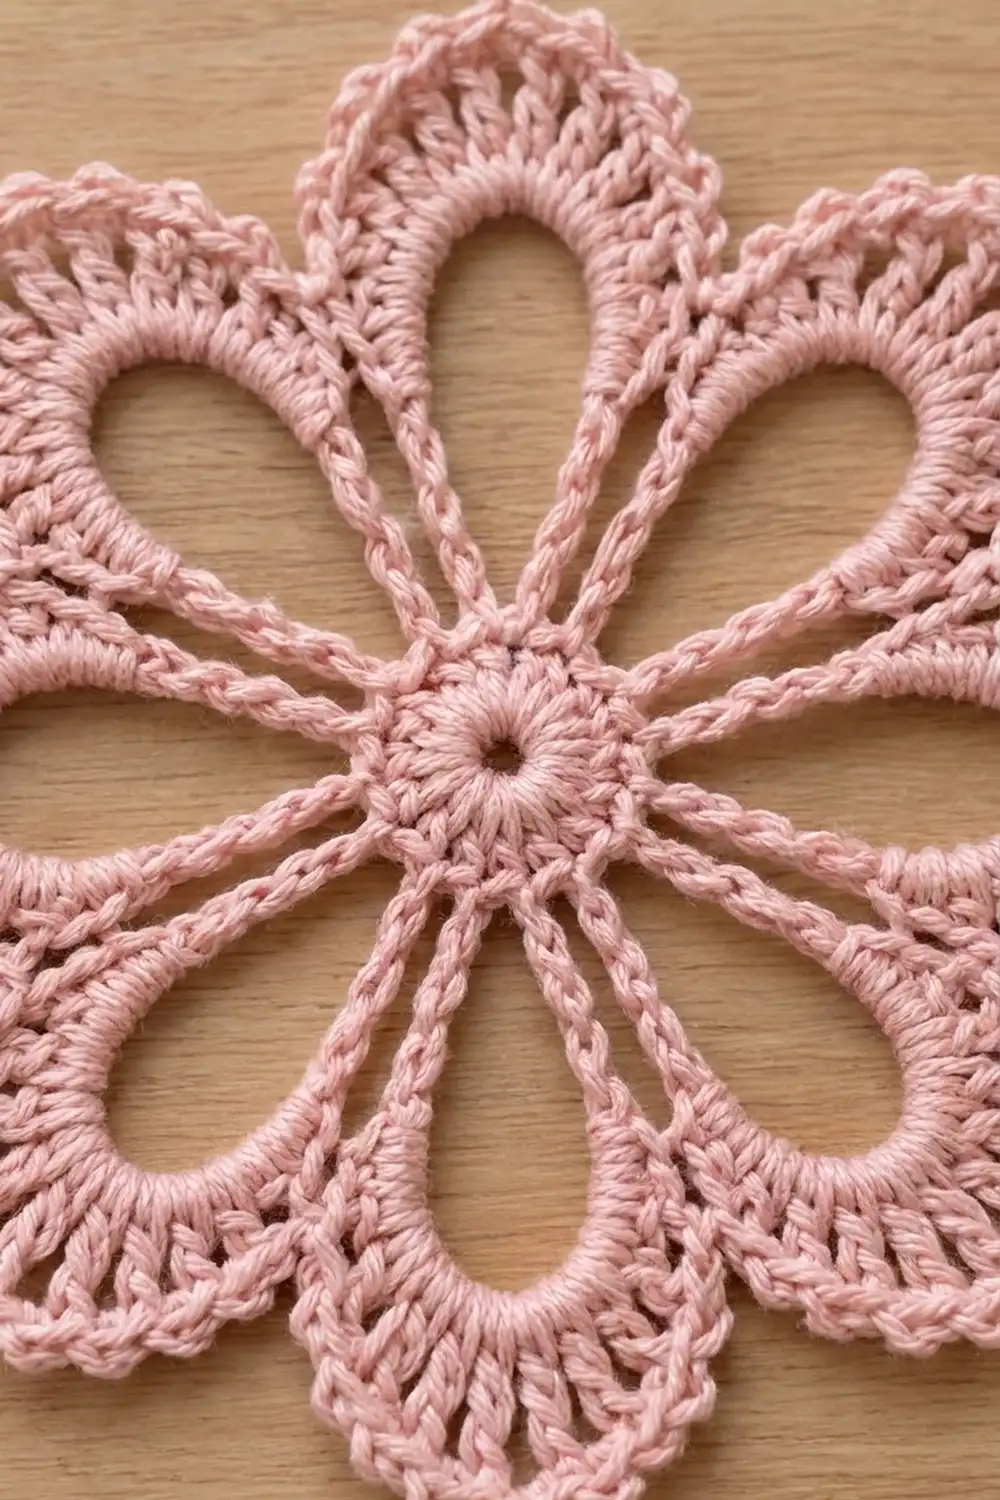
The Rosy Petal Lace Flower is an airy eight-petal motif. Each petal is a large open teardrop framed by chain arches and finished with a soft fan of double crochet and a row of tiny picots. In a single dusty rose shade it reads as delicate, vintage-inspired lace, but it’s quick enough to finish in one sitting.
This pattern uses US crochet terms throughout. The finished motif measures 6 in (15.2 cm) across from petal tip to opposite petal tip after blocking.
Construction is simple and fully in the round. You make a small solid center disc, chain eight long arches for the petal frames, wrap each arch with stitches that build into a rounded fan, and finish with a picot edging. The motif is one single piece, with no joining and no sewing.
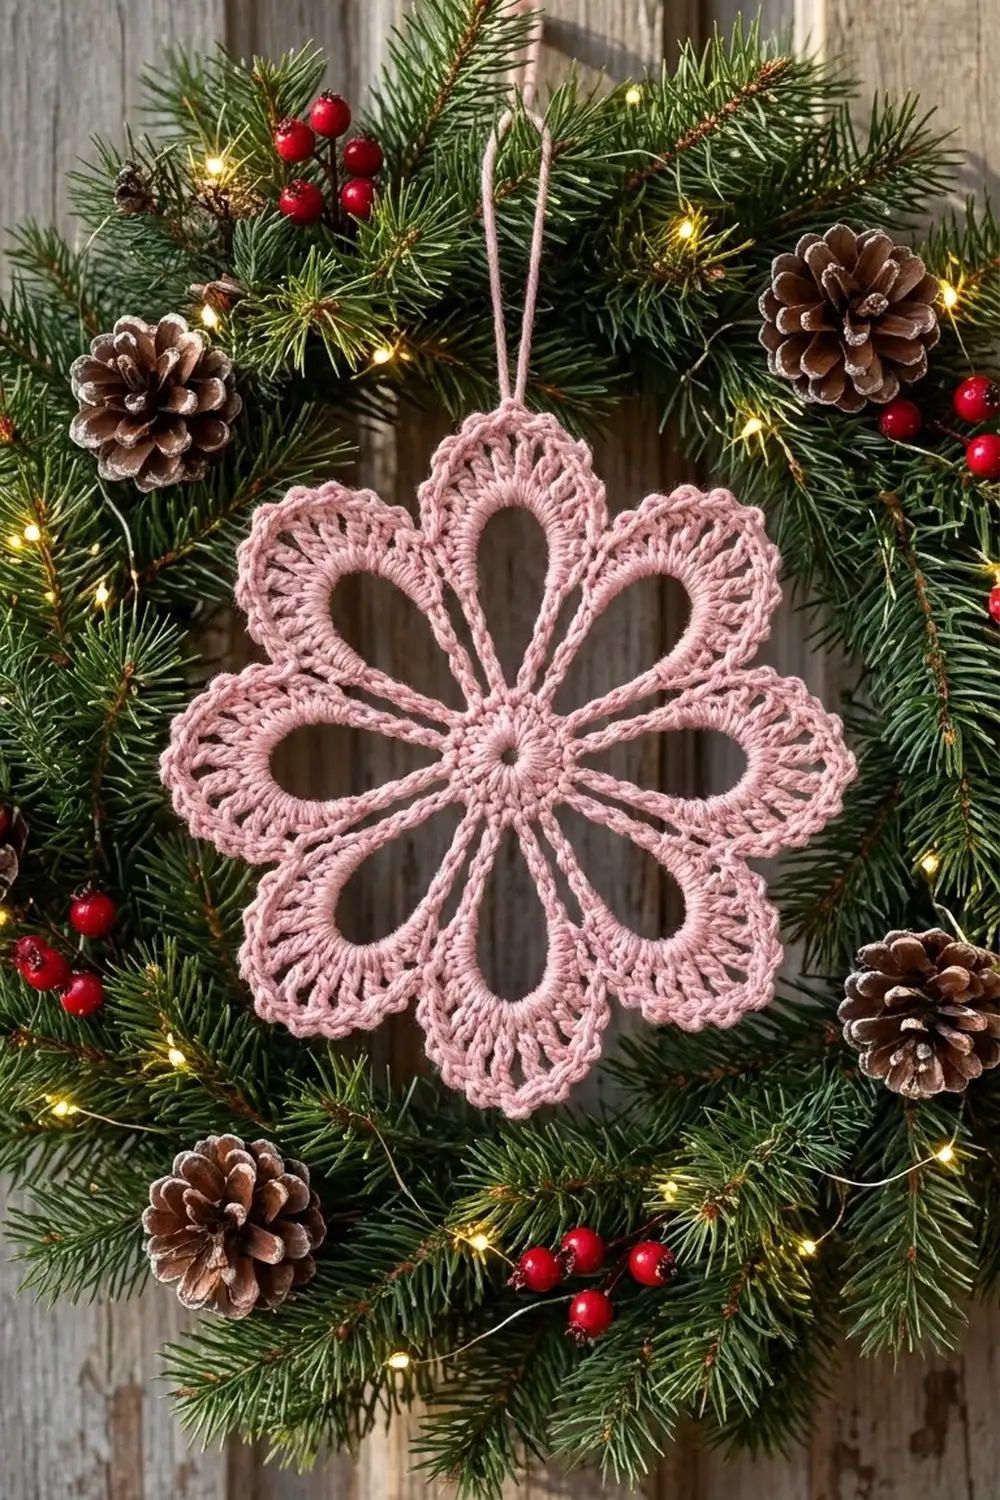
It works on its own as an ornament, an appliqué, a coaster-style doily or a gift-tag topper.
Finished Size and Construction
- Finished size: 6 in (15.2 cm) diameter, tip to tip
- Skill level: Easy / advanced beginner
- Terminology: US crochet terms
- Yarn weight: Sport weight (2), mercerized cotton
- Hook: 2.75 mm (US C-2)
- Number of pieces: 1
- Layout: Single round motif, 8 petals
- Center disc (Rnds 1–2): 1.5 in (3.8 cm) diameter
- Size before border (after Rnd 4): 5.5 in (14.0 cm)
- Border depth: 0.25 in (0.6 cm) on each side, adding 0.5 in (1.3 cm) to the total diameter
Materials
Yarn: Use a smooth, mercerized sport-weight cotton or cotton blend, about 125 m per 50 g. Mercerized cotton gives the crisp stitch definition and slight sheen that makes the chain arches and picots stand out. Avoid fuzzy or very stretchy yarns, because the open petal windows will lose their shape.
- Color A – Dusty Rose / Pastel Pink: 15 g (about 38 m / 42 yd)
This quantity includes a margin of about 25% for your gauge swatch, weaving in ends and tension differences.
Tools:
- 2.75 mm (US C-2) crochet hook
- Tapestry needle
- Scissors
- Stitch marker
- Rustproof pins and a foam blocking mat
- Spray bottle or steam iron
- Ruler or flexible tape measure
Abbreviations (US Terms)
- ch – chain
- sl st – slip stitch
- sc – single crochet
- hdc – half double crochet
- dc – double crochet
- sk – skip
- st(s) – stitch(es)
- sp – space
- rnd – round
- MR – magic ring
Special stitch – Picot: Ch 3, then sl st into the front loop and left vertical leg of the sc just made. This makes one small rounded bump.
Gauge and Checkpoints
The whole motif is your gauge swatch. Make one, measure it at each checkpoint, and adjust before you make more.
Gauge: Rnds 1–2 = 1.5 in (3.8 cm) diameter with a 2.75 mm hook.
Checkpoints:
- After Rnd 1: 0.75 in (1.9 cm) diameter
- After Rnd 2: 1.5 in (3.8 cm) diameter, lying flat with no ruffling
- After Rnd 3: each ch-18 arch, pulled gently straight, is about 2 in (5.1 cm) from the center disc to the arch tip
- After Rnd 4: 5.5 in (14.0 cm) tip to tip
- After Rnd 5 and blocking: 6 in (15.2 cm) tip to tip
If your motif is too big: go down to a 2.5 mm (US B-1/C-2) hook, or chain more tightly in Rnd 3. Loose chain arches are the most common reason the motif ends up oversized.
If your motif is too small: go up to a 3 mm hook. If only the petals look cramped, loosen your chain tension in Rnd 3 and keep the hook size.
Don’t change the stitch counts to fix gauge. The fan shape depends on the 26-stitch petal count.
Pattern
Round 1 – Center
Make a magic ring.
Rnd 1: Ch 3 (counts as first dc), work 15 dc into the ring. Pull the ring tight, leaving a tiny center hole about the size of a pencil tip. Sl st to the top of the beginning ch-3 to join. (16 dc)
Checkpoint: 0.75 in (1.9 cm) diameter.
Round 2 – Center Disc
Rnd 2: Ch 3 (counts as first dc), dc in the same st, 2 dc in each remaining st around. Sl st to the top of the beginning ch-3. (32 dc)
This is a growth round: every one of the 16 stitches gets 2 dc, so the round’s own complete count is 32 dc.
Checkpoint: 1.5 in (3.8 cm) diameter. The disc should lie perfectly flat. If it cups, your dc are too tight. If it ripples, they are too loose.
Round 3 – Petal Frames
Rnd 3: Ch 1, sc in the same st as the join (this is anchor sc #1). Ch 18, sk 3 sts, sc in the next st (next anchor sc). Repeat from * 6 more times. After the 8th anchor sc, ch 18, sk the last 3 sts, and sl st to the first sc. (8 anchor sc and 8 ch-18 arches)
Check the math: each repeat uses 1 anchor stitch + 3 skipped stitches = 4 stitches, and 8 repeats × 4 = 32, which matches Rnd 2 exactly.
Place a stitch marker in anchor sc #1.
Each ch-18 arch leaves the disc and comes back 4 stitches later. That narrow base is what gives every petal its teardrop shape: pinched at the center and open at the tip.
Checkpoint: the arches will be floppy. Each should reach about 2 in (5.1 cm) from the disc when gently straightened. Make sure none of the chains are twisted before you continue.
Round 4 – Petal Fans
You now wrap each arch with stitches, working into the ch-18 space rather than into individual chains. This hides the chain and builds the solid petal outline.
Rnd 4: Sl st into the first ch-18 space. Work the petal sequence into this space:
Petal sequence: 4 sc, 3 hdc, 12 dc, 3 hdc, 4 sc. (26 sts per petal)
Then sl st into the next anchor sc.
Repeat (petal sequence into the next ch-18 space, then sl st into the next anchor sc) 7 more times. The final sl st lands in the marked anchor sc #1. (8 petals × 26 sts = 208 sts, plus 8 sl sts in the anchor sc, which aren’t counted as working stitches)
As you work, push the stitches together along the arch. The 4 sc at each end stay short and flat near the center. The hdc step the height up, and the 12 dc spread into a rounded fan at the petal tip. Because 26 stitches crowd onto an 18-chain arch, the arch curves outward into a full teardrop and the center stays open as a large petal window.
Neighboring petals touch along their lower sc sections. This is correct.
Checkpoint: 5.5 in (14.0 cm) tip to tip. Each petal window should be clearly open and roughly 1 in (2.5 cm) wide at its widest point.
Round 5 – Picot Edging (Border)
See the Border section below.
Border
The border is one round of single crochet with picots across each petal tip. It creates the bumpy, scalloped outline.
Border gauge: the edging adds 0.25 in (0.6 cm) beyond the petal edge on all sides, bringing the motif from 5.5 in (14.0 cm) to 6 in (15.2 cm).
Rnd 5: Do not turn. Ch 1. Starting in the first sc of Petal 1, work across each petal as follows, skipping the sl sts between petals:
- 1 sc in each of the next 4 sc (4 sc)
- 1 sc in each of the next 3 hdc (3 sc)
- Sc in the next dc, picot, sc in the next dc; repeat from * 5 more times across the 12 dc (12 sc + 6 picots)
- 1 sc in each of the next 3 hdc (3 sc)
- 1 sc in each of the next 4 sc (4 sc)
Skip the sl st, then move straight to the first sc of the next petal and repeat. After Petal 8, sl st to the first sc of the round.
Per petal: 26 sc + 6 picots.
Round total: 208 sc + 48 picots.
This is a trim round, so its count is (208 sc worked 1-per-existing-stitch) + (48 picots added). Nothing is increased or decreased.
Why the math works: Rnd 4 gives 26 working stitches per petal, and Rnd 5 puts exactly 1 sc into each, so the petal keeps its shape without cupping or flaring. The 6 picots fall only over the 12-dc fan, one per pair of dc, so the bumps are evenly spaced around the rounded tip. The sc-only sections near the center stay smooth where petals touch. Skipping the sl st between petals keeps the valley between neighbors crisp instead of bulky.
Fasten off, leaving an 8 in (20.3 cm) tail. Weave in all ends along the back of the sc stitches, working through at least 1 in (2.5 cm) of stitches in two directions so the ends don’t pop out after washing.
Final Blocking
Blocking is what turns a slightly ruffled motif into crisp lace. Don’t skip it.
- Wet or mist. Soak the motif in cool water for 10 minutes and gently press out the water in a towel. Don’t wring it. Or pin it dry first and mist heavily.
- Pin the center. Lay the motif right side up on the blocking mat. Put one pin through the center hole to anchor it.
- Pin the petal tips. Measure 3 in (7.6 cm) out from the center pin and pin the middle picot of each petal at that distance. Pin opposite petals in pairs (1 and 5, 3 and 7, 2 and 6, 4 and 8) so the flower stays symmetrical.
- Open the windows. Use a pin or your fingertip to gently round out each petal window into a smooth teardrop. If needed, pin the inner edge of the arch so the opening stays about 1 in (2.5 cm) wide.
- Shape the picots. Ease each picot outward so the edge forms an even row of bumps.
- Check the size. Measure tip to tip across three different petal pairs. All should read 6 in (15.2 cm).
- Dry fully. Leave the motif pinned until completely dry, usually 6 to 12 hours. For extra crispness, spray lightly with fabric starch before it dries.
Final Quality-Control Checklist
- Center hole is small and closed tight, with the magic ring tail secured
- Center disc lies flat at 1.5 in (3.8 cm)
- Exactly 8 petals, all the same size
- Each petal has 26 sc + 6 picots in Rnd 5
- Petal windows are open, even teardrops
- Picots appear only across the rounded tips, not along the lower sides
- Neighboring petals touch evenly at their bases
- Finished diameter is 6 in (15.2 cm) across every petal pair
- All ends are woven in invisibly, with no tails visible on the front
Troubleshooting
Petals are different sizes. Your chain tension in Rnd 3 changed. Undo and rework that round, counting each ch-18 carefully and keeping the same rhythm.
The center disc cups like a bowl. The Rnd 2 dc are too tight. Rework with a slightly looser tension, or go up 0.25 mm for Rnds 1–2 only.
The petal fans ruffle. The arch is too short for your stitches. Check that you chained exactly 18, and loosen those chains slightly.
Petal windows close up. Your Rnd 4 stitches are too loose or too tall. Push the stitches tightly along the arch and block with the windows pinned open.
Picots lean to one side. Make sure you sl st into the front loop and left leg of the sc, not just the front loop.
Motif finishes at 6.5 in (16.5 cm) or more. Go down one hook size and remake it. Blocking can’t remove more than about 0.25 in (0.6 cm).
Twisted arch. If a chain twisted before you anchored it, the petal will bulge. Undo back to that arch and rework it.
Care
Hand wash in cool water with mild soap, press out the water in a towel, and lay flat or pin to dry. Re-starch lightly if the motif hangs as an ornament and you want it crisp.
Final Notes
Here’s the full measurement chain: Rnd 1 gives 16 dc at 0.75 in (1.9 cm). Rnd 2 doubles that to 32 dc at 1.5 in (3.8 cm). Rnd 3 divides those 32 stitches into 8 groups of 4, for 8 anchor sc and 8 ch-18 arches. Rnd 4 wraps 26 stitches around each arch, for 208 stitches at 5.5 in (14.0 cm). Rnd 5 adds a picot edging of 208 sc + 48 picots, bringing the blocked motif to 6 in (15.2 cm).
If your center disc matches the gauge and your arches are even, the rest of the motif follows on its own. Make one, block it carefully, and enjoy how light and lacy it looks.
Happy crocheting!