

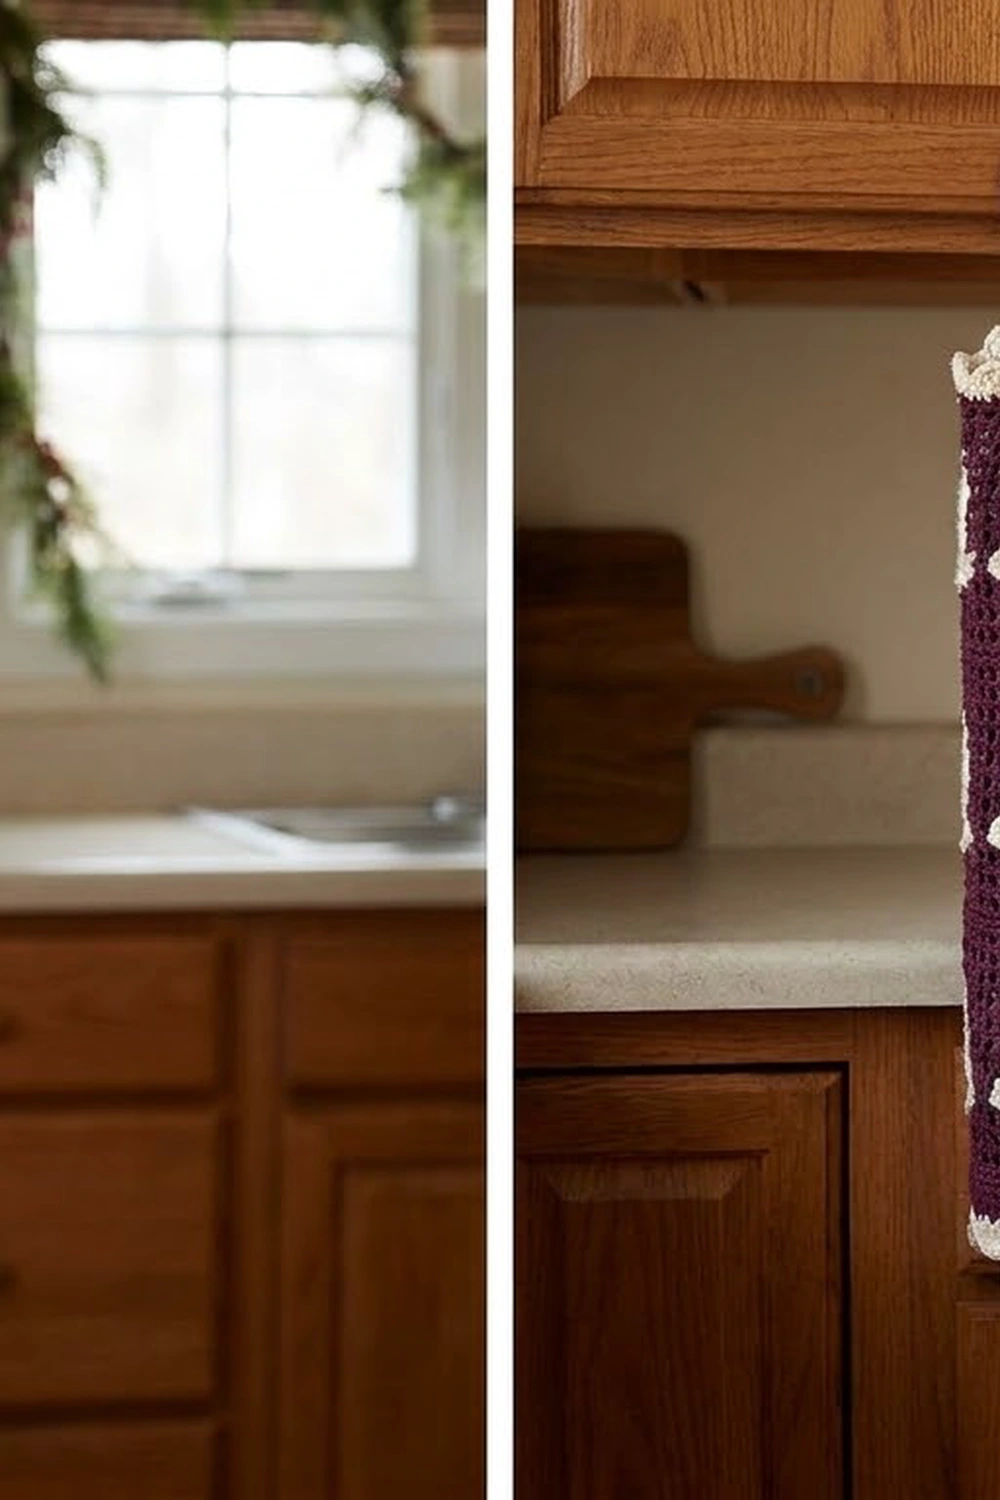
This holiday bag holder turns a kitchen chore into a bit of seasonal decor. It is a long plum mesh tube with three tiers of cream bells. Bags go in at the top and pull out through the narrower bottom. Cream scallops trim both openings, and a sturdy plum ring hangs it from a cabinet knob, hook or door handle.
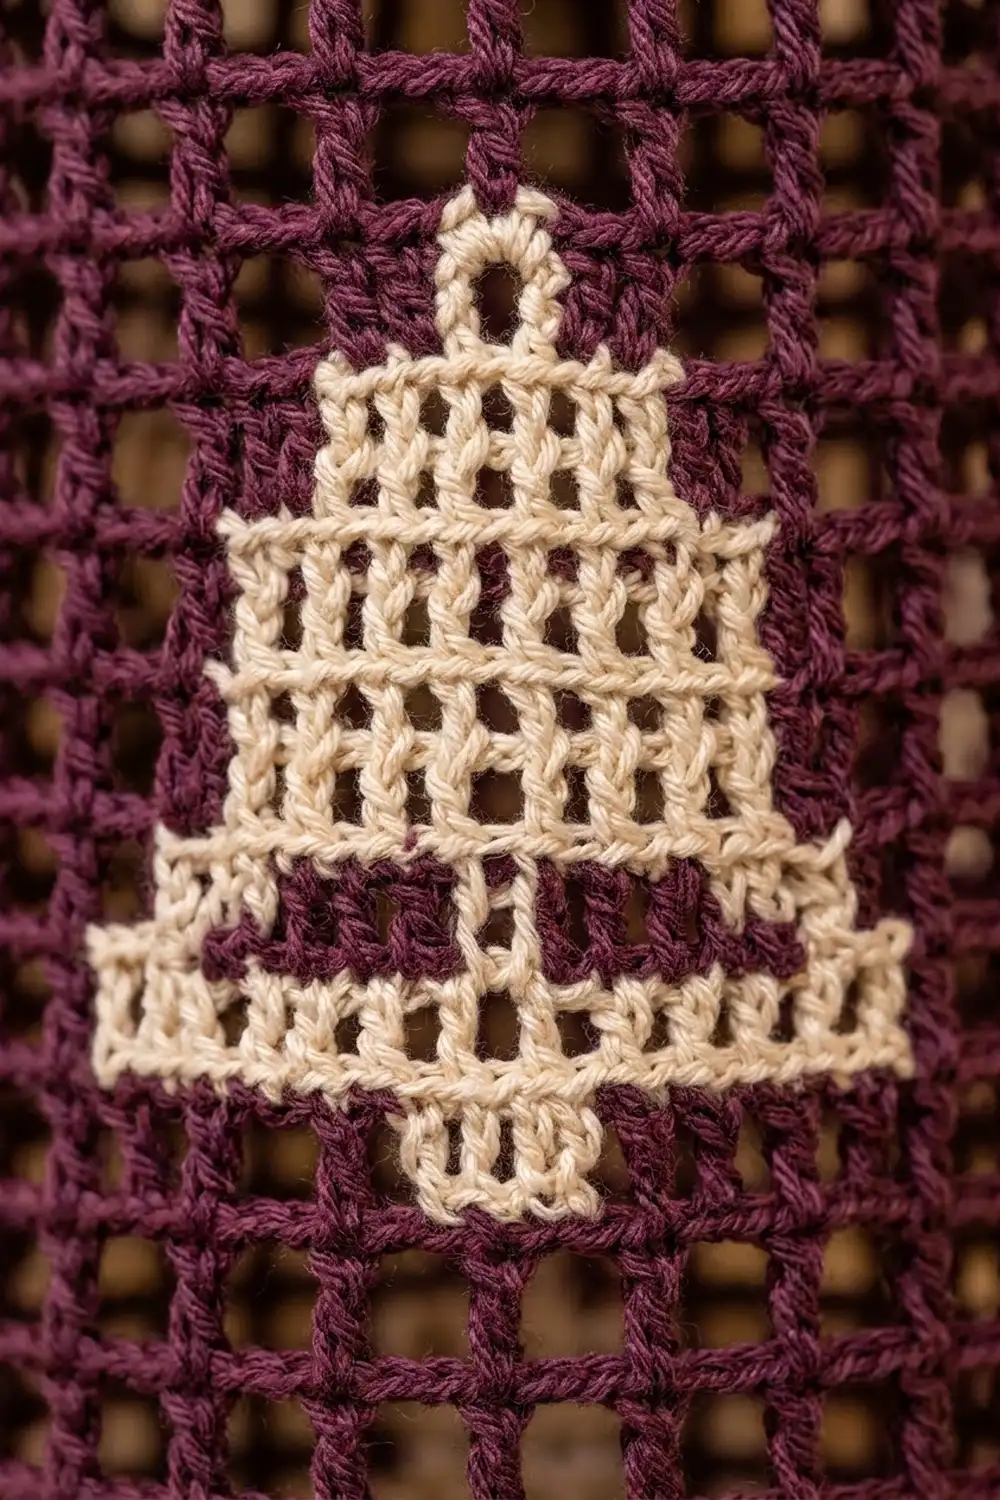
The palette is deep plum and soft cream. The open filet mesh lets you see how full the holder is, and the solid cream bells stand out clearly against the grid. The look is cozy and traditional, a bit like vintage filet lace with a festive touch.
The pattern uses US crochet terms. The finished holder measures about 6.4 in (16.3 cm) wide when flat and about 18 in (45.7 cm) tall. The hanging tab and ring add about 3 in (7.6 cm), so the overall length is about 21 in (53.3 cm).
You work the holder in one piece from the bottom up. You start with a small single crochet round, increase quickly over two solid rounds, then work 35 joined-and-turned filet rounds with intarsia bells. After that come the cream trims at the top and bottom, and finally the tab and ring at the top.
Finished Size and Construction
- Finished size: 6.4 in (16.3 cm) wide flat × 18 in (45.7 cm) tall; about 21 in (53.3 cm) with the ring
- Skill level: Intermediate (filet mesh, intarsia with bobbins)
- Terminology: US
- Yarn weight: DK (#3) cotton or cotton blend
- Hook: 3.5 mm (E-4)
- Number of pieces: 1 (body, trims and ring are all worked as one piece)
- Layout: Seamless tube, 32 filet squares around
- Piece size: circumference 12.8 in (32.5 cm); bottom opening 3.2 in (8.1 cm) flat
- Size before border: 6.4 × 16.7 in (16.3 × 42.4 cm) after Round 38
- Border depth: about 0.75 in (1.9 cm) at each opening
Materials
Pick a smooth, mercerized or combed DK cotton. Cotton keeps the mesh crisp, holds its shape under the weight of the bags, and makes the bells clear. Avoid fuzzy or very stretchy acrylics, because they blur the filet blocks and sag over time.
- Color A, plum: 100 g / 230 m (251 yd)
- Color B, cream: 35 g / 80 m (87 yd)
These quantities include a margin of about 15% for your gauge swatch and small differences in tension.
Tools:
- 3.5 mm (E-4) crochet hook
- 4 small yarn bobbins (or butterflies) for the cream
- Stitch marker
- Tapestry needle
- Scissors
- Measuring tape
- Blocking mat, rust-proof pins, spray bottle
- Optional: a rolled towel or a 4 in (10.2 cm) cardboard tube for blocking
Abbreviations (US Terms)
- ch – chain
- sl st – slip stitch
- sc – single crochet
- dc – double crochet
- sk – skip
- st(s) – stitch(es)
- sp – space
- Rnd – round
- RS – right side
Special stitches and terms:
- Open square (O): dc in next dc, ch 1, sk next st or ch-1 sp. Each square uses 2 sts.
- Filled square (C): in cream, dc in next dc, dc in next ch-1 sp or dc. Each square uses 2 sts.
- Beginning open square: ch 4 (counts as dc and ch-1), sk next st.
- Scallop: 5 dc in the same st.
- Joined-and-turned rounds: at the end of each round, sl st to the top of the beginning chain, then turn. This lets the cream bobbins work back and forth like flat intarsia.
Gauge and Checkpoints
Gauge in filet mesh: 10 squares and 9 rounds = 4 in (10.2 cm). Each square is 0.4 in (1.0 cm) wide and about 0.44 in (1.1 cm) tall.
Gauge in sc: 20 sc = 4 in (10.2 cm). This matches the mesh, where 20 sts also equal 4 in.
Test swatch first. Ch 28. In Row 1, dc in the 6th ch from the hook, then ch 1, sk next ch, dc in next ch across, for 12 squares. In Row 2, ch 4, dc in next dc, ch 1, sk sp across, ending with the last dc in the turning chain. Work 10 rows, and in Rows 4–7 fill 4 center squares with cream to practice. Measure the central 10 squares × 9 rows.
Checkpoints:
- After Rnd 1: 32 sc. Circumference 6.4 in (16.3 cm), 3.2 in (8.1 cm) flat.
- After Rnd 3: 64 dc. Circumference 12.8 in (32.5 cm), 6.4 in (16.3 cm) flat.
- After Rnd 13 (first bell tier): about 5.6 in (14.2 cm) from the foundation.
- After Rnd 38: about 16.7 in (42.4 cm) from the foundation.
- After the trims: about 18 in (45.7 cm).
If your gauge is off: If the piece comes out too big, go down one hook size (3.25 mm). If it is too small, go up one size (3.75 mm). Don’t change the stitch counts, because the 32-square repeat must stay intact for the four bells to fit.
Pattern: Base and Body
Base (Plum)
Foundation: With A, ch 32. Join with a sl st to the first ch, taking care not to twist the chain. Place a marker at the join; this is the center back.
Rnd 1: Ch 1. Working into the back bump of each ch, sc in each ch around. Join with a sl st to the first sc and turn. (32 sc) Leave the front loops of the foundation free for the bottom trim.
Rnd 2 (growth): Ch 3 (counts as dc), dc in the same st, dc in next st. 2 dc in next st, dc in next st; repeat from * 15 times. Join and turn. (48 dc)
Rnd 3 (growth): Ch 3, dc in next st, 2 dc in next st. Dc in next 2 sts, 2 dc in next st; repeat from * 15 times. Join and turn. (64 dc)
These two quick growth rounds make the rounded, tapered bottom seen on the finished holder.
Body Mesh
Rnd 4 (conversion): Beginning open square. Dc in next st, ch 1, sk next st; repeat from * around. Join with a sl st to the 3rd ch of the beginning ch-4 and turn. (32 dc + 32 ch-1 = 64 sts; 32 open squares)
Rnd 5: Beginning open square, then O in each square around. Join and turn. (32 squares, 64 sts)
Every remaining body round has 32 squares (64 sts). Square 1 of every round is the beginning open square, which keeps the round join in open mesh and away from the bells.
Bell Chart (7 squares wide)
Each 8-square repeat is 1 open square plus 7 bell columns. Read the chart from bottom to top. The bell is symmetrical, so the direction you work makes no difference.
| Bell row | Columns 1–7 | Cream squares |
|---|---|---|
| 8 (knob) | O O O C O O O | 1 |
| 7 | O O C C C O O | 3 |
| 6 | O O C C C O O | 3 |
| 5 | O C C C C C O | 5 |
| 4 | O C C C C C O | 5 |
| 3 | O C C C C C O | 5 |
| 2 (rim) | C C C C C C C | 7 |
| 1 (clapper) | O O O C O O O | 1 |
Each bell is 2.8 in (7.1 cm) wide and about 3.5 in (8.9 cm) tall.
Bobbin setup: Wind 4 cream bobbins, one per bell. Plum stays on a single strand. Carry the plum inside every cream filled square by working the cream dc over it, so it travels hidden through the block. Switch colors on the last yarn over of the stitch before the new color.
When a cream section in the next round starts 1–3 squares away from where its bobbin is resting, enclose the cream inside the intervening plum dc. Keep any short cream float on the inside of the tube.
Tier 1
Rnd 6 (bell row 1): [O, 3 O, C, 3 O]; repeat from * 4 times, with the first O being the beginning open square. (4 cream squares; 64 sts)
Rnd 7 (row 2): [O, 7 C] 4 times. (28 cream squares; 64 sts)
Rnds 8–10 (rows 3–5): [O, O, 5 C, O] 4 times. (20 cream squares per round)
Rnds 11–12 (rows 6–7): [O, 2 O, 3 C, 2 O] 4 times. (12 cream squares per round)
Rnd 13 (row 8): Repeat Rnd 6. Leave the bobbins hanging on the inside. (4 cream squares)
Join and turn at the end of every round. Checkpoint: the body should measure about 5.6 in (14.2 cm) from the foundation.
Spacers and Tiers 2 and 3
Rnds 14–16: O around, carrying each cream bobbin up the inside along its bell column. (32 open squares)
Rnds 17–24: Repeat Rnds 6–13 for Tier 2.
Rnds 25–27: O around.
Rnds 28–35: Repeat Rnds 6–13 for Tier 3. Cut the cream bobbins, leaving 6 in (15.2 cm) tails.
Rnds 36–38: O around. Fasten off A after Rnd 38. (32 squares; 32 dc + 32 ch-1 sps)
Checkpoint: the body should measure 6.4 × 16.7 in (16.3 × 42.4 cm) flat.
Border: Cream Scalloped Trims
Border gauge: 20 sc = 4 in (10.2 cm). A 4-st scallop repeat is about 0.8 in (2.0 cm) wide.
Top Trim
Rnd 39 (trim round): With RS facing, join B at the center back. Ch 1, then sc in each dc and each ch-1 sp around. Join, but do not turn. (32 sc worked in dc + 32 sc worked in ch-1 sps = 64 sc; 32 per flattened side)
Rnd 40: Sl st in the first sc. Sk next sc, 5 dc in next sc, sk next sc, sl st in next sc; repeat from * 14 more times (15 total). Then sk next sc, 5 dc in next sc, sk last sc, and join to the first sl st. (16 scallops; 8 per side) Fasten off.
Bottom Trim
Rnd A (trim round): Turn the holder upside down. Join B in the free foundation loop at the marker. Ch 1, then sc in each free loop around and join. (32 sc worked 1-per-loop + 0 added = 32 sc; 16 per side)
Rnd B: Work as for Rnd 40, but repeat the bracketed section 7 times before the final scallop. (8 scallops; 4 per side) Fasten off.
Why the math works: Each scallop uses exactly 4 sc. 64 ÷ 4 = 16 and 32 ÷ 4 = 8, so both trims close evenly with no leftover stitches. Rnd 39 places one sc per existing stitch (64 sts), which matches the mesh gauge of 20 sts per 4 in. The trim therefore lies flat at 12.8 in (32.5 cm) without ruffling or pulling in.
Hanging Tab and Ring
Tab Row 1: At the center back, join A in the 2nd dc of the top scallop that sits over the marker. Ch 1, then sc in the same dc and in the next 2 dc. (3 sc)
Tab Rows 2–8: Ch 1, turn, sc in each sc across. (3 sc) The tab is about 1 in (2.5 cm) tall.
Ring base: Ch 16, then sl st in the first sc of Row 8 to make a chain ring about 1.1 in (2.8 cm) across.
Ring Rnd 1: Ch 1. Working into the center of the ring, over the chain, work 28 sc. Join. (28 sc)
Ring Rnd 2 (growth): Ch 1. Sc in next 6 sc, 2 sc in next sc; repeat from * 4 times. Join. (32 sc)
The ring measures about 2 in (5.1 cm) across. Fasten off, then stitch the lower edge of the ring to the top of the tab to steady it.
Final Blocking
- Weave in all ends inside the tube, running cream tails back through the cream blocks.
- Spray the holder until it is damp, or soak it in cool water and roll it in a towel to remove the excess.
- Slide a rolled towel or a cardboard tube inside.
- Ease the mesh into straight vertical and horizontal lines, and square up each bell’s rim and sides.
- Pin it to 6.4 in (16.3 cm) flat width and 18 in (45.7 cm) length.
- Open each scallop with your fingertips and pin the points if you like.
- Flatten the ring and pin it round.
- Let it dry completely, which takes 12–24 hours.
Final Quality-Control Checklist
- [ ] Every body round has 32 squares (64 sts).
- [ ] There are 12 bells in total: 3 tiers of 4, each tier lined up in the same columns.
- [ ] No cream floats show on the outside.
- [ ] Top trim has 16 scallops; bottom trim has 8.
- [ ] Flat width is 6.4 in (16.3 cm).
- [ ] Bottom opening is about 3.2 in (8.1 cm) flat.
- [ ] Length is about 18 in (45.7 cm), or 21 in (53.3 cm) with the ring.
- [ ] The tab is centered over the round joins, and the ring is firmly secured.
Troubleshooting
- Bells lean or drift sideways: Check that the beginning open square starts every round and that you are turning after each join.
- Plum shows through the cream blocks: Pull the carried strand slightly snug and use a tighter cream dc.
- Mesh squares look tall and narrow: Pull the dc loop up less, or try a smaller hook.
- Top trim ruffles: Your sc is looser than the mesh; rework Rnd 39 with a hook one size smaller.
- Bottom opening is too loose for bags: Rework Rnd B with a 3.25 mm hook.
- Ring stretches out of shape: Add a third round of sl st around the outer edge.
- Yarn tangles at the bobbins: Untwist the bobbins after every turned round.
Care
Hand wash in cool water with mild soap, then reshape and dry flat over a rolled towel. Do not tumble dry, because heat can shrink the cotton and distort the bells.
Final Notes
Everything in this pattern depends on the gauge: 10 squares per 4 in (10.2 cm), which matches 20 sts per 4 in. That gives 32 squares, or 12.8 in (32.5 cm) around and 6.4 in (16.3 cm) flat. Thirty-five filet rounds plus the base reach 16.7 in (42.4 cm). The 0.75 in (1.9 cm) scalloped trims bring the length to 18 in (45.7 cm), and the tab and ring bring it to 21 in (53.3 cm). As long as you meet the gauge and check the counts, the bells line up and the holder hangs neat and straight.
Happy crocheting!