

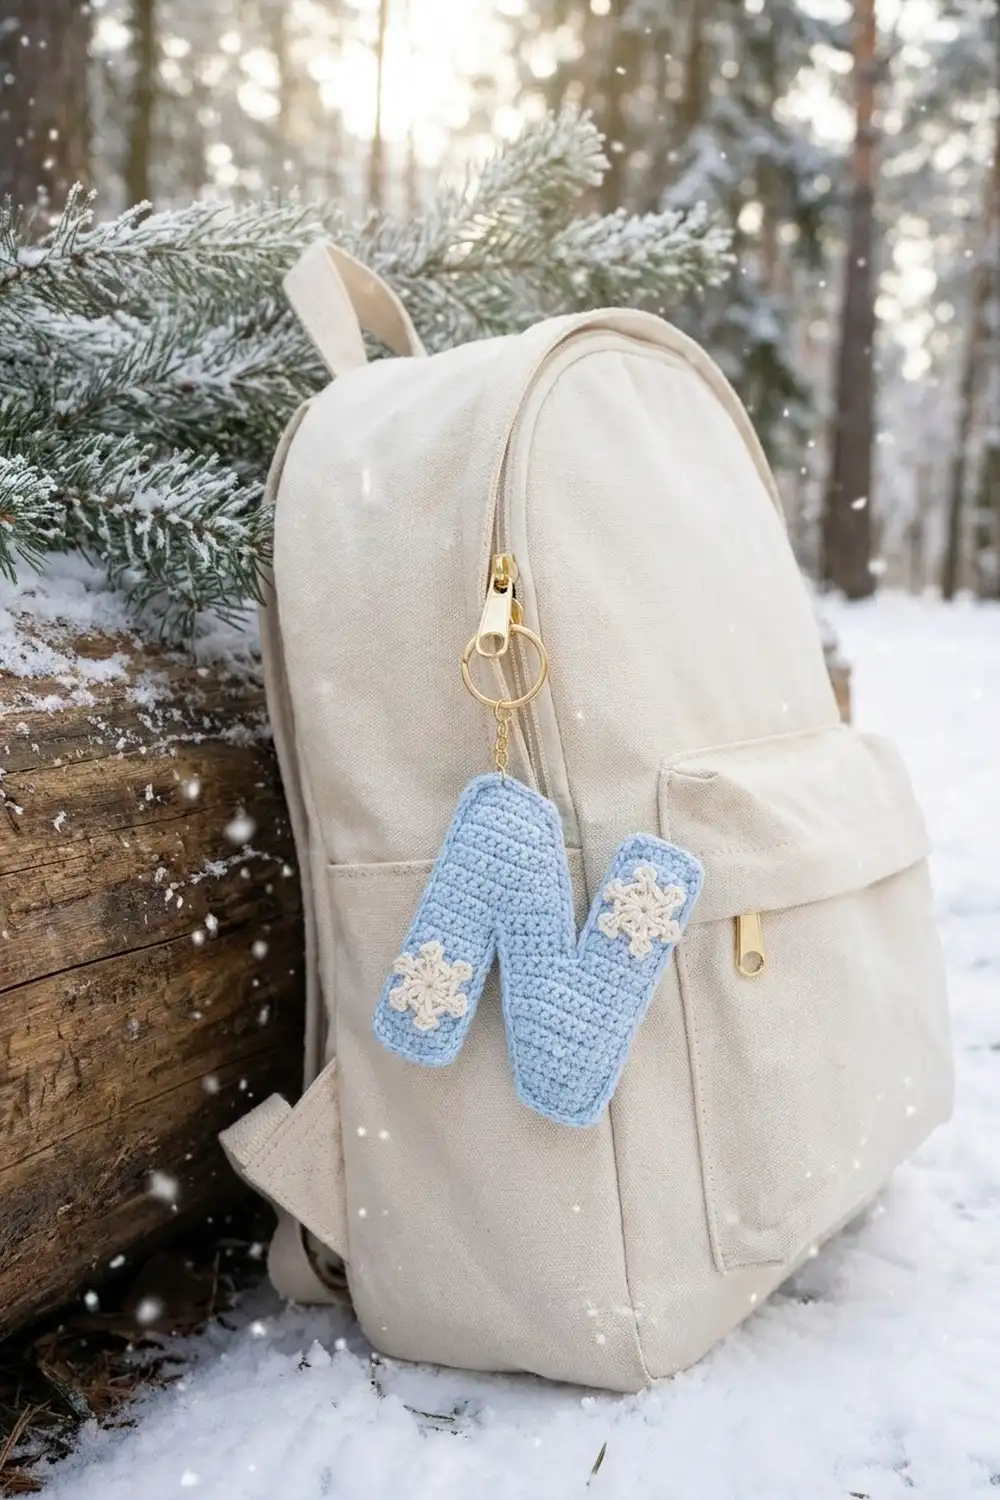
This little letter N is a cozy winter keychain. It’s worked in soft powder blue with a tiny raised windowpane grid, and a small cluster of cream snowflakes sits at its lower left corner. A gold split ring at the top-left corner lets it hang from a bag zipper, a set of keys, or a gift as a personalized tag.
The look is clean and wintry: one main color for the letter, one cream accent for the snowflakes, and a smooth single crochet edge that frames the letter. The grid comes from two simple techniques. Front-loop-only rows make the horizontal lines, and a surface slip stitch makes the vertical lines.
This pattern uses US crochet terms. The finished keychain is 3.7 in (9.4 cm) wide and 4.5 in (11.4 cm) tall, not counting the hardware.
Construction overview: You work the letter flat in rows, in four connected sections: the left leg, the bottom right block, the right leg, and the diagonal. The diagonal steps one stitch to the left every 4 rows until it merges with the left leg at the top. Next you add the vertical grid lines with surface slip stitch, then work a two-round border around the whole outline. Last, you crochet two snowflakes and sew them on.
Finished Size and Construction
- Finished size: 3.7 in × 4.5 in (9.4 cm × 11.4 cm)
- Skill level: Intermediate (shaping by sections, working into row ends)
- Terminology: US
- Yarn weight: DK (#3) for the letter; sport (#2) cotton for the snowflakes
- Hook: 3.5 mm for the letter; 2.25 mm for the snowflakes
- Number of pieces: 1 letter piece + 2 snowflake appliqués
- Layout: single letter; snowflakes stacked at the lower left
- Letter grid: 16 stitches wide × 20 rows tall
- Size before border: 3.2 in × 4 in (8.1 cm × 10.2 cm)
- Border depth: 0.25 in (0.6 cm) on every edge
Materials
Choose a smooth, tightly plied DK yarn in light blue so the grid lines stand out clearly. Acrylic or a cotton blend both work. Avoid fuzzy or very splitty yarns, which blur the ridges. Use a mercerized sport cotton for the snowflakes so the picots stay crisp.
- Light blue (DK): 12 g / 30 m
- Cream (sport cotton): 4 g / 16 m
These quantities include a margin for gauge swatching and weaving in ends.
Tools:
– 3.5 mm and 2.25 mm crochet hooks
– Tapestry needle
– 1 in (2.5 cm) gold split ring
– 8 mm gold jump ring and 2 pairs of flat-nose pliers
– Rust-proof pins and a blocking mat
– Small scissors
– 2 stitch markers
Abbreviations (US Terms)
- ch: chain
- sc: single crochet
- sl st: slip stitch
- st(s): stitch(es)
- sk: skip
- FLO: front loop only
- RS / WS: right side / wrong side
- standing sc: begin with a slipknot on the hook, insert the hook, yarn over, pull up a loop, yarn over, and pull through both loops
Special stitch – Picot: ch 3, sl st in the 3rd ch from the hook.
Special technique – Surface slip stitch: hold the yarn behind the work with RS facing. Insert the hook from front to back at the marked spot, pull up a loop, then insert one row higher, pull up a loop, and draw it through the loop on the hook. Repeat.
Gauge and Checkpoints
Gauge: 20 sc and 20 rows = 4 in (10.2 cm) with the 3.5 mm hook. That works out to 5 sts and 5 rows per 1 in (2.5 cm). The fabric should feel firm, close to amigurumi tension.
Make the left leg first and use it as your gauge test:
- After left leg Row 4: 4 sts measure 0.8 in (2.0 cm) wide and 4 rows measure 0.8 in (2.0 cm) tall.
- After left leg Row 16: the leg measures 0.8 in × 3.2 in (2.0 cm × 8.1 cm).
- After right block Row 4: the block measures 1.6 in × 0.8 in (4.1 cm × 2.0 cm).
- After Row 20: the whole letter measures 3.2 in × 4 in (8.1 cm × 10.2 cm).
- After the border: the letter measures 3.7 in × 4.5 in (9.4 cm × 11.4 cm).
If your leg is too wide or too tall, go down 0.25 mm in hook size. If it is too small, go up 0.25 mm. Height matters most, because the diagonal steps are counted in rows.
Grid Map
With RS facing, number the columns 1 to 16 from left to right and the rows 1 to 20 from the bottom up.
- Rows 1–4: left leg at cols 1–4; gap at cols 5–8; right block at cols 9–16
- Rows 5–8: left leg 1–4; gap 5–7; diagonal 8–11; gap 12; right leg 13–16
- Rows 9–12: left leg 1–4; gap 5–6; diagonal 7–10; gap 11–12; right leg 13–16
- Rows 13–16: left leg 1–4; gap 5; diagonal 6–9; gap 10–12; right leg 13–16
- Rows 17–20: top section at cols 1–8; gap 9–12; right leg 13–16
Throughout: odd rows are RS. Every even (WS) row is worked in FLO. This leaves the back loops as a raised horizontal line on the RS every 2 rows.
Section 1: Left Leg
With the 3.5 mm hook and light blue, ch 5.
Row 1 (RS): sc in 2nd ch from hook and in each ch across, turn. (4 sts)
Row 2 (WS): ch 1, sc FLO in each st across, turn. (4 sts)
Row 3: ch 1, sc in each st across, turn. (4 sts)
Rows 4–16: repeat Rows 2–3, ending with a Row 2 repeat on Row 16. (4 sts)
Fasten off and weave in the end. Row 16 ends at col 4, the leg’s inner edge.
Checkpoint: 0.8 in × 3.2 in (2.0 cm × 8.1 cm).
Section 2: Right Block and Right Leg
With light blue, ch 9.
Row 1 (RS): sc in 2nd ch from hook and in each ch across, turn. (8 sts; the first sc sits at col 16)
Row 2: ch 1, sc FLO in each st across, turn. (8 sts)
Row 3: ch 1, sc in each st across, turn. (8 sts)
Row 4: ch 1, sc FLO in each st across, turn. (8 sts)
Row 5 (right leg begins): ch 1, sc in the first 4 sts (cols 16–13), turn. Leave cols 12–9 unworked. (4 sts)
Rows 6–20: work the 4 right-leg sts only, alternating FLO rows (even) and regular rows (odd). Each row has 4 sts.
Fasten off and weave in the end.
Checkpoint: the right leg is 4 in (10.2 cm) tall from the foundation edge.
Section 3: The Diagonal
Each shift row moves the diagonal one column to the left. You skip the rightmost stitch, which drops 1, and work 2 sc in the leftmost stitch, which adds 1. The count stays at 4.
Row 5 (RS): with RS facing, skip col 12 of Row 4. Join light blue with a standing sc in col 11, sc in col 10, then work 2 sc in col 9, turn. (4 sts: 3 worked 1-per-stitch + 1 added; now at cols 11–8)
Row 6: ch 1, sc FLO in each st across, turn. (4 sts)
Row 7: ch 1, sc in each st across, turn. (4 sts)
Row 8: ch 1, sc FLO in each st across, turn. (4 sts)
Row 9 (shift): ch 1, sk first st, sc in next 2 sts, 2 sc in last st, turn. (4 sts; now at cols 10–7)
Rows 10–12: repeat Rows 6–8. (4 sts)
Row 13 (shift): repeat Row 9. (4 sts; now at cols 9–6)
Rows 14–16: repeat Rows 6–8. (4 sts)
Don’t fasten off. Row 16 ends at col 9.
Checkpoint: the diagonal and the left leg both stand 3.2 in (8.1 cm) tall.
Section 4: Top Section (Merge)
Lay the left leg to the left of the diagonal, RS facing, with both legs’ Row 16 at the top.
Row 17 (RS, shift and merge): ch 1, sk first st (col 9), sc in next 2 sts (cols 8–7), 2 sc in next st (col 6, making cols 6 and 5), then sc in each of the 4 sts of left leg Row 16 (cols 4–1), turn. (8 sts: 7 worked 1-per-stitch + 1 added)
Row 18: ch 1, sc FLO in each st across, turn. (8 sts)
Row 19: ch 1, sc in each st across, turn. (8 sts)
Row 20: ch 1, sc FLO in each st across. (8 sts)
Fasten off. The body now measures 3.2 in × 4 in (8.1 cm × 10.2 cm).
Vertical Grid Lines
Work these with RS facing and light blue, holding the yarn behind. Make 1 surface sl st per row, from Row 1 up to Row 20 (20 sl sts per line). Keep the stitches loose enough that the fabric doesn’t pucker.
- Line A (left leg): between cols 2 and 3, Rows 1–20.
- Line B (right leg): between cols 14 and 15, Rows 1–20.
- Line C (diagonal): run it between the diagonal’s 2nd and 3rd stitches, stepping one column left each time the diagonal shifts:
- Rows 1–4: between cols 10 and 11
- Rows 5–8: between cols 9 and 10
- Rows 9–12: between cols 8 and 9
- Rows 13–16: between cols 7 and 8
- Rows 17–20: between cols 6 and 7
Together with the ridges every 2 rows, these lines make square cells 2 sts × 2 rows, or 0.4 in × 0.4 in (1.0 cm × 1.0 cm). Pull the ends to the WS and weave them in.
Border
Border gauge: use 1 sc per row end and 1 sc per stitch. At 5 sts and 5 rows per 1 in (2.5 cm), both give the same spacing, so every edge stays flat.
Mark the 8 main corners:
- A: bottom-left of the left leg
- B: bottom-right of the left leg
- C: bottom-left of the right block
- D: bottom-right of the right block
- E: top-right of the right leg
- F: top-left of the right leg
- G: top-right of the top section
- H: top-left of the top section
Each corner stitch gets 3 sc. Each step ledge and each counter apex gets exactly 1 sc.
Round 1: with RS facing and the 3.5 mm hook, join light blue with a standing sc in corner A. Work 2 more sc in A, then continue counterclockwise:
- Left leg bottom: sc in the next 2 sts, 3 sc in B = 8 sc along this edge, counting A.
- Left leg inner edge, going up: 16 row ends = 16 sc.
- Bottom counter apex: 1 sc under the col 5 st of Row 17 = 1 sc.
- Diagonal left edge, going down: 4 row ends, 1 under the ledge, 4, 1, 4, 1, 4 = 19 sc.
- Right block bottom: 3 sc in C, 6 sc, 3 sc in D = 12 sc.
- Right outer edge, going up: 20 row ends = 20 sc.
- Right leg top: 3 sc in E, 2 sc, 3 sc in F = 8 sc.
- Right leg inner edge, going down: 16 row ends = 16 sc.
- Top counter apex: 1 sc in the unworked col 12 st of Row 4 = 1 sc.
- Diagonal right edge, going up: 4 row ends, 1 in the exposed stitch top, 4, 1, 4, 1, 4 = 19 sc.
- Top section top: 3 sc in G, 6 sc, 3 sc in H = 12 sc.
- Left outer edge, going down: 20 row ends = 20 sc.
Join with a sl st to the first sc. (152 sc)
Checking the math: 8 + 16 + 1 + 19 + 12 + 20 + 8 + 16 + 1 + 19 + 12 + 20 = 152.
- The four horizontal edges contain their own corner stitches. For example, Edge 1 is 4 base sts + 2 extra in each of 2 corners = 8.
- Corners are never counted again on the vertical edges.
- Both diagonal edges match (19 each), so the slant sits symmetrically.
- Both legs’ outer edges match (20 each).
Round 2: ch 1, sl st loosely in each sc around, join. (152 sl sts)
This round firms up and rounds off the edge without adding width. Fasten off and weave in the end.
Checkpoint: 3.7 in × 4.5 in (9.4 cm × 11.4 cm).
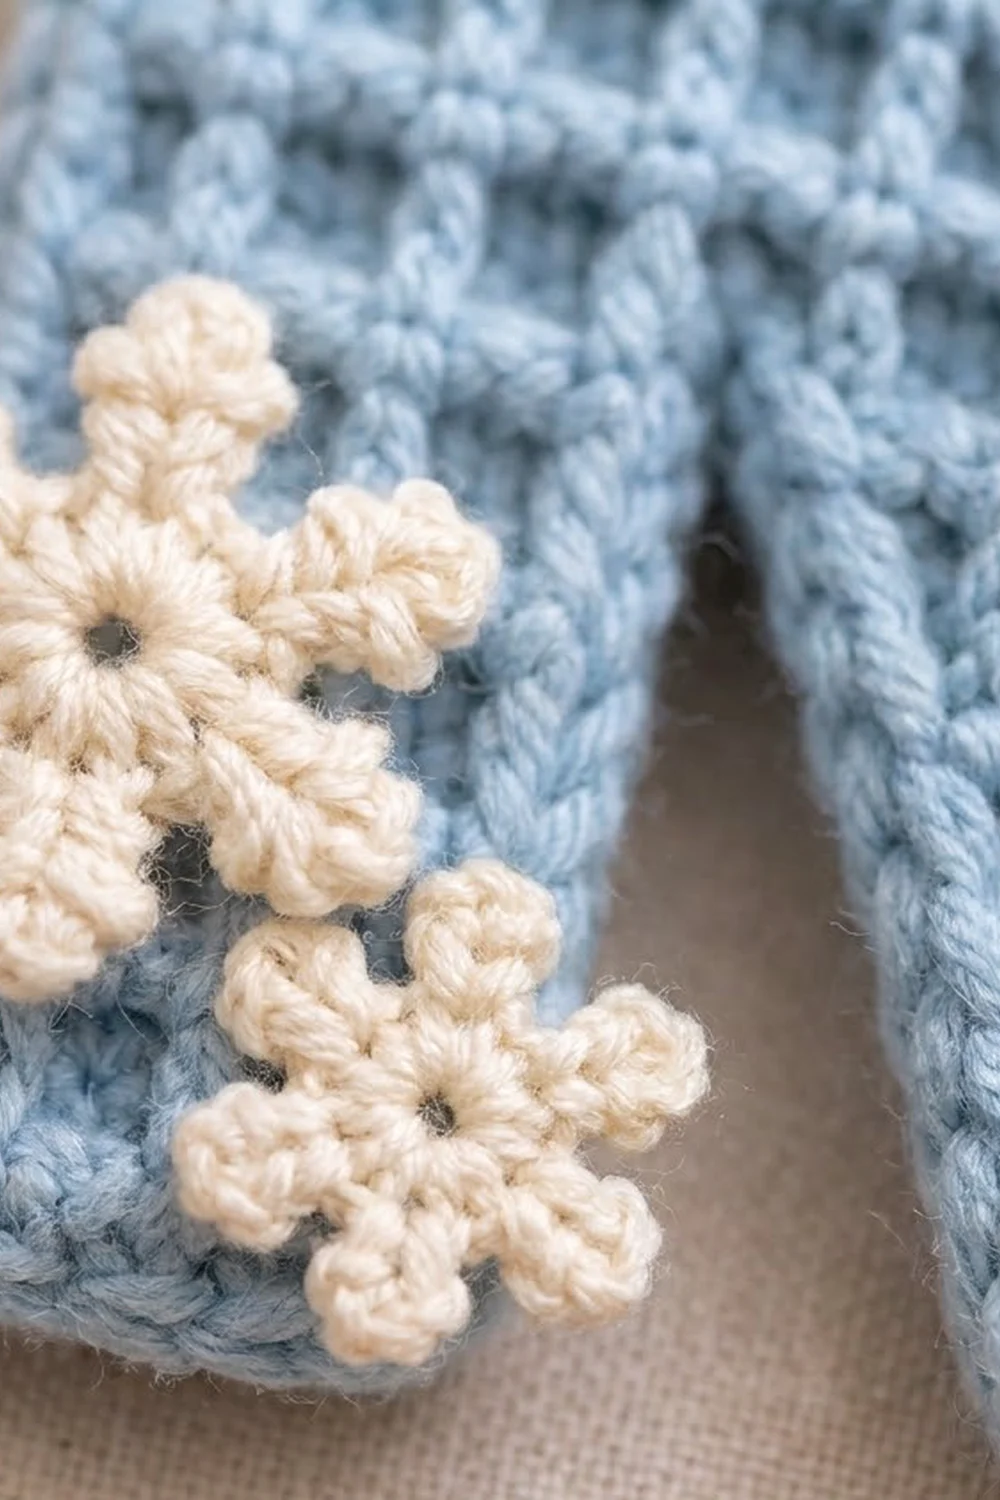
Snowflakes
Use the 2.25 mm hook and cream yarn. Leave an 8 in (20.3 cm) tail at the end of each snowflake for sewing.
Large snowflake: ch 6, sl st to the first ch to form a ring.
- Rnd 1: ch 1, 12 sc in ring, join. (12 sc)
- Rnd 2: sl st in first sc. Ch 7, sl st in 3rd ch from hook (tip picot), [ch 3, sl st in same ch] twice, sl st in each of the next 4 ch, sl st in next 2 sc. Repeat from * 5 more times; the last sl st lands in the first sc. (6 arms, each ending in a 3-picot cluster)
Finished: 1.25 in (3.2 cm) across.
Small snowflake: ch 4, sl st to the first ch to form a ring.
- Rnd 1: ch 1, 12 sc in ring, join. (12 sc)
- Rnd 2: sl st in first sc. Ch 5, sl st in 3rd ch from hook, [ch 2, sl st in same ch] twice, sl st in each of the next 2 ch, sl st in next 2 sc. Repeat from * 5 more times. (6 arms)
Finished: 0.9 in (2.3 cm) across.
Pin both snowflakes flat and steam them lightly before sewing.
Final Blocking
- Pin the letter RS up on the mat at 3.7 in × 4.5 in (9.4 cm × 11.4 cm).
- Put one pin in each of the 8 corners and one at the inner tip of each counter.
- Check that both legs are straight and parallel, using the mat’s grid lines.
- Mist with water, or hover steam over it without pressing, so the grid ridges stay raised.
- Let it dry completely before you unpin.
- Sew on the large snowflake. Center it on the left leg with its center about 1 in (2.5 cm) above the bottom edge, and tack each arm down with tiny stitches through the back loops.
- Sew on the small snowflake below and to the right of the large one, overlapping the leg’s inner border slightly.
- Open the jump ring with pliers, pass it through the border at corner H, add the split ring, and close the jump ring tightly.
Final Quality-Control Checklist
- [ ] Body measures 3.2 in × 4 in (8.1 cm × 10.2 cm) before the border
- [ ] Every leg and diagonal row has 4 sts; Rows 17–20 have 8 sts
- [ ] 10 horizontal ridges are visible on the RS
- [ ] The 3 vertical lines are straight and the diagonal line steps evenly
- [ ] Border Round 1 has 152 sc; Round 2 has 152 sl sts
- [ ] Finished size is 3.7 in × 4.5 in (9.4 cm × 11.4 cm)
- [ ] Snowflakes lie flat with all 6 arms secured
- [ ] Jump ring is fully closed
Troubleshooting
- No visible ridges: you worked the WS rows through both loops. Use FLO on every even row only.
- Diagonal leans the wrong way: you shifted on a WS row or reversed the skip and increase. Shift only on Rows 5, 9, 13, and 17, skipping the first stitch and increasing in the last.
- Border ruffles: your tension is loose or you added extra stitches. Recount each edge against the list.
- Inner corners gape: pull the single apex sc snug, or work it as a sc2tog through the neighboring row ends.
- Puckered grid lines: your surface slip stitches are too tight. Redo them with a larger hook.
- Snowflake arms curl: block them wet, pin each picot, and let them dry.
Care
Hand wash in cool water and lay flat to dry, reshaping the corners. Don’t put the gold hardware in the washing machine.
Final Notes
The size depends on one chain of measurements. A gauge of 5 sts and 5 rows per 1 in (2.5 cm) gives a 4-st leg of 0.8 in (2.0 cm). The 16-st, 20-row grid gives a body of 3.2 in × 4 in (8.1 cm × 10.2 cm). A 0.25 in (0.6 cm) border with 152 stitches per round brings the keychain to 3.7 in × 4.5 in (9.4 cm × 11.4 cm). Check each step and the letter will come out square and crisp, ready for its snowflakes.
Happy crocheting!