

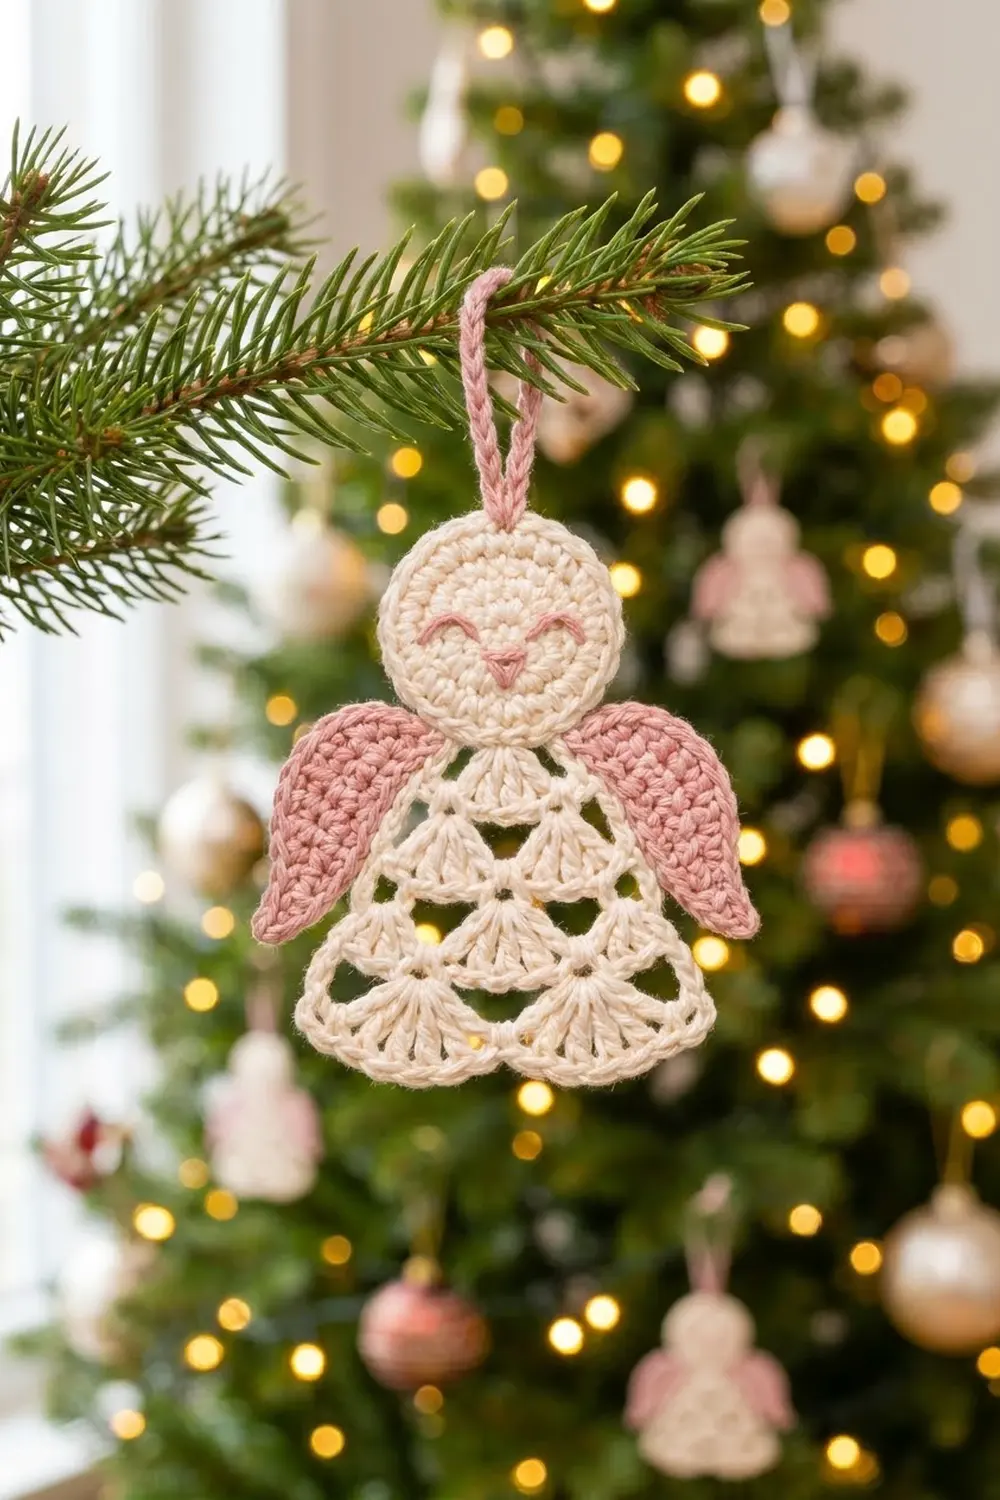
This little angel is a calm, lacy ornament with a round cream face, a fan-stitch skirt and soft dusty-pink wings. The closed, smiling eyes and tiny pink nose give her a sleepy, sweet look that suits a Christmas tree, a gift tag or a nursery mobile.
The palette is two colors only: warm cream for the head and skirt, and dusty pink for the wings, hanging loop and face embroidery. Cotton yarn shows the shell texture clearly and blocks flat and crisp.
The pattern uses US crochet terms. The finished ornament is 4¼ in (10.8 cm) wide across the wings and 4⅜ in (11.1 cm) tall without the loop. The loop adds 1½ in (3.8 cm).
You make five small parts: a flat circle for the head, a shell-stitch triangle for the skirt (worked top-down in rows), two teardrop wings worked around a chain, and a slip-stitch hanging loop. A single round of sc edging finishes the skirt, then everything is sewn together from the back.
Finished Size and Construction
- Finished size: 4¼ in (10.8 cm) wide × 4⅜ in (11.1 cm) tall, plus a 1½ in (3.8 cm) loop
- Skill level: Easy–Intermediate
- Terminology: US
- Yarn weight: Sport (2), cotton
- Hook: 3.0 mm (US C/2 or D/3)
- Number of pieces: 1 ornament, made of 5 parts (head, skirt, 2 wings, loop)
- Layout: head centered over the skirt’s neck point, one wing behind each upper skirt edge, loop at the top of the head
- Head size: 1¾ in (4.4 cm) diameter
- Skirt size before border: 3½ in (8.9 cm) wide × 2¾ in (7.0 cm) tall
- Border depth: ⅛ in (0.3 cm) per edge
- Skirt after border: 3¾ in (9.5 cm) wide × 2⅞ in (7.3 cm) tall
- Wing size: 2¼ in (5.7 cm) long × 1¼ in (3.2 cm) wide
Materials
Choose a smooth, mercerized or combed cotton in sport weight. Cotton gives clear stitches and holds the fan shapes after blocking. Avoid fuzzy or very splitty yarns, because the open triangles in the skirt need clean edges.
- Cream: 8 g, about 26 m (head, skirt, border)
- Dusty pink: 4 g, about 13 m (wings, loop, face embroidery)
These quantities include a margin of about 25% for swatching and sewing tails.
Tools:
– 3.0 mm crochet hook
– Tapestry needle (blunt)
– Sharp embroidery needle (optional, for the face)
– Scissors
– Stitch marker
– Rust-proof pins and a foam blocking mat
– Spray bottle with water
Abbreviations (US Terms)
- ch – chain
- sl st – slip stitch
- sc – single crochet
- hdc – half double crochet
- dc – double crochet
- st(s) – stitch(es)
- sp – space
- sk – skip
- RS – right side
- MR – magic ring
Special stitch – Shell: 7 dc worked into the same stitch, ring or chain space. The stitches fan out from one point and form a half-circle.
Gauge and Checkpoints
Swatch gauge: 22 sc = 4 in (10.2 cm) with a 3.0 mm hook. For an ornament this small, it is more useful to make the head first and use it as your gauge piece.
Checkpoints:
– Head after Rnd 3: ⅞ in (2.2 cm) diameter
– Head after Rnd 6: 1¾ in (4.4 cm) diameter
– Skirt after Row 1: ½ in (1.3 cm) tall
– Skirt after Row 3: 2¼ in (5.7 cm) wide × 1½ in (3.8 cm) tall
– Skirt after Row 5: 3½ in (8.9 cm) wide × 2¾ in (7.0 cm) tall
– Wing after Rnd 2: 2¼ in (5.7 cm) × 1¼ in (3.2 cm)
If the head is too big, go down to a 2.75 mm hook. If it is too small, go up to a 3.25 mm hook. A head that ruffles means your tension is too loose for the increases, so go down a hook size. If it cups, go up one. Keep the same hook for every part so the proportions stay right.
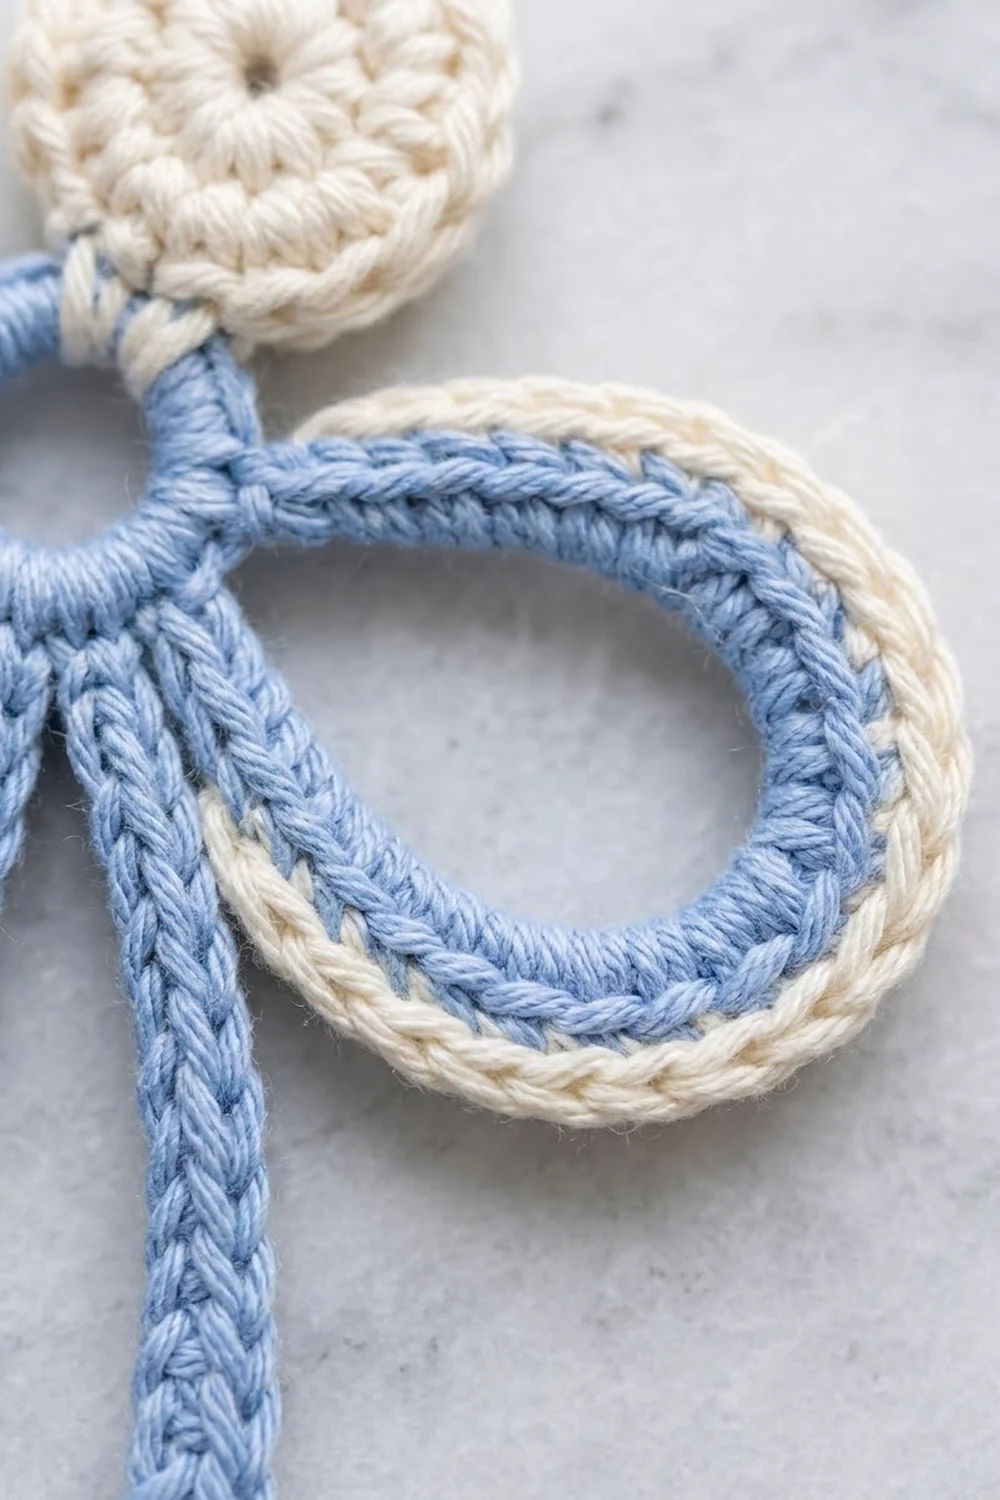
Head (Cream)
Worked in continuous rounds. Mark the first stitch of each round.
Rnd 1: MR, 6 sc in ring. (6 sts)
Rnd 2: 2 sc in each st around. (12 sts)
Rnd 3: [Sc in next st, 2 sc in next st] 6 times. (18 sts)
Checkpoint: ⅞ in (2.2 cm) across.
Rnd 4: [Sc in next 2 sts, 2 sc in next st] 6 times. (24 sts)
Rnd 5: [Sc in next 3 sts, 2 sc in next st] 6 times. (30 sts)
Rnd 6: [Sc in next 4 sts, 2 sc in next st] 6 times. (36 sts)
Sl st to the next st. Fasten off, leaving a 12 in (30.5 cm) tail for sewing.
Checkpoint: 1¾ in (4.4 cm) diameter, lying flat.
Face Embroidery (Pink)
Thread a 12 in (30.5 cm) length of pink.
- Eyes: Place them just above the center ring, along Rnd 4. Space the eye centers ¾ in (1.9 cm) apart. Backstitch each eye as a curve 4 sts wide that rises in the middle, so the eye looks closed and smiling.
- Nose: Just below the center, over Rnds 1–2, satin-stitch a small downward-pointing triangle about ¼ in (0.6 cm) wide.
- Weave the ends in on the back and keep the front smooth.
Skirt (Cream)
Worked top-down in turned rows. The shells spread downward, so each tier sits below the one above it.
Row 1 (RS): MR, ch 3 (counts as dc), 6 dc in ring. Pull the ring closed until the fan forms a half circle. Turn. (7 dc = 1 shell)
Checkpoint: ½ in (1.3 cm) tall.
Row 2: Ch 1, sc in first dc, ch 4, sk 2 dc, sc in next dc (4th, the center dc), ch 4, sk 2 dc, sc in top of turning ch-3. Turn. (3 sc, 2 ch-4 sps)
Row 3: Ch 1, sc in first sc, Shell in next ch-4 sp, sc in next sc, Shell in next ch-4 sp, sc in last sc. Turn.
Count: 3 sc + 14 dc = 17 sts (2 shells).
Checkpoint: 2¼ in (5.7 cm) wide × 1½ in (3.8 cm) tall.
Row 4: Ch 1, sc in first sc, ch 5, sk 3 dc, sc in next dc (center of shell), ch 5, sk next 3 dc, next sc and next 3 dc, sc in next dc (center of second shell), ch 5, sk 3 dc, sc in last sc. Turn.
Count: 4 sc, 3 ch-5 sps.
The chain arches pass over the skipped stitches. They leave the small open triangles you see between the tiers.
Row 5: Ch 1, sc in first sc, [Shell in next ch-5 sp, sc in next sc] 3 times. Do not turn.
Count: 4 sc + 21 dc = 25 sts (3 shells).
Checkpoint: 3½ in (8.9 cm) wide × 2¾ in (7.0 cm) tall.
Do not fasten off. Go straight on to the border.
Make All Pieces
Before assembly you should have:
- Cream: 1 head, 1 skirt (bordered)
- Pink: 2 wings, 1 hanging loop
The wings and loop follow below.
Wings (Pink, make 2)
Each wing is worked around both sides of a foundation chain. This gives a rounded top and a pointed tip.
Rnd 1: Ch 11. Working along the chain, sc in 2nd ch from hook, sc in next ch, hdc in next 2 ch, dc in next 5 ch, 6 dc in last ch. Rotate to work along the other side of the chain: dc in next 5 ch, hdc in next 2 ch, sc in next 2 ch. Sl st to first sc.
Count: 9 + 6 + 9 = 24 sts.
Rnd 2: Ch 1, sc in first 9 sts, 2 sc in each of next 6 sts, sc in next 8 sts, (sc, ch 2, sc) in last st. Sl st to first sc.
Count: 9 + 12 + 8 + 2 = 31 sc plus 1 ch-2 tip.
Fasten off, leaving a 10 in (25.4 cm) tail.
Checkpoint: 2¼ in (5.7 cm) long × 1¼ in (3.2 cm) wide. The 6-dc end becomes the rounded top of the wing, and the ch-2 becomes the pointed tip.
Hanging Loop (Pink)
Ch 21. Sl st in the back bump of the 2nd ch from hook and in each ch across. (20 sl sts)
Fasten off, leaving an 8 in (20.3 cm) tail. The cord measures about 3¾ in (9.5 cm) and has a neat twisted look.
Layout (Front View)
          [ loop ]
          ( HEAD )
  [WING] /  shell  \ [WING]
        / shell shell \
       /shell shell shell\
Joining (Assembly)
Sew all parts from the back with whipstitch, using the yarn tails. Catch only the back loops or back bumps so no stitches show on the front.
- Head to skirt: Place the head over the neck point (Row 1) so the bottom of the head overlaps the skirt by ¼ in (0.6 cm). Whipstitch through the back of Head Rnd 6 and the top of Row 1 and the first border stitches. Work one stitch per head stitch across about 8 sts.
- Wings: Lay each wing behind the skirt with its rounded end tucked under the side of the head. Angle the pointed tip down and outward. Let the outer edge of each wing extend ¼ in (0.6 cm) past the bordered skirt edge at its widest point. Sew the wing to the back of the skirt’s side border along about 1 in (2.5 cm), one stitch per border stitch.
- Loop: Fold the cord in half. Overlap each end ⅜ in (1.0 cm) onto the back of the head at the top center, and sew it down firmly. The loop should rise 1½ in (3.8 cm) above the head.
Tension: Pull each stitch snug but not tight. Over-tight seams pucker the skirt.
Size checkpoint: 4¼ in (10.8 cm) across the wings, 4⅜ in (11.1 cm) from the top of the head to the bottom scallops.
Border (Cream, Skirt Only)
Border gauge: 1 sc for each sc-height row edge, and 2 sc for each dc-height row edge. Along the bottom, work 1 sc in each stitch.
Border Rnd (RS): Continuing from Row 5, work down the left side edge, along the bottom, then up the right side:
- Corner 1: You are at the end of Row 5. Turn the work so the bottom edge faces up and begin along the stitch tops of Row 5. Work 3 sc in the first st (corner), sc in the next 23 sts, 3 sc in the last st (corner).
Bottom count: 25 sts worked 1-per-stitch + 4 extra corner sts = 29 sc. - Side 1: Working along the row edges toward the neck: 2 sc in Row 5 edge, 1 sc in Row 4 edge, 2 sc in Row 3 edge, 1 sc in Row 2 edge, 2 sc in Row 1 edge. (8 sc)
- Sl st into the magic-ring point at the neck.
- Side 2: Work down the other side: 2 sc in Row 1 edge, 1 sc in Row 2 edge, 2 sc in Row 3 edge, 1 sc in Row 4 edge, 2 sc in Row 5 edge. (8 sc)
- Sl st to the first sc of Corner 1. Fasten off and weave in.
Total border: 29 + 8 + 8 = 45 sc.
Why the math works: A dc row is about twice as tall as an sc row, so 2 sc per dc-row edge and 1 sc per sc-row edge keeps the side edges flat. Along the bottom, 1 sc per stitch follows each shell’s curve. The sc worked over the sc between shells makes the dips between the scallops. The 2 extra sc at each corner turn the work without pulling it in. Each edge grows by ⅛ in (0.3 cm), so the skirt goes from 3½ in (8.9 cm) to 3¾ in (9.5 cm) wide and from 2¾ in (7.0 cm) to 2⅞ in (7.3 cm) tall.
Final Blocking
- Weave in all remaining ends before blocking.
- Lay the ornament face down on the blocking mat.
- Mist it until it is evenly damp, not soaked.
- Turn it face up. Pin the head into a true 1¾ in (4.4 cm) circle.
- Pin the skirt to 3¾ in (9.5 cm) at the bottom. Put one pin in the center of each of the 3 bottom scallops to round them.
- Open each triangular gap by placing a pin inside it.
- Pin each wing tip so the wings span 4¼ in (10.8 cm).
- Let it dry completely, at least 6 hours, before unpinning.
Final Quality-Control Checklist
- Head is flat and measures 1¾ in (4.4 cm)
- Eyes are level and evenly spaced; nose is centered
- Skirt has 1, 2 and 3 shells in its tiers, and each shell has 7 dc
- Open triangles are visible between the tiers
- Border has 45 sc; the 3 bottom scallops are even
- Wings mirror each other in angle and height
- Loop is centered, firmly attached and 1½ in (3.8 cm) tall
- No sewing yarn visible from the front
Troubleshooting
- Skirt curls at the sides: The border is too tight. Re-work it with a looser tension, or go up one hook size for the border only.
- Shells look crowded: Make sure the arches in Rows 2 and 4 are full ch-4 and ch-5 lengths, not shorter.
- Head ruffles: Go down one hook size, or check that each round has exactly 6 increases.
- Wings come out lopsided: Count Rnd 1 again. The two long sides must have 9 sts each.
- Ornament tilts when hung: Re-center the loop, or add a few stitches to secure the wings evenly.
Care
Hand wash in cool water with mild soap, press out the water in a towel, and lay flat to dry. Re-pin the scallops if they lose their shape.
Final Notes
The measurement chain is simple. A 1¾ in (4.4 cm) head sets your gauge. The skirt grows to 3½ in (8.9 cm) by Row 5, and the ⅛ in (0.3 cm) border brings it to 3¾ in (9.5 cm). The wings extend ¼ in (0.6 cm) past each side for a final width of 4¼ in (10.8 cm), and the height is 4⅜ in (11.1 cm) under a 1½ in (3.8 cm) loop. Check each step and every angel you make will come out the same size.
Happy crocheting!