
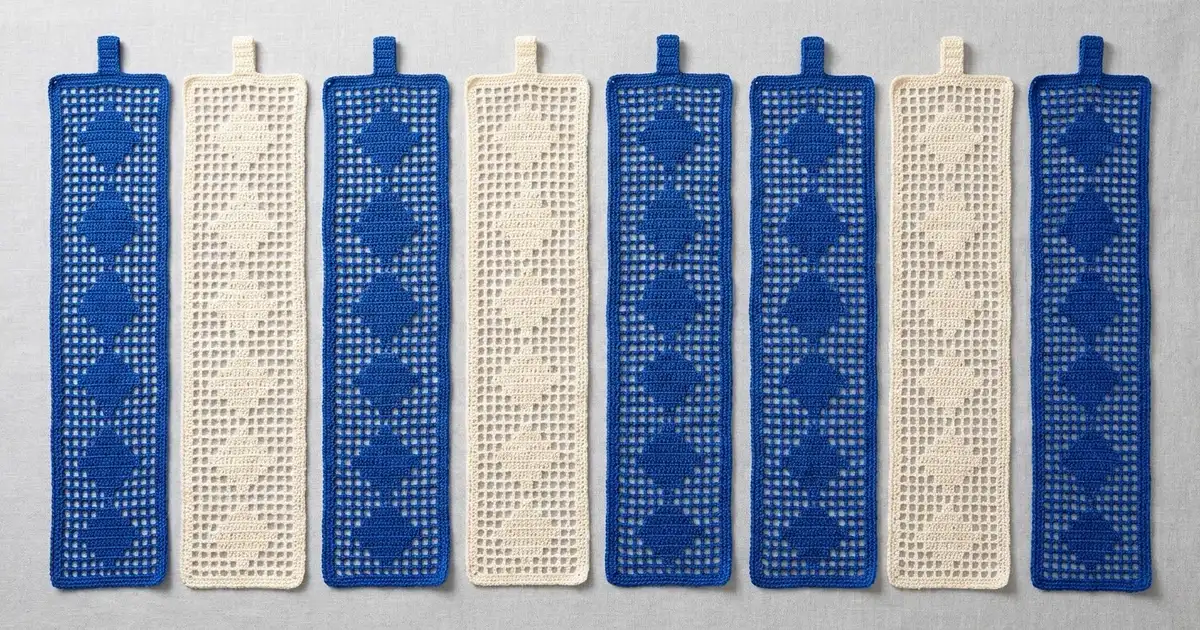
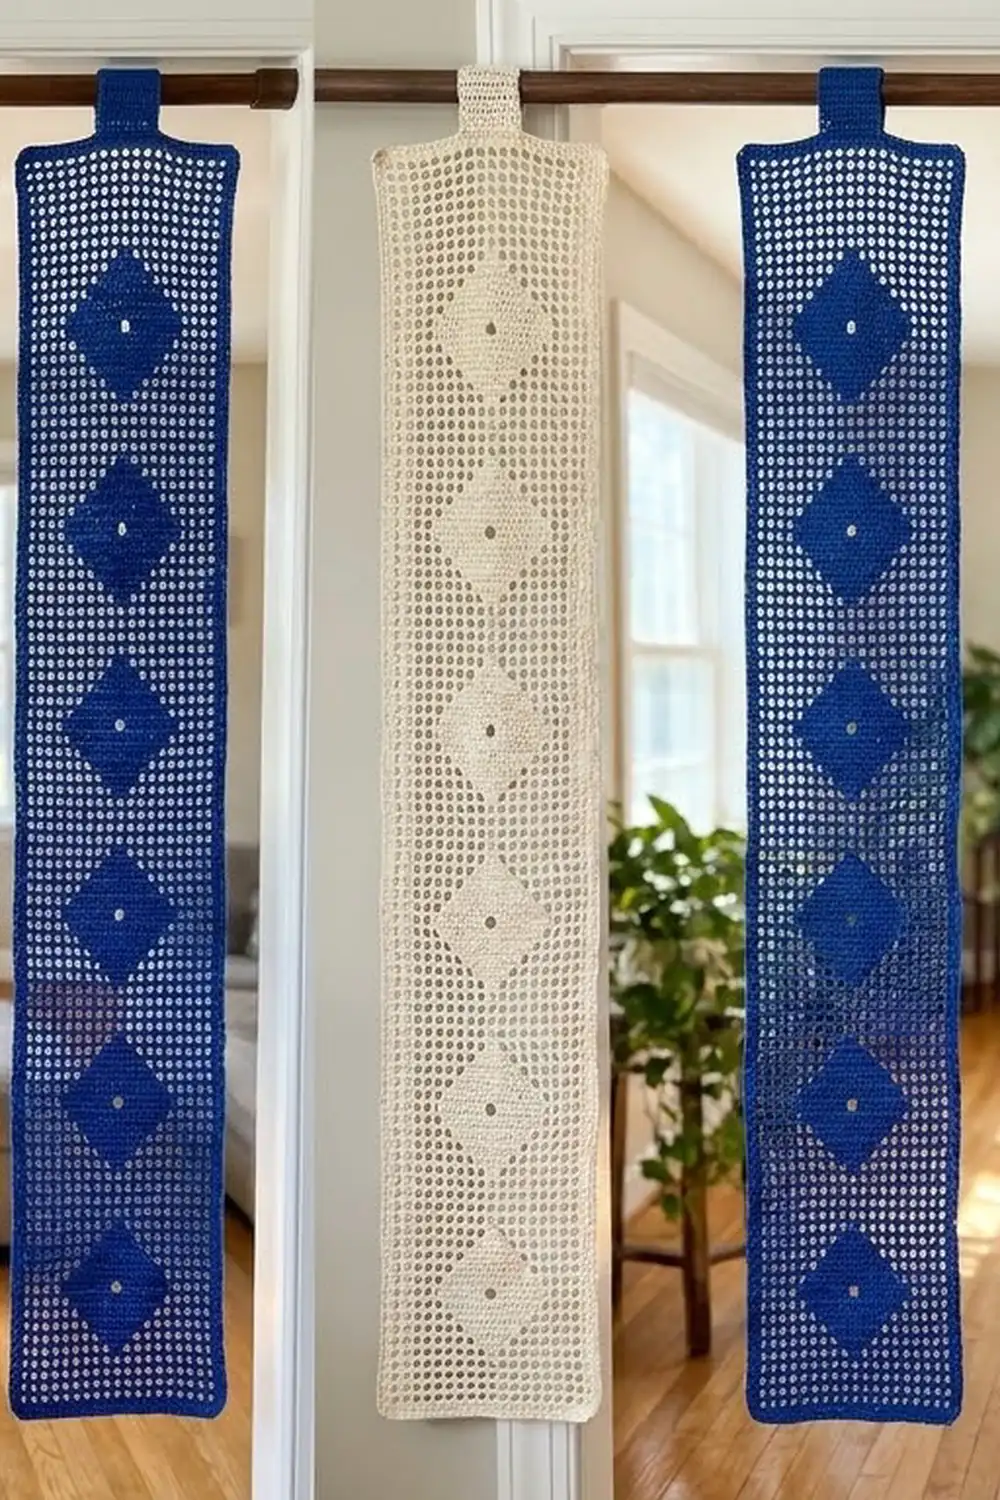
This doorway curtain is made of seven slim filet crochet strips that hang side by side from a rod. Each strip is an airy grid of square mesh with a single column of solid diamonds running down the centre, and each diamond has one open “window” in its middle. Light passes through the mesh, and the diamonds give the strips a crisp graphic rhythm.
The colours alternate cobalt blue and cream, so the curtain starts and ends with blue. The look is fresh and a little nautical, and it works in a hallway, pantry doorway, or closet opening. The strips are not sewn together, so you can walk straight through them.
This pattern uses US crochet terms. Each finished strip measures 5 in (12.7 cm) wide by 79 in (200.7 cm) long, plus a hanging loop. With 1 in (2.5 cm) gaps between strips, the curtain spans 41 in (104.1 cm) on the rod.
Each strip is worked flat in rows of standard filet crochet: open meshes and solid blocks, 9 mesh across. When the body is done, you work one round of single crochet edging around it, then add a folded tab at the top that becomes the rod loop.
Finished Size and Construction
- Finished strip size: 5 in × 79 in (12.7 × 200.7 cm), plus a 2.5 in (6.4 cm) loop
- Skill level: Easy–Intermediate (you need to be able to follow a filet pattern)
- Terminology: US
- Yarn weight: Sport (#2) cotton
- Hook: 3.25 mm (US D-3)
- Number of pieces: 7 strips (4 blue, 3 cream)
- Layout: 7 strips in one row, hung separately, not joined
- Strip size before border: 4.5 in × 78.5 in (11.4 × 199.4 cm)
- Border depth: 0.25 in (0.6 cm) per side
- Total curtain width on rod: 41 in (104.1 cm)
Materials
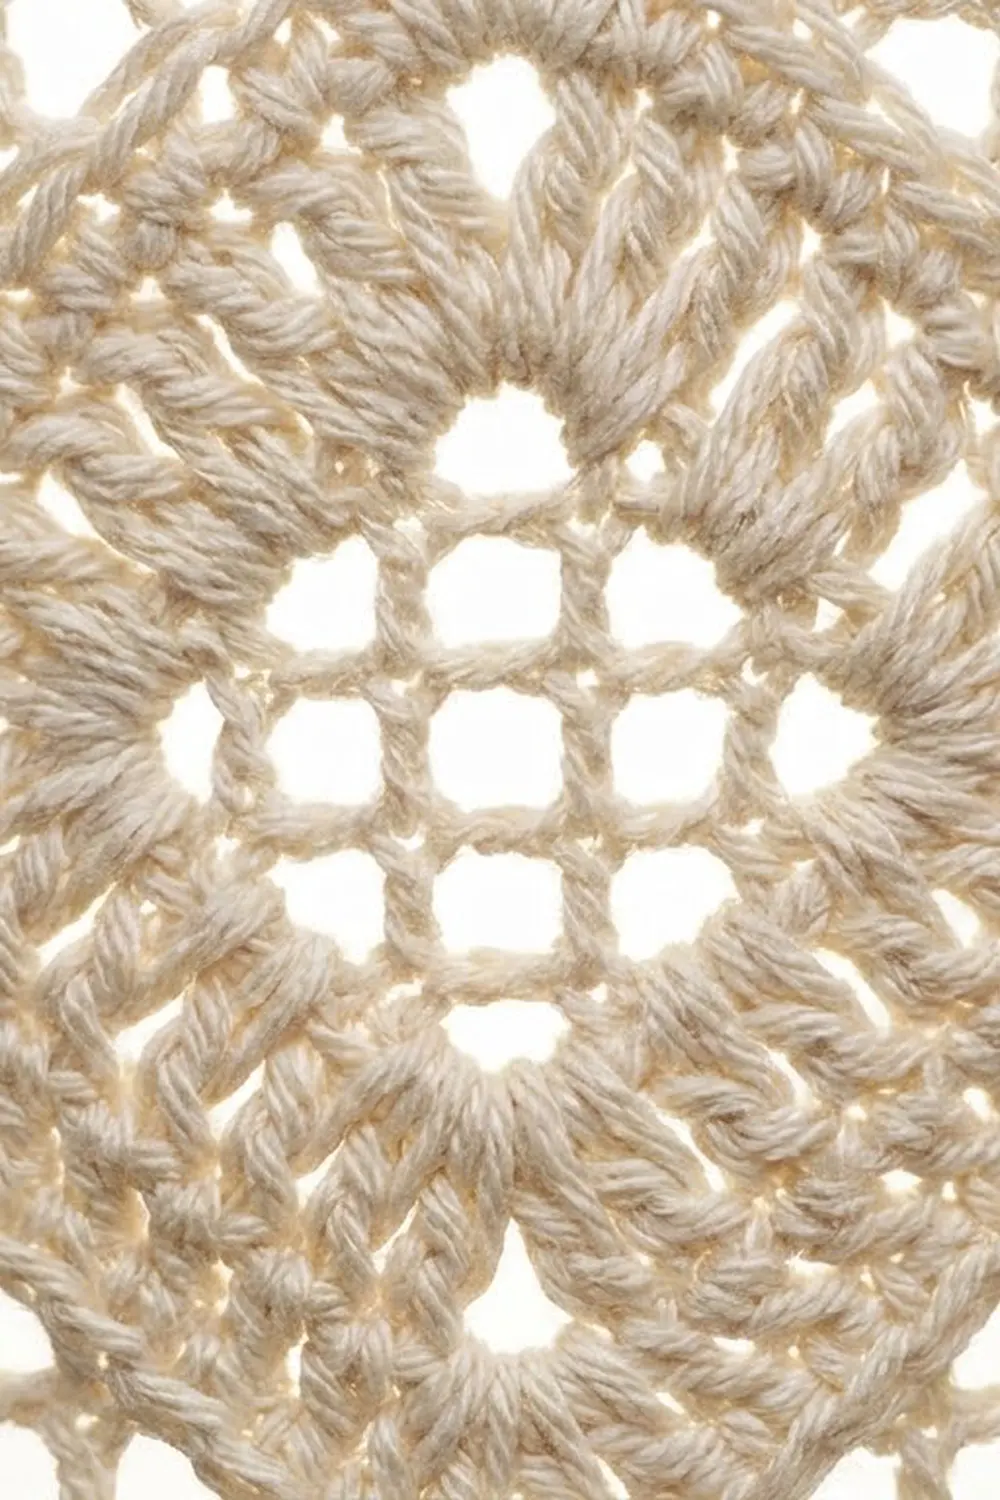
Use a smooth mercerized or combed cotton in sport weight. Crisp, tightly plied cotton gives the clearest square mesh and holds its shape while hanging. Avoid fuzzy or very stretchy yarns: the strips are long, and soft yarn will sag.
Yarn:
– Color A, cobalt blue: 300 g / 840 m (about 918 yd), for 4 strips
– Color B, cream: 250 g / 700 m (about 765 yd), for 3 strips
Each strip uses about 169 m (185 yd), including the border and tab. These quantities include a margin of about 15–20% for your gauge swatch and small differences in tension.
Tools:
– 3.25 mm (US D-3) crochet hook
– Tapestry needle
– Stitch markers
– Tape measure
– Rust-proof pins and a long blocking surface
– Spray bottle
– Curtain rod up to 1.5 in (3.8 cm) in diameter
Abbreviations (US Terms)
- ch – chain
- sc – single crochet
- dc – double crochet
- sk – skip
- sp – space
- st(s) – stitch(es)
- RS / WS – right side / wrong side
- O – open mesh
- B – block
Special stitches
- Open mesh (O) over an open mesh: ch 2, dc in next dc.
- Open mesh (O) over a block: ch 2, sk 2 dc, dc in next dc.
- Block (B) over an open mesh: 2 dc in ch-2 sp, dc in next dc.
- Block (B) over a block: dc in each of next 3 dc.
Every mesh, whether open or a block, is 3 stitches wide. Each row is 9 meshes plus 1 starting post, so it is always 28 sts: 10 posts plus 18 chain or dc fills.
Gauge and Checkpoints
Filet gauge: 6 meshes and 6 rows = 3 in (7.6 cm), so each mesh is 0.5 in (1.3 cm) square.
Border gauge: 6 sc = 1 in (2.5 cm).
Test one piece first. Make one blue strip completely before starting the others. Measure and block it, then hang it so you can see how it drapes.
Checkpoints (unblocked, measured flat without stretching):
– After Row 1: 4.5 in (11.4 cm) wide
– After Row 3: 1.5 in (3.8 cm) tall
– After Row 11 (first diamond plus spacer row): 5.5 in (14.0 cm) tall
– After Row 43: 21.5 in (54.6 cm)
– After Row 83: 41.5 in (105.4 cm)
– After Row 157: 78.5 in (199.4 cm)
If your mesh is too big, switch to a 3.0 mm hook. Also check that your chain-2s aren’t loose, since oversized chains are the most common cause. If your mesh is too small, try a 3.5 mm hook. Meshes that aren’t square (taller than wide, or the reverse) usually come from the dc height. Pull up a slightly longer or shorter first loop on each dc until they square up.
Strip Pattern (Make 7)
Foundation: Ch 32.
Row 1 (RS): Dc in 8th ch from hook. The skipped 7 ch count as the first dc, the first ch-2, and 2 skipped base chains. Ch 2, sk 2 ch, dc in next ch; rep from * 7 more times. Turn. (9 O; 10 posts; 28 sts)*
Rows 2–3: Ch 5 (counts as dc and ch 2), dc in next dc, ch 2, dc in next dc; rep from * across, working the last dc in the 3rd ch of the turning ch. Turn. (9 O; 28 sts per row)*
Diamond Repeat (Rows 4–11)
The motif is symmetrical, so read every row from the beginning of the row, on either side.
Row 4: Ch 5, dc in next dc (first O), work 3 more O, 1 B, 4 O. Turn. (4 O, 1 B, 4 O; 12 dc and 16 ch = 28 sts)
Row 5: Ch 5, dc in next dc, 2 more O, 3 B, 3 O. Turn. (3 O, 3 B, 3 O; 16 dc and 12 ch = 28 sts)
Row 6: Ch 5, dc in next dc, 1 more O, 5 B, 2 O. Turn. (2 O, 5 B, 2 O; 20 dc and 8 ch = 28 sts)
Row 7 (centre row): Ch 5, dc in next dc, 3 B, 1 O, 3 B, 1 O. Turn. (1 O, 3 B, 1 O, 3 B, 1 O; 22 dc and 6 ch = 28 sts)
The open mesh in the middle of Row 7 sits directly over a block, so work it as “ch 2, sk 2 dc, dc in next dc.” This creates the open window in the centre of the diamond.
Row 8: Ch 5, dc in next dc, 1 more O, 5 B, 2 O. Turn. (2 O, 5 B, 2 O; 28 sts)
Row 9: Ch 5, dc in next dc, 2 more O, 3 B, 3 O. Turn. (3 O, 3 B, 3 O; 28 sts)
Row 10: Ch 5, dc in next dc, 3 more O, 1 B, 4 O. Turn. (4 O, 1 B, 4 O; 28 sts)
Row 11 (spacer row): Ch 5, dc in next dc, 8 more O. Turn. (9 O; 28 sts)
Each diamond is 7 rows, or 3.5 in (8.9 cm), tall. Each full repeat is 8 rows, or 4 in (10.2 cm).
Rows 12–155: Repeat Rows 4–11 eighteen more times, for 19 diamonds in total. Row 155 is a spacer row.
Rows 156–157: Work as Row 2. This gives 3 open rows at the top (Rows 155–157), matching the 3 open rows at the bottom.
Do not fasten off.
Row total check: 3 + (19 × 8) + 2 = 157 rows. 157 × 0.5 in = 78.5 in (199.4 cm).
Adjusting length: To change the length, add or remove whole repeats. Each repeat changes the strip by 4 in (10.2 cm). Keep the 3 open rows at each end.
Make All Pieces
- Color A (blue): 4 strips
- Color B (cream): 3 strips
Layout, from left to right as you face the doorway:
| A | B | A | B | A | B | A |
 S1  S2  S3  S4  S5  S6  S7
Each strip is identical apart from its colour. Label the strips with markers as you finish them, so you can keep track of the blue/cream count.
Joining (Hanging Layout)
This curtain has no seams. The strips are deliberately left separate so they part easily when you walk through, and so each one hangs straight without pulling on its neighbours. Their only “join” is the rod.
Method: Slide each strip’s tab loop onto the rod in the order of the layout grid. Leave a 1 in (2.5 cm) gap between strips.
Logic: There are 7 strips at 5 in (12.7 cm) each, which makes 35 in (88.9 cm) of crochet. Add 6 gaps of 1 in (2.5 cm) and the total is 41 in (104.1 cm). This covers a standard 36 in (91.4 cm) doorway, with a little overlap onto the trim on each side.
Tension: Make every tab loop to the same length so the bottom edges line up. A difference of even 2 rows in a tab shows at the floor.
Size checkpoint: Once the strips are hung, the bottom edges should sit level, about 1 in (2.5 cm) above the floor on an 80 in (203.2 cm) door.
Border
Each strip gets one round of sc, worked in the same colour as the strip.
Border gauge: 6 sc = 1 in (2.5 cm).
Round 1 (continue from Row 157 with RS facing): Ch 1, then work the 4 sides as follows.
- Top edge: Sc in the same st as the ch 1. Then sc in each dc and in each ch across, finishing in the 3rd ch of the turning ch. (28 sc. The first and last sc are this side’s 2 corner sc.) Ch 2 for the corner.
- Long side: Work 3 sc in each row-end, down all 157 rows. (471 sc, all worked between the corner ch-2s, with no corner sc of their own.) Ch 2 for the corner.
- Bottom edge: Working into the foundation ch, sc in each of the 28 base sts. Put the first sc in the base of the first dc, 2 sc in each ch-2 base gap, and 1 sc at the base of each dc. (10 + 18 = 28 sc, including this side’s 2 corner sc.) Ch 2 for the corner.
- Second long side: 3 sc in each row-end up all 157 rows. (471 sc) Ch 2, then sl st to the first sc.
Round total: 28 + 471 + 28 + 471 = 998 sc, plus 4 corner ch-2 spaces.
Why the math works: The short edges convert 1 sc into each existing stitch: 28 sts become 28 sc, with nothing added. Across 4.5 in (11.4 cm), that is 6.2 sc per inch, which matches the border gauge. On the long sides, each dc row is 0.5 in (1.3 cm) tall, and 3 sc per row-end works out to 6 sc per inch. That is the same density as the border gauge, so the edges stay flat: they won’t ruffle (too many stitches) or pull in (too few). The ch-2 corners let the edging turn without crowding.
Hanging Tab
Row 1: With RS facing, count the 28 sc of the top edge and join yarn in sc 11. Ch 1, sc in the same st and in each of the next 7 sc. Turn. (8 sc, centred, with 10 sc left on each side)
Rows 2–25: Ch 1, sc in each sc across. Turn. (8 sc per row)
The tab should now measure about 5 in (12.7 cm) long and 1.3 in (3.3 cm) wide. Fasten off, leaving a 12 in (30.5 cm) tail. Fold the tab to the WS and whipstitch the last row to the base of Row 1 of the tab. This makes a loop about 2.5 in (6.4 cm) deep, which fits rods up to 1.5 in (3.8 cm) across.
Final Blocking
- Weave in all ends along solid blocks or the border, never across open mesh.
- Soak each strip in cool water for 10 minutes. Press out the water; don’t wring the strip.
- Roll it in a towel to remove the excess water.
- Lay the strip flat on the blocking surface. If your surface is short, block the strip in sections.
- Pin the long edges straight, so the strip is 5 in (12.7 cm) wide along its whole length.
- Gently stretch the strip lengthwise to 79 in (200.7 cm). Check that the meshes look square.
- Run a ruler down the centre column to make sure the diamonds line up straight.
- Let the strip dry completely, then unpin it. Pin the tab flat so it dries without twisting.
Final Quality-Control Checklist
- All 7 strips are 9 mesh wide, 157 rows long, and have 19 diamonds.
- Every diamond has a single, clean centre window.
- There are 3 open rows at both ends of every strip.
- Each border has 28 sc on the short sides and 471 on the long sides.
- Blocked size is 5 in × 79 in (12.7 × 200.7 cm).
- All 7 tabs have 25 rows and are folded to the WS.
- The colour order is A-B-A-B-A-B-A.
- No loose ends show through the mesh.
Troubleshooting
- Strip slants or twists: You are probably missing the last dc into the turning ch. Count 10 posts every row.
- Diamonds lean off-centre: You miscounted the opening O meshes. Re-read the row and count both sides.
- Centre window is closed: You worked a block instead of “ch 2, sk 2 dc” on Row 7.
- Long edges ripple: Your border is too dense. Try 5 sc per 2 row-ends on a test section, or go down a hook size for the border.
- Long edges pull in: Work the border more loosely, or use a 3.5 mm hook for the border only.
- Strips are different lengths: Your tension drifted between strips. Block all strips to 79 in (200.7 cm) and compare row counts.
- Loop won’t fit the rod: Add rows to the tab, 2 rows at a time.
Care
Hand wash cool and lay flat to dry. If the strips start to sag after a season of hanging, a quick re-block will restore their shape.
Final Notes
The measurements build on each other. Each mesh is 0.5 in (1.3 cm), so 9 meshes make a 4.5 in (11.4 cm) strip. The 157 rows give 78.5 in (199.4 cm) of length. One round of border adds 0.25 in (0.6 cm) per side, for a finished strip of 5 in × 79 in (12.7 × 200.7 cm). Seven strips with 1 in (2.5 cm) gaps span 41 in (104.1 cm). Check your gauge on the first strip and the other six will match it.
Happy crocheting!