
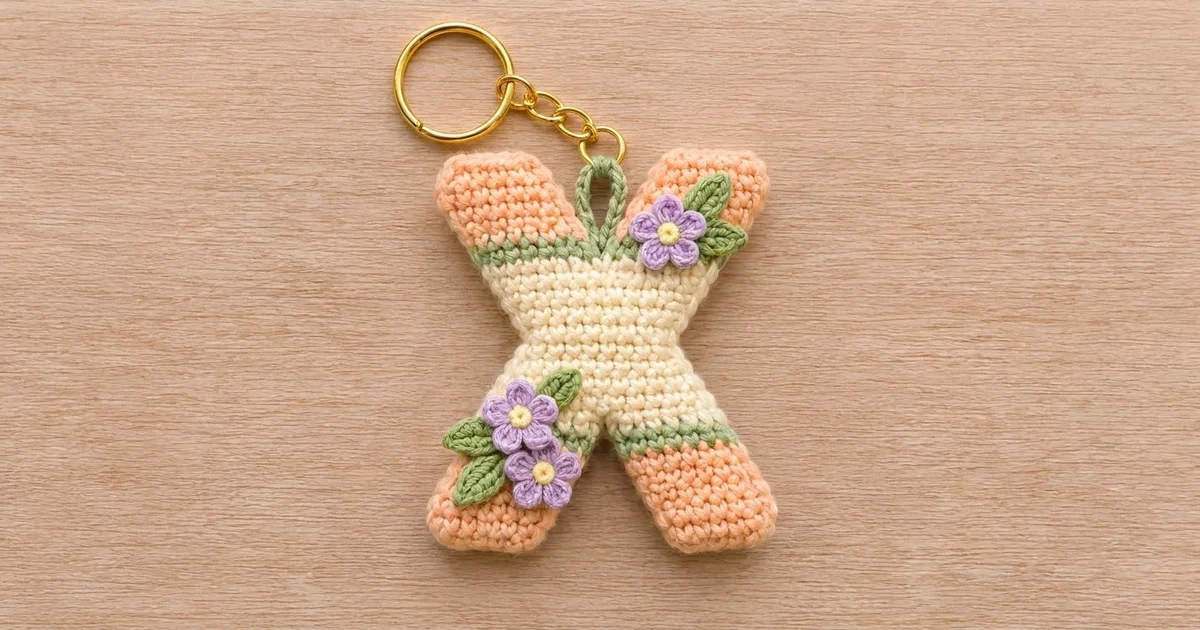
This letter X keychain is a small, puffy initial charm that looks soft and fresh. Each of the four legs has a peach tip and a slim sage green stripe, and the center is cream. Tiny lilac flowers with green leaves sit on two of the legs, and a sage loop at the top holds a gold key ring.
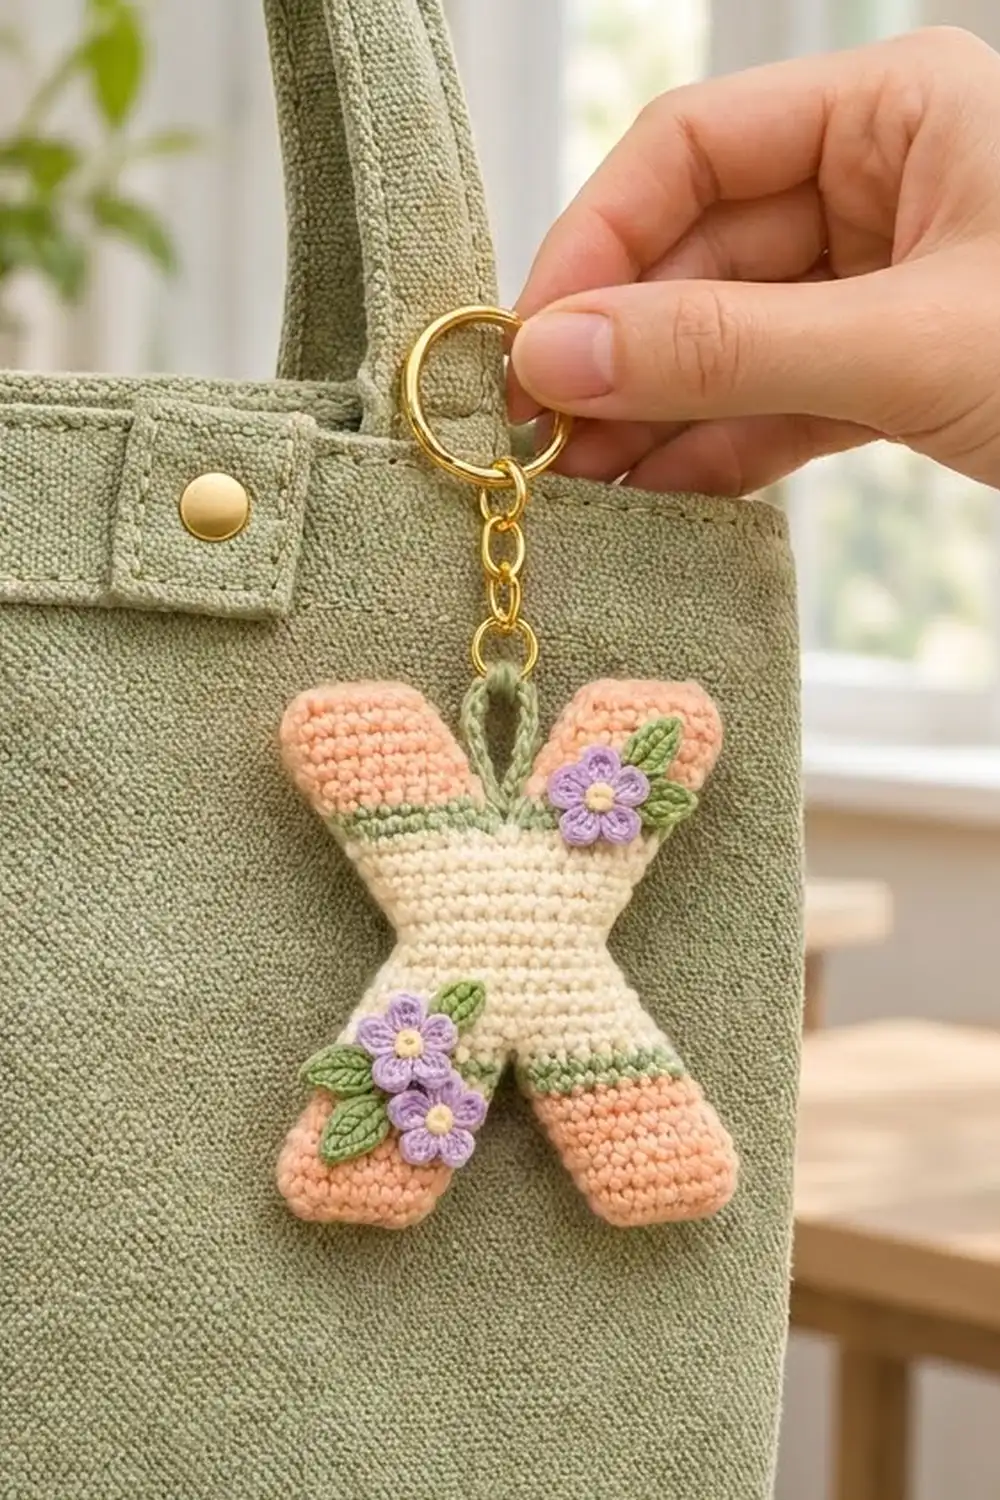
The style is neat and modern. Tight single crochet gives the keychain a firm surface, and a light layer of stuffing makes it feel cushioned. The peach, cream and sage palette goes well with canvas totes, and the lilac flowers add a little contrast. It works as a bag charm, a zipper pull or a personalized gift.
This pattern uses US crochet terms. The finished keychain measures about 3.5 in (8.9 cm) wide and 4.25 in (10.8 cm) tall, not counting the loop and hardware, and it is about 0.5 in (1.3 cm) thick.
You will crochet two identical flat X panels from the bottom up in rows. Each panel starts as two separate bottom legs, which join into one center section and then split again into two top legs. Then you place the panels together, join them with a color-matched single crochet edging round, stuff lightly as you go, add the loop and sew on the flowers and leaves.
Finished Size and Construction
- Finished size: 3.5 in (8.9 cm) wide x 4.25 in (10.8 cm) tall
- Skill level: Easy-intermediate
- Terminology: US terms
- Yarn weight: DK / light worsted (weight 3), cotton or cotton blend
- Hook: 3.0 mm
- Number of pieces: 1 keychain (2 X panels, 3 flowers, 5 leaves, 1 loop)
- Layout: Single letter, front panel and back panel stacked wrong sides together
- Panel size: 18 sts wide x 24 rows tall
- Size before border: 3.25 in (8.3 cm) wide x 4 in (10.2 cm) tall
- Border depth: about 1/8 in (0.3 cm) on every edge
Materials
Use a smooth cotton or cotton-blend DK yarn. Cotton holds the letter shape crisply and makes the stitches look clear. Avoid fuzzy yarns, because they hide the color stripes and the shape.
- Peach: 8 g / 20 m
- Cream: 6 g / 15 m
- Sage green: 5 g / 12 m
- Lilac: 2 g / 5 m
- Yellow: 1 g / 2 m
All quantities include a margin for swatching and weaving in ends.
Tools:
- 3.0 mm crochet hook
- Tapestry needle
- Small amount of polyester fiberfill
- 1 in (2.5 cm) gold split ring with a short chain and jump ring
- Stitch markers
- Scissors
- Ruler or measuring tape
Abbreviations (US Terms)
- ch – chain
- sl st – slip stitch
- sc – single crochet
- hdc – half double crochet
- dc – double crochet
- sc2tog – single crochet 2 together
- st(s) – stitch(es)
- MR – magic ring
- RS / WS – right side / wrong side
Special stitch: Shift row. A shift row keeps the leg at 6 sts but moves it sideways by 1 stitch. You add 1 stitch at one end (2 sc in that st) and remove 1 at the other end (sc2tog). Each shift row is written out exactly where it appears.
Edge names: On each leg, the outer edge is the side that forms the outside of the letter. The inner edge faces the V-notch.
Gauge and Checkpoints
Gauge: 11 sc x 12 rows = 2 in (5.1 cm) in sc worked flat.
Crochet one complete panel before the second one. A single panel is the best gauge test, because it checks both your stitch width and your row height.
Checkpoints:
- After Row 9 (each bottom leg): The leg is 1.5 in (3.8 cm) tall and about 1.1 in (2.8 cm) wide.
- After Row 10: The joined row is 12 sts, about 2.2 in (5.6 cm) across.
- After Row 15: The panel is 2.5 in (6.4 cm) tall.
- Finished panel: 3.25 in (8.3 cm) wide across the leg tips x 4 in (10.2 cm) tall.
If the panel is too big, go down to a 2.75 mm hook. If it is too small, go up to a 3.25 mm hook. A difference of up to 1/8 in (0.3 cm) is fine. Do not change the stitch counts, because the shape depends on them.
X Panel (Make 2)
Change color in the last yarn over of the previous row. The ch 1 at the start of each row does not count as a stitch.
Bottom Leg A
With peach, ch 7.
Row 1: Sc in 2nd ch from hook and in each ch across. (6 sts) This row starts at the inner edge. From here on, odd rows start at the inner edge and even rows start at the outer edge.
Row 2: Ch 1, turn, sc in each st across. (6 sts)
Row 3 (shift row): Ch 1, turn, 2 sc in first st, sc 3, sc2tog. (6 sts) The leg moves 1 st toward the center.
Rows 4–5: Ch 1, turn, sc across. (6 sts)
Row 6 (shift row): Ch 1, turn, sc2tog, sc 3, 2 sc in last st. (6 sts) Change to sage green in the last st.
Rows 7–8: With green, ch 1, turn, sc across. (6 sts) Change to cream at the end of Row 8.
Row 9 (shift row): With cream, ch 1, turn, 2 sc in first st, sc 3, sc2tog. (6 sts)
Fasten off. Leg A now sits 3 sts closer to the center than it did at Row 1.
Bottom Leg B
Repeat Rows 1–9 exactly as for Leg A, but do not fasten off. Row 9 ends at the outer edge of Leg B.
Center Section
Row 10 (joining row): Ch 1, turn. Sc in each of the 6 sts of Leg B. Lay Leg A next to it so the two inner edges touch and the legs lean toward each other like an upside-down V. Turn Leg A over if you need to; single crochet looks nearly the same on both sides. Then sc in each of the 6 sts of Leg A’s Row 9, starting from its inner edge. (12 sts)
Rows 11–15: Ch 1, turn, sc across. (12 sts)
The center is now 6 rows of cream (Rows 10–15).
Top Leg C
Row 16 (split and shift row): Ch 1, turn, 2 sc in first st, sc 3, sc2tog. Leave the remaining 6 sts unworked. (6 sts) This row starts at the outer edge and moves the leg 1 st outward.
Row 17: Ch 1, turn, sc across, changing to green in the last st. (6 sts)
Row 18: With green, ch 1, turn, sc across, changing to peach in the last st. (6 sts)
Row 19 (shift row): With peach, ch 1, turn, sc2tog, sc 3, 2 sc in last st. (6 sts)
Rows 20–21: Ch 1, turn, sc across. (6 sts)
Row 22 (shift row): Ch 1, turn, 2 sc in first st, sc 3, sc2tog. (6 sts)
Rows 23–24: Ch 1, turn, sc across. (6 sts)
Fasten off.
Top Leg D
Row 16: Join cream in the first unworked st of Row 15, right next to Leg C. Ch 1, sc2tog, sc 3, 2 sc in last st. (6 sts) This row starts at the inner edge and moves the leg outward.
Row 17: Ch 1, turn, sc across, changing to green in the last st. (6 sts)
Row 18: With green, ch 1, turn, sc across, changing to peach in the last st. (6 sts)
Row 19 (shift row): With peach, ch 1, turn, 2 sc in first st, sc 3, sc2tog. (6 sts)
Rows 20–21: Ch 1, turn, sc across. (6 sts)
Row 22 (shift row): Ch 1, turn, sc2tog, sc 3, 2 sc in last st. (6 sts)
Rows 23–24: Ch 1, turn, sc across. (6 sts)
Fasten off. Weave in all ends on the WS.
Panel check: The color bands run 6 rows peach, 2 rows green, 8 rows cream, 2 rows green and 6 rows peach (6 + 2 + 8 + 2 + 6 = 24 rows). The leg tips span 18 sts, and the waist is 12 sts.
Flowers (Make 3)
With lilac, make a MR.
Round 1: Ch 1, 5 sc in ring, sl st to first sc. (5 sts)
Round 2: (Ch 2, 2 dc, ch 2, sl st) in each st around. (5 petals)
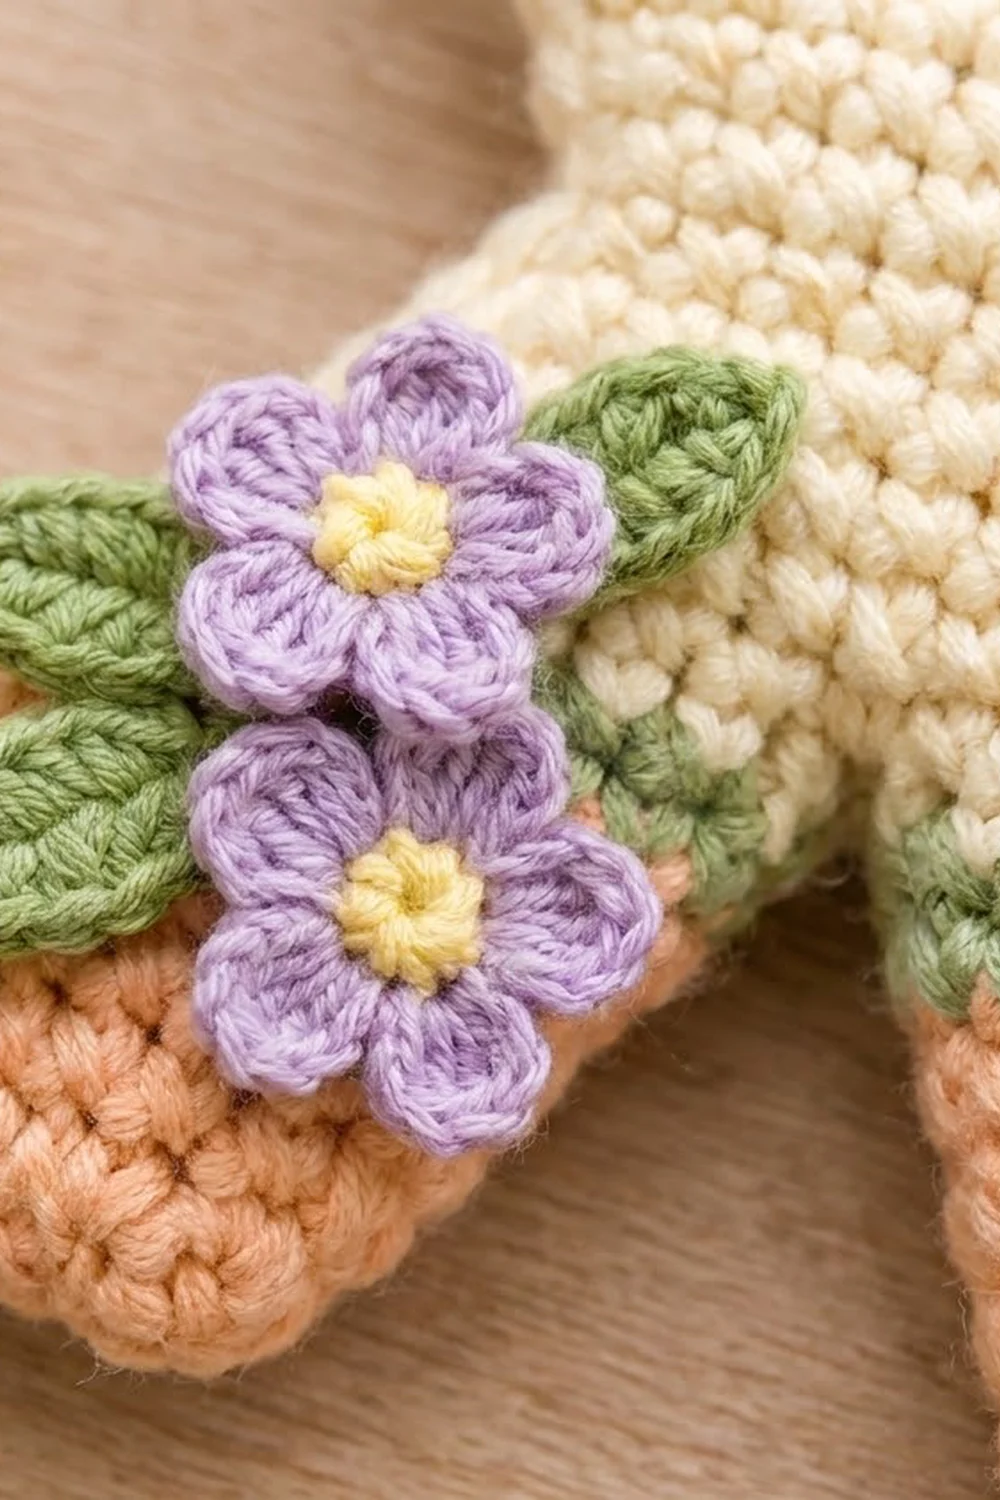
Fasten off and leave an 8 in (20.3 cm) tail for sewing. Use yellow to embroider one French knot in the center. Each flower measures about 0.75 in (1.9 cm) across.
Leaves (Make 5)
With sage green, ch 6.
Row 1: Starting in the 2nd ch from hook, work sc, hdc, dc, hdc, sl st along the chain. (5 sts) Ch 1, then rotate to work along the free loops of the foundation chain. Work sl st, hdc, dc, hdc, sc, then sl st into the tip. (5 sts)
Fasten off and leave a 6 in (15.2 cm) tail. Each leaf is about 0.75 in (1.9 cm) long.
Border (Joining Round)
The border is a single round of sc that joins the front and back panels and frames the letter.
Border gauge: Work 1 sc in each stitch along the leg tips and 1 sc in each row end along the sides. Single crochet worked into row ends adds a little extra fullness, but the two layers and the stuffing take it up, so the edge stays flat instead of rippling.
Place the two panels wrong sides together and match all the edges. Work each stitch through both layers. Use the color that matches the rows behind it:
- Peach: along Rows 1–6 and 19–24 and across the leg tips
- Green: along Rows 7–8 and 17–18
- Cream: along Rows 9–16
Carry the unused colors loosely between the layers, where the stuffing will hide them.
Leg tips (4): On each tip, work 3 sc in the first st, 1 sc in each of the next 4 sts and 3 sc in the last st. That gives 10 sc per tip: the 6 tip sts worked once each, plus 4 extra corner sts. The 2 corner stitches on each tip are already included in the 10.
Outer sides (2): Work 1 sc in each row end from Row 1 to Row 24. (24 sc per side)
Notches (2): Each notch has 9 row ends on one leg and 9 on the other. Work 1 sc in each row end, but work the 2 row ends at the deepest point of the V together as a sc2tog. That gives 16 sc + 1 sc2tog = 17 sts per notch.
Stuffing: When about 1.5 in (3.8 cm) of edge is left, push small wisps of fiberfill into each leg and the center. Use just enough for a soft, even puff about 0.5 in (1.3 cm) thick. Use a hook or chopstick to reach into the leg tips. Then close the edge.
Round total: 4 tips x 10 = 40; 2 sides x 24 = 48; 2 notches x 17 = 34. Total: 122 sts. As a cross-check: 24 tip sts + 16 corner extras = 40, and 84 row ends − 2 for the sc2togs = 82. 40 + 82 = 122.
Why the math works: The 3-sc corners let the square tips turn cleanly, and the sc2tog in each notch keeps the V sharp instead of bulging. Everywhere else, 1 sc per row end matches the 24 rows exactly, so the outline grows by only one stitch depth. That adds 1/8 in (0.3 cm) on each edge and takes the 3.25 x 4 in (8.3 x 10.2 cm) panel to 3.5 x 4.25 in (8.9 x 10.8 cm).
Sl st to the first sc and fasten off. Hide the tail inside the keychain.
Hanging Loop
Join sage green at the sc2tog in the top notch. Ch 14, then sl st in the same st. Work 18 sc over the chain loop and sl st to the base. The loop stands about 1 in (2.5 cm) tall. Open the jump ring, thread it through the loop and close it firmly. Attach the chain and split ring.
Appliqués
On Leg C (top right), sew one flower just above the green stripe, with one leaf above it and one leaf to its right. On Leg A (bottom left), sew two overlapping flowers just below the green stripe, with one leaf above them and two leaves to their left. Stitch through the front panel only, using small hidden stitches at each petal tip and along each leaf edge.
Final Blocking
- Lightly mist the keychain with water. Do not soak it, because of the stuffing.
- Shape the legs with your fingers so they are straight and parallel and the tips are square.
- Pinch each notch into a clean V.
- Lay the keychain flat on a towel, flowers up, and check that it measures 3.5 x 4.25 in (8.9 x 10.8 cm).
- Let it dry completely before you use it.
Final Quality-Control Checklist
- Both panels are 18 sts across the tips and 24 rows tall.
- The color bands line up on the front and back.
- The border round has 122 sts, and each leg tip has 10.
- The notch Vs are sharp and centered.
- The stuffing is even, with no lumps and no flat legs.
- The loop is firmly anchored at the top notch.
- The jump ring is fully closed.
- The flowers and leaves are secure, and no stitches show.
- All ends are hidden inside.
Troubleshooting
The legs lean the wrong way. A shift row started at the wrong edge. Check that odd rows on the bottom legs start at the inner edge.
The panels don’t match. Count the rows and compare them with the checkpoints. Frog any extra rows or add any missing ones.
The edge ripples. You added stitches along a side. Use exactly 1 sc per row end.
The notch is lumpy. The sc2tog was skipped. Work it at the deepest point of the V.
The keychain is too firm. Remove some stuffing before you close the edge.
Carried yarn shows. Keep the carried strands between the layers and leave them loose.
The color changes look jagged. Change color in the last yarn over of the previous stitch, and tug the old tail snug.
The flowers curl. Steam them lightly and pin them flat before you sew them on.
Care
Hand wash in cool water and press out the water with a towel. Lay flat to dry, away from direct heat.
Final Notes
The measurement chain is simple. A gauge of 11 sc x 12 rows = 2 in (5.1 cm) gives legs 1.1 in (2.8 cm) wide and a panel 3.25 x 4 in (8.3 x 10.2 cm). The 122-stitch border adds 1/8 in (0.3 cm) on every edge, so the finished keychain measures 3.5 x 4.25 in (8.9 x 10.8 cm). If you check each stage as you go, the final size will be right.
Happy crocheting!