
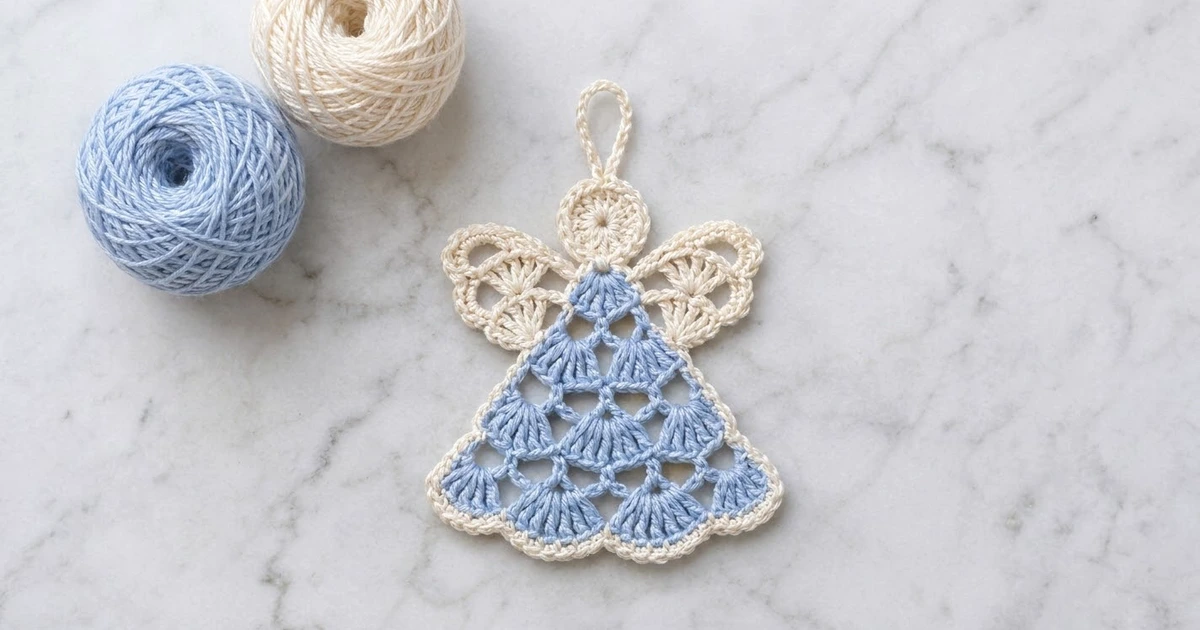
The Bluebell Shell Angel is a small, lacy tree ornament. Her skirt is a triangle of light blue dc shells with open mesh between them, so light shows through when she hangs on the tree. Cream wings, a round cream head and a crisp cream edging set off the soft blue.
The style is classic Scandinavian-inspired lace: fans and arches with no beads or extras. Two colors keep it calm. You can make one for a gift tag or a whole flock for the tree.
This pattern uses US crochet terms. The finished angel measures about 4 in (10.2 cm) tall and 4 in (10.2 cm) wide at the hem, not counting the hanging loop. The loop adds about 1.25 in (3.2 cm).
You work the skirt top-down in rows, starting with a single shell at the point and adding one shell every second row until the hem has four. Then a cream border goes around the skirt. The head and wings are small separate parts that you sew on, and the hanging loop is worked last from the top of the head.
Finished Size and Construction
- Finished size: 4 in (10.2 cm) tall x 4 in (10.2 cm) wide, plus a 1.25 in (3.2 cm) loop
- Skill level: Easy-intermediate
- Terminology: US
- Yarn weight: Sport (#2), cotton or cotton blend
- Hook: 3.25 mm (US D-3)
- Number of pieces: One ornament, made from 4 small parts (skirt, head, 2 wings) plus a loop worked in place
- Layout: Head over the skirt point, one wing behind each upper side of the skirt
- Skirt size before border: 3.5 in (8.9 cm) wide x 2.75 in (7.0 cm) tall
- Border depth: 0.25 in (0.6 cm)
- Skirt size after border: 4 in (10.2 cm) wide x 3 in (7.6 cm) tall
- Head: 1.25 in (3.2 cm) across
- Each wing: 1.5 in (3.8 cm) wide x 1 in (2.5 cm) tall
Materials
Use a smooth, mercerized sport-weight cotton. It shows shell texture clearly, blocks crisply and does not fuzz on the tree. Acrylic works too, but the lace will look softer and less defined.
- Color A, light blue: 8 g, about 25 m (skirt)
- Color B, cream: 8 g, about 25 m (border, head, wings, loop)
Both quantities include a margin of roughly 30%, so you won’t run short.
Tools:
– 3.25 mm (US D-3) crochet hook
– Tapestry needle
– Scissors
– Stitch marker
– Rustproof pins and a blocking mat or folded towel
– Spray bottle with water
– Optional: spray starch for a stiffer ornament
Abbreviations (US Terms)
- ch – chain
- sl st – slip stitch
- sc – single crochet
- dc – double crochet
- sp – space
- st(s) – stitch(es)
- RS – right side
Special stitch: Shell – 7 dc worked into the same stitch or space. In this pattern every shell opens downward and forms one scallop at the hem. The center (4th) dc of each shell is the anchor point for the next mesh row.
Gauge and Checkpoints
Gauge is not critical for an ornament, but it controls the size and how open the lace looks. Work the skirt through Row 3 and measure before you continue.
- Shell gauge: one 7-dc shell plus its neighboring sc = 0.875 in (2.2 cm) wide
- Row gauge: shell row = 0.5 in (1.3 cm) tall; mesh row = 0.25 in (0.6 cm) tall
Checkpoints:
– After Row 3 (2 shells): 1.75 in (4.4 cm) wide, 1.25 in (3.2 cm) tall
– After Row 5 (3 shells): 2.625 in (6.7 cm) wide, 2 in (5.1 cm) tall
– After Row 7 (4 shells): 3.5 in (8.9 cm) wide, 2.75 in (7.0 cm) tall
– After the border: 4 in (10.2 cm) wide, 3 in (7.6 cm) tall
If your piece is too big, go down 0.25 mm in hook size or chain a little more firmly. If it is too small, go up 0.25 mm. Use the same hook for the head and wings so all the parts stay in proportion.
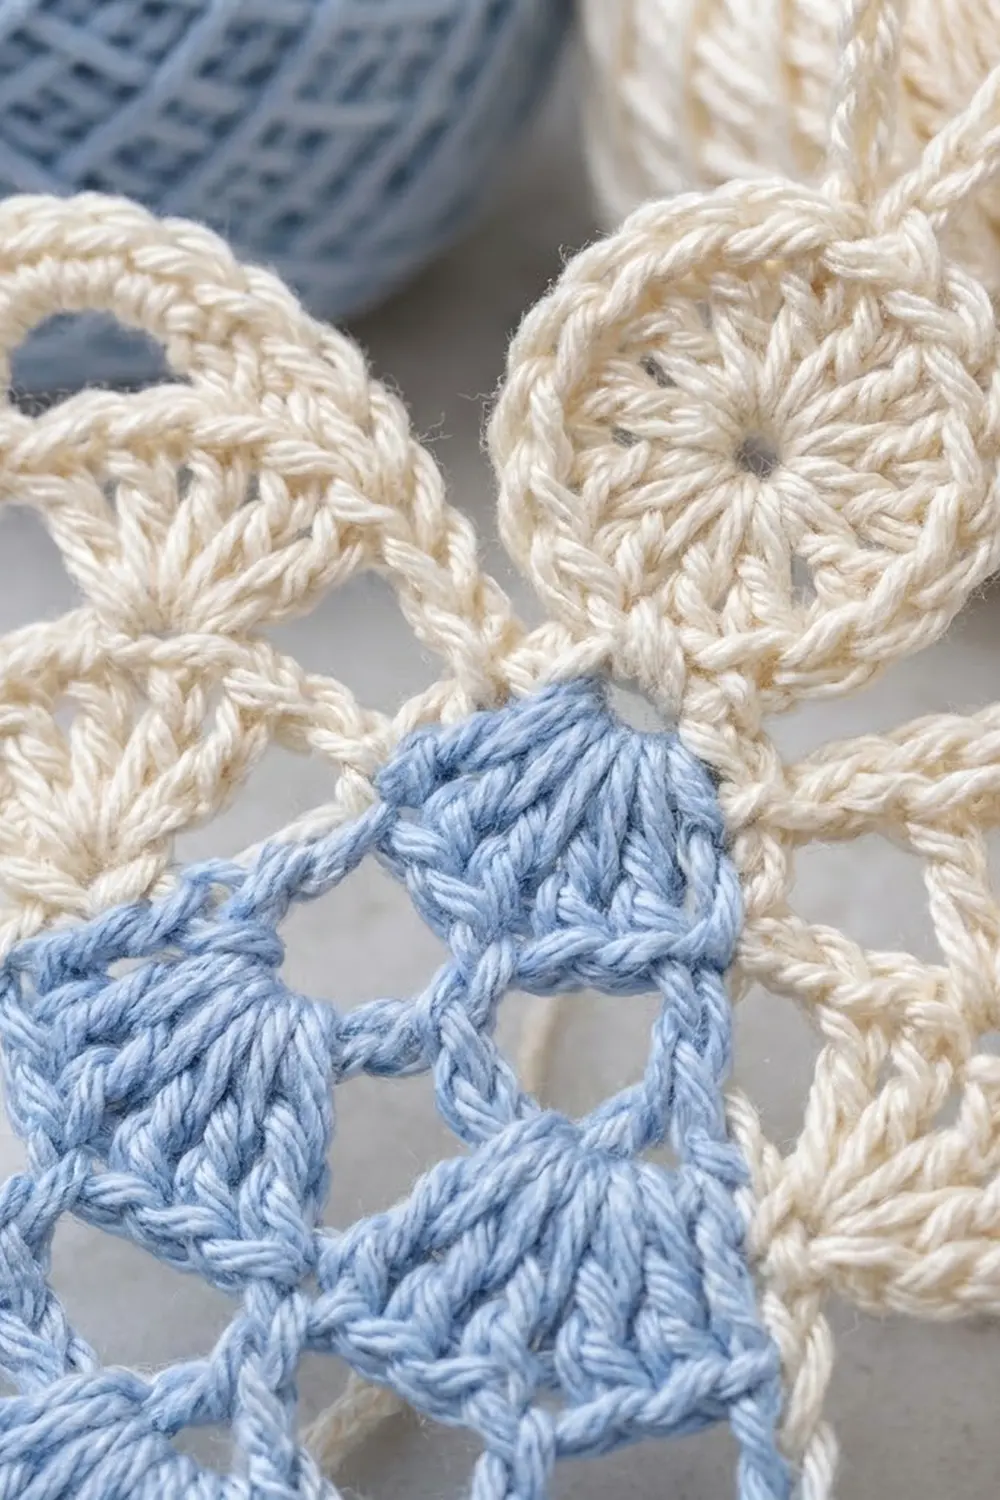
Skirt (Color A, Light Blue)
You work the skirt in rows, turning at the end of each row. The shells open downward, so the last row you make becomes the scalloped hem.
Row 1 (RS): Ch 4, 6 dc in 4th ch from hook. Turn. (7 dc: the skipped ch counts as the first dc. 1 shell.)
The base of this shell is the top point of the skirt. Place a marker there.
Row 2 (mesh): Ch 1, sc in first dc, ch 4, sk 2 dc, sc in center (4th) dc, ch 4, sk 2 dc, sc in top of beginning ch. Turn. (3 sc, 2 ch-4 sps.)
Row 3 (shells): Ch 1, sc in first sc, [7 dc in next ch-4 sp, sc in next sc] 2 times. Turn. (2 shells: 14 dc + 3 sc = 17 sts.)
Row 4 (mesh): Ch 1, sc in first sc, ch 4, sc in center dc of first shell, ch 4, sc in center dc of next shell, ch 4, sc in last sc. Turn. (4 sc, 3 ch-4 sps.)
The middle ch-4 skips the sc between the two shells. This makes the open diamond you can see between the fans.
Row 5 (shells): Ch 1, sc in first sc, [7 dc in next ch-4 sp, sc in next sc] 3 times. Turn. (3 shells: 21 dc + 4 sc = 25 sts.)
Row 6 (mesh): Ch 1, sc in first sc, ch 4, [sc in center dc of next shell, ch 4] 3 times, sc in last sc. Turn. (5 sc, 4 ch-4 sps.)
Row 7 (shells): Ch 1, sc in first sc, [7 dc in next ch-4 sp, sc in next sc] 4 times. (4 shells: 28 dc + 5 sc = 33 sts.)
Fasten off Color A and weave in the ends.
How the skirt grows: every mesh row has one more ch-4 space than the shell row below it had shells. Each new shell row therefore has one more shell, and the counts run 7, 17, 25, 33. That is a steady gain of 8 sts (one shell plus one sc) per shell row, which gives the skirt its even triangle shape.
Head (Color B, Cream)
Rnd 1: Make a magic ring. Ch 3 (counts as dc), 11 dc in ring. Pull the ring snug but leave a small center hole. Sl st to top of beginning ch-3. (12 dc.)
Rnd 2: Ch 1, 2 sc in each st around. Sl st to first sc. (24 sc.)
Fasten off and leave a 10 in (25.4 cm) tail for sewing.
Checkpoint: the head measures 1.25 in (3.2 cm) across. Rnd 1 alone measures about 0.75 in (1.9 cm).
Wings (Make 2, Color B, Cream)
Row 1 (RS): Ch 4, sl st in first ch to form a ring. Ch 3 (counts as dc), 2 dc in ring, ch 2, 3 dc in ring, ch 2, 3 dc in ring. Turn. (9 dc in 3 groups, 2 ch-2 sps.)
Row 2: Ch 1, sc in first dc, 5 dc in next ch-2 sp, sc in center dc of middle 3-dc group, 5 dc in next ch-2 sp, sc in top of turning ch. Turn. (2 fans: 10 dc + 3 sc = 13 sts.)
Rnd 3 (edging): Ch 1. Along the curved edge, sc in each st across, working 2 sc in the center (3rd) dc of each fan. This gives 13 + 2 = 15 sc. Then work 5 sc evenly along the straight base edge, over the row ends. Sl st to the first sc. (20 sc total.)
Fasten off and leave an 8 in (20.3 cm) tail on each wing.
Checkpoint: each wing measures 1.5 in (3.8 cm) wide x 1 in (2.5 cm) tall.
The wings are identical. When you sew them on, place the second wing with its wrong side facing out so the pair mirrors.
Assembly
Do this after the skirt border is finished (see Border, below).
- Head: Center the head over the skirt point so it overlaps the top of the skirt by 0.25 in (0.6 cm). Whipstitch the lower curve of Rnd 2 to the skirt with the head tail.
- Wings: Lay each wing behind the skirt, with its straight base edge tilted about 30 degrees upward. Let it overlap the skirt edge by 0.25 in (0.6 cm). The top of each wing should line up with the bottom of the head. Sew the base edge to the back of the skirt border with small stitches that don’t show from the front.
- Check: the wingspan measures about 3.5 in (8.9 cm). Total height from head top to hem is 1.25 in + 3 in − 0.25 in = 4 in (10.2 cm).
Hanging loop: Join Color B with a sl st in the top center sc of the head. Ch 18, then sl st in the same st. Turn and work 24 sc into the ch-18 loop. Sl st to the head and fasten off. The loop stands about 1.25 in (3.2 cm) tall.
Border (Color B, Cream)
Border gauge: about 13 sc per 2 in (5.1 cm) along the slanted sides. Along the hem, the stitches pack closer around the curved scallops.
This border is one round of sc followed by one round of sl st. In the side counts below, the corner stitches are counted separately and are not included.
Rnd 1: With RS facing, join Color B with a sl st at the top point (the base of Row 1).
- Top point: Ch 1, 3 sc in the top point. (3 sc.)
- First side, between corners: Work 3 sc in the end of each shell row (Rows 1, 3, 5, 7) and 2 sc in the end of each mesh row (Rows 2, 4, 6). That is 12 + 6 = 18 sc. For Row 7, work the 3 sc along the post of the outer dc, stopping before the edge sc.
- First bottom corner: 3 sc in the edge sc of Row 7. (3 sc.)
- Hem, between corners: For each shell, sc in each of the first 3 dc, 3 sc in the center dc, then sc in each of the last 3 dc. Skip the sc between shells. Per shell that is 9 sc, so 4 shells give 36 sc. As a conversion: 28 dc worked 1-per-stitch, plus 8 extra sc (2 extra at each of 4 centers) = 36 sc.
- Second bottom corner: 3 sc in the edge sc of Row 7. (3 sc.)
- Second side, between corners: Mirror the first side, working up toward the point: 18 sc.
- Sl st to the first sc.
Rnd 1 total: 3 + 18 + 3 + 36 + 3 + 18 = 81 sc.
Rnd 2: Sl st loosely in each sc around. (81 sl sts.) Fasten off and weave in the ends.
Why the math works: each slanted side measures about 3.25 in (8.3 cm) including its corner. The 18 side sc plus 3 corner sc make 21 sts, which matches the gauge of 13 sc per 2 in (5.1 cm). That keeps the sides flat without ruffling or cupping. On the hem, skipping the sc between shells pulls in the valleys, and the 3 sc at each shell center rounds the peaks. The result is four distinct scallops. The border adds 0.25 in (0.6 cm) on each side, so 3.5 in (8.9 cm) becomes 4 in (10.2 cm). It adds the same 0.25 in (0.6 cm) at the hem, so 2.75 in (7.0 cm) becomes 3 in (7.6 cm).
Final Blocking
- Weave in all remaining tails along stitches of the same color.
- Lightly mist the whole angel with water, or soak it and press it gently in a towel.
- Lay it face up on the blocking mat.
- Pin the top point and the two bottom corners so the skirt measures 4 in (10.2 cm) wide x 3 in (7.6 cm) tall.
- Pin the center of each of the 4 scallops so they curve evenly.
- Open each mesh space with your fingertip so the diamonds look clear.
- Pin each wing at its two fan tips, keeping both wings at the same angle.
- Round out the head and stand the hanging loop upright.
- For a stiffer ornament, apply spray starch now.
- Let it dry completely before you unpin it.
Final Quality-Control Checklist
- The skirt has shell rows of 1, 2, 3 and 4 shells, with open mesh rows between them
- Row 7 has 33 sts and the border Rnd 1 has 81 sc
- Each side has 18 sc between the corners, and both sides look the same
- The hem shows 4 even scallops
- The head is centered and overlaps the skirt by 0.25 in (0.6 cm)
- The wings mirror each other, sit at the same height and are invisible from the front where sewn
- Finished size is 4 in (10.2 cm) x 4 in (10.2 cm), plus a 1.25 in (3.2 cm) loop
- No tails show on the front
Troubleshooting
The skirt curls or cups. Your ch-4 loops are too tight. Chain more loosely, or use ch 5 in the mesh rows only.
The skirt ruffles. Your shells are too loose for the mesh. Go down a hook size, or work the shells a little more firmly.
The sides lean or are uneven. Check that each mesh row starts and ends with an sc in the edge sc. Also check that you skip 2 dc on each side of every center dc.
The hem scallops look flat. Make sure you skip the sc between shells in the border, and that each shell center gets 3 sc.
The head has a large hole in the middle. Pull the magic ring tighter before you join Rnd 1.
The wings droop. Starch them, or add one extra tacking stitch at the upper corner of each wing base.
Care
Hand wash in cool water with mild soap, press out the water in a towel, and reshape flat to dry. Store flat in tissue so the wings and loop keep their shape.
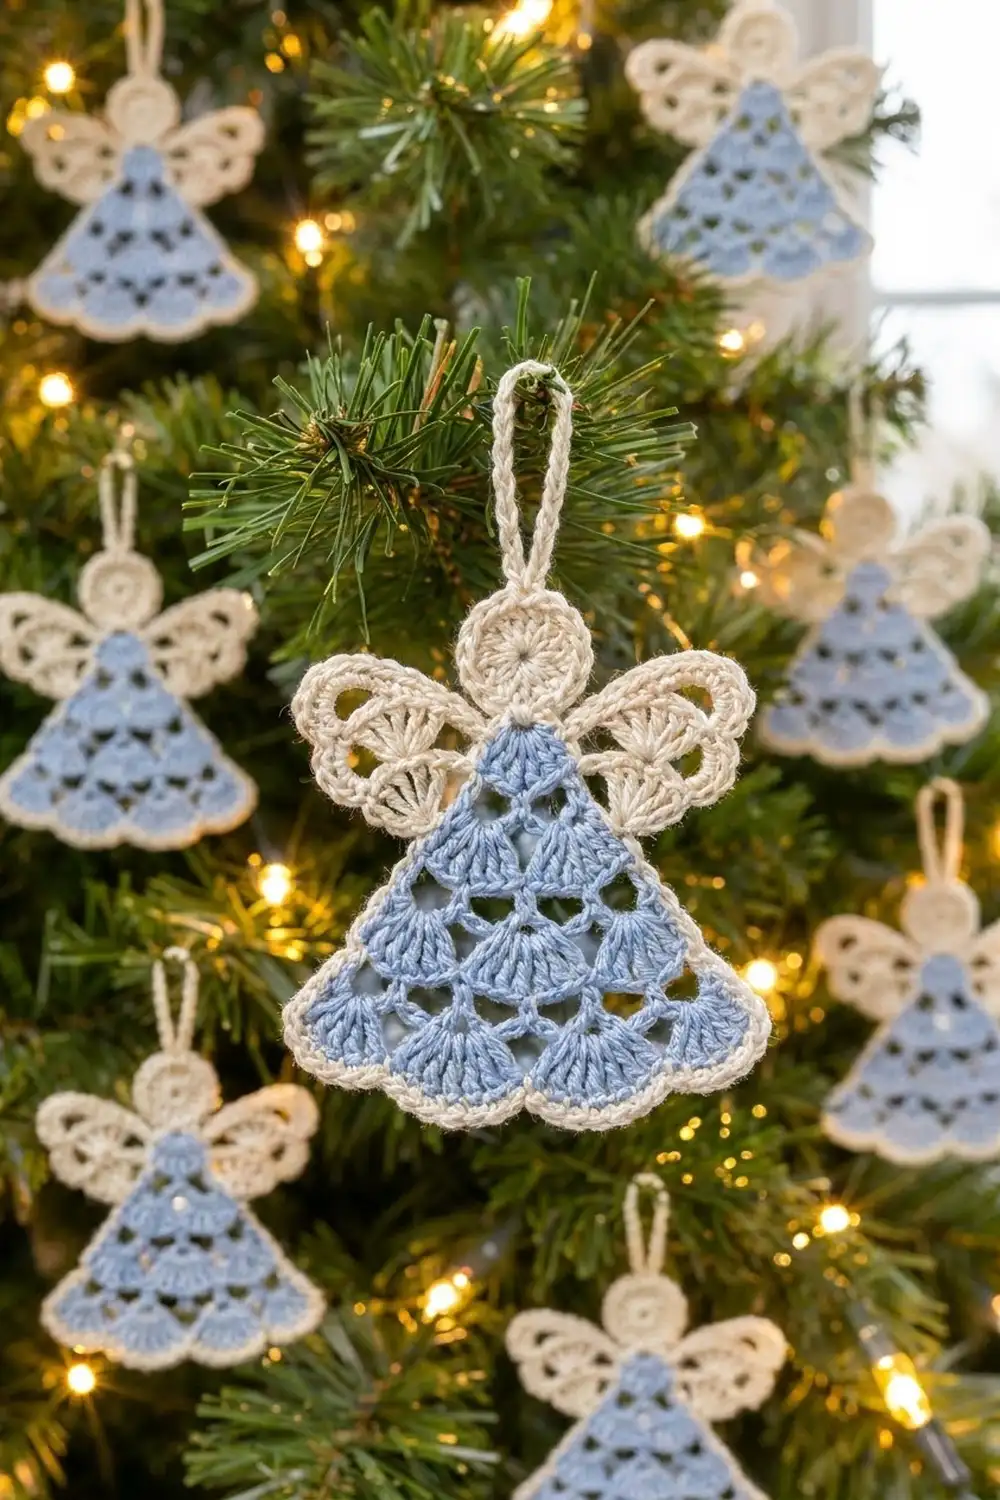
Final Notes
The measurement chain is short and easy to check. Each shell is 0.875 in (2.2 cm) wide, so four shells make a 3.5 in (8.9 cm) hem. The 7 skirt rows measure 2.75 in (7.0 cm). The 0.25 in (0.6 cm) border brings the skirt to 4 in (10.2 cm) x 3 in (7.6 cm). A 1.25 in (3.2 cm) head overlapping by 0.25 in (0.6 cm) makes the angel 4 in (10.2 cm) tall. If you check the Row 3, Row 5 and Row 7 measurements before adding the border, every angel in your flock will match.
Happy crocheting!