

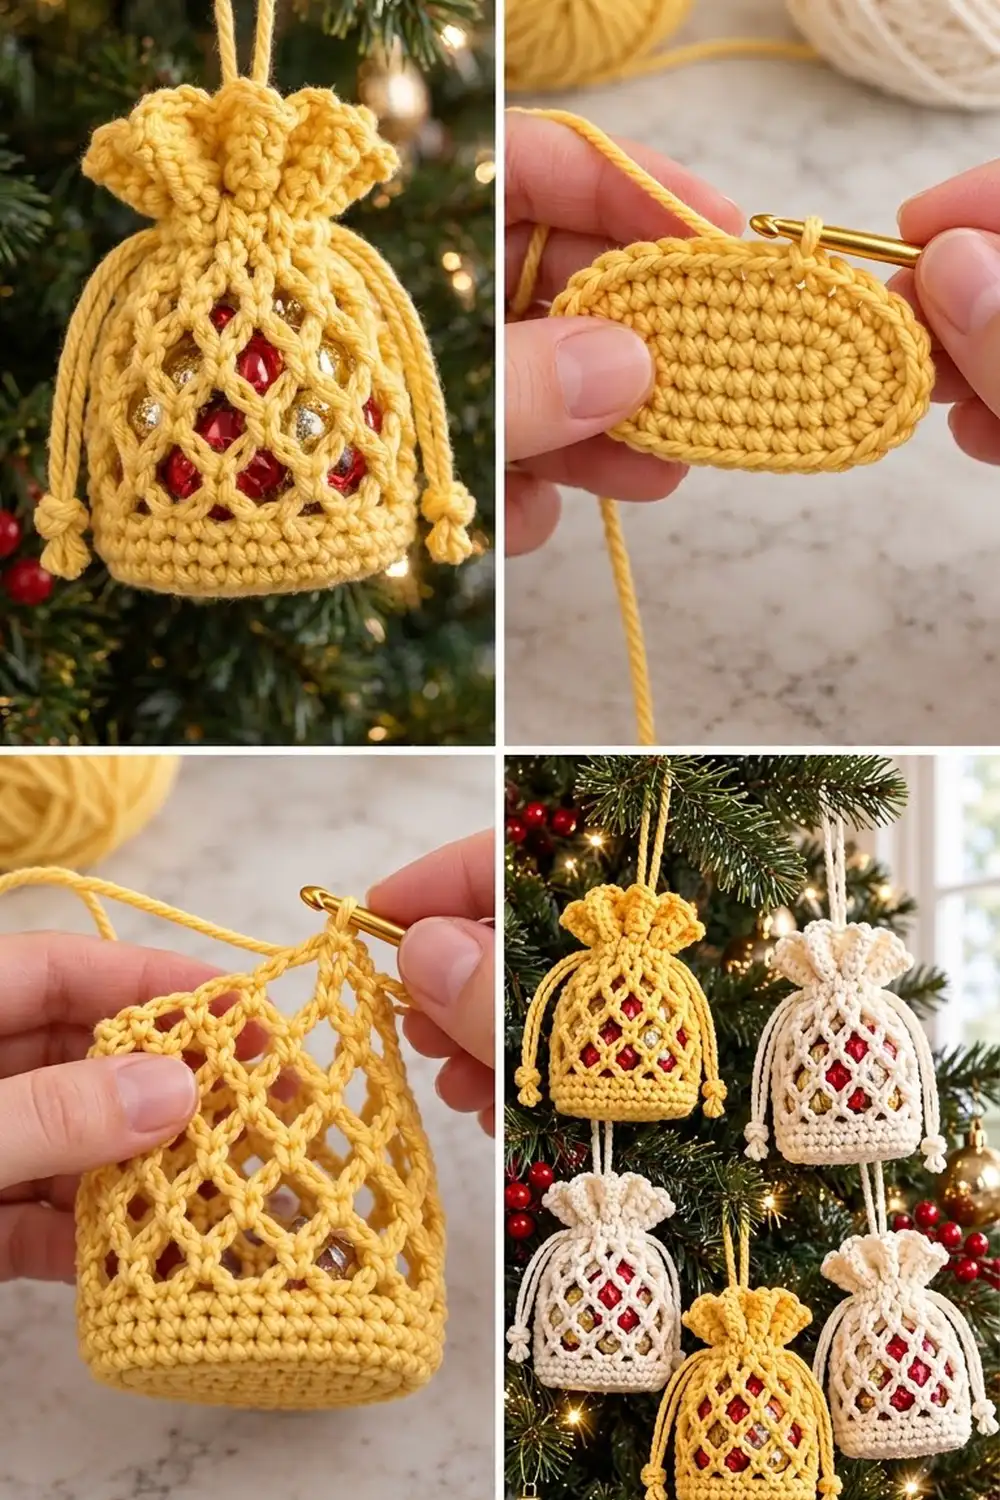
This little pouch ornament has an oval single crochet base, a diamond lattice body and a shell ruffle that flares out when you pull the drawstrings closed. Fill it with tiny red and gold beads, a mini bauble or a wrapped chocolate. The filling shows through the mesh.
The samples are a warm butter yellow and a soft cream. Both look good on a green tree with red berries and gold ornaments. A smooth, mercerized-look cotton shows the stitches most clearly and keeps the lattice crisp.
The pattern uses US crochet terms. The finished ornament is about 3.75 in (9.5 cm) tall including the ruffle and about 3.25 in (8.3 cm) wide when flattened. The base is about 2.5 in x 1.4 in (6.4 cm x 3.6 cm).
You work the pouch in one piece from the bottom up. Start with an oval base, then work a back-loop round that turns the edge up. Next come four solid wall rounds, five chain-loop lattice rounds, a solid band with an eyelet round and a two-round shell ruffle. Two chain cords and a hanging loop finish the ornament.
Finished Size and Construction
- Finished size: 3.75 in (9.5 cm) tall x 3.25 in (8.3 cm) wide, flattened
- Skill level: Easy-intermediate
- Terminology: US crochet terms
- Yarn weight: DK / light worsted cotton (#3)
- Hook: 3.5 mm (E-4)
- Number of pieces: 1 pouch body, plus 2 drawstring cords and 1 hanging loop
- Layout: Single piece, no assembly layout
- Piece size: Base 2.5 in x 1.4 in (6.4 cm x 3.6 cm); circumference 6.5 in (16.5 cm)
- Size before border (ruffle): 3 in (7.6 cm) tall
- Border (ruffle) depth: 0.75 in (1.9 cm)
Materials
Use a smooth DK-weight cotton or cotton blend, about 125 m per 50 g. Cotton holds the open lattice shape well and lasts for years of handling. Avoid fuzzy yarns, because they blur the diamond mesh.
For color, pick a shade that contrasts with your filling. Yellow and cream both make red and gold beads stand out. Darker yarns hide the filling.
Yarn (per ornament, choose one color):
– Color A, Butter Yellow: 12 g / 30 m
– Color B, Cream: 12 g / 30 m
These amounts cover the drawstrings and hanging loop and include a margin of about 20 percent. For a set of five like the one on the tree, buy one 50 g ball of each color.
Tools and notions:
– 3.5 mm (E-4) crochet hook
– Tapestry needle
– Stitch markers
– Scissors
– 10–14 red and gold beads or mini baubles, 10–12 mm, or a small treat
– Ruler or tape measure
– Pins and a blocking surface
Abbreviations (US Terms)
- ch – chain
- sl st – slip stitch
- sc – single crochet
- dc – double crochet
- BLO – back loop only
- sk – skip
- sp(s) – space(s)
- st(s) – stitch(es)
- rnd – round
Special stitch – Shell: 5 dc in the same stitch.
Joining loop: In the lattice rounds, “ch 2, dc in first sc” replaces the last ch-5 loop. It is about as long as a ch-5 loop and leaves your hook at the center of that loop, ready for the next round.
Gauge and Checkpoints
Gauge: 11 sc x 12 rnds = 2 in (5.1 cm) in sc worked in the round.
Make one pouch body through Rnd 4 before you start a full set. Check these measurements at each stage:
- After Rnd 4 (base): 2.5 in x 1.4 in (6.4 cm x 3.6 cm), 36 sts
- After Rnd 9 (solid wall): wall is 0.75 in (1.9 cm) tall
- After Rnd 14 (lattice): total height is 2.25 in (5.7 cm)
- After Rnd 18 (band): total height is 3 in (7.6 cm)
- After Rnd 20 (ruffle): total height is 3.75 in (9.5 cm)
If the base is too big, switch to a 3.25 mm hook. If it is too small or stiff, switch to a 3.75 mm hook. Don’t change the stitch counts, because the lattice needs exactly 36 sts to divide into 12 loops.
Height matters too. Each lattice round should add about 0.3 in (0.8 cm). If your lattice rounds are shorter, loosen your chains instead of adding a round, because an extra round moves the drawstrings.
Pattern: Pouch Body
Oval Base
Ch 9.
Rnd 1: 3 sc in 2nd ch from hook, sc in next 6 ch, 3 sc in last ch. Rotate to work along the other side of the foundation ch, sc in next 6 ch. Sl st to first sc. (18 sts)
Rnd 2: Ch 1, 2 sc in each of next 3 sts, sc in next 6 sts, 2 sc in each of next 3 sts, sc in next 6 sts. Sl st to first sc. (24 sts)
Rnd 3: Ch 1, (sc in next st, 2 sc in next st) 3 times, sc in next 6 sts. Repeat from * once more. Sl st to first sc. (30 sts)
Rnd 4: Ch 1, (sc in next 2 sts, 2 sc in next st) 3 times, sc in next 6 sts. Repeat from * once more. Sl st to first sc. (36 sts)
Check: the base is 2.5 in x 1.4 in (6.4 cm x 3.6 cm) and lies flat.
Solid Wall
Rnd 5: Ch 1, sc in BLO of each st around. Sl st to first sc. (36 sts)
The unused front loops form a ridge that turns the edge up, so the pouch can stand.
Rnds 6–9: Ch 1, sc in each st around. Sl st to first sc. (36 sts each)
Place a marker in the first st of Rnd 9. It marks one narrow end of the oval.
Check: the wall is 0.75 in (1.9 cm) tall.
Diamond Lattice
Rnd 10: Ch 1, sc in first st, ch 5, sk 2 sts, sc in next st. Repeat from * 10 more times. Ch 2, sk 2 sts, dc in first sc. (12 sc, 12 loops)
The sc sts land on sts 1, 4, 7 and so on, up to st 34. Each repeat uses 3 sts, and 12 x 3 = 36.
Rnds 11–14: Ch 1, sc around the post of the joining dc, ch 5, sc in next ch-5 sp. Repeat from * 10 more times. Ch 2, dc in first sc. (12 loops each)
Each sc anchors in the center of a loop below. This shifts each round by half a loop and makes the diamonds. Stretch each round gently upward before you start the next one.
Check: the total height is 2.25 in (5.7 cm).
Solid Band and Eyelets
Rnd 15 (conversion): Ch 1, sc around the post of the joining dc, 3 sc in next ch-5 sp. Repeat from * 10 more times. Work 2 sc in the final joining loop (the ch-2 and dc). Sl st to first sc.
This round goes into spaces, not stitches. The 11 full loops get 3 sc each, for 33 sts. The joining loop gets 1 + 2 = 3 sts. That makes 33 + 3 = 36 sts, the same as the wall.
Rnd 16: Ch 1, sc in each st around. Sl st to first sc. (36 sts)
Rnd 17 (eyelets): Ch 4 (counts as dc and ch 1), sk next st, dc in next st, ch 1, sk next st. Repeat from * 16 more times. Sl st to 3rd ch of beginning ch-4. (18 dc, 18 ch-1 sps)
Rnd 18: Ch 1, sc in same st, sc in next ch-1 sp, sc in next dc, sc in next ch-1 sp. Repeat from * 16 more times. Sl st to first sc. (18 + 18 = 36 sts)
Check: the total height is 3 in (7.6 cm). Mark st 1 and st 19 as the two sides, st 10 as center front and st 28 as center back.
Border: Shell Ruffle
Border gauge: Use the same 3.5 mm hook. Measured flat, the 2 ruffle rounds should be 0.75 in (1.9 cm) deep.
For counting, treat the band as two sides, front and back, of 18 sts each, divided at st 1 and st 19. Each side count already includes its own marker st, so no stitch is counted twice: 18 + 18 = 36.
Rnd 19 (growth): Ch 3 (counts as dc), dc in same st, 2 dc in each of next 35 sts. Sl st to top of ch-3. (72 sts: 36 per side)
Rnd 20 (shells): Ch 1, sc in same st, sk 2 sts, shell in next st, sk 2 sts, sc in next st. Repeat from * 10 more times. Sk 2 sts, shell in next st, sk 2 sts, sl st to first sc. (12 shells and 12 sc: 6 shells per side)
Why the math works: Each shell repeat uses 6 sts: the sc, 2 skipped sts, the shell st and 2 more skipped sts. 72 ÷ 6 = 12 repeats with no leftover stitches. Doubling the 36 band sts to 72 makes the ruffle flare. When the drawstrings pull the 36-st band closed, the flare stands up as a frill.
Fasten off and weave in the ends.
Check: the total height is 3.75 in (9.5 cm).
Drawstrings and Hanging Loop
Drawstrings (make 2): Ch 70 and fasten off. Each cord is about 11 in (27.9 cm) long. Keep your chain tension even, so the cords slide easily through the eyelets.
Thread cord 1 through the Rnd 17 ch-1 sps. Start at the side marker (st 1), go over and under all the way around and come out in the space next to where you started. Thread cord 2 the same way, starting and ending at the other side marker (st 19). About 0.5 in (1.3 cm) from the tips, tie each cord’s two ends together in an overhand knot, then trim the ends to 0.25 in (0.6 cm). The knotted ends hang down each side.
Hanging loop: Ch 36, about 5.5 in (14.0 cm). Sl st one end to st 10 (center front) of Rnd 18 and the other end to st 28 (center back). When you pull the drawstrings, the loop comes together as one hanger at the top center.
Fill the pouch, then pull both cords outward at the same time to close it.
Final Blocking
- Before filling, soak the pouch in cool water and gently squeeze out the extra water.
- Stuff it lightly with plastic wrap so it stands 3 in (7.6 cm) tall to the top of the band.
- Ease each diamond into shape so all 12 columns line up vertically.
- Pin the shells open around the rim of a cup so they flare evenly to 0.75 in (1.9 cm).
- Shape the base into a flat oval, 2.5 in x 1.4 in (6.4 cm x 3.6 cm).
- Let it dry completely, then remove the plastic wrap and add your filling.
Final Quality-Control Checklist
- Base is flat, oval and 2.5 in x 1.4 in (6.4 cm x 3.6 cm)
- Rnd 5 ridge makes a crisp bottom edge
- Wall has 36 sts and is 0.75 in (1.9 cm) tall
- Lattice has 5 rounds of 12 loops, with the diamonds lined up
- Band has 36 sts and 18 open eyelets
- Ruffle has 12 even shells, 6 per side
- Total height is 3.75 in (9.5 cm)
- Drawstrings come out at opposite sides, and the knots are secure
- Hanging loop sits in the center when the pouch is closed
- All ends are woven into the solid rounds
Troubleshooting
Base cups instead of lying flat: Your increases are too tight. Go up 0.25 mm in hook size, or work Rnds 3–4 more loosely.
Base ruffles: You may have extra increases. Recount to 36.
Lattice leans or spirals: An sc went into a chain instead of the center of a ch-5 sp.
Lattice looks squashed: Make all the ch-5 loops the same, fairly loose size, and stretch each round.
Rnd 15 count is off: Work 3 sc in each full loop and 1 + 2 in the joining loop.
Ruffle won’t flare: Check that Rnd 19 has 72 sts.
Drawstrings won’t cinch: Weave strictly over and under through every ch-1 sp.
Filling falls through: Use beads at least 10 mm across, or put a small fabric bag inside the pouch first.
Pouch twists when hung: Attach the loop exactly at sts 10 and 28.
Care
Remove the filling, hand wash in cool water with mild soap, reshape and dry flat.
Final Notes
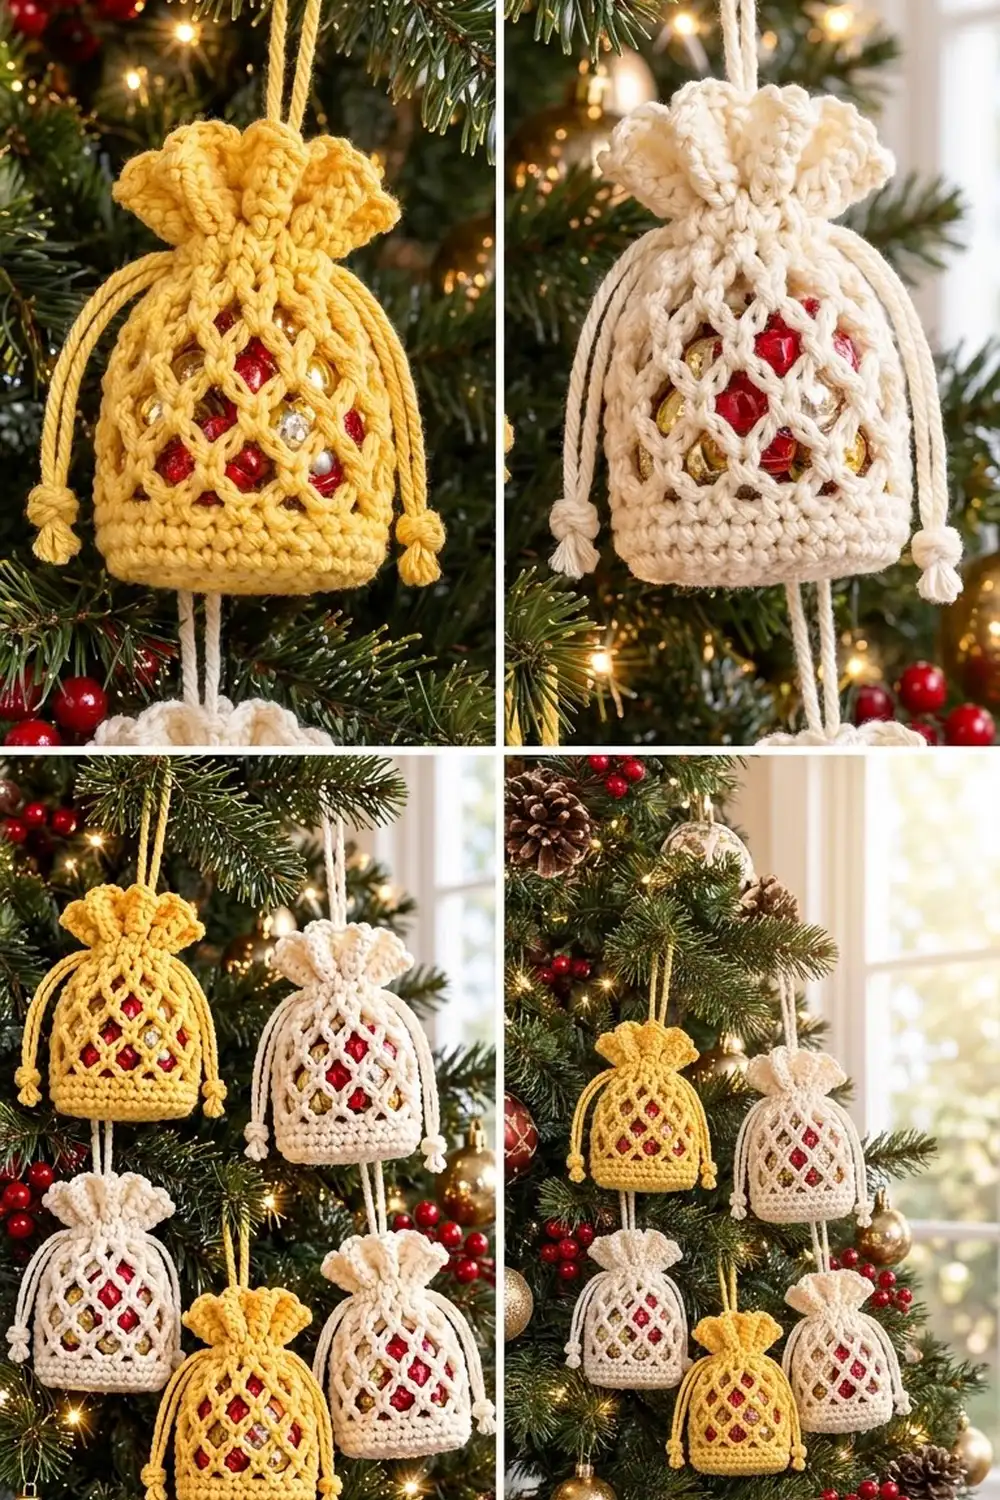
The measurements build on each other. The 36-st oval base gives a circumference of 6.5 in (16.5 cm). The count stays at 36 through the wall, divides into 12 lattice loops, goes back to 36 in the band and doubles to 72 for 12 ruffle shells. Check the height at 2.25 in (5.7 cm), 3 in (7.6 cm) and 3.75 in (9.5 cm), and every ornament in your set will match. Make one in each color, fill them with something sparkly and hang them in pairs on the tree.
Happy crocheting!