

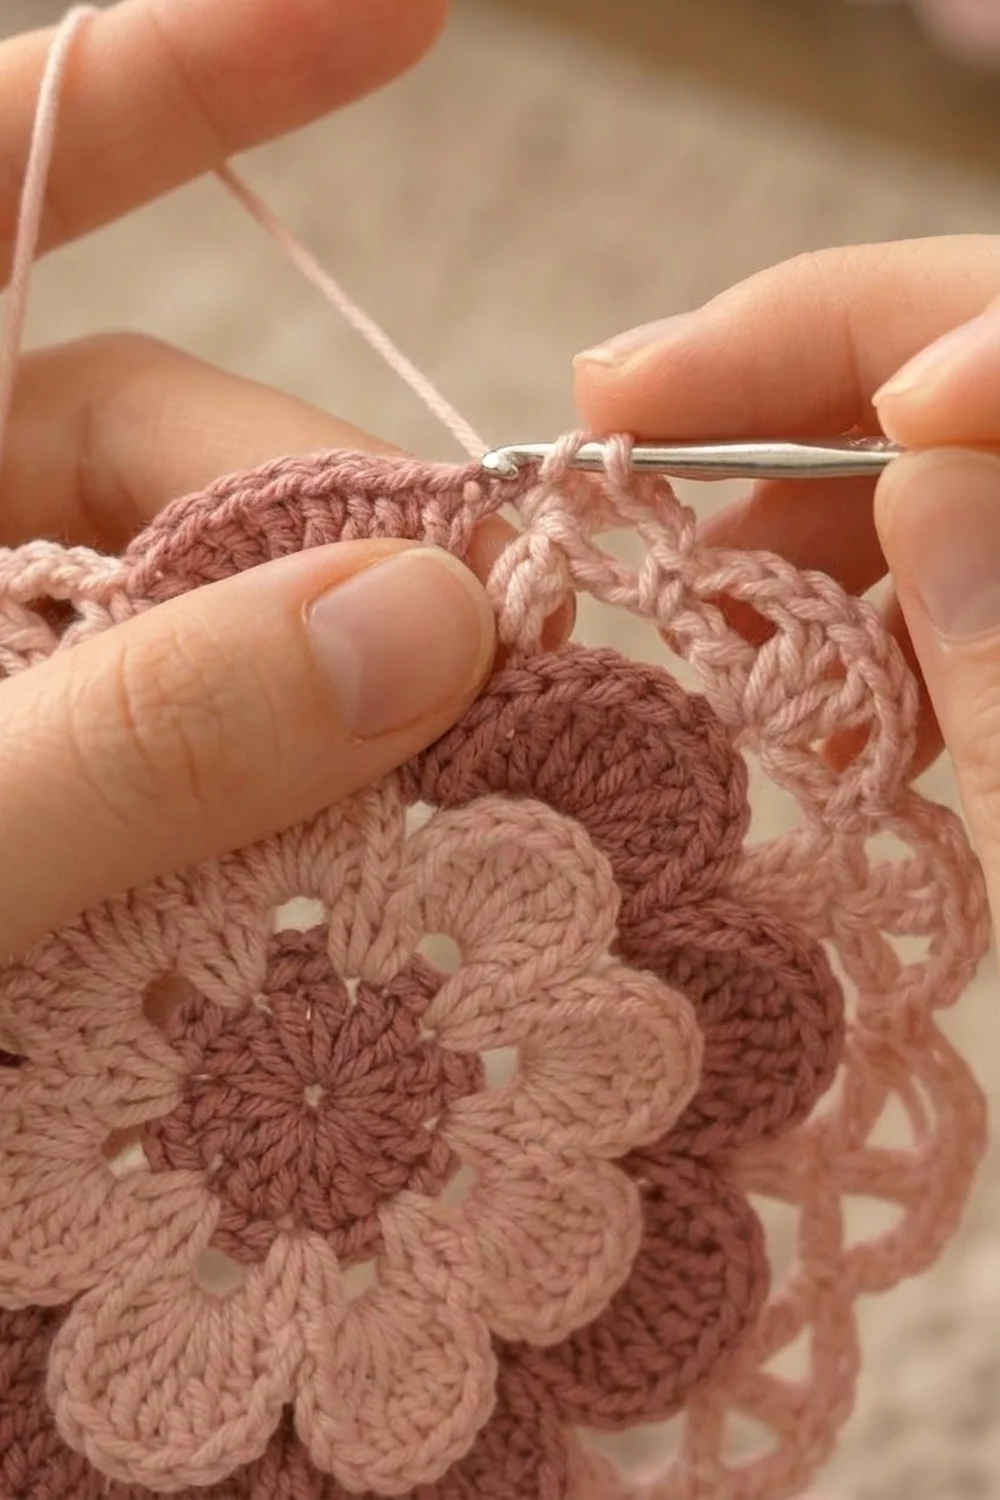
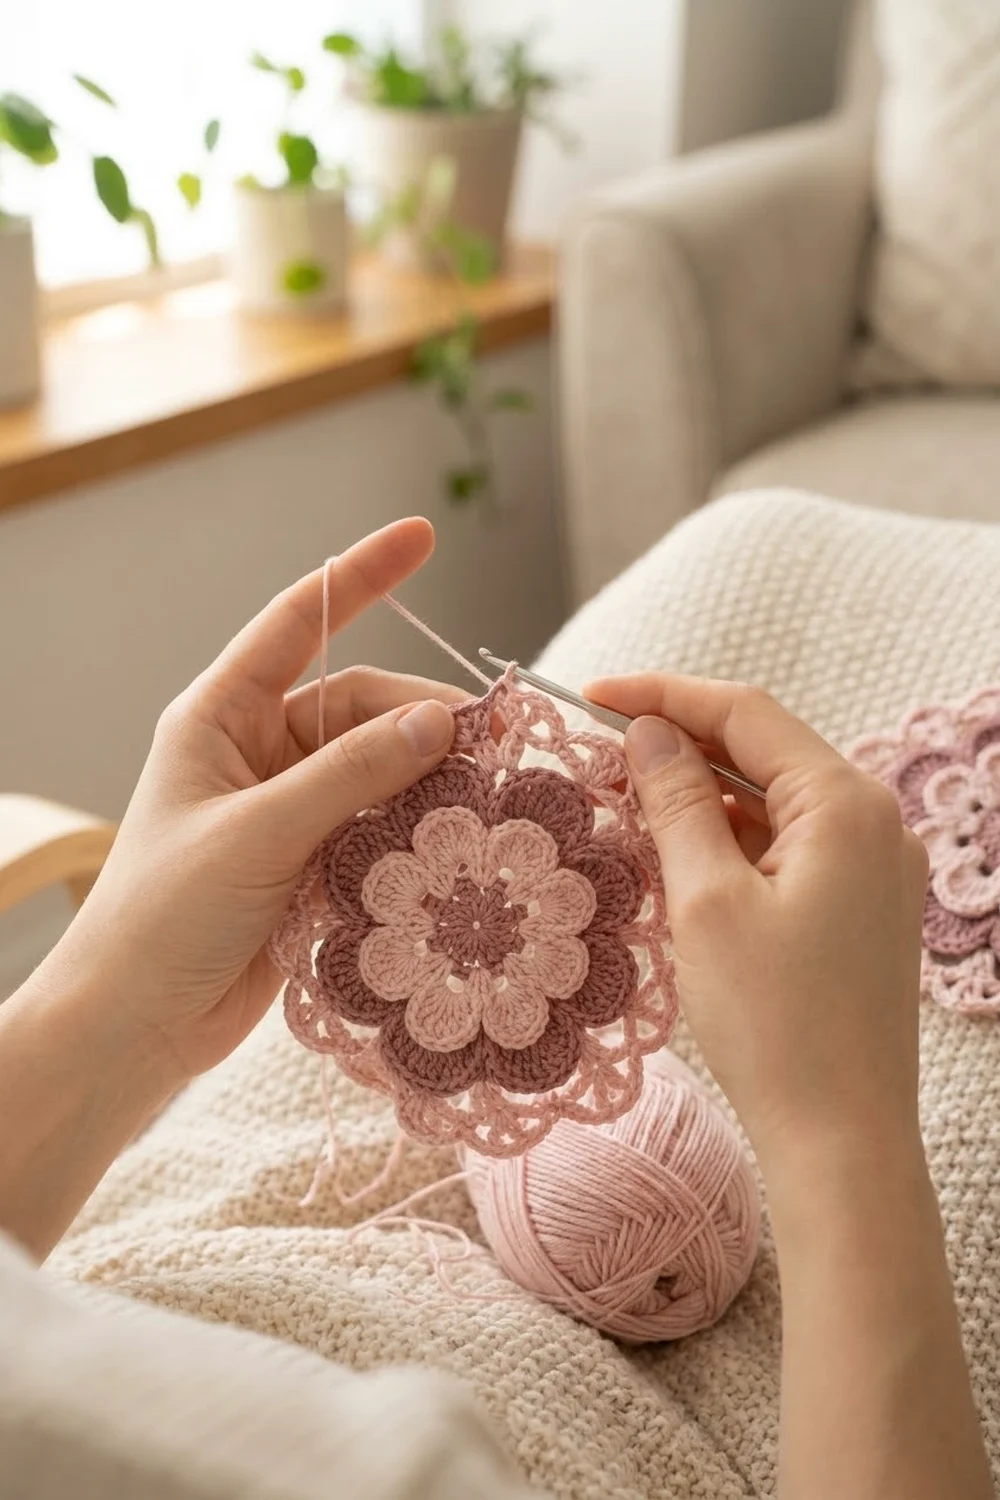
The Rosewood Bloom is a single layered flower motif worked in two soft shades of dusty rose. A dark mauve center sits beneath a ring of small shell-stitch petals, and a second ring of larger, rounded petals frames the whole flower in light pink.
The look is romantic and vintage, with a little dimension. The inner petals sit slightly forward of the outer ones, so the flower reads as a bloom rather than a flat circle. Every petal edge is a smooth, curved scallop made from shell stitches.
This pattern uses US crochet terms. The finished motif measures 3.5 in (8.9 cm) across after blocking, which sits within the 3-4 in (7.6-10.2 cm) range typical for this style of flower.
Construction is simple and fully in the round. You work a solid dc disc in mauve, switch to light pink for the inner shell petals, then chain loops behind those petals. The final round fills each loop with a large rounded petal. It is one piece with no sewing.
Finished Size and Construction
- Finished size: 3.5 in (8.9 cm) diameter, blocked
- Skill level: Easy / advanced beginner
- Terminology: US crochet terms
- Yarn weight: DK / light (weight 3), cotton or cotton blend
- Hook: 4.0 mm (US G-6)
- Number of pieces: 1
- Layout: Single circular motif, worked in 5 rounds
- Piece size: 3.5 in (8.9 cm) across, petal tip to petal tip
- Size before border: 2.75 in (7.0 cm) after Round 3
- Border depth: about 0.375 in (1.0 cm) added on each side by the outer petal rounds
Materials
Yarn advice: Choose a smooth DK cotton or cotton blend at roughly 2.4 m per gram, such as a 50 g ball of about 120 m. Cotton gives crisp shell edges and holds its shape after blocking. Avoid fuzzy yarns, which blur the petal outlines.
- Color A, dark mauve: 5 g (12 m), for Rounds 1-2
- Color B, light rose pink: 10 g (24 m), for Rounds 3-5
Quantities include a generous margin for your gauge swatch, color changes, and weaving in ends. One motif actually uses about 3 g of A and 7-8 g of B.
Tools:
– 4.0 mm (US G-6) crochet hook
– 3.5 mm and 4.5 mm hooks, for gauge adjustments
– Tapestry needle
– Scissors
– Ruler or measuring tape
– Blocking mat or folded towel, plus rust-proof pins
– Spray bottle with water
Abbreviations (US Terms)
- ch: chain
- sl st: slip stitch
- sc: single crochet
- hdc: half double crochet
- dc: double crochet
- st(s): stitch(es)
- sp: space
- MR: magic ring
- rep: repeat
Special stitches:
- Shell: 5 dc worked into the same stitch. This forms each small inner petal.
- Petal: (sc, hdc, 7 dc, hdc, sc) worked into the same ch-5 space. This forms each large outer petal.
Gauge and Checkpoints
The motif itself is your gauge test. Make one full flower before committing to a large batch or a specific project. Measure flat, without stretching, at each checkpoint below.
- After Round 1: 1.25 in (3.2 cm) diameter
- After Round 2: 2 in (5.1 cm) diameter
- After Round 3: 2.75 in (7.0 cm) diameter, petal tip to petal tip
- After Round 5, blocked: 3.5 in (8.9 cm) diameter
A tolerance of 0.125 in (0.3 cm) at Rounds 1-2 is fine. At the final round, a tolerance of 0.25 in (0.6 cm) is fine.
If your motif is too big: Switch to a 3.5 mm hook and restart. A disc that is already over 2.25 in (5.7 cm) at Round 2 will usually finish near 4 in (10.2 cm).
If your motif is too small: Switch to a 4.5 mm hook. A small center makes the petal rounds cup and ruffle, so check this early.
Reference gauge: About 5 dc per 1 in (2.5 cm) along the outer edge of a round. Each dc round adds about 0.375 in (1.0 cm) to the diameter.
Pattern
Round 1: Center (Color A)
With Color A, make a magic ring.
Ch 3 (counts as first dc). Work 15 dc into the ring. Pull the ring closed and sl st to the top of the beginning ch-3.
Count: 16 dc (including the ch-3).
Checkpoint: 1.25 in (3.2 cm) across. The disc should lie flat with no gap at the center.
Round 2: Center Increase (Color A)
Ch 3 (counts as first dc). Work 1 dc in the same st. Work 2 dc in each remaining st around. Sl st to the top of the beginning ch-3.
Count: 32 dc. This is a growth round: 16 sts each worked twice gives 32 sts.
Checkpoint: 2 in (5.1 cm) across. Fasten off Color A, leaving a 6 in (15.2 cm) tail.
Round 3: Inner Shell Petals (Color B)
Join Color B with a sl st in any Round 2 st. Ch 1.
- Sc in the same st.
- Skip the next st.
- Work a shell (5 dc) in the next st.
- Skip the next st.
Sc in the next st, skip the next st, shell in the next st, skip the next st. Rep from * 6 more times. Sl st to the first sc.
Count: 8 shells and 8 sc (40 dc + 8 sc = 48 sts).
Why the math works: Each repeat uses exactly 4 Round 2 sts (sc, skip, shell, skip). 8 repeats × 4 sts = 32 sts, which matches Round 2 exactly.
Checkpoint: 2.75 in (7.0 cm) across, petal tip to petal tip. Each shell should form a smooth, rounded scallop. Do not fasten off.
Border: Outer Petal Rounds
The two final rounds act as the motif’s border. They add the outer ring of large light pink petals that frame the flower.
Border gauge: About 5 dc per 1 in (2.5 cm) along the curved petal edge. This is the same gauge as the center, not a tighter or looser one.
Round 4: Chain Loops Behind the Petals (Color B)
You are at the first sc of Round 3, where you just joined. Fold the shell petals toward you so you can see the back of the work.
- Ch 5. Keep the chain behind the next shell.
- Sc into the next Round 3 sc, inserting the hook from the back of the work.
Rep steps 1-2 six more times, for a total of 7 anchored loops.
Ch 5 and sl st into the first Round 3 sc, the starting point. This closes the 8th loop.
Count: 8 ch-5 loops, with 7 sc anchors plus 1 closing sl st.
Per repeat: 5 ch + 1 anchor. Each loop sits directly behind one inner shell petal.
Checkpoint: Lay the motif face up. The chain loops should be hidden behind the shells, and the flower should still lie flat. If the work pulls into a bowl, your chains are too tight. Redo the round with slightly looser chains.
Round 5: Large Outer Petals (Color B)
Sl st into the first ch-5 loop.
Work a petal into this loop: (sc, hdc, 7 dc, hdc, sc).
Work a petal into each of the remaining 7 loops. Sl st to the first sc.
Count: 8 petals × 11 sts = 88 sts (8 × [2 sc + 2 hdc + 7 dc]).
This round is a conversion round worked into chain spaces. It does not continue the growth of Round 4. Each ch-5 space receives one complete 11-st petal.
Why the math works: At 3.5 in (8.9 cm) across, the outer circumference is about 11 in (27.9 cm). Divided by 8 petals, that is about 1.375 in (3.5 cm) of edge per petal. Seven dc at 5 dc per inch give 1.4 in (3.6 cm) of arc, a near-exact fit.
The sc and hdc at each end taper the petal into a rounded curve, so the petals do not need extra room.
Fasten off, leaving an 8 in (20.3 cm) tail.
Checkpoint: About 3.25-3.5 in (8.3-8.9 cm) across before blocking.
Final Blocking
- Weave in all tails on the back of the motif. Run each one through stitches of its own color so it stays hidden.
- Mist the flower lightly with water until it is evenly damp, not soaking.
- On a blocking mat, mark a 3.5 in (8.9 cm) circle with pins or a ruler.
- Place the mauve center in the middle. Gently ease each outer petal tip out to the marked circle.
- Pin each of the 8 outer petals at its center dc. Shape each curve with your fingertips.
- Lift the inner shell petals slightly with a fingertip so they stand forward of the outer layer.
- Let the motif dry completely, usually 4-6 hours, before unpinning.
- Measure again. The motif should be 3.5 in (8.9 cm) across, ±0.25 in (0.6 cm).
Final Quality-Control Checklist
- Center hole is fully closed, and Round 1 has 16 dc.
- Round 2 has 32 dc and lies flat at 2 in (5.1 cm).
- 8 inner shells, each with 5 dc, evenly spaced.
- 8 chain loops hidden behind the inner petals.
- 8 outer petals, each with 11 sts, and all the same size.
- Finished diameter of 3.5 in (8.9 cm) after blocking.
- Motif lies flat, with no cupping or ruffling.
- All tails woven in invisibly. No mauve shows through on the pink side.
- Color join at Round 3 is neat and does not show a gap.
Troubleshooting
Center hole will not close: Tighten the magic ring before the join, then secure the tail with two passes through Round 1 sts.
Round 2 ruffles: Your tension is loose, or you added extra sts. Recount for 32, and try a 3.5 mm hook.
Inner shells look flat or pointed: Make sure you skip exactly 1 st on each side of every shell. Skipping too few crowds the shells into points.
Outer petals flip forward: The Round 4 chains are too long or loose. Try ch 4 per loop with a firmer tension. Keep the 11-st petal unchanged.
Motif cups into a bowl: The Round 4 chains are too tight. Loosen them, or go up to a 4.5 mm hook for Rounds 4-5 only.
Uneven petal sizes: Count each petal’s 11 sts as you work. A missing hdc or dc is the usual culprit.
Wrong final size: Check the Round 2 checkpoint first. Most size drift starts in the center disc.
Care
Hand wash in cool water with mild soap, press out the water in a towel, and dry flat. Re-pin to 3.5 in (8.9 cm) if the petals lose their shape.
Final Notes
The Rosewood Bloom follows a clear measurement chain:
- 16 dc at 1.25 in (3.2 cm)
- 32 dc at 2 in (5.1 cm)
- 8 shells at 2.75 in (7.0 cm)
- 8 chain loops behind the shells
- 88 sts of outer petals, blocking to 3.5 in (8.9 cm)
If each checkpoint matches, the finished flower will too.
Optional: Once you are happy with one motif, you can make several and use them as appliqués or gift toppers. The pattern itself stays a single flower.
Happy crocheting!