
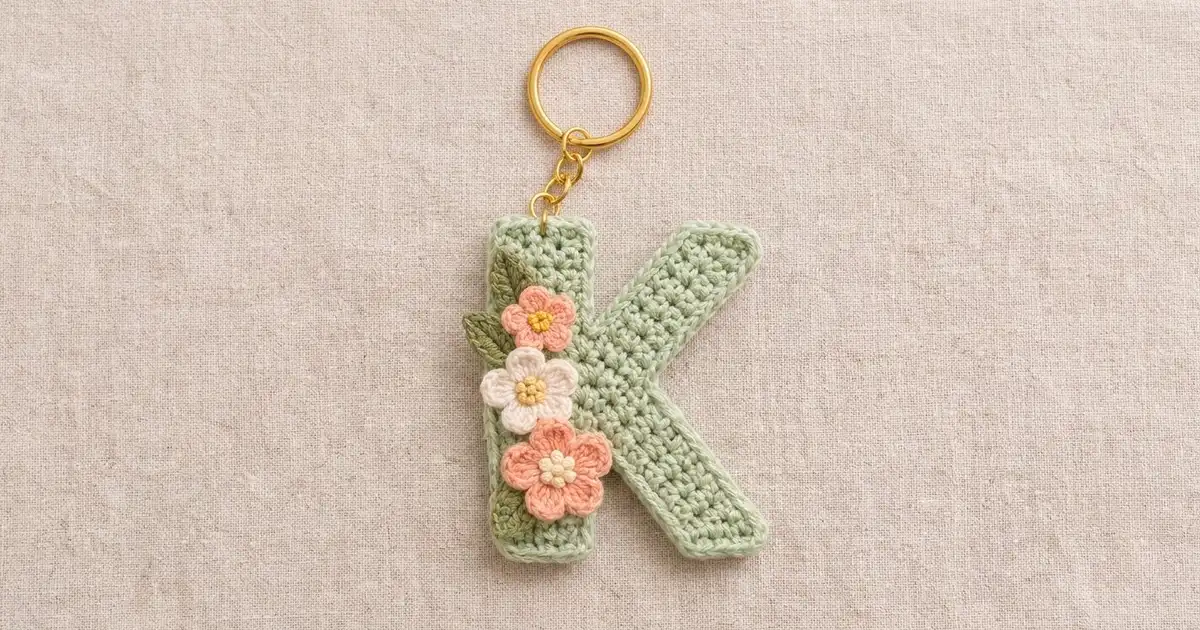
This little letter K is a flat, sturdy keychain charm in soft sage green. A column of tiny flowers and leaves runs down its stem. It’s quick to make and personal, so it makes a lovely gift for anyone whose name starts with K.
The colors are soft and springlike: sage for the letter, peach and cream for the flowers, butter yellow for the centers, and moss green for the leaves. The letter is worked in plain, tight single crochet, so it stays firm and keeps its shape on a bag or key ring.
This pattern uses US crochet terms. The finished charm measures about 3.7 in (9.4 cm) tall and 3.0 in (7.6 cm) wide, not counting the hardware.
The K is worked flat in rows from the bottom up. First you make the lower leg as a small slanted strip. Then you work the stem, join the two in one row, and split again to work the top of the stem and the upper arm. One round of single crochet goes around the whole letter. The flowers and leaves are sewn on, and a jump ring attaches the key ring.
Finished Size and Construction
- Finished size: 3.7 in (9.4 cm) tall x 3.0 in (7.6 cm) wide
- Skill level: Easy to intermediate
- Terminology: US crochet terms
- Yarn weight: Sport weight (#2) cotton
- Hook: 2.75 mm (C-2)
- Number of pieces: 1 letter, plus 3 flowers and 3 leaves sewn on as appliqué
- Layout: Single letter; flowers stacked vertically on the stem
- Stem width: 1.2 in (3.0 cm) after the border
- Size before border: 3.5 in (8.9 cm) tall x 2.8 in (7.1 cm) wide
- Border depth: 0.1 in (0.3 cm) on every edge
Materials
Use a smooth, mercerized sport weight cotton. It shows the stitches clearly, doesn’t stretch much, and keeps a keychain neat. Fuzzy or very soft yarns will make the letter floppy.
- Sage green (letter and border): 8 g, about 25 m
- Peach (2 flowers): 3 g, about 9 m
- Cream (1 flower): 2 g, about 6 m
- Butter yellow (centers): 1 g, about 3 m
- Moss green (leaves): 2 g, about 6 m
All quantities include extra yarn for testing your gauge and for sewing tails.
Tools and notions:
- 2.75 mm (C-2) crochet hook
- Tapestry needle
- 1 gold split key ring, 1 in (2.5 cm) across
- 1 short gold chain, about 4 links
- 2 gold jump rings, 6 mm
- 2 flat-nose pliers
- Rustproof pins and a blocking board
Abbreviations (US Terms)
- ch – chain
- sl st – slip stitch
- sc – single crochet
- hdc – half double crochet
- dc – double crochet
- sc2tog – single crochet 2 together
- MR – magic ring
- st(s) – stitch(es)
- RS / WS – right side / wrong side
Special technique – shift row: Work 2 sc in the first st, sc in each of the next 2 sts, then sc2tog over the last 2 sts (5 sts). The stitch count stays the same, but the strip moves 1 st toward the edge where the row started.
Gauge and Checkpoints
Gauge: 10 sc and 12 rows = 2 in (5.1 cm). That’s 5 sc and 6 rows per 1 in (2.5 cm).
This is a single small piece, so the leg works as your test piece. Measure it before you go on.
- Leg after Row 9: 1.5 in (3.8 cm) tall; Row 1 is 1 in (2.5 cm) wide.
- Stem after Row 9: 1 in (2.5 cm) wide x 1.5 in (3.8 cm) tall.
- After Row 11: 2 in (5.1 cm) wide; about 1.8 in (4.6 cm) tall.
- After Row 21: 3.5 in (8.9 cm) tall x 2.8 in (7.1 cm) wide.
- After border: 3.7 in (9.4 cm) tall x 3.0 in (7.6 cm) wide.
Too big? Switch to a 2.5 mm hook. Too small? Switch to a 3.0 mm hook. Keep the stitch counts the same.
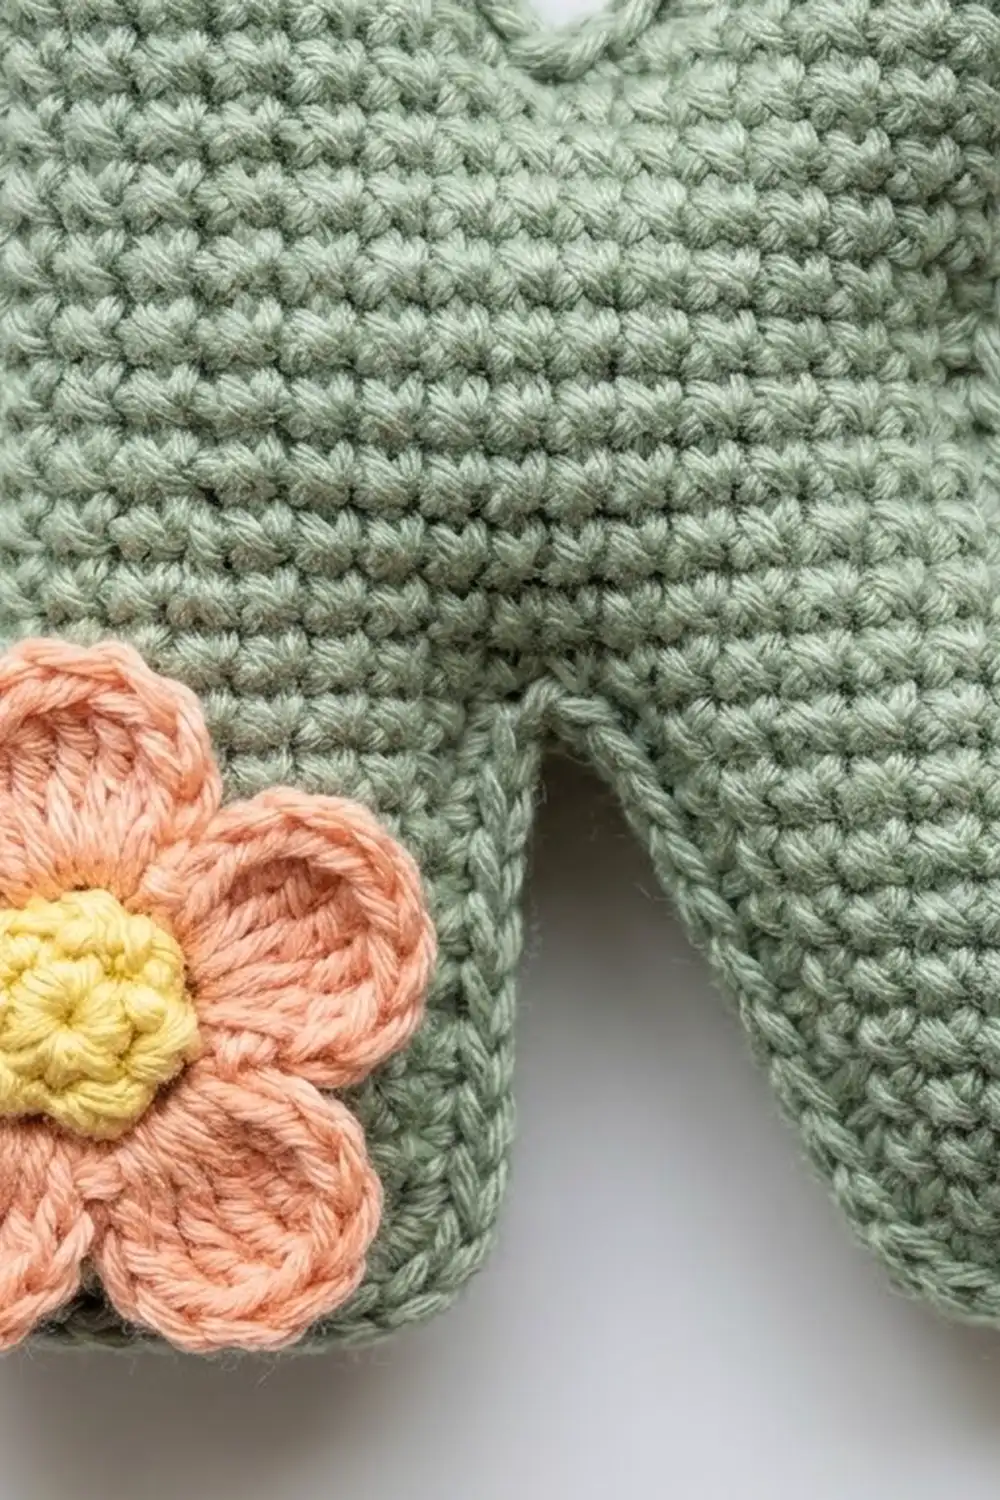
The Letter K
Row 1 and every odd row are RS rows. Keep the RS facing you on odd rows in every section so the parts match when you join them.
Lower Leg
With sage green, ch 6.
Row 1 (RS): Sc in 2nd ch from hook and in each ch across, turn. (5 sts)
Row 2: Ch 1, shift row: 2 sc in first st, sc in next 2 sts, sc2tog, turn. (5 sts)
Row 3: Ch 1, sc in each st across, turn. (5 sts)
Rows 4–9: Repeat Rows 2–3 three more times. (5 sts)
Fasten off. You worked four shift rows (Rows 2, 4, 6, 8), so the leg has moved 4 sts toward the stem. One side edge is a stepped diagonal.
Stem and Joining Row
With sage green, ch 6.
Row 1 (RS): Sc in 2nd ch from hook and in each ch across, turn. (5 sts)
Rows 2–9: Ch 1, sc in each st across, turn. (5 sts)
Don’t fasten off. Lay the leg to the right of the stem with the RS of both facing you. The top of leg Row 9 should be level with the top of stem Row 9 and touch the stem. At the bottom, the leg should sit 4 sts (0.8 in / 2.0 cm) to the right of the stem.
Row 10 (joining row, WS): Ch 1, sc in each of the 5 stem sts, then go straight into leg Row 9 and sc in each of its 5 sts, turn. (10 sts: 5 stem + 5 leg)
Row 11 (RS): Ch 1, sc in each st across, turn. (10 sts)
Upper Stem
Row 12 (WS): Ch 1, sc in first 5 sts only, turn. Leave the last 5 sts unworked. (5 sts)
Rows 13–21: Ch 1, sc in each st across, turn. (5 sts)
Fasten off. The stem now has 21 rows and measures 3.5 in (8.9 cm) tall.
Upper Arm
Row 12 (WS): With WS facing, join sage green in the 6th st of Row 11, next to the stem. Ch 1, sc in same st and in next 4 sts, turn. (5 sts)
Row 13 (RS): Ch 1, shift row: 2 sc in first st, sc in next 2 sts, sc2tog, turn. (5 sts)
Row 14: Ch 1, sc in each st across, turn. (5 sts)
Rows 15–20: Repeat Rows 13–14 three more times. (5 sts)
Row 21: Ch 1, sc in each st across. (5 sts)
Fasten off. The arm’s odd rows start at its outer edge, so each shift row moves the arm 1 st away from the stem. After four shift rows, its top end sits right above the leg’s bottom end. Both ends cover stitch positions 10–14, so the letter is 14 sts (2.8 in / 7.1 cm) wide. Weave in the tails on the WS.
Border
Border gauge: Work 1 sc in each stitch along the short ends, which gives 5 sc per 1 in (2.5 cm). Work 1 sc in each row end along the sides, which gives 6 sc per 1 in (2.5 cm), the same as the row gauge.
Each of the four 5-st ends (stem top, stem bottom, leg bottom, arm top) is counted with its two 3-sc corners included. The side counts don’t include any corners.
Rnd 1 (RS): With RS facing, join sage green in st 5 of stem Row 21 (the top right corner of the stem). Ch 1, then work:
- Stem top: 3 sc in first st, sc in next 3 sts, 3 sc in last st. (9 sts)
- Stem left side: 1 sc in each row end. (21 sts)
- Stem bottom: Working in the free loops of the foundation ch: 3 sc in first st, sc in next 3, 3 sc in last st. (9 sts)
- Lower notch: 1 sc in each stem row end for Rows 1–8 (8 sts). Sc2tog over the stem Row 9 and leg Row 9 row ends (1 st). Then 1 sc in each leg row end for Rows 8–1 (8 sts). (17 sts)
- Leg bottom: Working in the free loops of the foundation ch: 3 sc in first st, sc in next 3, 3 sc in last st. (9 sts)
- Outer right side: 1 sc in each row end: leg Rows 1–9 (9), Rows 10–11 (2), and arm Rows 12–21 (10). (21 sts)
- Arm top: 3 sc in first st, sc in next 3 sts, 3 sc in last st. (9 sts)
- Upper notch: 1 sc in each arm row end for Rows 21–13 (9 sts). Sc2tog over the arm Row 12 and stem Row 12 row ends (1 st). Then 1 sc in each stem row end for Rows 13–21 (9 sts). (19 sts)
Sl st to first sc. (114 sts) Fasten off and weave in the tails.
Why the math works: Each 5-st end becomes 5 + 2 + 2 = 9 sts, because each corner st gets 3 sc instead of 1. Four ends give 36 sts. The sides have 21 + 18 + 21 + 20 = 80 row ends. Each notch sc2tog turns 2 row ends into 1 stitch, which leaves 78. So 36 + 78 = 114.
The 3-sc corners keep the ends from cupping, and the sc2tog keeps each inside corner sharp. The border adds 0.1 in (0.3 cm) on every edge. That takes the letter from 3.5 x 2.8 in (8.9 x 7.1 cm) to 3.7 x 3.0 in (9.4 x 7.6 cm).
Flowers
Small flower (make 2: 1 peach, 1 cream)
Rnd 1: With butter yellow, MR, 5 sc in ring, sl st to first sc. Pull the ring closed and fasten off. (5 sts)
Rnd 2: Join the petal color in any sc. *(Ch 2, 2 dc, ch 2, sl st) in same st, sl st in next st; repeat from * 4 more times. (5 petals)
Fasten off and leave a 10 in (25.4 cm) tail. Each small flower is about 0.8 in (2.0 cm) across.
Large flower (make 1 in peach)
Work as for the small flower, but in Rnd 2 work (ch 2, 3 dc, ch 2, sl st) for each petal. (5 petals) It’s about 1 in (2.5 cm) across.
Centers: With butter yellow, work 3 tiny French knots on each center.
Leaves (make 3 in moss green)
Ch 6.
Rnd 1: Sc in 2nd ch from hook, hdc in next ch, dc in next ch, hdc in next ch, sc in last ch, ch 1 for the tip. Now work along the other side of the chain: sc, hdc, dc, hdc, sc, then sl st to first sc. (10 sts plus ch-1 tip)
Each leaf is about 0.7 in (1.8 cm) long.
Assembly
- Pin the small peach flower near the top of the stem, with its center about 0.6 in (1.5 cm) below the top edge.
- Pin the cream flower directly below it, then the large peach flower below that, ending about 0.3 in (0.8 cm) above the bottom of the stem.
- Move the whole column so each flower slightly overlaps the stem’s left border.
- Tuck one leaf behind the top flower, one between the first two flowers, and one behind the large flower. Each leaf should point out past the left edge.
- Sew the leaves first, then the flowers. Use small stitches through each center and petal base.
Hardware: Open a jump ring with the pliers. Pass it through the center top of the stem, under the border and the top row. Add the chain and close the ring. Use the second jump ring to join the chain to the key ring.
Final Blocking
- Mist the letter lightly with water until it’s damp but not soaked.
- Lay it RS up on the blocking board.
- Pin all 8 outer corners first.
- Check the size: 3.7 in (9.4 cm) tall x 3.0 in (7.6 cm) wide, with a stem 1.2 in (3.0 cm) wide.
- Pin into both inside corners so they stay crisp.
- Make sure the arm and leg slant at the same angle.
- Let it dry completely before you remove the pins.
Final Quality-Control Checklist
- The stem is 21 rows tall with 5 sts per row.
- Rows 10–11 have 10 sts and no gap.
- The arm and leg each have 4 shift rows and mirror each other.
- The border has 114 sts with 3 sc at each of the 8 outer corners.
- The size is 3.7 x 3.0 in (9.4 x 7.6 cm).
- From top to bottom, the flowers are peach, cream, then large peach.
- All three leaves peek out past the left edge.
- The jump rings are fully closed.
Troubleshooting
- Arm or leg slants the wrong way: Work the shift rows on even rows for the leg and odd rows for the arm.
- Strip gains or loses stitches: Count to 5 after every shift row.
- Gap at the join: Pull the first leg sc in Row 10 snug, and close the gap with the yarn tail.
- Border ripples: Work the border with a 2.5 mm hook.
- Inside corners pucker: Work only the single sc2tog at each one.
Care
Spot clean with mild soap and cool water, then reshape it and dry it flat. Keep the metal hardware dry so it doesn’t tarnish.
Final Notes
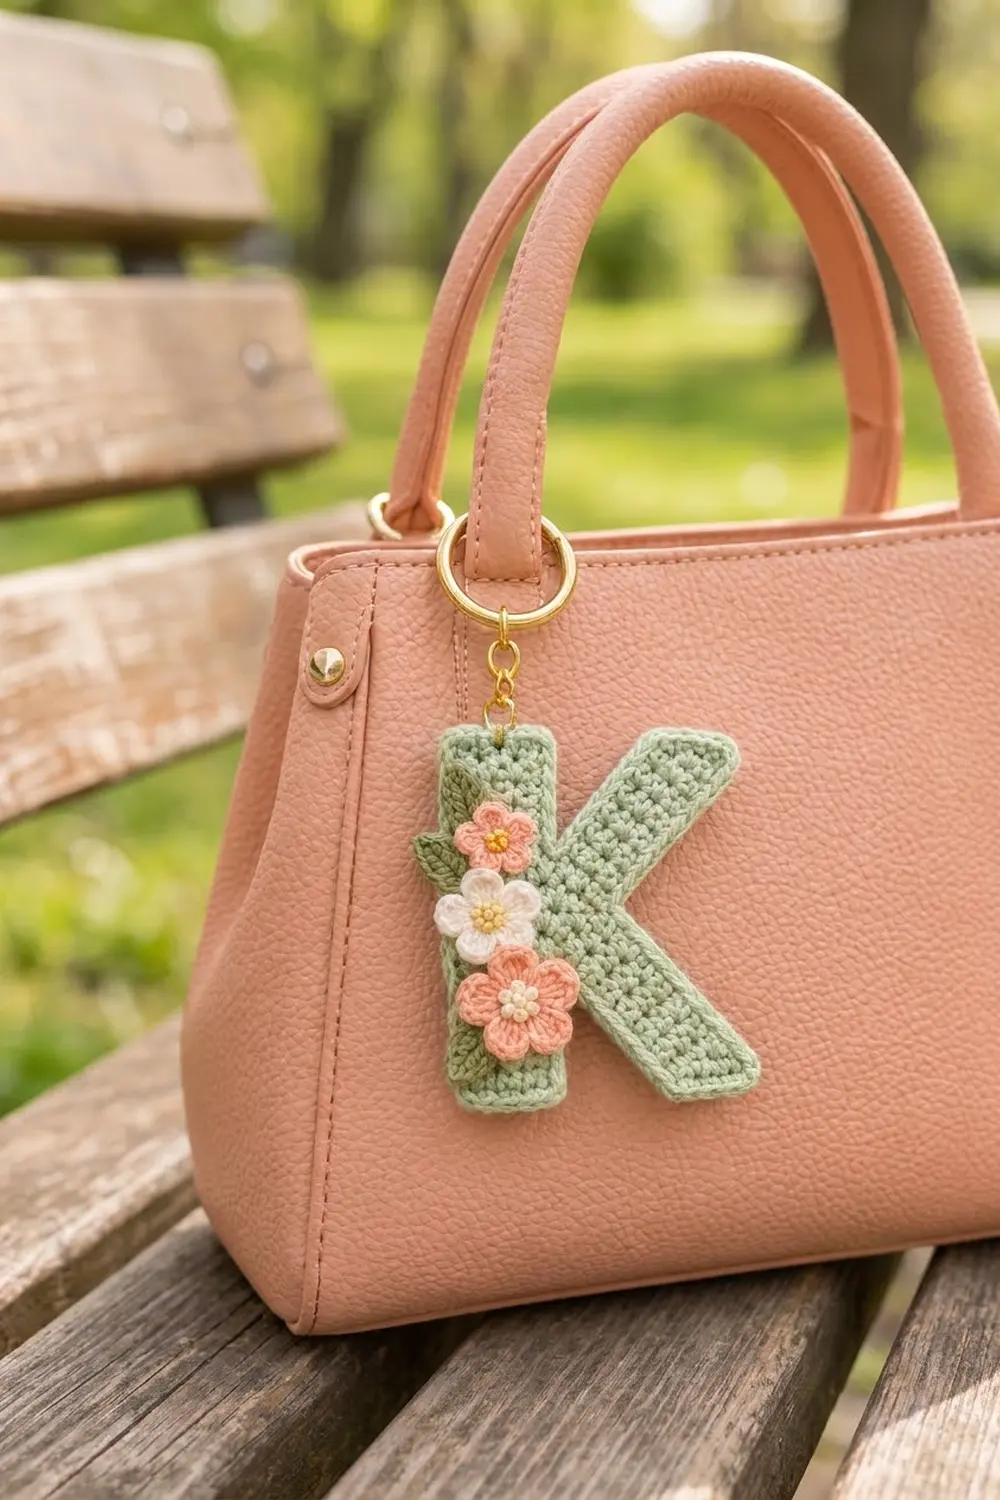
Here’s how the measurements build up. A gauge of 5 sc and 6 rows per 1 in (2.5 cm) gives a 9-row leg 1.5 in (3.8 cm) tall and a 21-row letter 3.5 x 2.8 in (8.9 x 7.1 cm). The 114-stitch border adds 0.1 in (0.3 cm) on every edge, for a finished charm of 3.7 x 3.0 in (9.4 x 7.6 cm). Check each stage, and your K will look just right on keys or a bag.
Happy crocheting!