
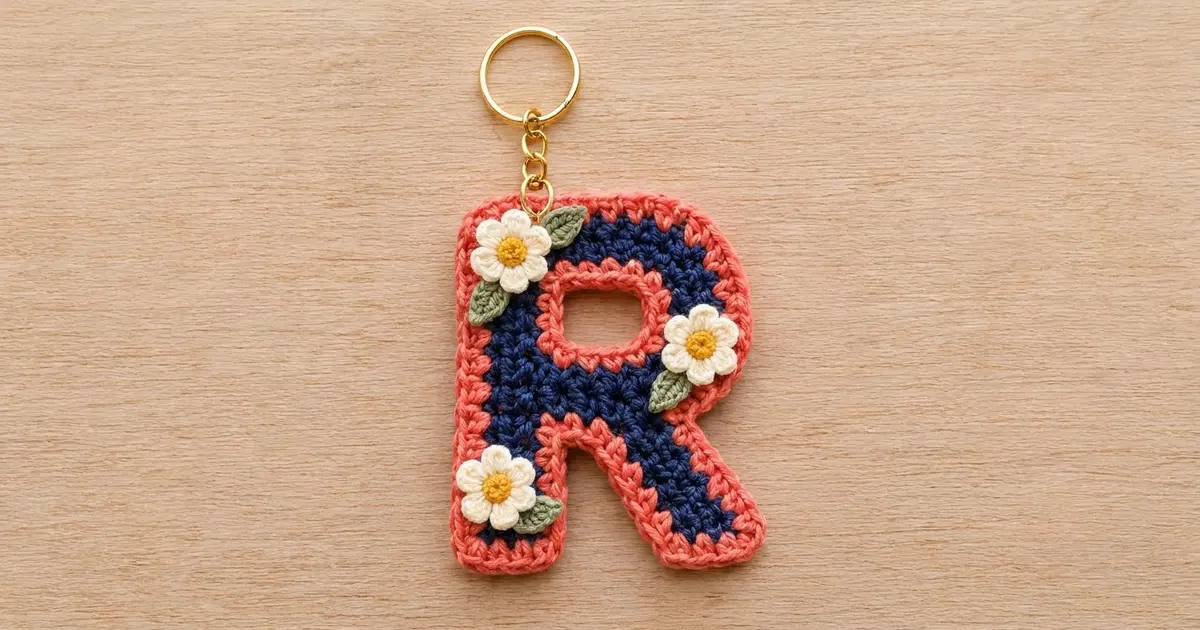
This little letter R is a bold monogram bag charm. It’s a navy single crochet letter with a thick coral outline and three tiny cream daisies on its corners. Clip it to a handbag, a backpack, or a set of keys, or give it as a quick personal gift.
The colors are navy, coral, cream, mustard yellow, and sage green. The look is crisp and graphic, and the flowers soften it. All instructions use US crochet terms.
The finished charm measures about 3.0 in wide x 4.3 in tall (7.6 x 10.9 cm), not including the hardware.
Construction is simple. You work the navy letter flat in rows from the top down. You make the hole in the bowl by working its two sides separately, and you split the bottom into the stem and the leg. Then you edge the hole in coral, add a two-round coral border all the way around, make the flowers and leaves, block, sew, and attach the keyring.
Finished Size and Construction
- Finished size: about 3.0 x 4.3 in (7.6 x 10.9 cm)
- Skill level: Advanced beginner
- Terminology: US crochet terms
- Yarn weight: DK (light worsted, #3) cotton
- Hook: 3.25 mm (US D/3)
- Number of pieces: 1 letter body, plus 3 flowers and 4 leaves sewn on
- Layout: one standalone charm, hung from a split ring
- Body grid: 13 stitches wide x 22 rows tall
- Size before border: about 2.4 x 3.7 in (6.1 x 9.4 cm)
- Border depth: 2 rounds, about 0.3 in (0.8 cm) per side
Materials
Use a smooth, tightly plied DK cotton or cotton blend. Cotton holds its shape on a charm that gets handled often, and it shows the stitches clearly. Look for about 2.4 m per gram (roughly 120 m per 50 g).
- Navy (body): 8 g, about 19 m
- Coral (hole edging and border): 6 g, about 14 m
- Cream (petals): 2 g, about 5 m
- Mustard yellow (flower centers): 1 g, about 2 m
- Sage green (leaves): 1 g, about 2 m
These amounts include a small margin for testing gauge and weaving in ends.
Tools:
– 3.25 mm (US D/3) crochet hook
– Tapestry needle
– 2 locking stitch markers
– Scissors
– 1 in (2.5 cm) gold split ring with a short chain and jump ring
– Small flat-nose pliers
– Pins, blocking mat, and spray bottle
Abbreviations (US Terms)
- ch: chain
- sl st: slip stitch
- sc: single crochet
- hdc: half double crochet
- dc: double crochet
- sc2tog: single crochet 2 together. (Insert hook in next st or row-end, yarn over, pull up a loop) twice, yarn over, pull through all 3 loops.
- st(s): stitch(es)
- RS / WS: right side / wrong side
Special stitch (petal): in the stitch indicated, work (sl st, ch 2, 3 dc, ch 2, sl st).
Edge names: with the RS facing, the stem edge is the long straight left side of the R and the bowl edge is the right side. Place a marker on the stem edge after Row 1 and move it up as you go.
Gauge and Checkpoints
Gauge: 22 sc and 24 rows = 4 in (10.2 cm) in sc. That’s 5.5 sts and 6 rows per 1 in (2.5 cm).
The letter body is small enough to be its own test piece. Work through Row 4 and measure before you go on.
Checkpoints:
– After Row 4: 12 sts wide = about 2.2 in (5.6 cm)
– After Row 13: about 2.2 in (5.6 cm) tall
– Finished body: about 2.4 x 3.7 in (6.1 x 9.4 cm)
– Hole before edging: about 0.7 x 0.8 in (1.8 x 2.0 cm)
– After border Round 1: about 2.7 x 4.0 in (6.9 x 10.2 cm)
– After border Round 2: about 3.0 x 4.3 in (7.6 x 10.9 cm)
If your piece is too big, go down to a 3.0 mm hook. If it’s too small, go up to 3.5 mm (US E/4). Firm fabric matters more than exact size here. A loose charm stretches and loses its shape.
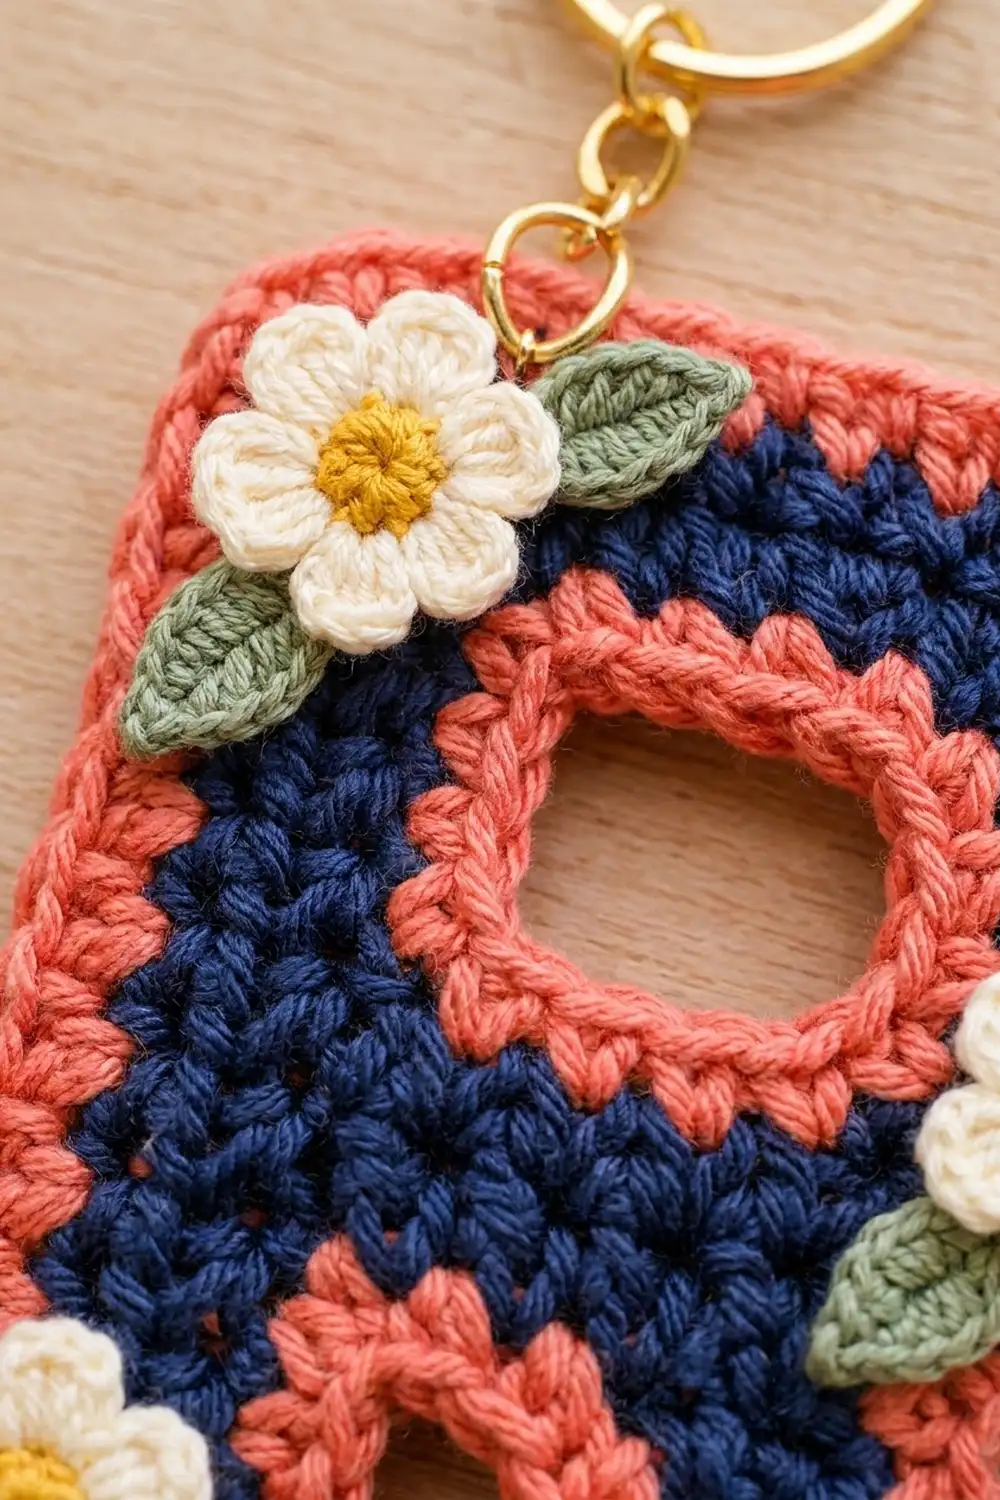
Letter Body (Navy)
You work the rows from the top of the letter down. Odd rows go from the bowl edge to the stem edge, and even rows go from the stem edge to the bowl edge. The ch 1 at the start of each row does not count as a stitch.
Top section
Row 1 (RS): With navy, ch 11. Sc in 2nd ch from hook and in each ch across. (10 sts)
Row 2: Ch 1, turn. Sc in next 9 sts, 2 sc in last st (bowl edge). (11 sts)
Row 3: Ch 1, turn. 2 sc in first st (bowl edge), sc in next 10 sts. (12 sts)
Row 4: Ch 1, turn. Sc in each st across. (12 sts) Don’t fasten off. This row ends at the bowl edge.
The increases in Rows 2 and 3 make the rounded top right curve of the bowl.
Hole section
The hole is 4 sts wide and 5 rows tall. The navy on each side of it is 4 sts wide.
Bowl side, Rows 5–9: Ch 1, turn. Sc in first 4 sts and leave the other 8 sts unworked. (4 sts) Work 4 more rows of 4 sc, for 5 rows total. Row 9 ends at the inner edge of the hole. Fasten off and leave a 4 in (10.2 cm) tail.
Stem side, Rows 5–9: With RS facing, join navy in the 4th st from the stem edge of Row 4 (next to the 4 unworked center sts). Ch 1, then sc in the same st and the next 3 sts toward the stem edge. (4 sts) Work 4 more rows of 4 sc. Row 9 ends at the stem edge. Don’t fasten off.
The 4 center sts of Row 4 stay unworked and form the top of the hole.
Lower bowl
Row 10: Ch 1, turn. Sc in the 4 stem-side sts, ch 4, sc in the 4 bowl-side sts. (8 sc + ch-4)
Row 11: Ch 1, turn. Sc in 4 sts, sc in each of the 4 ch, sc in 4 sts. (12 sts)
Row 12: Ch 1, turn. Sc in next 10 sts, sc2tog. (11 sts)
Row 13: Ch 1, turn. Sc2tog, sc in next 9 sts. (10 sts) This row ends at the stem edge.
The decreases in Rows 12 and 13 round off the bottom of the bowl to match the top curve.
Stem
Row 14: Ch 1, turn. Sc in first 4 sts. (4 sts) Leave the other 6 sts unworked.
Rows 15–22: Ch 1, turn. Sc in each st. (4 sts)
Fasten off. The stem is 22 rows tall in total.
Leg
The leg slants right because it shifts 1 st outward on three rows.
Row 14: Count the sts of Row 13 from the stem edge. The stem uses sts 1–4, and you skip sts 5–6. With RS facing, join navy in st 7. Ch 1, sc in the same st and the next 3 sts. (4 sts)
Row 15: Ch 1, turn. Sc in each st. (4 sts)
Row 16 (shift row): Ch 1, turn. Sc2tog, sc in next st, 2 sc in last st. (4 sts)
Rows 17–21: Repeat Rows 15–16 twice, then work Row 15 once more. (4 sts each; the shifts happen on Rows 18 and 20)
Row 22: Ch 1, turn. Sc in each st. (4 sts) Fasten off.
The leg started above columns 7–10 and ends above columns 10–13, so the body is 13 sts wide at the bottom. Weave in all navy ends on the WS.
Flowers and Leaves
Flower (make 3)
Round 1: With yellow, make a magic ring and work 5 sc into it. Pull the ring tight and join with sl st to the first sc. (5 sts) Fasten off.
Round 2: Join cream in any sc. Work a petal in each st around. (5 petals) Join with sl st to the base of the first petal. Fasten off and leave a 10 in (25.4 cm) tail for sewing.
Each flower is about 0.7 in (1.8 cm) across.
Leaf (make 4)
With sage, ch 5. Working in the back bumps: sl st in 2nd ch from hook, sc in next ch, hdc in next ch, sc in last ch. Ch 1, turn the leaf around, and work along the other side of the chain: sc in next ch, hdc in next ch, sc in next ch, sl st in last ch. (8 sts) Fasten off and leave an 8 in (20.3 cm) tail.
Each leaf is about 0.6 in (1.5 cm) long.
Border
Border gauge: work 1 sc into each stitch top or foundation loop and 1 sc into each row-end. At 5.5 sts and 6 rows per inch, this sits a tiny bit full on the long sides, and blocking smooths it out. Outer corners get 3 sc and inner corners get sc2tog.
Hole Edging (coral, 1 round)
There are 18 places to work into around the hole: 4 sts across the top (the unworked sts of Row 4), 5 row-ends on each side (Rows 5–9), and 4 ch across the bottom (Row 10).
With RS facing, join coral in the stem-side row-end of Row 5. Work clockwise:
Sc2tog (Row 5 row-end + first top st), sc in next 2 top sts, sc2tog (last top st + Row 5 row-end on bowl side), sc in row-ends of Rows 6–8, sc2tog (Row 9 row-end + first free loop of ch-4), sc in next 2 ch, sc2tog (last ch + Row 9 row-end on stem side), sc in row-ends of Rows 8–6. Join with sl st to the first st. (14 sts: 18 places, with the 4 corner pairs combined)
Fasten off. The open hole is now about 0.4 x 0.6 in (1.0 x 1.5 cm).
Round 1 (coral): With RS facing, join coral in the first foundation loop at the top left corner, above the stem edge.
- Top: 3 sc in first foundation loop, sc in next 8 loops, 2 sc in last loop. (13 sts)
- Right side: Sc in each row-end down the bowl and leg, Rows 1–22. (22 sts)
- Leg bottom: 3 sc in first st, sc in next 2 sts, 3 sc in last st. (8 sts)
- Leg inner edge: Sc in row-ends of Rows 22–15. (8 sts)
- Crotch: Sc2tog (Row 14 leg row-end + skipped st 6 of Row 13), sc2tog (skipped st 5 + Row 14 stem row-end). (2 sts)
- Stem inner edge: Sc in row-ends of Rows 15–22. (8 sts)
- Stem bottom: 3 sc in first st, sc in next 2 sts, 3 sc in last st. (8 sts)
- Left side: Sc in row-ends of Rows 22–1. (22 sts)
Join with sl st to the first sc. (91 sts)
Check: 13 + 22 + 8 + 8 + 2 + 8 + 8 + 22 = 91.
Round 2 (coral): Ch 1, sc in each st around, with these changes:
– At each of the 5 three-sc corners (top left, 2 leg corners, 2 stem corners), work 3 sc in the center st. That adds 2 per corner, 10 in total.
– Work 2 sc in each of the 2 sts of the 2-sc pair at the top right. That adds 2.
– Sc2tog the 2 crotch sts, so those 2 sts become 1.
Join with sl st to the first sc. (102 sts: 89 sts worked 1 per stitch + 1 crotch sc2tog + 12 extra)
Fasten off and weave in the ends.
Why the math works: the border follows the real edges of the body. Each stitch top or row-end gets one sc, so the border is the same length as the edge. Outer corners need extra stitches to turn without cupping: 3 sc in Round 1 and 2 more in Round 2. The crotch is a tight inner corner, so stitches are taken away there instead. The coral from the stem and the leg meets and fills the top of the V, which is the look you want. The notch on the right between the bowl and the leg is shallow and lies flat without extra shaping.
Final Blocking
- Lightly spray the letter until damp. Don’t attach the flowers or leaves yet.
- Pin it RS up on a blocking mat to 3.0 x 4.3 in (7.6 x 10.9 cm).
- Pin the stem straight first, then the top edge, then the slant of the leg.
- Pin the hole open to about 0.4 x 0.6 in (1.0 x 1.5 cm), with one pin at each corner.
- Smooth the coral at the crotch flat with your fingertip.
- Let it dry completely, about 4–6 hours.
- Sew on the flowers with their cream tails: one over the top left corner, one on the right side of the bowl just below the hole, and one at the bottom of the stem. Stitch through the yellow center and the base of each petal.
- Sew on the leaves: two on the top flower (one pointing up and right, one down and left), one below and left of the bowl flower, and one to the right of the stem flower.
- Open the jump ring with pliers. Pass it through both border rounds on the top edge, about 3 sts in from the top left corner, and close it firmly.
Final Quality-Control Checklist
- The body is 13 sts wide x 22 rows tall.
- The hole edging has 14 sts and the hole lies open without puckering.
- Border Round 1 has 91 sts and Round 2 has 102 sts.
- All 5 outer corners are rounded and lie flat.
- The finished size is about 3.0 x 4.3 in (7.6 x 10.9 cm).
- The leg slants out evenly and the stem is straight.
- Each flower has 5 even petals and is sewn on securely.
- The jump ring is closed with no gap.
- All ends are woven in on the WS.
Troubleshooting
The border ruffles along the long sides: your rows are shorter than gauge. Skip 1 row-end every 6 rows on the stem and leg edges.
The border pulls and the letter cups: your rows are taller than gauge. Use a hook one size larger for the border only.
The hole closes up after edging: your edging is too tight. Work it with a 3.5 mm hook, or replace the 4 corner sc2togs with plain sc for 18 sts.
The leg slants unevenly: check that each shift row starts with sc2tog at the inner edge and ends with 2 sc at the outer edge.
The flowers curl: pin them flat and spray them lightly before you sew them on.
The charm twists on the ring: move the jump ring 1 st closer to the stem so the charm hangs centered.
Care
Hand wash in cool water with mild soap, press out the water in a towel, and dry flat. Don’t machine dry it, and take the hardware off before washing if you can.
Final Notes
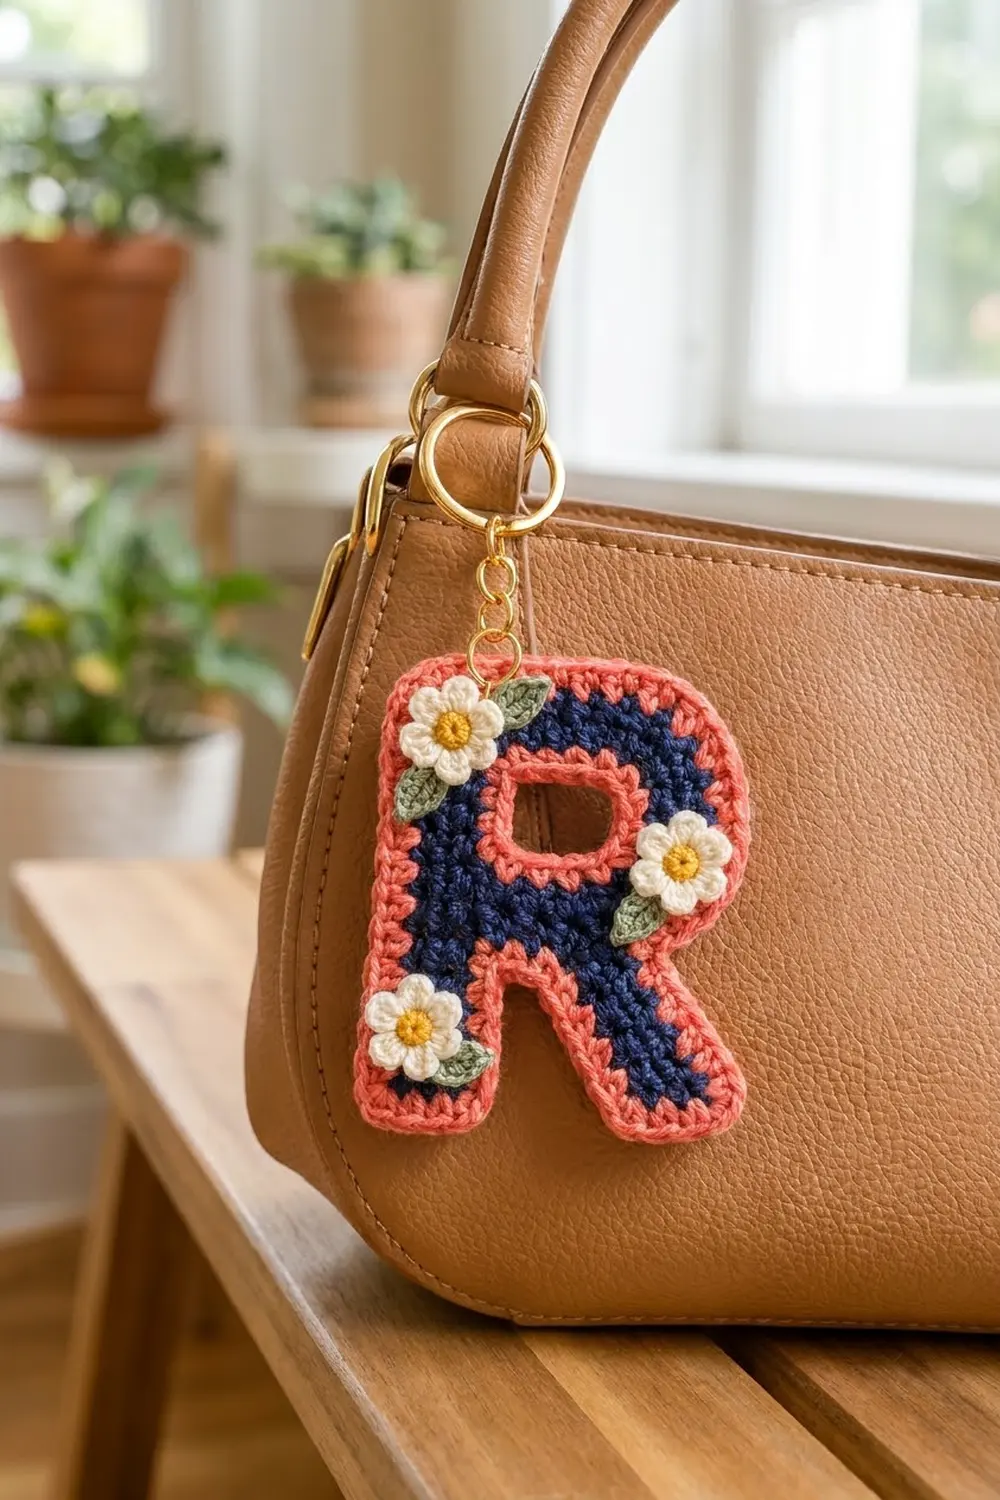
The measurement chain is short and easy to check. A gauge of 5.5 sts and 6 rows per inch gives a 13 x 22 body that measures 2.4 x 3.7 in (6.1 x 9.4 cm). The hole edging has 14 sts. Border Round 1 has 91 sts, and Round 2 finishes at 102 sts for a final size of 3.0 x 4.3 in (7.6 x 10.9 cm). Check each stage and block before you sew, and your initial will hang straight and sturdy.
Happy crocheting!