
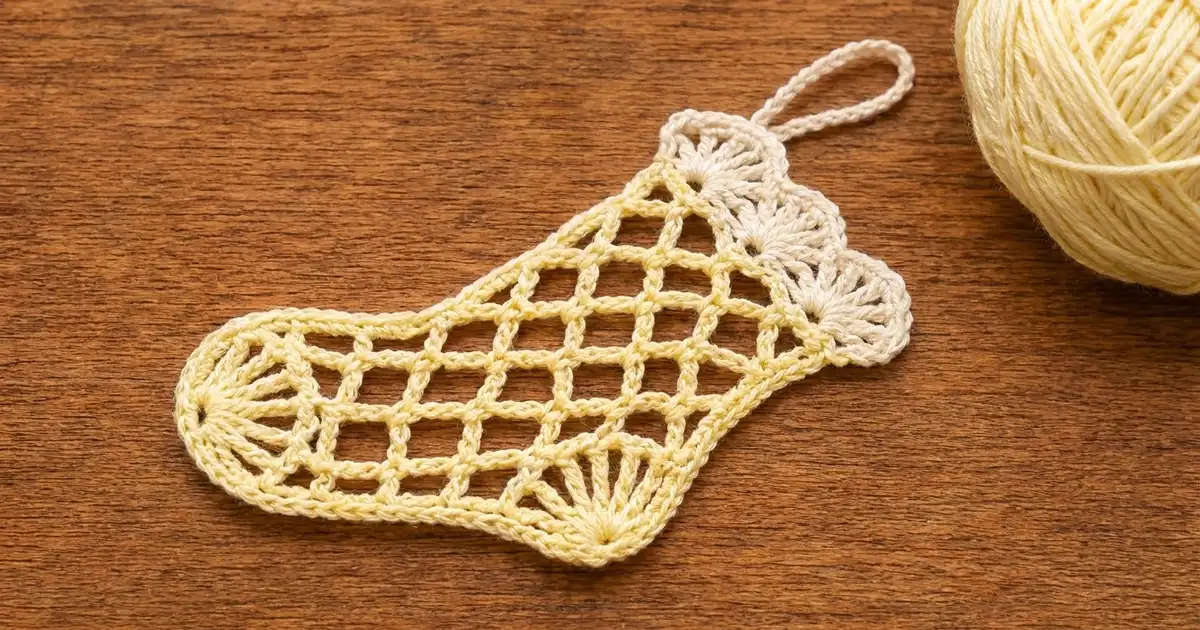
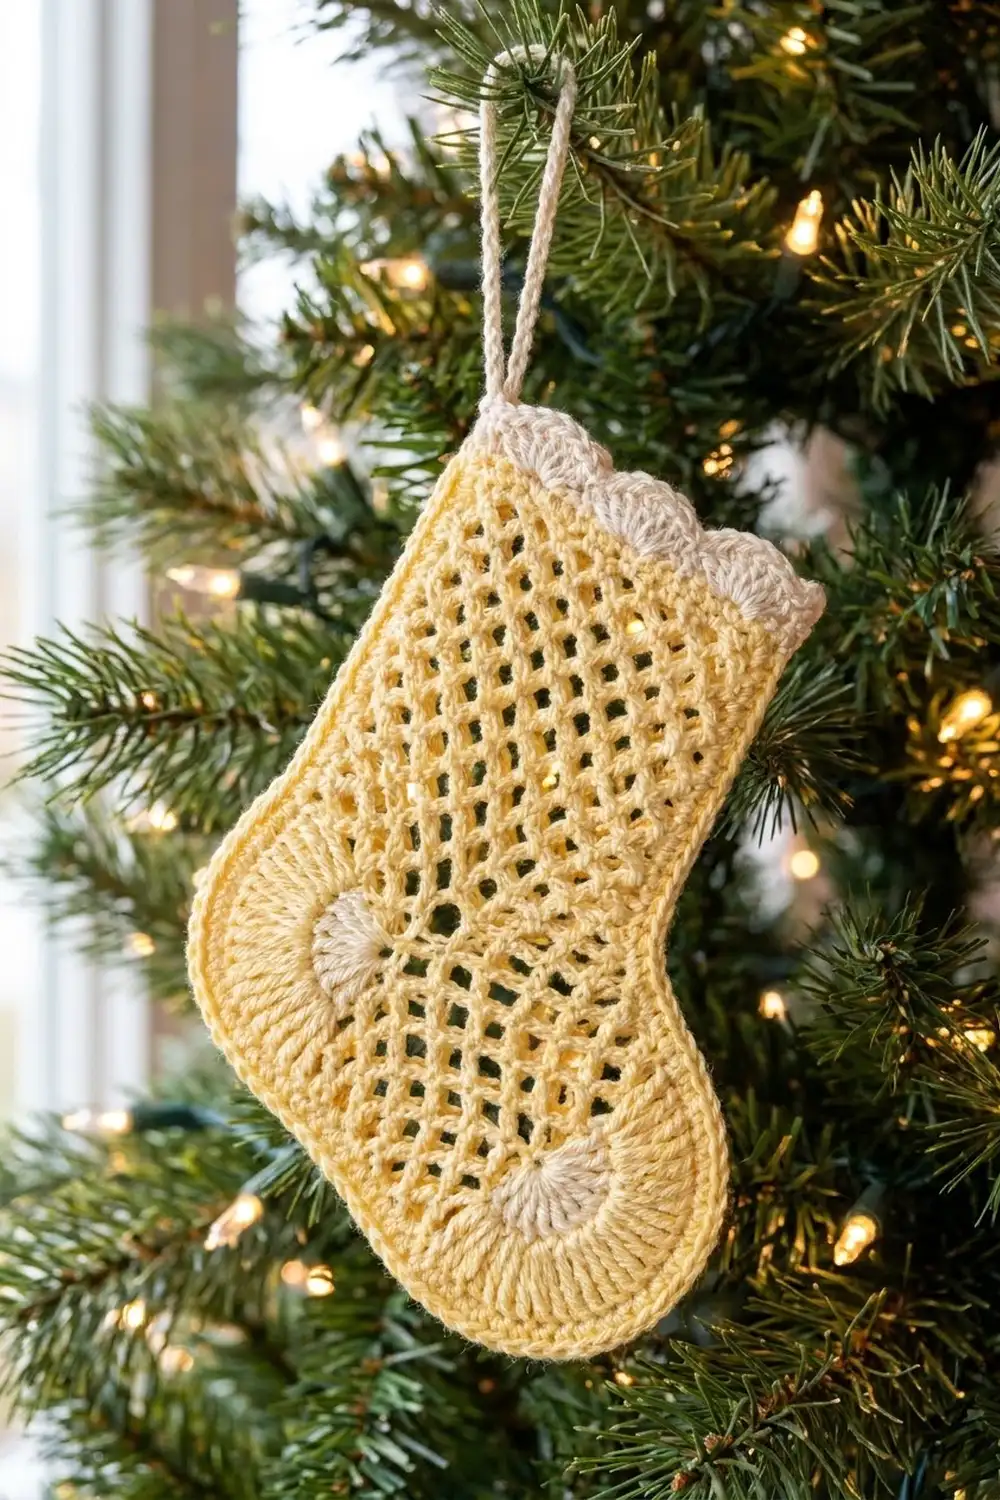
The Buttercup Lattice Stocking is a small, flat lace ornament. It has an open diamond-mesh body, a radiating fan at the toe and another at the heel, and a scalloped cream cuff with a slim hanging loop. It looks delicate on a tree, but you can finish it in an evening.
There are two colors. Pale butter yellow is used for the lattice, the fans and the outline. Soft cream is used for the cuff and loop. Together they give a warm, vintage feel that suits natural greenery and white lights.
This pattern uses US crochet terms. The finished ornament measures 4 in (10.2 cm) across the foot and 5.875 in (14.9 cm) tall from sole to scallop tips. The loop adds 1.5 in (3.8 cm), so the total height is 7.375 in (18.7 cm).
You work the foot in rows from the sole up, with the toe fan and heel fan built into the row ends. Then you continue the leg over the heel-side loops. One yellow single-crochet round outlines the shape. Last, you work the cream cuff in rows across the top and make the loop in the final cuff row.
Finished Size and Construction
- Finished size: 4 in (10.2 cm) wide at the foot × 5.875 in (14.9 cm) tall, plus a 1.5 in (3.8 cm) loop
- Skill level: Intermediate (you shape lace as you go)
- Terminology: US
- Yarn weight: #1 super fine (fingering) mercerized cotton
- Hook: 2.5 mm
- Number of pieces: 1 (single piece, no joining)
- Layout: foot and leg mesh, then outline, then cuff
- Piece size before border: foot 3.75 in (9.5 cm) long; leg 2.5 in (6.4 cm) wide; 4.875 in (12.4 cm) tall
- Border depth: 0.125 in (0.3 cm) per edge for the outline; the cuff adds 0.75 in (1.9 cm) at the top
Materials
Use a smooth, mercerized cotton in fingering weight (about 170 m per 50 g). Mercerized cotton holds crisp lace and keeps its shape after blocking. If you use size 3 crochet thread instead, check gauge closely.
- Color A, butter yellow: 10 g (34 m)
- Color B, cream: 4 g (14 m)
These quantities include a margin of about 25% for your gauge check and tails.
Tools:
- 2.5 mm crochet hook
- Tapestry needle
- Scissors
- Rustproof pins and a blocking board or folded towel
- Spray bottle with water
- Ruler or tape measure
- Optional: fabric stiffener
Abbreviations (US Terms)
- ch: chain
- sl st: slip stitch
- sc: single crochet
- dc: double crochet
- tr: treble crochet
- sp(s): space(s)
- st(s): stitch(es)
- RS: right side
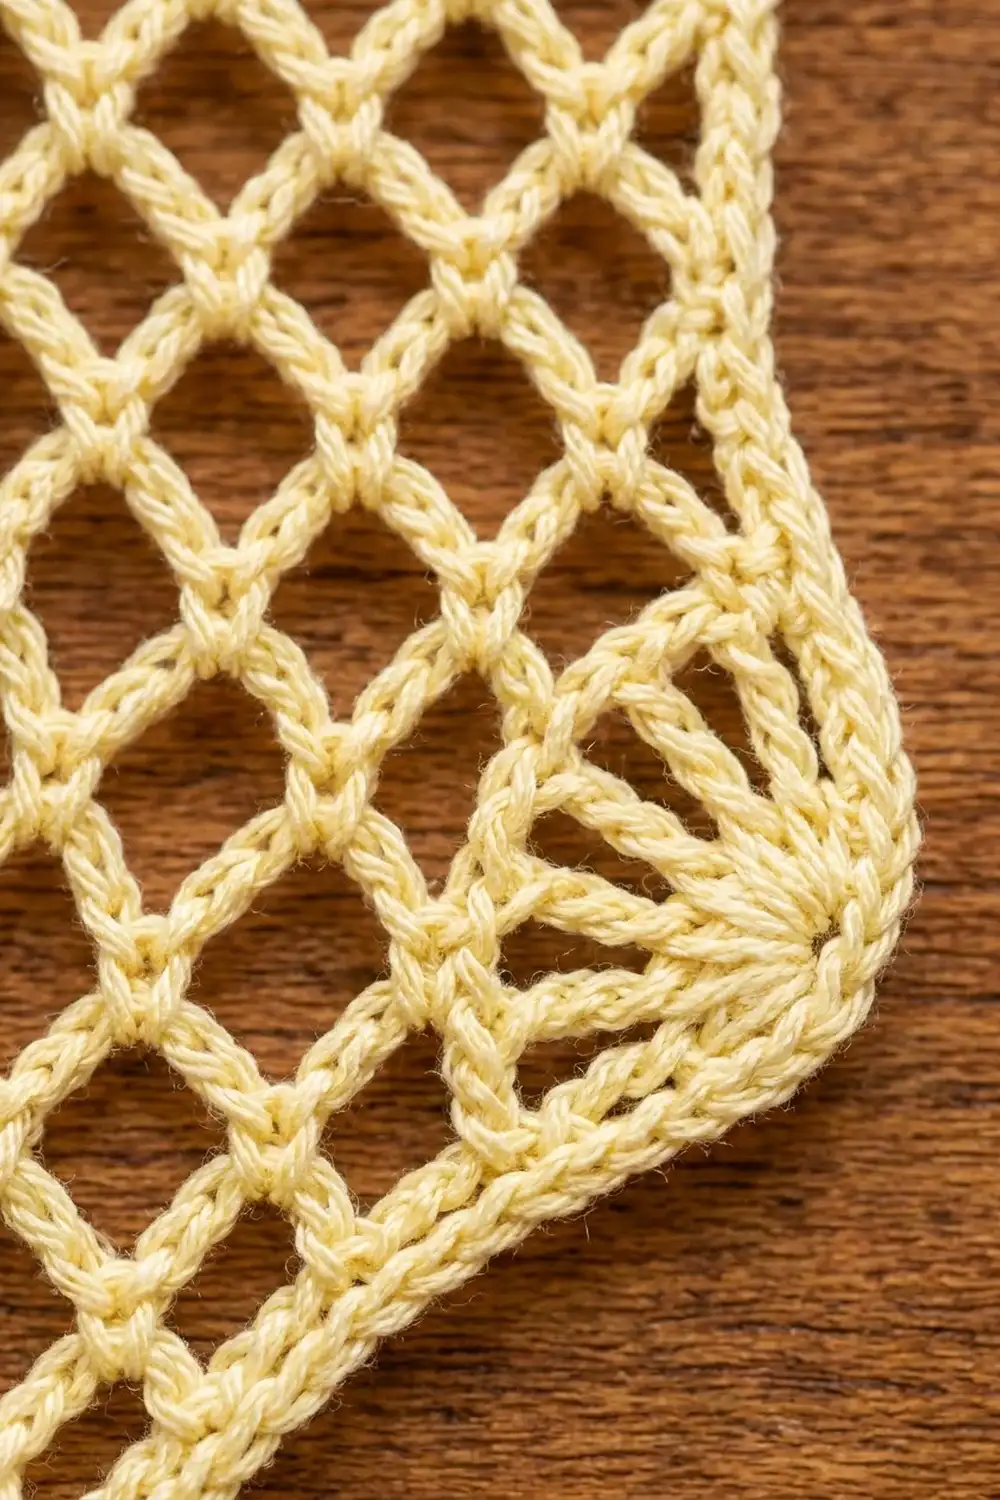
Special stitch (Fan): (tr, ch 1) 8 times, tr, all in the same stitch. That makes 9 tr spokes and 8 ch-1 sps. When a fan opens a row, ch 4 counts as the first tr, and you work (ch 1, tr) 8 times in the same stitch.
Mesh loop: ch 5, sc in the next ch-5 sp.
Gauge and Checkpoints
Mesh gauge: 4 ch-5 loops = 2.5 in (6.4 cm) wide. 8 mesh rows = 3 in (7.6 cm) tall. Each loop is 0.625 in (1.6 cm) wide and each row is 0.375 in (1.0 cm) tall.
Outline gauge: 13 sc = 2 in (5.1 cm).
Because this is one piece, the foot works as your test piece. Work Rows 1–5, then pin the piece flat without stretching and measure.
Checkpoints:
- After Row 1: the foundation spans 3.75 in (9.5 cm).
- After Row 5 (foot): 3.75 in (9.5 cm) long × 1.875 in (4.8 cm) tall.
- After Row 13 (leg): 4.875 in (12.4 cm) tall overall; leg 2.5 in (6.4 cm) wide.
- After the outline: foot 4 in (10.2 cm); leg 2.75 in (7.0 cm); body 5.125 in (13.0 cm) tall.
- After the cuff: 5.875 in (14.9 cm) tall; cuff about 3.125 in (7.9 cm) wide.
If the foot is too big, go down to a 2.25 mm hook and keep your chains snug. If it is too small, go up to a 2.75 mm hook. Being off by 0.25 in (0.6 cm) is fine for an ornament. More than that will make the cuff fit poorly.
Pattern
Part 1: Foot (Color A)
The foundation chain is the sole. End B is the toe and end A is the heel.
Row 1: Ch 26. Sc in 2nd ch from hook (toe corner, end B), ch 5, skip 3 ch, sc in next ch; repeat from * 5 more times. The last sc is in the final ch (heel corner, end A). (6 loops, 7 sc)
Row 2: Ch 5 (counts as dc + ch 2), turn. Sc in first ch-5 sp, ch 5, sc in next ch-5 sp; repeat from * 4 more times. Ch 2, work a Fan in the last sc (the toe corner). (5 full loops, 1 half loop at heel, toe fan of 9 tr)
Row 3: Ch 1, turn. Sc in the first tr, ch 1, sc in next tr; repeat from * 7 more times. This makes the toe arc: 9 sc and 8 ch-1 sps. Ch 5, sc in next ch-5 sp; repeat from * 4 more times. Ch 5, sc in 3rd ch of the turning ch-5. (6 loops plus toe arc)
Row 4: Ch 4 (counts as first tr), turn. Work (ch 1, tr) 8 times in the same sc to make the heel fan. Ch 2, sc in first ch-5 sp, ch 5, sc in next ch-5 sp; repeat from * 4 more times. Ch 2, dc in the 5th (center) sc of the toe arc. (Heel fan, 5 full loops, 1 half loop at toe)
The outer half of the toe arc stays free and becomes the rounded toe.
Row 5: Ch 1, turn. Sc in the dc, ch 5, sc in next ch-5 sp; repeat from * 4 more times. Ch 5, sc in the last tr of the heel fan (the spoke next to the ch-2). Ch 1, sc in next tr; repeat from * 7 more times, ending in the top of the ch-4. (6 loops plus heel arc)
Check: 3.75 in (9.5 cm) × 1.875 in (4.8 cm).
Part 2: Leg (Color A)
Number the Row 5 loops 1–6, starting from the heel. The leg uses loops 1–4. Loops 5–6 stay free as the instep.
Row 6: Turn. Sl st in each of the next 4 sts of the heel arc to reach the 5th (center) sc. Ch 5 (counts as dc + ch 2) and sc in loop 1. Ch 5, sc in next loop; repeat from * 2 more times. Ch 2, dc in the sc between loops 4 and 5. (3 full loops + 2 half loops)
Starting from the arc center sets the back of the leg slightly in from the heel fan. That creates the curved heel.
Row 7: Ch 1, turn. Sc in the dc, ch 5, sc in next ch-5 sp; repeat from * 2 more times. Ch 5, sc in 3rd ch of the turning ch-5. (4 loops)
Row 8: Ch 5 (counts as dc + ch 2), turn. Sc in first ch-5 sp, ch 5, sc in next ch-5 sp; repeat from * 2 more times. Ch 2, dc in last sc. (3 full loops + 2 half loops)
Rows 9–13: Repeat Rows 7 and 8 twice, then work Row 7 once more. (Row 13: 4 loops, 5 sc)
Check: 4.875 in (12.4 cm) tall, leg 2.5 in (6.4 cm) wide. Do not fasten off.
Border: Outline Round and Scalloped Cuff
Outline gauge: 4 sc per ch-5 loop. Row ends get 2 sc (odd rows) or 3 sc (even rows, around the dc or turning chain).
Outline Round (Color A)
Work the following in one continuous round with the RS facing.
Top-back corner: Ch 1, do not turn. Work 3 sc in the last sc of Row 13.
Back of leg (Rows 12–6): 3 sc in each even-row end and 2 sc in each odd-row end. (18 sc)
Heel: Work 1 sc in each ch-1 sp and each sc of the outer heel arc, from the sp beside the center sc down to the top of the ch-4 (8 sc). Then work 3 sc down the ch-4, 2 sc in the Row 3 end, and 3 sc in the Row 2 end. (16 sc)
Heel corner: 3 sc in the free loop of the last foundation ch.
Sole: 1 sc in each remaining free loop of the foundation chain. (23 sc)
Toe corner: 3 sc in the free loop of the first foundation ch, at the base of the toe fan.
Toe: Work 3 sc up the last tr of the toe fan. Then work 1 sc in each sc and ch-1 sp of the outer toe arc up to the center sc (8 sc), and 3 sc around the Row 4 dc. (14 sc)
Toe-instep corner: 3 sc in the first sc of Row 5.
Instep: 4 sc in each of loops 6 and 5. (8 sc) Do not work into the inner corner sc.
Front of leg (Rows 6–12): 3 sc in each even-row end and 2 sc in each odd-row end. (18 sc)
Top-front corner: 3 sc in the first sc of Row 13.
Top: 4 sc in each of the 4 loops. (16 sc)
Join with a sl st to the first sc and fasten off.
Total: 3 + 18 + 16 + 3 + 23 + 3 + 14 + 3 + 8 + 18 + 3 + 16 = 128 sc.
Why the math works: Each 0.625 in (1.6 cm) loop gets 4 sc, which matches the outline gauge exactly. The 2/3 pattern on the row ends averages 2.5 sc per 0.375 in (1.0 cm) row. That is close enough to keep the side edges flat. Three sc at each outer corner turn the 90° angle without cupping. Skipping the inner instep corner keeps the ankle crisp.
Cuff (Color B)
The top edge has 22 sts: the 3 top-front corner sc, the 16 top sc, and the 3 top-back corner sc.
Row 1 (RS): Join B in the first sc of the top-front corner. Ch 1, sc in the same st and in each st across to the last top-back corner sc. (22 sc)
Row 2: Ch 1, turn. Sc in each of next 6 sts, 2 sc in next st; repeat from * 2 more times, sc in last st. This is 22 sts worked once each + 3 extra sc. (25 sc)
Row 3: Ch 1, turn. Sc in first st, skip 3 sts, 9 dc in next st, skip 3 sts, sc in next st; repeat from * 2 more times. (3 shells + 4 sc = 25 sts)
Each shell repeat uses 8 sts. 3 × 8 + 1 = 25, so the count works out exactly.
Row 4 and hanging loop: Ch 1, turn. Sl st in first sc, sc in each of next 9 dc, sl st in next sc; repeat from * 2 more times.
On the last (front) scallop, after the 5th sc, ch 20 and sl st in that same sc to make the loop. Then finish the scallop. (27 sc, 4 sl st, 1 loop)
The cuff is 0.75 in (1.9 cm) deep and the loop stands 1.5 in (3.8 cm) tall. Fasten off and weave in all tails along the outline.
Final Blocking
- Wet the ornament with the spray bottle until it is damp all through.
- Lay it RS up on the blocking board.
- Pin the sole straight to 4 in (10.2 cm) and the leg to 2.75 in (7.0 cm) wide.
- Pin the top of the outline 5.125 in (13.0 cm) above the sole.
- Open each mesh loop into a diamond with a pin at each sc junction.
- Spread the toe fan and heel fan spokes evenly.
- Pin each cuff scallop into a smooth curve, then pin the loop straight up.
- Mist with stiffener if you want a crisper ornament. Let it dry completely before unpinning.
Final Quality-Control Checklist
- The outline has 128 sc with no gaps at the corners.
- The foot measures 4 in (10.2 cm) and the body 5.125 in (13.0 cm).
- Both fans have 9 spokes, and their outer arcs sit on the edge.
- The leg has 4 loops across and the instep has 2 free loops.
- The cuff has 3 even scallops with 9 sc each.
- The loop is centered above the front scallop and firmly anchored.
- All tails are woven in and trimmed.
Troubleshooting
Diamonds look like slits. Your chains are too tight. Loosen the ch-5s or go up a hook size.
Edges ripple. Your row ends have too many sc. Use 2 sc in every row end along that edge.
Edges pull in. Make sure the even-row ends get 3 sc.
A fan cups. Lengthen the ch-1 sps slightly, then block the spokes flat.
The leg leans forward. Check that Row 6 started at the heel arc center and used only loops 1–4.
The cuff is too wide. Skip the Row 2 increases. You then have 22 sts, so work the shells as: sc in first st, skip 2 sts, 9 dc in next st, skip 3 sts, sc in next st; repeat from * 2 more times.
Care
Hand wash in cool water and lay flat to dry, reshaping as you did for blocking. Store flat in tissue paper between seasons.
Final Notes
The measurements build in order. Each 0.625 in (1.6 cm) loop and 0.375 in (1.0 cm) row gives a 3.75 in × 4.875 in (9.5 cm × 12.4 cm) mesh body. The outline brings that to 4 in × 5.125 in (10.2 cm × 13.0 cm). The cuff takes the height to 5.875 in (14.9 cm), and the loop takes it to 7.375 in (18.7 cm). If your foot matches gauge, everything after it will fit.
Happy crocheting!