

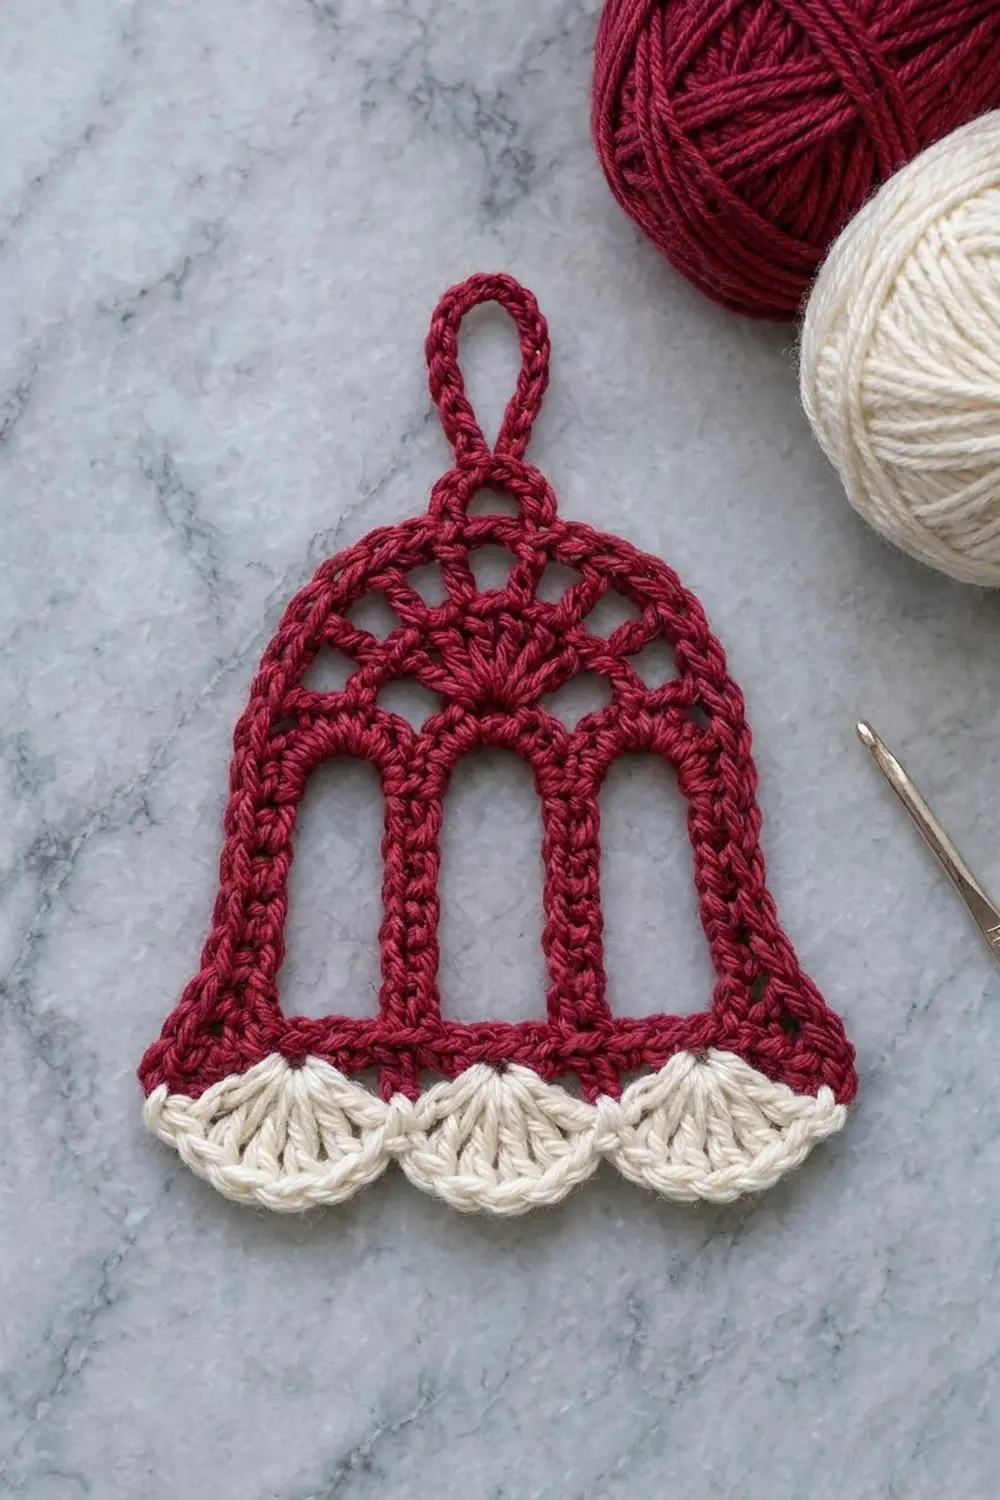
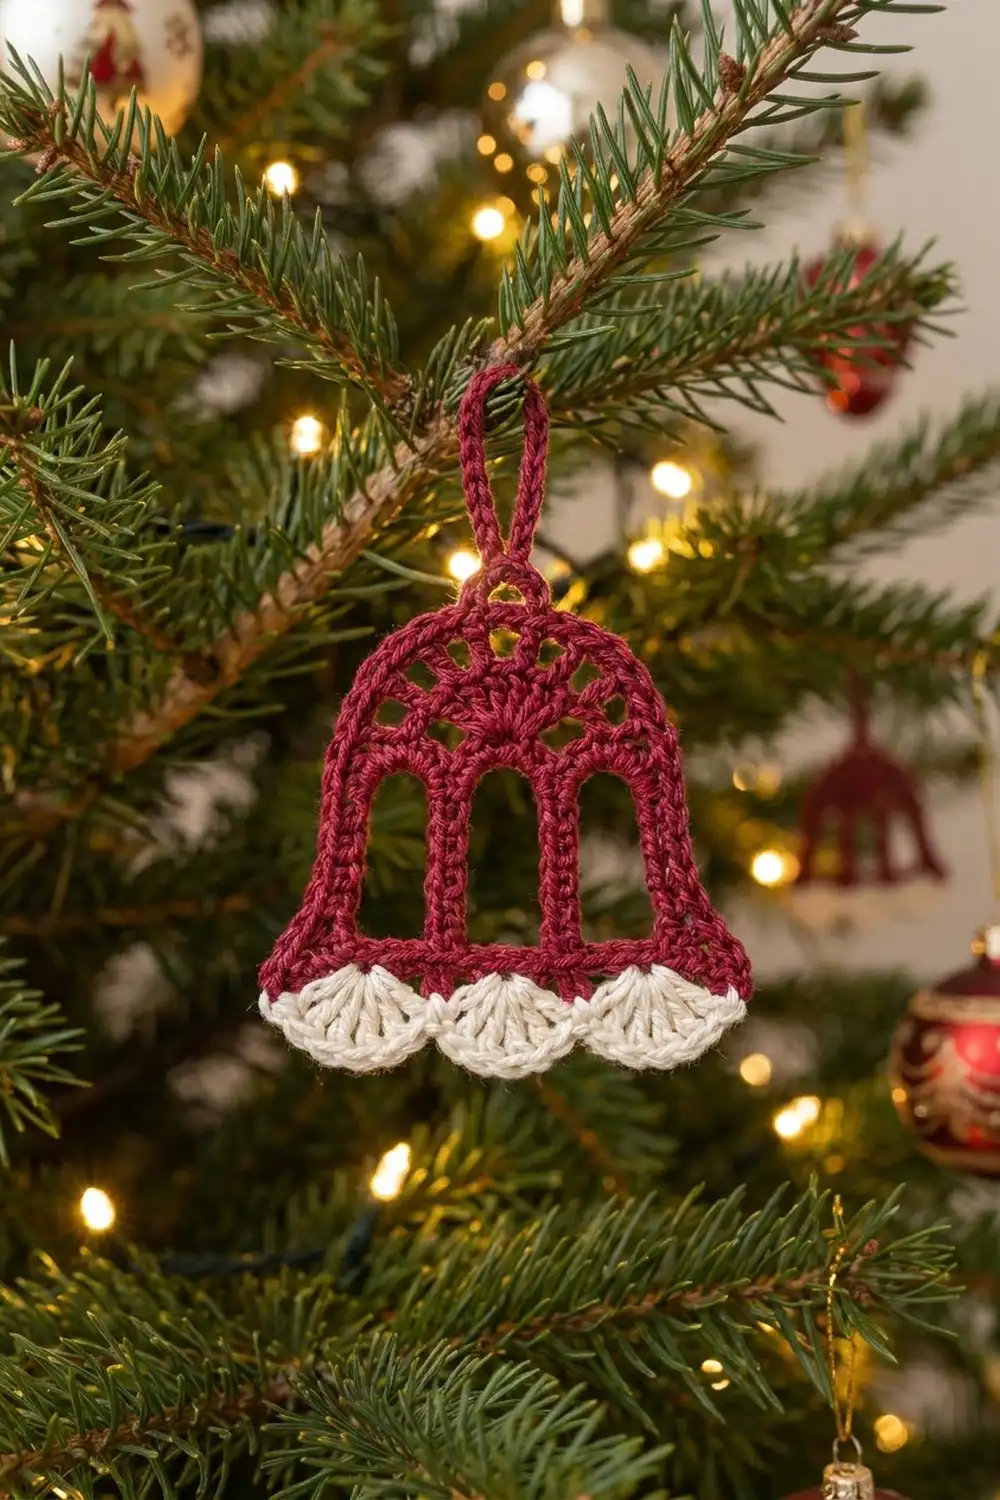
The Cranberry Chapel Bell is a flat, lacy Christmas ornament. Its open windows and arched dome look a bit like a little chapel bell tower. A rich cranberry body is finished with a soft cream scalloped hem, a classic holiday color pair that looks good on a tree, a gift tag, or a window hook.
This pattern uses US crochet terms. The finished bell measures 4 in (10.2 cm) wide and 4.4 in (11.2 cm) tall without the loop. With the loop it is 5.9 in (15.0 cm) tall.
The bell is one piece. You first work a half-circle lace dome in rows from a magic ring. Then you crochet a base row along the dome’s straight edge and work four short posts down from it. A bottom bar ties the posts together and closes the windows. Cream scallops, a burgundy outline, and a hanging loop finish the ornament.
Because there is no joining, this pattern is a good quick project for a holiday weekend. It is also good for using up worsted-weight cotton scraps.
Finished Size and Construction
- Finished size: 4 in (10.2 cm) wide × 4.4 in (11.2 cm) tall; 5.9 in (15.0 cm) tall including the loop
- Skill level: Easy-intermediate (you work each post as a separate small piece)
- Terminology: US crochet terms
- Yarn weight: Worsted (#4) cotton or cotton blend
- Hook: 4.0 mm (G-6)
- Number of pieces: 1
- Layout: One bell, worked flat
- Piece size before trim and outline: 3.6 in (9.1 cm) wide × 3.6 in (9.1 cm) tall
- Size before border: 3.6 in (9.1 cm) wide × 3.6 in (9.1 cm) tall
- Border depth: scallops add 0.6 in (1.5 cm) at the bottom; the outline adds 0.2 in (0.5 cm) on each side and on top
Materials
Use a smooth mercerized or matte cotton in worsted weight. Cotton gives crisp stitch definition and holds its shape after blocking, which matters for the open windows. Acrylic also works, but it may need steam blocking to lie flat.
- Burgundy / cranberry: about 10 g (20 m / 22 yd)
- Cream: about 3 g (6 m / 7 yd)
- 4.0 mm (G-6) crochet hook
- Tapestry needle
- Scissors
- Rust-proof pins and a blocking mat or folded towel
- Spray bottle with water
These quantities include a margin of about 20% for gauge swatches and longer tails.
Abbreviations (US Terms)
- ch – chain
- sl st – slip stitch
- sc – single crochet
- dc – double crochet
- tr – treble crochet
- st(s) – stitch(es)
- sp – space
- sk – skip
- tch – turning chain
- RS – right side
Special stitch: Scallop. Work 7 dc into one stitch. Skip 2 stitches on each side of it so the fan lies flat.
Gauge and Checkpoints
Gauge: 10 sc = 2 in (5.1 cm). One dc row = 0.4 in (1.0 cm) tall.
Make one bell as your test piece. Check these measurements as you go:
- After Row 3 (dome): 2.9 in (7.4 cm) wide along the straight edge and 1.4 in (3.6 cm) tall.
- After Row 4 (base row): 14 sc spanning 2.8 in (7.1 cm).
- After the posts: each post is 1.6 in (4.1 cm) long.
- After the bottom bar: 3.6 in (9.1 cm) wide.
- After the scallops: 4.2 in (10.7 cm) tall.
- After the outline: 4 in (10.2 cm) wide × 4.4 in (11.2 cm) tall.
If your bell is too big, go down to a 3.75 mm (F-5) hook. If it is too small or stiff, go up to a 4.5 mm (7) hook. Change the hook, not the stitch counts, because every section depends on the counts below.
Part 1: The Lace Dome
The dome is worked in burgundy. It starts with a small solid fan at the bottom center, and the spokes radiate upward.
Row 1: Make a magic ring. Ch 3 (counts as dc), then work 6 dc in the ring. Pull the ring closed so the stitches form a half circle. Do not join. Turn. (7 dc)
Row 2: Ch 6 (counts as tr + ch 2). [Tr in next dc, ch 2] 5 times. Tr in the top of the beginning ch-3. Turn. (7 tr, 6 ch-2 sps)
The six ch-2 spaces are the dome’s open windows.
Row 3: Ch 1. Sc in the first tr. Then work the spaces in this order, with 1 sc in each tr between them: 3 sc in sp 1, 2 sc in sp 2, 3 sc in sp 3, 3 sc in sp 4, 2 sc in sp 5, and 3 sc in sp 6. Work the last sc in the 4th ch of the ch-6. (23 sc: 7 on tr + 16 in sps)
The 3-2-3-3-2-3 spread keeps the arc flat without ruffling. The 12th sc is the exact top center.
Checkpoint: The straight edge is 2.9 in (7.4 cm) wide and the dome is 1.4 in (3.6 cm) tall.
Part 2: The Base Row
Row 4 (RS): Do not turn. Rotate the dome so you can work along its straight edge. Work across the row ends as follows:
- 1 sc in the end of Row 3
- 3 sc over the Row 2 tr post
- 2 sc over the Row 1 ch-3 post
- 2 sc into the center of the ring, working under the ring strands
- 2 sc over the last Row 1 dc post
- 3 sc over the Row 2 ch-6 post
- 1 sc in the end of Row 3
(14 sc) Fasten off.
Number these stitches 1–14 from where you started Row 4:
- Posts: sts 1–2, 5–6, 9–10, and 13–14
- Windows (left unworked): sts 3–4, 7–8, and 11–12
Part 3: The Posts
Each post is worked separately in burgundy. Keep the RS facing when you join the yarn.
Outer Posts (Make 2)
For the left outer post, join at st 2, which is the window side. For the right outer post, join at st 13.
Post Row 1: Ch 3 (counts as dc). Dc in the outer stitch (st 1 or st 14). Turn. (2 dc)
Post Row 2: Ch 3 (counts as dc). Dc in the top of the tch. Turn. (2 dc)
Post Row 3 (flare): This row starts at the window side. Ch 3 (counts as dc). Work 2 dc in the top of the tch, which is the outer stitch. Turn. (3 dc)
Post Row 4 (flare): This row starts at the outer side. Ch 3 (counts as dc). Dc in the same stitch, dc in the next dc, and dc in the top of the tch. (4 dc) Fasten off.
You only add stitches on the outer edge. The window side stays straight while the outside of the bell flares by 0.4 in (1.0 cm).
Inner Posts (Make 2)
Join at st 5 for the first inner post and at st 9 for the second.
Post Rows 1–4: Ch 3 (counts as dc). Dc in the next stitch, or in the top of the tch on Rows 2–4. Turn. (2 dc every row)
Fasten off after Row 4.
Checkpoint: All four posts are 1.6 in (4.1 cm) long and end level with each other.
Part 4: The Bottom Bar
Bar Row 1 (RS): Join burgundy in the outermost top stitch of the left outer post. Ch 1, then work across in this order:
- Sc in the same st and the next 3 sts (4 sc)
- Ch 2
- Sc in the 2 sts of the first inner post
- Ch 2
- Sc in the 2 sts of the second inner post
- Ch 2
- Sc in the 4 sts of the right outer post
Turn. (18 sts: 12 sc + 6 ch)
Each ch-2 matches the 2-stitch window opening at the top, so the windows stay straight-sided.
Bar Row 2 (conversion row): Ch 1. Sc in each sc and each ch across, working 2 sc in the 9th stitch. Fasten off. (18 sc worked one per stitch + 1 extra = 19 sc)
Checkpoint: The bar is 3.6 in (9.1 cm) wide.
Part 5: Border – Scallops and Outline
Border gauge: One scallop spans 6 base stitches, or 1.2 in (3.0 cm). The trim is 0.6 in (1.5 cm) deep.
Cream Scallops
Scallop Row 1: With the RS facing, join cream in the first sc of Bar Row 2. Ch 1, then sc in the same st. [Sk 2, 7 dc in the next st, sk 2, sc in the next st] 3 times. Turn. (3 scallops: 4 sc + 21 dc = 25 sts)
Why the math works: 1 starting sc + 3 × 6 stitches = 19. This uses every stitch of Bar Row 2 exactly. That is why Row 2 added one stitch.
Scallop Row 2: Ch 1. Sc in the first sc. [Sc in the next 3 dc, 3 sc in the center dc, sc in the next 3 dc, sl st in the next sc] 3 times. Fasten off. (28 sc + 3 sl st)
Burgundy Outline
The outline frames the sides and dome. Its counts are:
- Each side: 11 sc. That is 1 sc in each of the 2 bar-row ends, 2 sc per post row end (8), and 1 sc in the base-row end.
- Dome: 26 sc. That is 2 sc in the first st, sc in the next 10 sts, (sc, ch 4, sc) in the 12th st, sc in the next 10 sts, and 2 sc in the last st.
Outline Row: Join burgundy at the left end of Bar Row 2. Work 11 sc up the side and 26 sc across the dome as described above. Then work 11 sc down the other side, ending at the right end of Bar Row 2. Fasten off. (48 sc + one ch-4 picot)
The 2-sc corners at each end of the dome let the outline turn smoothly from the vertical sides into the arc.
Checkpoint: The bell is 4 in (10.2 cm) wide × 4.4 in (11.2 cm) tall.
Hanging Loop
Join burgundy in the ch-4 picot. Ch 16, then sl st back into the picot. Ch 1, work 22 sc around the ch-16 loop, and sl st to the picot. Fasten off.
The loop stands 1.5 in (3.8 cm) tall.
Final Blocking
- Weave in all ends along the posts and bar, never across a window.
- Mist the bell until it is damp but not soaked.
- Pin it to 4 in (10.2 cm) wide × 4.4 in (11.2 cm) tall.
- Pin each post straight. Space the windows evenly at 0.4 in (1.0 cm) wide.
- Ease the top corners of each window into soft curves to round the window tops.
- Pin the dome arc smooth, with each spoke space opened evenly.
- Pin each scallop into a neat half circle.
- Pull the loop straight upward and let everything dry completely.
Final Quality-Control Checklist
- Dome: 7 tr spokes, 6 open spaces, 23 sc arc
- Base row: 14 sc
- Posts: outer posts end with 4 dc, inner posts with 2 dc
- Bar: 18 sts in Row 1 and 19 sc in Row 2
- Exactly 3 even cream scallops
- Outline: 11 + 26 + 11 sc, with the picot centered
- Width 4 in (10.2 cm), height 4.4 in (11.2 cm)
- All ends hidden and the loop is secure
Troubleshooting
- The dome ruffles: Your Row 3 is too loose, or you put 3 sc in every space. Recheck the 3-2-3-3-2-3 spread.
- The dome cups: Go up a hook size for Row 3 only.
- Posts are uneven lengths: Count rows. Every post needs exactly 4 rows.
- The bell leans: One outer post may be missing a flare stitch. Each outer post must end at 4 dc.
- The scallops won’t fit: Bar Row 2 must have 19 sc.
- The windows look pinched: Re-block and pin each opening to 0.4 in (1.0 cm) wide.
Care
Hand wash in cool water, press out the water in a towel, and dry the bell flat. Reshape and re-pin it if it softens after storage.
Final Notes
The measurement chain is simple:
- The 23-sc dome sets a 2.9 in (7.4 cm) straight edge.
- The 14-sc base row spreads 2.8 in (7.1 cm) across it.
- The posts drop 1.6 in (4.1 cm), and the outer posts flare.
- The 19-sc bar spans 3.6 in (9.1 cm).
- The three scallops use exactly 1 + 3 × 6 stitches.
- The outline brings the bell to 4 in (10.2 cm) × 4.4 in (11.2 cm).
Check each stage against its checkpoint and your bell will hang straight and even.
Happy crocheting!