

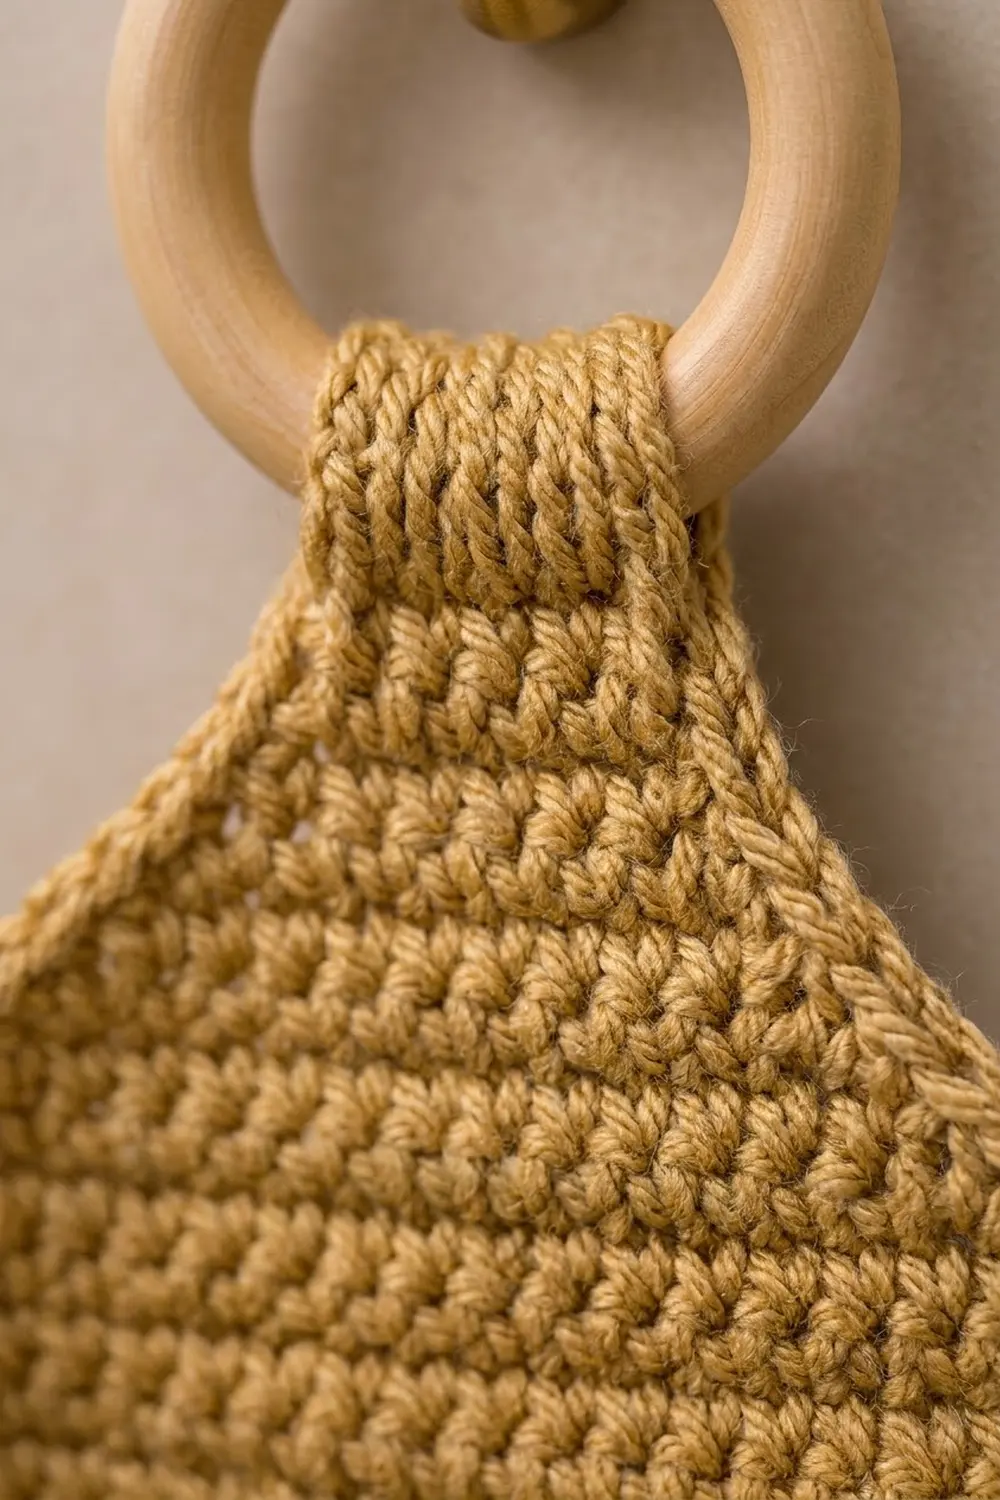
This hanging holder pairs a warm mustard-gold back panel with two airy cream pockets. Each pocket has an open diamond lattice with a raised gold rope cable running up the middle, so it looks a bit like woven cane. A wooden ring at the top lets it hang from a hook, towel knob or door.
The palette is just two colors, gold and cream, and the look is calm and natural. It suits a neutral bathroom with brass fixtures and pale stone. The pattern uses US crochet terms throughout.
The finished back panel measures 7 in (17.8 cm) wide by 19.7 in (50.0 cm) tall to the base of the tab. The folded tab adds about 1.6 in (4.1 cm), plus the ring. Each pocket measures 10.8 in (27.4 cm) wide by 4.5 in (11.4 cm) tall before it is sewn on.
You will work the back panel flat in half double crochet rows and taper it to a tab. Then you add a two-row border. The two pockets are worked flat in intarsia: a lattice section, a cable section, then a second lattice section. Each pocket gets a gold trim and is sewn on with the extra width eased in, so it curves out to cradle a roll.
Finished Size and Construction
- Finished size: 7 in × 19.7 in (17.8 cm × 50.0 cm) panel, plus a 1.6 in (4.1 cm) folded tab and ring
- Skill level: Intermediate
- Terminology: US
- Yarn weight: Worsted (#4), cotton or a cotton blend
- Hook: 4.5 mm (US 7)
- Number of pieces: 3 (1 back panel, 2 pockets)
- Layout: Pockets stacked vertically on the panel
- Panel size before border: 6 in × 19.2 in (15.2 cm × 48.8 cm)
- Border depth: 2 rows, 0.5 in (1.3 cm)
- Pocket size: 10.8 in × 4.5 in (27.4 cm × 11.4 cm) with trim; 10.3 in × 4.25 in (26.2 cm × 10.8 cm) before trim
Materials
Choose a smooth, firm worsted cotton. Cotton holds its shape under the weight of a roll, shows the cable clearly and resists bathroom humidity. Avoid splitty or very soft yarns, because the lattice loses its crisp diamonds.
- Gold (Color A): 130 g, about 220 m
- Cream (Color B): 70 g, about 120 m
These quantities include a margin of roughly 15% for swatching and seaming.
Tools:
– 4.5 mm (US 7) crochet hook
– Wooden ring, 2 in (5.1 cm) outer diameter
– Tapestry needle
– Two extra bobbins or small cream balls (for intarsia)
– Stitch markers
– Rust-proof pins and a blocking mat
– Measuring tape
Abbreviations (US Terms)
- ch: chain
- sc: single crochet
- hdc: half double crochet
- hdc2tog: half double crochet 2 together (a decrease of 1 stitch)
- dc: double crochet
- FPdc / BPdc: front post / back post double crochet
- FPtr: front post treble crochet
- sk: skip
- sp: space
- st(s): stitch(es)
- RS / WS: right side / wrong side
Special stitch, C4F (cable 4 front): Skip the next 2 sts and FPtr around each of the next 2 sts. Then, working in front of the stitches you just made, FPtr around each of the 2 skipped sts. This uses 4 sts.
Gauge and Checkpoints
- Hdc: 14 sts × 10 rows = 4 in (10.2 cm)
- Sc: 14 sts × 16 rows = 4 in (10.2 cm)
- Lattice: 2 rows = 1 in (2.5 cm); one 15-st lattice section = 4.3 in (10.9 cm)
Test one pocket first. It is the fastest way to check both your stitch gauge and your lattice gauge.
Checkpoints:
– Pocket Row 1: 36 sc = 10.3 in (26.2 cm)
– Pocket before trim: 10.3 in × 4.25 in (26.2 cm × 10.8 cm)
– Panel Row 1: 21 hdc = 6 in (15.2 cm)
– Panel after Row 40: 16 in (40.6 cm) tall
– Panel after border: 7 in (17.8 cm) wide
If your pieces come out too big, go down 0.5 mm. If they come out too small, go up 0.5 mm. Keep the same hook for both pieces so the pocket and panel edges match when you sew them.
Back Panel (Make 1, Gold)
Body
Row 1: Ch 23, hdc in 3rd ch from hook and in each ch across, turn. (21 hdc)
Rows 2–40: Ch 2 (does not count as a st), hdc in each st across, turn. (21 hdc)
Checkpoint: 6 in × 16 in (15.2 cm × 40.6 cm).
Taper
Rows 41–48: Ch 2, hdc2tog, hdc in each st to the last 2 sts, hdc2tog, turn.
Counts: Row 41: 19 / Row 42: 17 / Row 43: 15 / Row 44: 13 / Row 45: 11 / Row 46: 9 / Row 47: 7 / Row 48: 5.
The panel loses 1 st on each side per row, which gives straight, even diagonal edges 3.2 in (8.1 cm) tall.
Tab
Rows 49–56: Ch 2, hdc in each st across, turn. (5 hdc)
The tab is about 1.4 in (3.6 cm) wide and 3.2 in (8.1 cm) long. Fasten off and leave a 12 in (30.5 cm) tail for attaching the ring later.
Pockets (Make 2, Cream with Gold Cable)
Wind a second small ball of cream. Use cream ball 1 for the first lattice section, gold for the cable section, and cream ball 2 for the second lattice section. To change color, finish the last yarn over of the previous stitch with the new color. Always drop the old yarn on the WS.
Row 1 (WS): With cream, ch 37, sc in 2nd ch from hook and in each ch across, turn. (36 sc)
Stitch layout: 15 sts for lattice, 6 sts for the cable, 15 sts for lattice.
Row 2 (RS), Lattice Row A setup:
– Lattice section: Ch 1, sc in first st, (ch 3, sk 1, sc in next st) 7 times.
– Cable section: Change to gold, dc in each of the next 6 sts.
– Lattice section: Change to cream ball 2, sc in next st, (ch 3, sk 1, sc in next st) 7 times. Turn.
Count: each lattice section has 8 sc and 7 ch-3 loops; the cable section has 6 dc.
Lattice Row B (WS rows), worked in each lattice section: Sc in the first sc, ch 1, sc in the first ch-3 loop, (ch 3, sc in the next ch-3 loop) 6 times, ch 1, sc in the last sc.
Count: 6 ch-3 loops plus 2 ch-1 half-loops per section. On the first section of each row, begin with ch 1.
Lattice Row A (RS rows after Row 2), worked in each lattice section: Sc in the first sc, ch 3, sk ch-1 sp, sc in the next ch-3 loop, (ch 3, sc in the next ch-3 loop) 5 times, ch 3, sk ch-1 sp, sc in the last sc.
Count: 7 ch-3 loops per section. The loops shift by half a loop each row, which builds the diamond lattice.
Cable section rows:
– WS rows: Dc in the first st, BPdc around each of the next 4 sts, dc in the last st. (6 sts)
– RS cable rows: Dc in the first st, C4F, dc in the last st. (6 sts)
Rows 3–8: Work as follows, turning at the end of each row:
– Row 3 (WS): Lattice B, cable WS row, Lattice B
– Row 4 (RS): Lattice A, cable RS row, Lattice A
– Row 5: As Row 3
– Row 6: As Row 4
– Row 7: As Row 3
– Row 8: As Row 4
This gives 3 cable crosses, which make the rope twist. Fasten off the gold and cream ball 2.
Row 9 (WS), conversion row: With cream ball 1, ch 1. Work 1 sc in each sc and 1 sc in each ch-3 loop across the lattice sections, and 1 sc in each st across the cable section. Turn.
Count: (22 sts worked 1-per-existing-stitch: 8 + 6 + 8) + (14 sc added in loops: 7 + 7) = 36 sc.
Row 10 (RS): Ch 1, sc in each st across. (36 sc) Fasten off.
Checkpoint: 10.3 in × 4.25 in (26.2 cm × 10.8 cm).
Gold Trim (RS): Join gold at the top right corner.
1. Work 17 sc down the side edge: 1 sc per sc row (3 rows) and 2 sc per lattice row (7 rows).
2. Ch 1 at the corner.
3. Work 36 sc across the bottom, into the foundation chains.
4. Ch 1 at the corner.
5. Work 17 sc up the other side.
Count: 70 sc + 2 ch-1 corners. Fasten off. The top edge stays cream.
Checkpoint: 10.8 in × 4.5 in (27.4 cm × 11.4 cm).
Make All Pieces
- Gold: 1 back panel, plus the cable and trim on both pockets
- Cream: 2 pocket bodies
Layout (heights measured up from the bottom edge of the bordered panel):
        ( ring )
        [ tab ]
       /taper  \      16.5–19.7 in (41.9–50.0 cm)
      | plain   |     13–16.5 in (33.0–41.9 cm)
      |POCKET 2 |     8.5–13 in (21.6–33.0 cm)
      | gap     |     5.5–8.5 in (14.0–21.6 cm)
      |POCKET 1 |     1–5.5 in (2.5–14.0 cm)
      | margin  |     0–1 in (0–2.5 cm)
Joining
Work the panel border (see Border) before you sew on the pockets, because the pocket sides attach to the finished border edge.
Method: Whipstitch with gold yarn, RS facing.
Side seams: Pin each pocket so its bottom corners sit at the heights shown in the layout. On each side, sew the pocket’s 17 trim sc plus its corner ch-1 (18 sts) to 16 sts of the panel border. These are spread over 4.5 in (11.4 cm), so ease in the 2 extra sts evenly.
Bottom seam: Sew the pocket’s 36 bottom sc across 24 stitch-widths of the panel, about 6.9 in (17.5 cm). Work 3 pocket sts to every 2 panel sts. This 3-to-2 ratio pulls the pocket’s 10.8 in (27.4 cm) width onto the narrower panel, so the front curves out about 1.5 in (3.8 cm) and makes a cradle. A standard roll, 4–4.5 in (10.2–11.4 cm) across, fits with gentle stretch.
Tension: Pull each stitch snug but not puckered. Tight seams flatten the curve, and loose seams sag under the weight of a roll.
Checkpoint: Insert a roll. The pocket should hold it upright with the top of the roll near the cream band.
Ring: Fold the tab over the ring to the WS. Sew Row 56 to the back of Rows 48–49 with the tail. The folded loop stands about 1.6 in (4.1 cm) above the taper.
Border (Back Panel)
Border gauge: 14 sc = 4 in (10.2 cm), the same as the panel’s hdc width. Every edge count below comes from that gauge.
Row 1 (RS): Join gold at the right base of the tab. Work:
– 14 sc down the taper edge (7 sc per 4 rows)
– 56 sc down the body side (7 sc per 5 rows)
– ch 2 at the corner
– 21 sc across the bottom
– ch 2 at the corner
– 56 sc up the other side
– 14 sc up the other taper edge
Count: 161 sc + 2 ch-2 sps. Turn.
Row 2 (WS): Ch 1, sc in each sc, and work (sc, ch 2, sc) in each ch-2 sp.
Count per side: taper 14, side 57, bottom 23, side 57, taper 14 = 165 sc + 2 ch-2 sps. Fasten off.
Why the math works:
– The sides: 56 sc at 3.5 sts per in = 16 in (40.6 cm), which matches the 40 body rows at 2.5 rows per in.
– The bottom: 21 sc match the 21 foundation sts.
– The taper: each diagonal edge measures about 3.9 in (9.9 cm), so 14 sc lie flat on it.
– The corners: in Row 2, each corner adds 1 sc to each adjoining side (+4 total), so the corners turn square without flaring.
Two border rows add 0.5 in (1.3 cm) per side, taking the panel from 6 in to 7 in (15.2 cm to 17.8 cm) wide and adding 0.5 in (1.3 cm) at the bottom.
Final Blocking
- Before sewing, wet-block the panel and pockets separately. Soak them in lukewarm water and press out the water in a towel.
- Pin the panel to 7 in × 19.7 in (17.8 cm × 50.0 cm), keeping the taper edges straight.
- Pin each pocket to 10.8 in × 4.5 in (27.4 cm × 11.4 cm). Open the lattice diamonds evenly with your fingers.
- Leave the cable unpinned so it stays raised.
- Dry completely, then sew the pieces together.
- After joining, place a roll in each pocket and let the assembled holder hang overnight to set the curve.
Final Quality-Control Checklist
- Panel is 7 in (17.8 cm) wide along its full length
- Both taper edges are the same length and angle
- Each pocket has 7 lattice loops per section and 3 cable crosses
- Cream band sits level above both cables
- Pockets are centered and level, at 1 in (2.5 cm) and 8.5 in (21.6 cm)
- Seams are even, with no gaps at the bottom corners
- Ring is secure and the holder hangs straight
- All ends are woven into same-color stitches
Troubleshooting
- Lattice diamonds are uneven: Check that every loop is exactly ch 3 and that you skip the ch-1 half-loops on Row A.
- Pocket is narrower than 10.3 in (26.2 cm): Your foundation chain is tight. Chain with a hook one size larger.
- Cable looks flat: Work the BPdc stitches on WS rows so the posts are raised on the RS.
- Panel edges ripple: You have too many border sc. Follow the 7-per-5-rows ratio.
- Panel edges pull in: You have too few border sc. Recount against the totals.
- Pocket won’t hold a roll: Re-sew the bottom seam at a firmer 3-to-2 ratio.
- Holder tilts: Re-center the tab on the ring.
Care
Hand wash in cool water with mild soap, press out the water in a towel, and dry flat. Reshape the pocket curves while the piece is damp.

Final Notes
The measurements build in this order:
- 14 hdc give the 6 in (15.2 cm) panel body.
- The two-row border brings the panel to 7 in (17.8 cm) wide.
- 36 sc give each 10.3 in (26.2 cm) pocket, and the trim brings it to 10.8 in (27.4 cm).
- The 3-to-2 bottom seam turns that extra width into the curved cradle.
If you check gauge at each step, the pieces will fit together without adjustment.
Happy crocheting!