

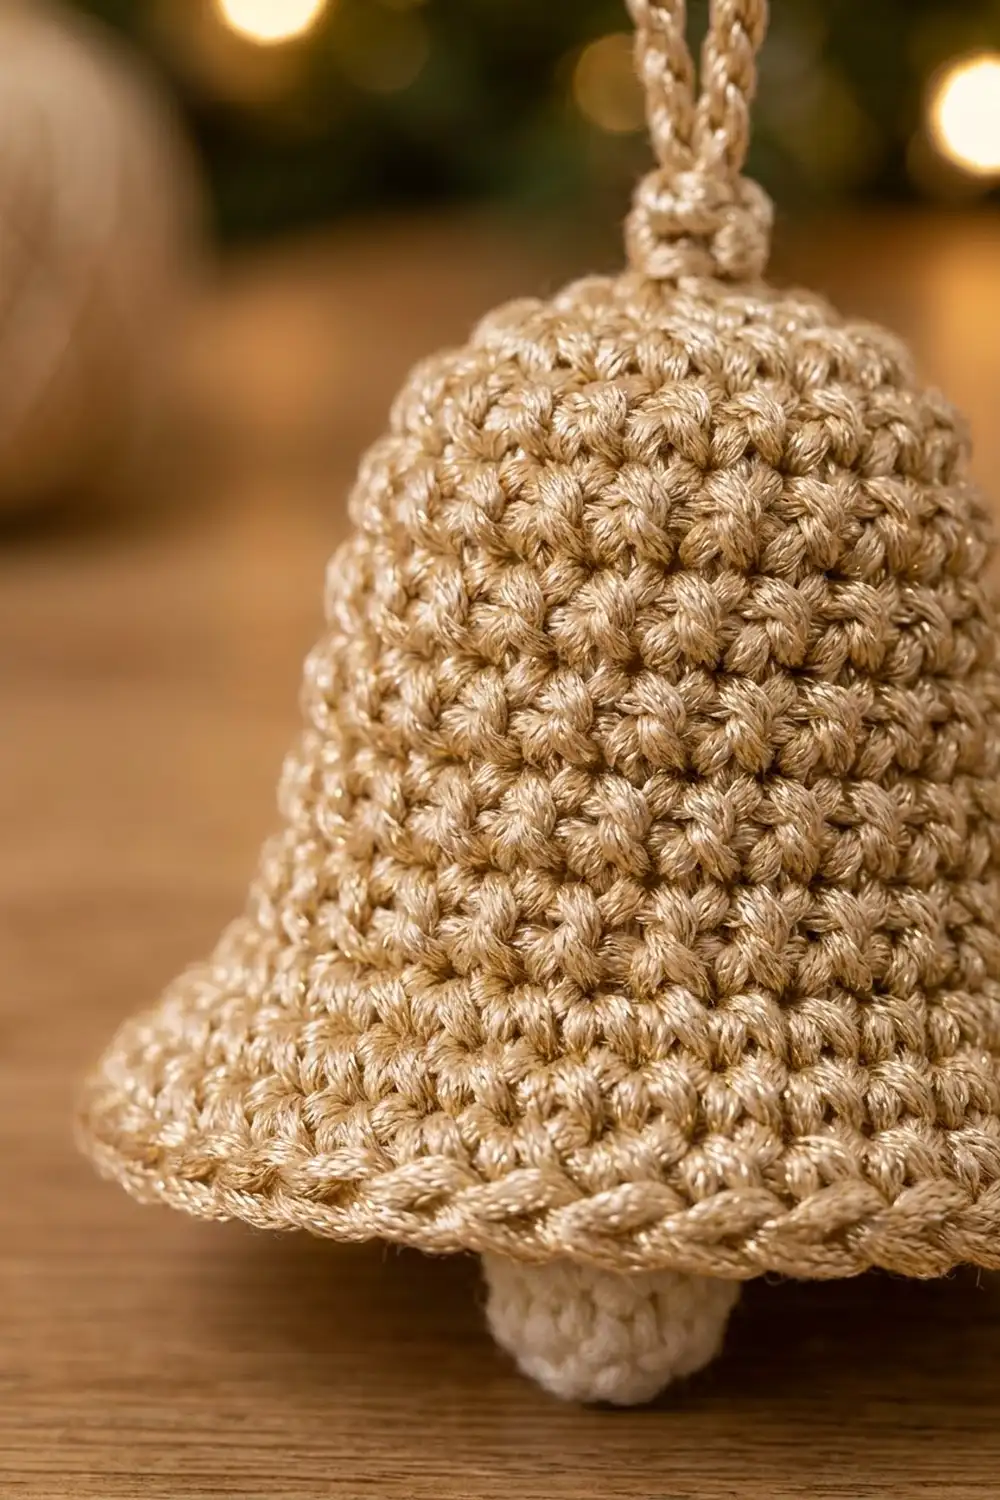
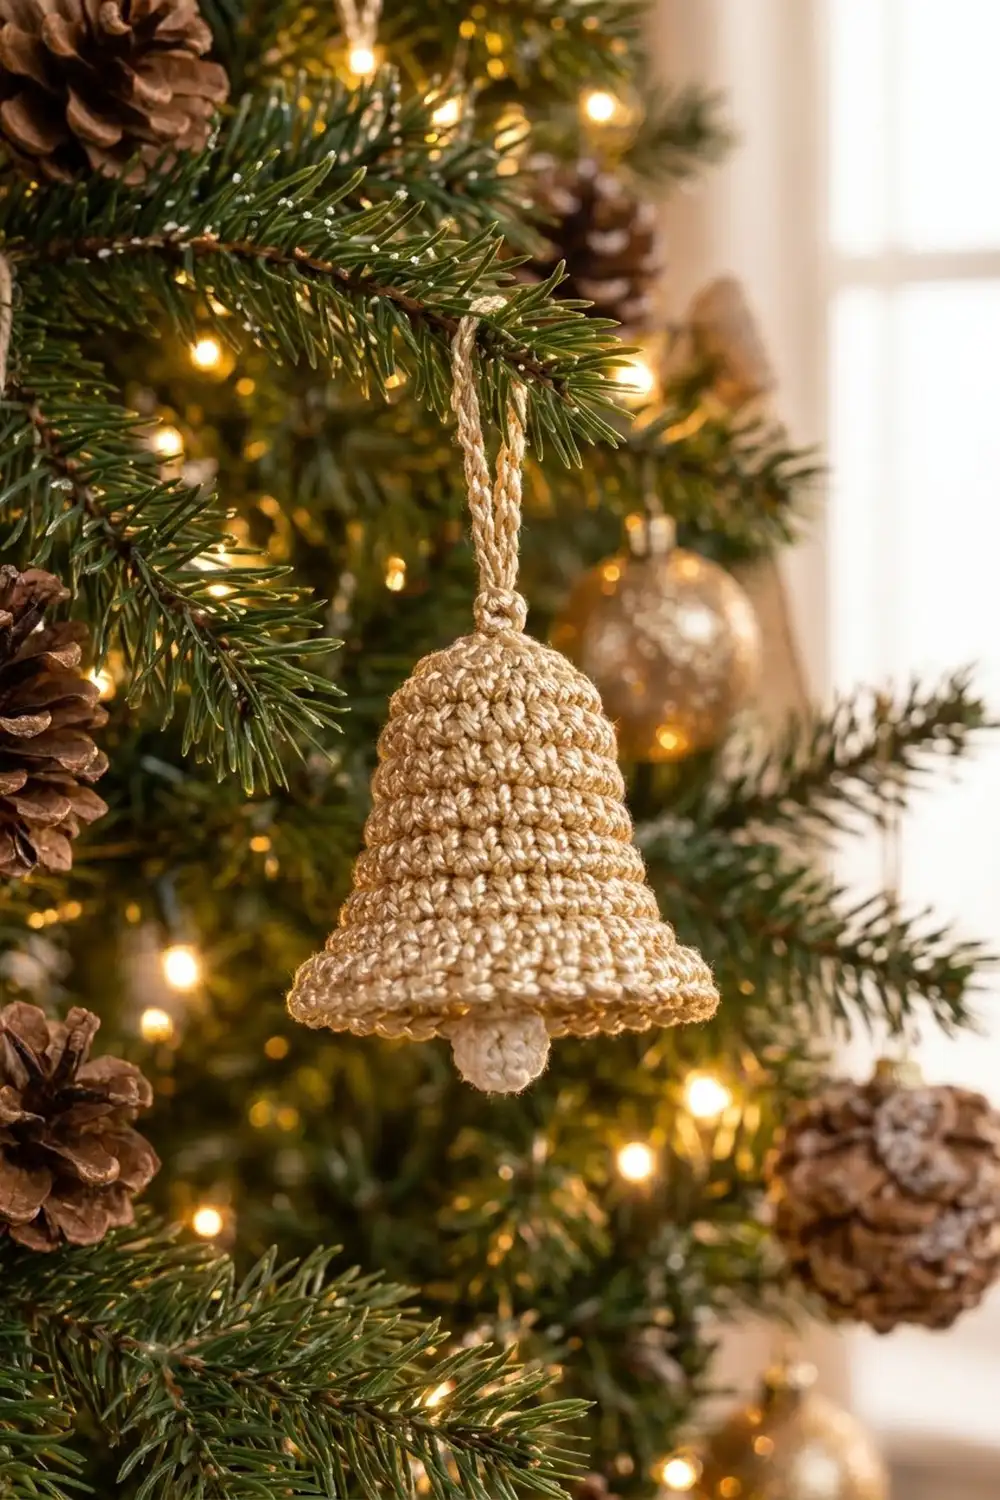
The Golden Chime Bell is a small, classic Christmas bell made in soft gold yarn with a gentle sheen. It has a flat, rounded crown and straight upper sides, then a skirt that widens into a flared hem. A thick rolled rim finishes the bottom edge. An ivory ball clapper peeks out below the rim, and a twisted gold cord makes the hanging loop.
The look is warm and traditional. Gold and ivory catch tree lights well, and the dense single crochet fabric shows neat, even rows of stitches all the way down the bell. Make one as a gift topper, or make several for a matching set on the tree.
This pattern uses US crochet terms. The finished bell is 2.5 in (6.4 cm) tall from crown to rim. When shaped round, the hem is about 2.75 in (7.0 cm) across. The clapper hangs about 0.25 in (0.6 cm) below the rim, and the loop adds 1.5 in (3.8 cm) on top.
You work the bell top down in continuous rounds of single crochet:
- Start with a flat disc for the crown.
- Turn the corner with a back-loop round.
- Work straight sides.
- Increase gradually for the waist, then faster for the flare.
- Finish with one round of reverse single crochet for the rolled rim.
The clapper is a tiny stuffed ball, and the loop is a twisted cord.
Finished Size and Construction
- Finished size: 2.5 in (6.4 cm) tall, 2.75 in (7.0 cm) hem diameter
- Skill level: Easy
- Terminology: US crochet terms
- Yarn weight: Sport weight (2), cotton or cotton blend with sheen
- Hook: 2.5 mm (US B/1 or C/2)
- Number of pieces: 1 ornament (the bell body, plus a small clapper ball and a twisted cord loop attached to it)
- Layout: A single standalone ornament; no motifs to join
- Crown size: 1.1 in (2.8 cm) across after Round 4
- Size before rim: 2 3/8 in (6.0 cm) tall below the crown edge, 60 stitches around
- Rim depth: 0.125 in (0.3 cm), one round of reverse single crochet
Materials
Choose a smooth sport-weight cotton or cotton blend with a light metallic or mercerized sheen. Mercerized cotton gives crisp stitch definition and holds the bell shape well. Avoid fuzzy or brushed yarns. They hide the rows of stitches and make the rim look soft instead of rolled.
If you want a brighter sparkle, you can hold a fine metallic thread together with a lighter gold cotton. Check your gauge again if you do, because two strands usually work up larger.
- Gold (main color): 8 g, about 25 m, for the bell body and loop
- Ivory (contrast color): 1 g, about 3 m, for the clapper
- These amounts are for one bell and include a small margin for checking gauge and for tails.
Tools:
- 2.5 mm crochet hook
- Tapestry needle
- Stitch marker
- A small pinch of polyester fiberfill
- Scissors
- Fabric stiffener or starch spray (optional)
- A small round form for blocking, such as a cork or a narrow spice jar
Abbreviations (US Terms)
- ch – chain
- sl st – slip stitch
- sc – single crochet
- inc – 2 sc in the same stitch
- dec – single crochet 2 together (an invisible decrease is recommended)
- BLO – back loop only
- rev sc – reverse single crochet
- MR – magic ring
- st(s) – stitch(es)
- Rnd – round
Special stitch – reverse single crochet (rev sc): Work from left to right (right to left if you crochet left-handed). Insert the hook into the next stitch to the right, yarn over, and pull up a loop. Yarn over again and pull through both loops. This twisted stitch makes the rolled, corded rim.
Gauge and Checkpoints
Gauge: 7 sc and 8 rnds = 1 in (2.5 cm) in continuous rounds.
This is a small item, so the bell itself is your gauge test. Work the crown first and measure it before you continue. Use these checkpoints:
- After Rnd 4: The flat crown disc measures 1.1 in (2.8 cm) across.
- After Rnd 10: Pressed flat, the side tube measures 1.7 in (4.3 cm) wide and 0.75 in (1.9 cm) tall below the crown edge.
- After Rnd 18: Pressed flat, the bell is 2.6 in (6.6 cm) wide and 1.75 in (4.4 cm) tall below the crown edge.
- After Rnd 23: Pressed flat, the hem is 4.3 in (10.9 cm) wide, and the bell is 2 3/8 in (6.0 cm) tall below the crown edge.
If your crown is larger than 1.1 in (2.8 cm), go down one hook size. If it is smaller, go up one size. An error of 0.1 in (0.3 cm) at the crown grows to about 0.4 in (1.0 cm) across the flattened hem, so fix it early.
Bell Body
Work in continuous spiral rounds and do not join at the end of each round. Place a stitch marker in the first stitch of each round and move it up as you go.
With gold:
Rnd 1: MR, 6 sc in ring. (6 sts)
Rnd 2: Inc in each st around. (12 sts)
Rnd 3: (Sc 1, inc) 6 times. (18 sts)
Rnd 4: (Sc 2, inc) 6 times. (24 sts)
Checkpoint: The disc lies flat and measures 1.1 in (2.8 cm) across. Pull the magic ring tightly closed but leave the tail long. You will use it to secure the clapper later.
Rnd 5 (crown edge): Sc in BLO of each st around. (24 sts)
The unused front loops form a neat ridge where the crown turns down into the sides. This gives the bell its rounded shoulder.
Rnds 6–10: Sc in each st around. (24 sts in each round, 5 rounds)
These straight rounds form the upper body of the bell. Keep your tension even here. Any loose round shows clearly on a straight tube.
Rnd 11: (Sc 7, inc) 3 times. (27 sts)
Rnds 12–13: Sc in each st around. (27 sts in each round)
Rnd 14: (Sc 8, inc) 3 times. (30 sts)
Rnds 15–16: Sc in each st around. (30 sts in each round)
Rnd 17: (Sc 4, inc) 6 times. (36 sts)
Rnd 18: Sc in each st around. (36 sts)
Checkpoint: The bell is 1.75 in (4.4 cm) tall below the crown edge and widens gently. Rounds 11 through 18 form the curve of the waist.
Rnd 19: (Sc 5, inc) 6 times. (42 sts)
Rnd 20: Sc in each st around. (42 sts)
Rnd 21: (Sc 6, inc) 6 times. (48 sts)
Rnd 22: (Sc 3, inc) 12 times. (60 sts)
Rnd 23: Sc in each st around. (60 sts)
Rounds 21 and 22 add stitches quickly, which creates the flared skirt. If you see corners forming, stagger your increases. On Rnd 22, for example, you can work (sc 1, inc, sc 2) instead of (sc 3, inc) on every other repeat. The count stays at 60.
Count your stitches at the end of every increase round. One missed increase on Rnd 22 leaves a visible flat spot in the flare.
Checkpoint: The bell is 2 3/8 in (6.0 cm) tall below the crown edge and has 60 sts. Do not fasten off; continue with the rim.
Clapper
With ivory:
Rnd 1: MR, 6 sc in ring. (6 sts)
Rnd 2: Inc in each st around. (12 sts)
Rnd 3: Sc in each st around. (12 sts)
Rnd 4: Dec 6 times. (6 sts)
Stuff the ball firmly with a small pinch of fiberfill before the opening gets too small. Fasten off and leave an 8 in (20.3 cm) tail. Thread the tail through the front loops of the last 6 sts and pull tight to close.
The finished ball measures about 0.55 in (1.4 cm) across.
Rim (Border)
On this single piece, the rim is the border. It is one round worked into the 60 sts of Rnd 23.
Border gauge: Work rev sc 1 per stitch, at the same 7 sts per 1 in (2.5 cm) as the body. It adds about 0.125 in (0.3 cm) of depth.
Rnd 24: Sl st into the next st to smooth the step at the end of the spiral. Ch 1. Rev sc in each st around. (60 rev sc) Join with a sl st to the first rev sc. Fasten off, and weave the tail in along the inside of the rim.
Why the math works: The rim has no corners or sides to balance, so the only rule is 1 rev sc in each of the 60 sts. Adding stitches would make the rim ruffle, and skipping stitches would pull the flare inward. Sixty also divides evenly by 12, so the Rnd 22 increases are spread across 12 equal sections and the rolled rim sits evenly all the way around. The slight wave along the edge comes from the quick jump from 48 to 60 sts directly above it.
Finishing: Clapper and Loop
Attach the clapper:
- Thread the clapper tail onto the tapestry needle.
- From the inside, push the needle up through the center of the crown, right beside the magic ring.
- Adjust the tail so about half the ball shows below the rim, about 0.25 in (0.6 cm). That leaves about 2.2 in (5.6 cm) of strand between the top of the ball and the inside of the crown.
- Bring the needle back inside next to where it came out.
- Knot the clapper tail securely to the crown tail from Rnd 1, then trim both ends to 0.5 in (1.3 cm).
Make the twisted cord loop:
- Cut a 24 in (61.0 cm) length of gold and fold it in half to 12 in (30.5 cm).
- Anchor the fold on a hook or doorknob.
- Twist the two loose ends together in one direction until the strand kinks back on itself.
- Fold it in half again, let it twist up, and knot the ends.
You now have a cord about 5 in (12.7 cm) long.
Attach the loop:
- Thread one end of the cord through the center of the crown and the other end through the crown 1 st away.
- Pull both ends inside and knot them together, so the loop stands 1.5 in (3.8 cm) above the bell.
- With a short length of gold, wrap the base of the loop 3 or 4 times just above the crown, then stitch the wrap down. This gives the top its gathered, finished look.
- Weave in all ends.
Final Blocking
- Lightly dampen the bell with cool water, or spray it with starch.
- Slide the bell over a round form so the crown sits flat and the upper sides stand straight.
- Shape the flare by hand so it spreads evenly to 2.75 in (7.0 cm) across.
- Gently roll the rim outward between your fingers so the rev sc stitches sit on the outside edge.
- Check the height: it should be 2.5 in (6.4 cm) from crown to rim.
- Let the bell dry completely, for at least 6 hours, before you take it off the form.
- Straighten the clapper so it hangs in the center, and make sure the loop stands upright.
Final Quality-Control Checklist
- The crown is flat and measures 1.1 in (2.8 cm) across.
- The back-loop ridge of Rnd 5 makes a clean shoulder all the way around.
- The upper sides are straight, with no bumps or corners.
- The waist widens smoothly from 24 to 36 sts, then flares to 60 sts.
- The rim is a continuous rolled cord with no gap at the join.
- The bell is 2.5 in (6.4 cm) tall and 2.75 in (7.0 cm) across the hem.
- The clapper is firm, round, and centered, and shows about 0.25 in (0.6 cm) below the rim.
- The loop is 1.5 in (3.8 cm) tall, evenly twisted, and wrapped at the base.
- All tails are woven in and hidden from the outside.
Troubleshooting
The crown cups or ruffles. Cupping means your tension is too tight, and ruffling means it is too loose. Change hook size and start again. The crown should lie flat at 1.1 in (2.8 cm).
The shoulder looks soft. Make sure Rnd 5 is worked in back loops only. Working through both loops removes the ridge.
The increases form corners. Stagger the increases on each increase round so they don’t stack in the same column.
The flare is too narrow. Your tension may tighten as the rounds get longer. Relax your grip on Rnds 21–23, or block the bell on a slightly wider form.
The rim twists or looks flat. Check that you are working rev sc from left to right into every stitch, with no skips. Roll the rim outward while blocking.
The clapper hangs off-center. Re-thread the clapper strand right through the center of the magic ring and knot it again.
The cord untwists. Twist the strand more tightly before folding it, and knot the ends firmly.
Stuffing shows through the clapper. Use a smaller hook for the clapper only, or stuff it a little less.
Care
Spot clean with cool water and a mild soap, then reshape the bell and let it air dry over its form. Store it in a box with tissue so the flare and loop keep their shape.
Final Notes
The measurement chain for this bell is short and easy to track:
- The crown is 24 sts and 1.1 in (2.8 cm) across.
- The upper sides stay at 24 sts and reach 0.75 in (1.9 cm).
- The waist grows to 36 sts at 1.75 in (4.4 cm).
- The flare reaches 60 sts at 2 3/8 in (6.0 cm).
- One round of 60 rev sc adds 0.125 in (0.3 cm). That gives a finished height of 2.5 in (6.4 cm) and a hem 2.75 in (7.0 cm) across.
If each checkpoint matches, your bell will match too. Add the ivory clapper and the twisted loop, and it’s ready for the tree.
Happy crocheting!