
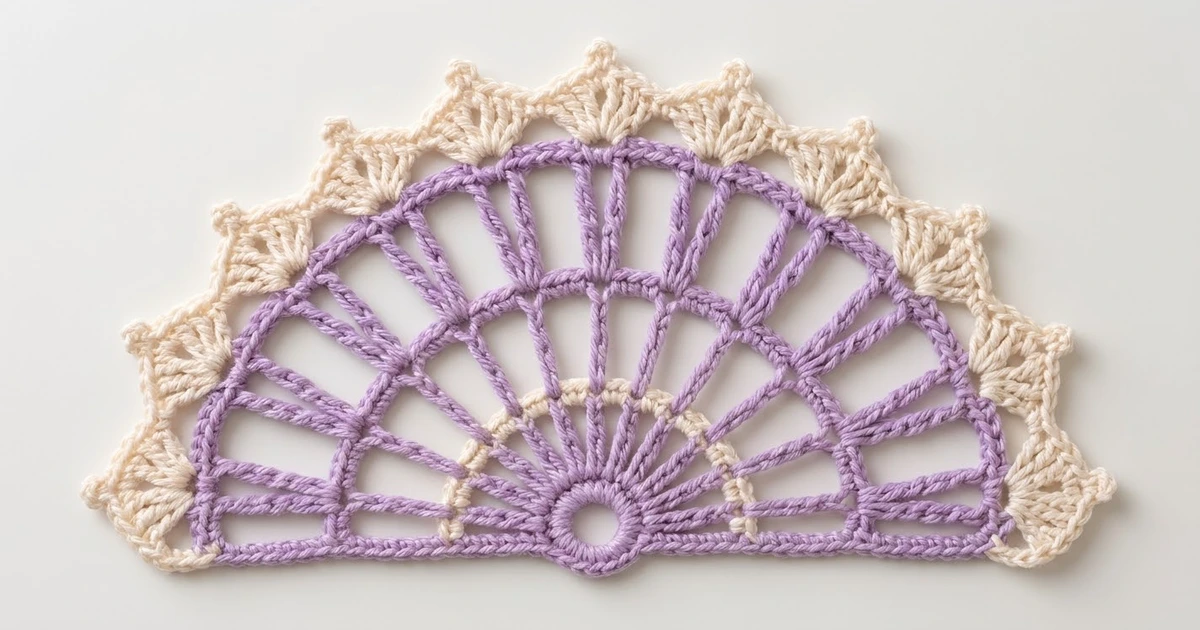
The Lavender Lace Fan is a single half-circle motif with a soft lavender center and a lacy cream border. Long treble “spokes” spread out from a small open ring. A solid band of double crochet holds them together, and cream shells and picot arches finish the curved edge.
The palette uses just two colors: a gentle lavender for the fan and a warm cream for the lace. The look is romantic, vintage and calm. It works best in a smooth cotton that shows off every stitch and every open window.
This pattern uses US crochet terms. After blocking, the motif measures 10.5 in (26.7 cm) wide along the straight edge and 5.25 in (13.3 cm) tall from the straight edge to the top picot.
You work the motif flat in turned rows. Start with a chain ring, then work five lavender rows that grow into a half circle. Next, add three cream border rows along the curve. A final row of single crochet tidies the straight edge and finishes the piece.
Finished Size and Construction
- Finished size: 10.5 in (26.7 cm) wide x 5.25 in (13.3 cm) tall
- Skill level: Easy-intermediate
- Terminology: US crochet terms
- Yarn weight: Worsted (#4), cotton or cotton blend
- Hook: 4.5 mm (US 7)
- Number of pieces: 1 (one single half-circle motif)
- Layout: One fan, with the straight edge at the bottom and the curved edge at the top
- Piece size (lavender fan only, Rows 1–5): 7.5 in (19.1 cm) wide x 3.75 in (9.5 cm) tall
- Size before border: 7.5 in (19.1 cm) x 3.75 in (9.5 cm)
- Border depth: 1.5 in (3.8 cm), cream Rows 6–8
Materials
Choose a smooth worsted-weight cotton or cotton blend with good stitch definition. The quantities below assume a yarn with about 85 m per 50 g. Avoid fuzzy or brushed yarns, because they blur the picots and fill in the open spokes. A slightly shiny, tightly plied cotton gives the crispest result and holds its shape after blocking.
The two colors need clear contrast. Pick a mid-tone lavender and an off-white or ivory cream so the line between the fan and the lace border stands out.
- Color A, Lavender: 10 g (about 17 m)
- Color B, Cream: 12 g (about 20 m)
These quantities include a margin of about 25 percent to cover small differences in tension and the extra yarn used for weaving in ends.
Tools:
- 4.5 mm (US 7) crochet hook
- Tapestry needle
- Scissors
- 1 locking stitch marker
- Measuring tape or ruler
- Blocking mat, rust-proof pins and a spray bottle
Abbreviations (US Terms)
- ch – chain
- sl st – slip stitch
- sc – single crochet
- dc – double crochet
- tr – treble crochet
- sk – skip
- sp – space
- st(s) – stitch(es)
- RS – right side
Special stitches:
- Shell: 5 dc in the same stitch.
- Picot: ch 3, sl st in the 3rd ch from the hook.
The ch 3 at the start of a dc row counts as 1 dc. The ch 4 at the start of a tr row counts as 1 tr.
Gauge and Checkpoints
Gauge: 14 dc and 7 rows of dc = 4 in (10.2 cm) square in Color A with a 4.5 mm hook. One dc row is about 0.6 in (1.5 cm) tall, and one tr row is about 0.85 in (2.2 cm) tall.
This pattern is one small motif, so the motif itself is your best swatch. Work Rows 1–2, then measure before you go on. Lay the piece flat without stretching it. Measure the width along the straight edge and the height from the center of the straight edge to the top of the curve.
| After | Width (straight edge) | Height |
|---|---|---|
| Row 2 | 2.9 in (7.4 cm) | 1.45 in (3.7 cm) |
| Row 4 | 6.3 in (16.0 cm) | 3.15 in (8.0 cm) |
| Row 5 | 7.5 in (19.1 cm) | 3.75 in (9.5 cm) |
| Row 6 | 8 in (20.3 cm) | 4 in (10.2 cm) |
| Row 7 | 9.2 in (23.4 cm) | 4.6 in (11.7 cm) |
| Row 8 | 10.5 in (26.7 cm) | 5.25 in (13.3 cm) |
Measurements up to 0.25 in (0.6 cm) off are fine at any checkpoint. Unblocked lace often measures slightly small, and blocking will open it up.
If your piece is too big: change to a 4 mm (US G-6) hook and start again.
If your piece is too small: change to a 5 mm (US H-8) hook and start again.
If the fan ruffles: your rows are too short for the number of stitches. Try a larger hook, or pull up taller loops on the tr.
If the fan cups: your stitches are too tight across the row. Try a larger hook.
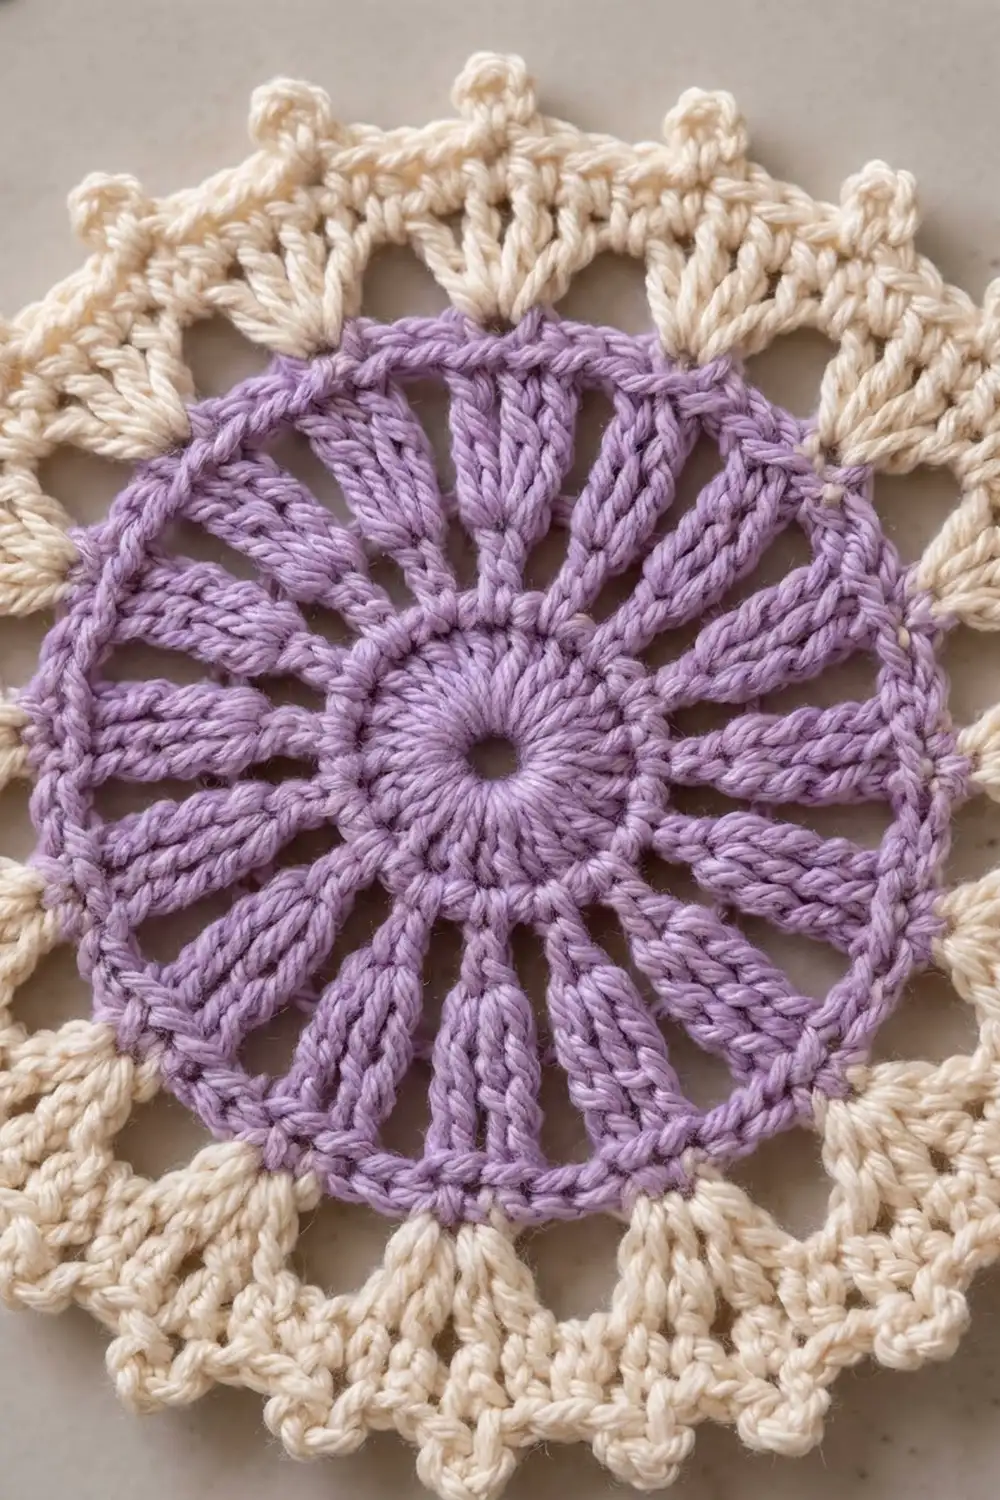
Lavender Fan (Color A)
Pattern notes: Turn at the end of every row. The turning chain counts as the first stitch of each row, so the last stitch of the next row goes into the top of that turning chain. Place a locking marker in the top of each turning chain if the edge stitches are hard to find. Count stitches after every row. A missed stitch in the lavender rows throws off the border repeat later.
With Color A, ch 5 and sl st in the first ch to form a ring. Keep the ring open. It becomes the small hole at the base of the fan, about 0.5 in (1.3 cm) across.
Row 1: Ch 3 (counts as dc), 7 dc in ring, turn. (8 dc)
These dc cover only the top half of the ring. Leave the lower half bare for now; Row 9 covers it.
Row 2: Ch 3 (counts as dc), dc in first st, 2 dc in each st across, turn. (16 dc)
Checkpoint: 2.9 in (7.4 cm) wide x 1.45 in (3.7 cm) tall.
Row 3 (spokes begin): Ch 4 (counts as tr), tr in next st, ch 1, tr in each of next 2 sts; repeat from * 7 times, turn. (16 tr in 8 pairs, 7 ch-1 sps)*
Each pair of tr makes one spoke, and the ch-1 spaces make the narrow gaps between spokes.
Row 4 (spokes extend): Ch 4 (counts as tr), tr in next tr, ch 4, sk ch-1 sp, tr in each of next 2 tr; repeat from * 7 times, turn. (16 tr in 8 pairs, 7 ch-4 sps)*
The spokes now spread like the ribs of a fan, and the gaps open into long windows. Checkpoint: 6.3 in (16.0 cm) wide x 3.15 in (8.0 cm) tall.
Row 5 (solid band): Ch 3 (counts as dc), dc in next tr, 4 dc in next ch-4 sp, dc in each of next 2 tr; repeat from * 7 times. (44 dc)*
Count check: 2 dc at the start + (7 repeats x 6 dc) = 2 + 42 = 44 dc.
Fasten off Color A and leave a 6 in (15.2 cm) tail. The lavender fan should now measure 7.5 in (19.1 cm) wide x 3.75 in (9.5 cm) tall.
Cream Border (Color B)
The border has two sides. First you work three rows along the curved edge (Rows 6–8). Then one edging row goes across the straight edge (Row 9).
Border gauge: Row 6 has 45 sc spread over about 12.6 in (32.0 cm) of curved edge, which is about 3.6 sc per inch. The border is 1.5 in (3.8 cm) deep over three rows: 0.25 in (0.6 cm) for Row 6, 0.6 in (1.5 cm) for Row 7 and 0.65 in (1.7 cm) for Row 8.
Row 6 (conversion row): Turn. Join Color B with a sl st in the first st (the last dc you worked in Row 5). Ch 1, sc in each of the first 21 dc, 2 sc in the next (22nd) dc, sc in each of the remaining 22 dc, turn. (44 sc worked 1 per existing st + 1 extra sc = 45 sc)
The one extra sc sits at the top center of the fan, so the curve stays symmetrical. Checkpoint: 8 in (20.3 cm) x 4 in (10.2 cm).
Row 7 (shells): Ch 1, sc in first sc, sk 1 sc, shell in next sc, sk 1 sc, sc in next sc; repeat from * 11 times, turn. (11 shells, 12 sc)*
Count check: each repeat uses 4 sts of Row 6, so 1 + (11 x 4) = 45. The row starts and ends with a sc. Checkpoint: 9.2 in (23.4 cm) x 4.6 in (11.7 cm).
Row 8 (picot arches): Ch 1, sc in first sc, ch 4, sk 2 dc, (sc, picot, sc) in center dc of shell, ch 4, sk 2 dc, sc in next sc; repeat from * 11 times. (12 base sc, 11 picot points, 22 ch-4 arches)*
Each shell turns into a pointed arch with one picot on top, which gives the cream edge its crown-like look. Do not fasten off.
Row 9 (straight-edge trim): Turn the piece so the straight edge is at the top. Work sc evenly into the ends of the rows across the straight edge, as follows:
- Row 8 end: 1 sc
- Row 7 end: 2 sc
- Row 6 end: 1 sc
- Row 5 end: 2 sc
- Row 4 end: 3 sc
- Row 3 end: 3 sc
- Row 2 end: 2 sc
- Row 1 end: 2 sc
That makes 16 sc for the first half. Work 4 sc over the bare lower half of the starting ring, keeping the hole open. Then work the same 16 sc in reverse order along the second half, from Row 1 to Row 8. Sl st in the first sc of Row 8 to finish. (16 + 4 + 16 = 36 sc)
There are no separate corner stitches. The two points where the curve meets the straight edge are already covered by the sc worked into the end of Row 8 on each side.
Why the math works: Row 5 has 44 dc, which doesn’t fit a 4-stitch shell repeat. Row 6 adds exactly one stitch to make 45. Since 45 = 1 + (11 x 4), the shells start and end on a sc with no stitches left over. Row 8 anchors once on each of the 12 sc and once on each of the 11 shell centers, so the arches divide the curve evenly. On the straight edge, 36 sc over 10.5 in (26.7 cm) is about 3.4 sc per inch. That is close to the fabric gauge of 3.5 dc per inch, so the edge lies flat without flaring or pulling in.
Fasten off and weave in all ends.
Final Blocking
- Weave in every tail before blocking, running each one back through stitches of its own color.
- Lay the motif RS up on a blocking mat.
- Pin the straight edge first, in a straight line 10.5 in (26.7 cm) long.
- Measure 5.25 in (13.3 cm) straight up from the center of the straight edge and pin the top center picot there.
- Pin the remaining 10 picots so all 11 follow an even half circle, spaced evenly around the curve.
- Gently open each spoke window in Row 4 with your fingers so the spokes spread evenly.
- Spray the motif until it is damp but not dripping.
- Pat the shells and arches flat with your palm.
- Let it dry completely, at least 12 hours, before you unpin it.
Final Quality-Control Checklist
- Row 1: 8 dc; Row 2: 16 dc
- Rows 3 and 4: 8 tr pairs each, with 7 spaces
- Row 5: 44 dc in a solid band with no gaps
- Row 6: 45 sc, with the extra stitch at top center
- Row 7: 11 shells and 12 sc
- Row 8: 11 picot points and 22 ch-4 arches
- Row 9: 36 sc along the straight edge
- Center ring still open, about 0.5 in (1.3 cm) across
- Finished size 10.5 in (26.7 cm) x 5.25 in (13.3 cm)
- All ends woven in and hidden
Troubleshooting
The spokes lean to one side. You may be skipping the wrong space, or forgetting that the turning chain counts as the first tr. Count the pairs again; each spoke row needs exactly 8.
Row 5 has gaps between the spokes. Work all 4 dc into the ch-4 space itself, not into single chains, and keep the dc snug.
The shell row has stitches left over. Recount Row 6. If you have 44 sc, you missed the extra stitch in the 22nd dc.
The picots curl or twist. Pull the sl st of each picot firm, then block each picot flat with a pin through its center.
The straight edge ripples. Work 1 fewer sc in each tr row end. If the edge puckers instead, add 1 sc over the ring.
The center ring has closed up. Don’t pull the starting tail tight, and work the Row 9 sc loosely over the ring.
The two colors show through each other at the join. Weave each tail only through stitches of its own color, and split the yarn plies as you weave so the tail can’t slip back out.
Care
Hand wash in cool water with mild soap, roll the motif in a towel to press out the water, and dry it flat. While it is still damp, pin the picots back into place if needed.
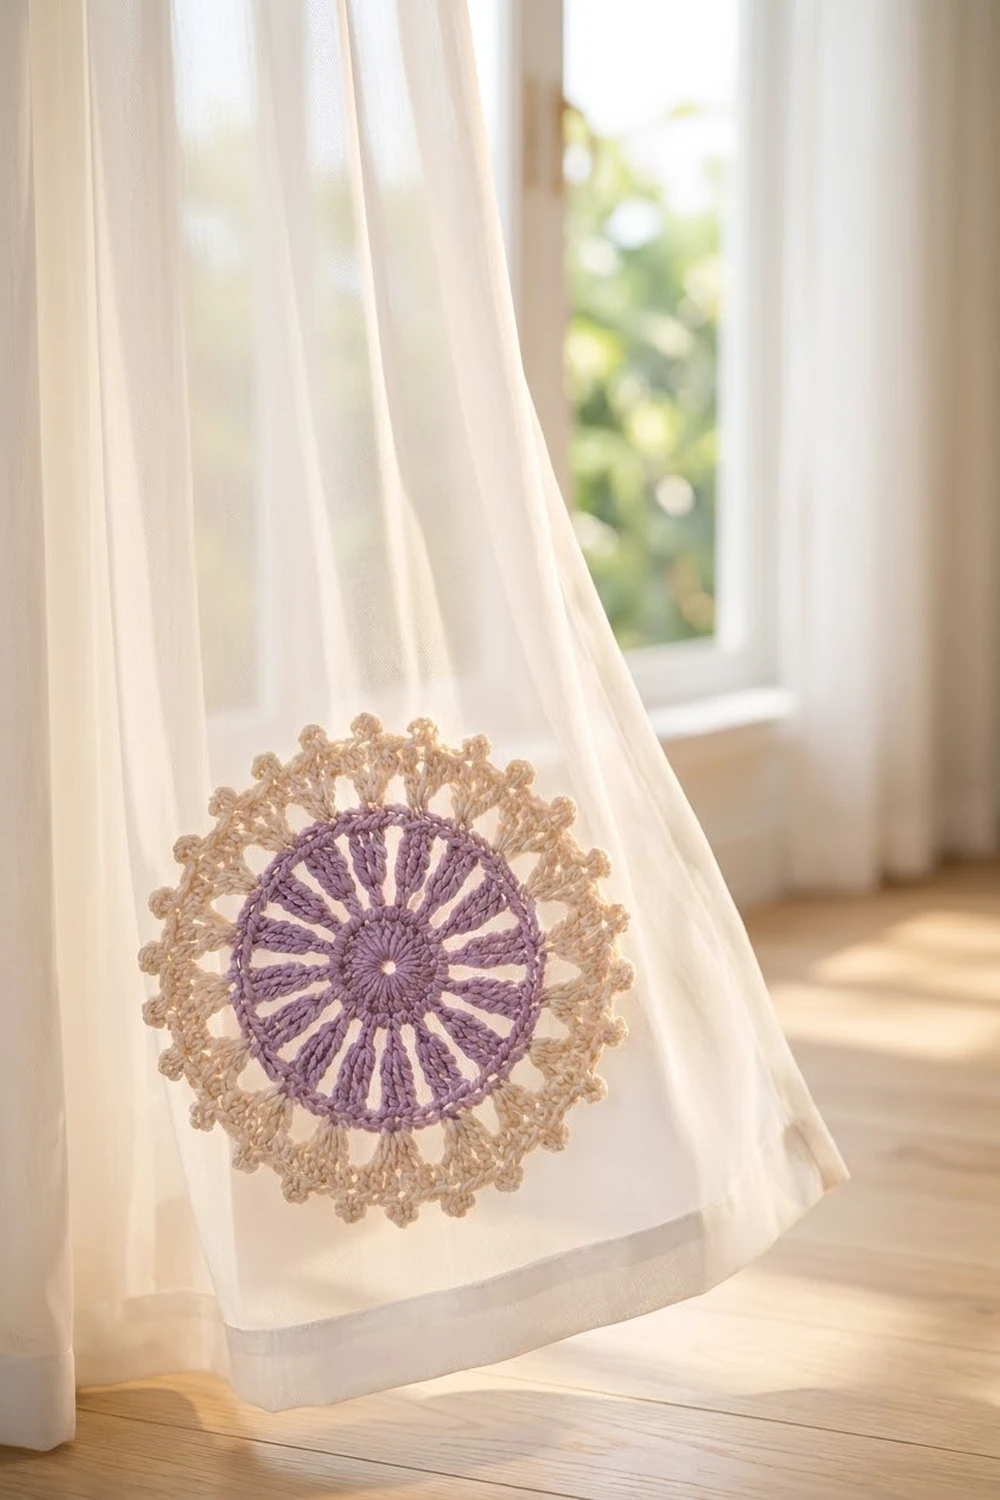
Final Notes
The measurement chain is short and easy to check. A gauge of 14 dc = 4 in (10.2 cm) gives a fan 2.9 in (7.4 cm) wide after Row 2 and 6.3 in (16.0 cm) wide after Row 4. After Row 5 the lavender fan is 7.5 in (19.1 cm) wide. The 1.5 in (3.8 cm) cream border then brings the finished motif to 10.5 in (26.7 cm) x 5.25 in (13.3 cm).
If each checkpoint matches, the 45-stitch conversion row, the 11 shells and the 11 picot arches will fall evenly into place.
Happy crocheting!