
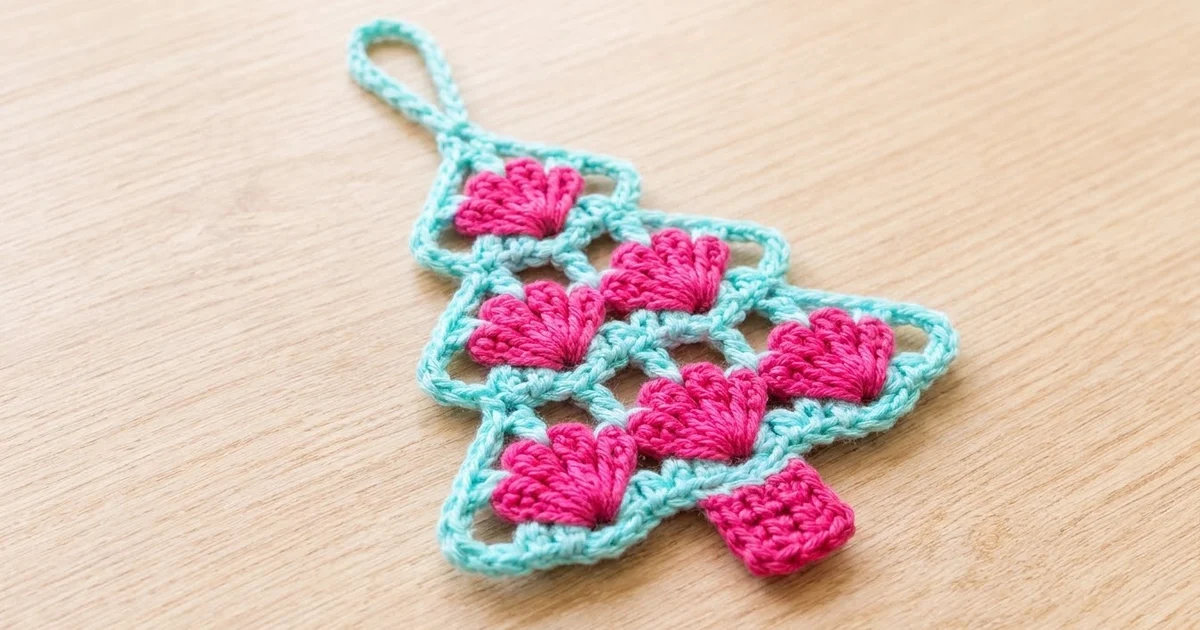
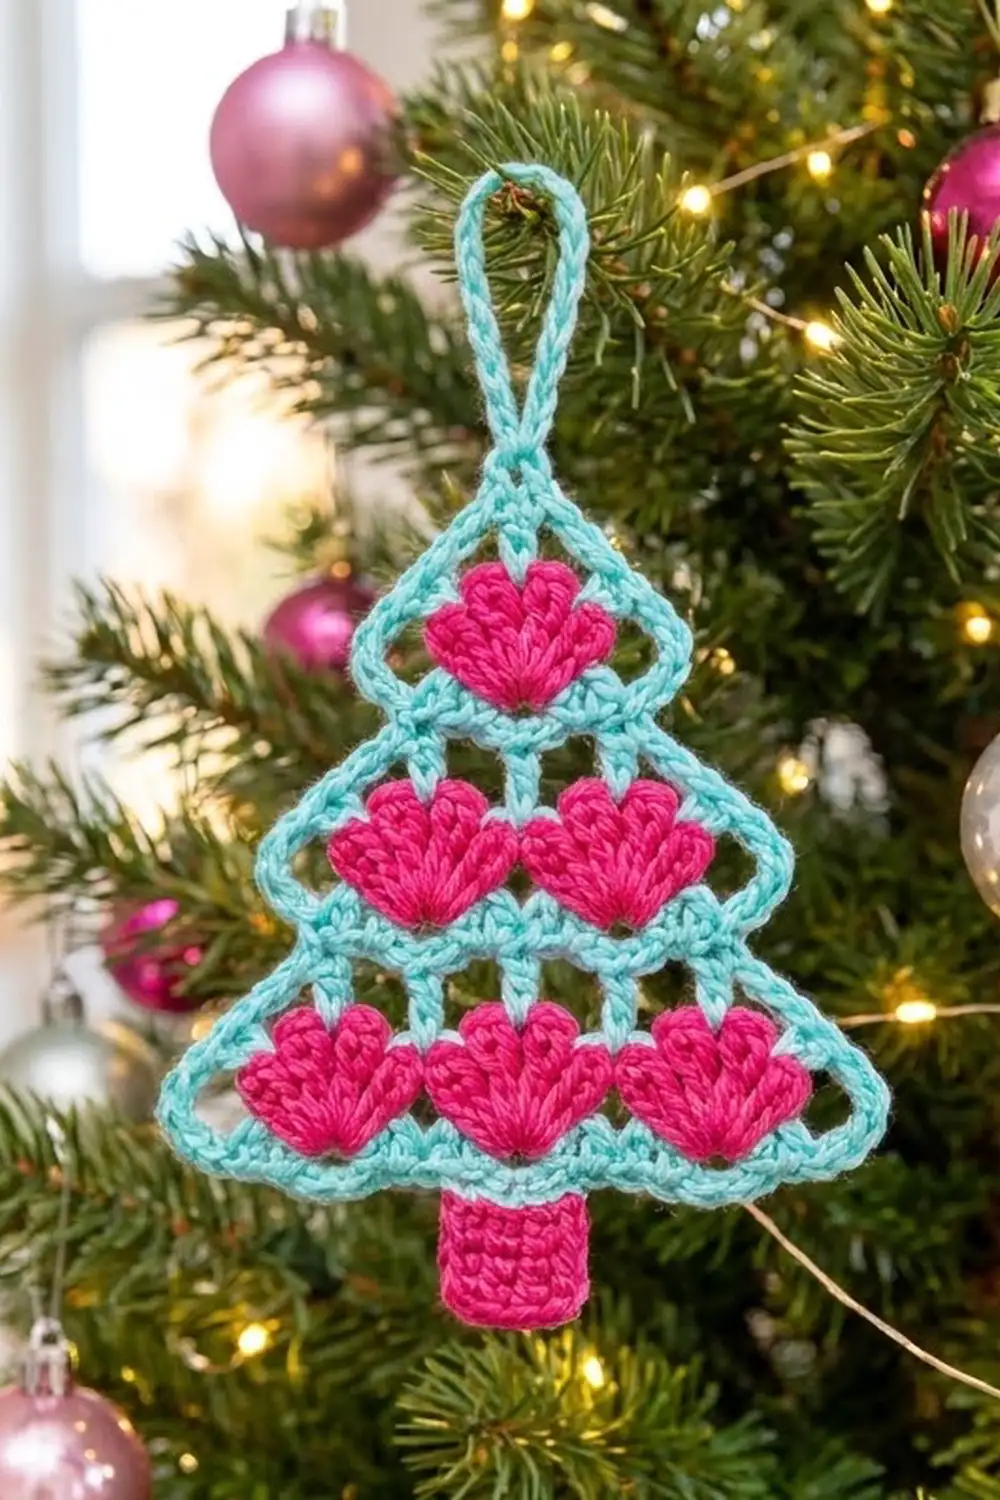
This little tree is a single flat ornament made from bright pink shell stitches set into a light aqua frame. The shells stack in three tiers: three across the bottom, two in the middle and one at the top. Each tier sits on an aqua bar. A crisp aqua outline climbs to a pointed top, which has a chain loop for hanging.
The color pairing is playful and modern, with hot pink fans against a cool mint-aqua lattice and a small square pink trunk underneath. It looks great on a tree, tied to a gift or hung in a window.
All instructions use US crochet terms. Without the loop, the finished ornament measures about 4.6 in (11.7 cm) wide and 4.7 in (11.9 cm) tall. The loop adds about 2 in (5.1 cm).
Construction is simple. First you crochet the tree body in short rows from the bottom up, switching between pink shell rows and aqua bar rows. Next, two aqua border rounds create the diagonal outline, the apex and the hanging loop. Last, you add the trunk directly onto the bottom edge.
Finished Size and Construction
- Finished size: 4.6 in (11.7 cm) wide x 4.7 in (11.9 cm) tall, plus a 2 in (5.1 cm) loop
- Skill level: Easy (advanced beginner)
- Terminology: US terms
- Yarn weight: DK (#3), cotton or cotton blend
- Hook: 3.5 mm (US E-4)
- Number of pieces: 1
- Layout: one motif with 3 tiers of shells (1, 2 and 3 shells, 6 in total)
- Piece size: same as the finished size
- Size before border (Rows 1–8): 3.8 in (9.7 cm) wide x 2.7 in (6.9 cm) tall
- Border depth: 2 rounds, about 0.4 in (1.0 cm)
Materials
Choose a smooth DK cotton, either mercerized or matte. Cotton gives the shells crisp edges and helps the ornament hold its shape. Acrylic also works, but the shells will be softer and slightly puffier.
- Color A, aqua/mint: about 8 g (19 m)
- Color B, hot pink: about 6 g (14 m)
These amounts include a margin of about 20% for swatching and weaving in ends.
Tools:
- 3.5 mm (US E-4) crochet hook
- Tapestry needle
- Scissors
- Locking stitch marker
- Rust-proof pins and a foam blocking mat
- Spray bottle with water
Abbreviations (US Terms)
- ch: chain
- sl st: slip stitch
- sc: single crochet
- dc: double crochet
- sk: skip
- st(s): stitch(es)
- sp: space
- RS / WS: right side / wrong side
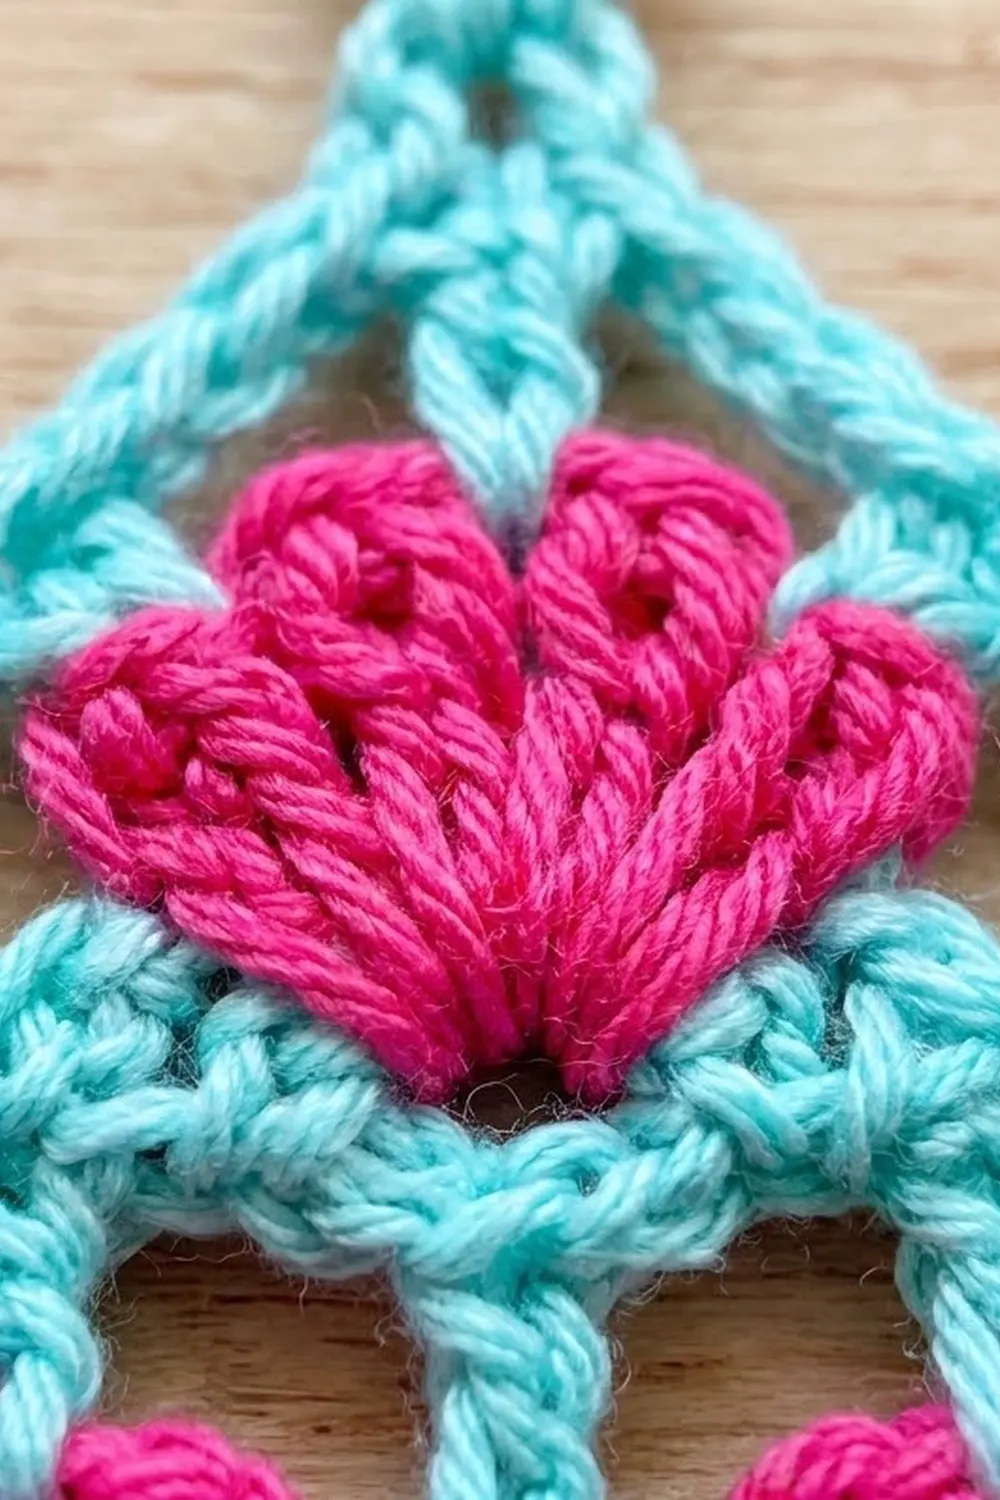
Special stitch (Shell): Work 5 dc in the same st. The 3rd dc is the shell’s center dc.
Gauge and Checkpoints
Gauge: 9 sc and 10 sc rows = 2 in (5.1 cm) with a 3.5 mm hook. One dc row is about 0.45 in (1.1 cm) tall.
Make one complete ornament first and check it at each stage below. Every chain length in the border is based on this gauge, so matching it keeps the outline flat.
Checkpoints:
- After Row 1: 17 sc = 3.8 in (9.7 cm) wide
- After Row 4: 13 sc = 2.9 in (7.4 cm) wide; total height 1.2 in (3.0 cm)
- After Row 7: 9 sc = 2.0 in (5.1 cm) wide; total height 2.2 in (5.6 cm)
- After Row 8: total height 2.7 in (6.9 cm)
- After Border Round 2: 4.6 in (11.7 cm) wide and 3.6 in (9.1 cm) tall to the apex
- After the trunk: 4.7 in (11.9 cm) tall
If your piece is too big: Go down to a 3.25 mm (US D-3) hook. If your chains are too long, the outline will be wavy.
If your piece is too small: Go up to a 3.75 mm (US F-5) hook. If your chains are too short, the outline will pucker and pull the tiers inward.
Tree Body
You work the body in rows. Always join pink rows fresh with the RS facing. Aqua bar rows start with the RS facing and turn once. Leave 4 in (10.2 cm) tails and crochet over them where you can to cut down on weaving later.
Row 1 (Color A): Ch 18, sc in 2nd ch from hook and in each ch across. (17 sc)
Fasten off. Row 1 looks the same on both sides, so pick one side as the RS and mark it.
Row 2 (Color B, bottom shells): With RS facing, sk the first 2 sc. Join B with a sl st in the 3rd sc, ch 1, sc in same st, sk 1 st, Shell in next st, sk 1 st, sc in next st; rep from * 2 more times. (3 shells + 4 sc = 19 sts)
The last sc lands in st 15 of Row 1, so 2 sts stay unworked at each end. Fasten off.
Row 3 (Color A, posts): With RS facing, join A with a sl st in the first sc of Row 2. Ch 3 (counts as dc), ch 1, sc in center dc of next shell, ch 1, dc in next sc; rep from * 2 more times, turn. (4 dc, 3 sc, 6 ch-1 sps)
The dc stitches form the aqua posts beside and between the shells. Each sc tacks down the top of a shell.
Row 4 (Color A, WS, tier bar): Ch 1, sc in first dc, sc in ch-1 sp, sc in next sc, sc in ch-1 sp, sc in next dc; rep from * 2 more times. Work the last sc in the top of the turning ch. (1 + 12 = 13 sc)
Fasten off. Width: 2.9 in (7.4 cm).
Row 5 (Color B, middle shells): With RS facing, sk the first 2 sc of Row 4. Join B in the 3rd sc, ch 1, sc in same st, sk 1 st, Shell in next st, sk 1 st, sc in next st; rep from * once more. (2 shells + 3 sc = 13 sts)
The last sc lands in st 11, so 2 sts stay unworked at each end. Fasten off.
Row 6 (Color A): With RS facing, join A in the first sc of Row 5. Ch 3 (counts as dc), ch 1, sc in center dc of next shell, ch 1, dc in next sc; rep from * once more, turn. (3 dc, 2 sc, 4 ch-1 sps)
Row 7 (Color A, WS, tier bar): Ch 1, sc in first dc, sc in ch-1 sp, sc in next sc, sc in ch-1 sp, sc in next dc; rep from * once more. (1 + 8 = 9 sc)
Fasten off. Width: 2.0 in (5.1 cm).
Row 8 (Color B, top shell): With RS facing, sk the first 2 sc of Row 7. Join B in the 3rd sc, ch 1, sc in same st, sk 1 st, Shell in next st, sk 1 st, sc in next st. (1 shell + 2 sc = 7 sts)
The last sc lands in st 7, leaving 2 sts unworked at each end. Fasten off. The body now measures 3.8 in (9.7 cm) wide x 2.7 in (6.9 cm) tall.
The aqua bars have 17, 13 and 9 sts, so each one is 4 sts narrower than the one below it. That works out to 2 sts per side, or about 0.44 in (1.1 cm), so the tiers step in evenly on both sides.
Border
Border gauge: Use the same 9 sc = 2 in (5.1 cm). One ch is about as wide as one sc, roughly 0.22 in (0.6 cm). The chain lengths below match the distances between the row ends at this gauge.
Round 1 (Color A, outline): With RS facing, turn the piece so the foundation chain is at the top. Join A in the free loop of the first foundation ch (Corner A).
Bottom edge: Ch 1, 3 sc in same free loop, sc in each of next 15 free loops, 3 sc in last free loop (Corner B). (21 sc)
Side 1: Ch 6, sc in the side of the end st of Row 4. Ch 5, sc in the side of the end st of Row 7. Ch 6. The last ch is the apex.
Apex post: Ch 2, sl st in the center dc of the top shell, then sl st in each of the 2 ch you just made. This brings you back up to the apex.
Side 2: Ch 6, sc in the side of the end st of Row 7. Ch 5, sc in the side of the end st of Row 4. Ch 6, sl st in the first sc of the round.
Round 1 has 21 sc on the bottom and 2 sc on each side, for 25 sc in all. Each side also has 3 ch-spaces (ch-6, ch-5, ch-6).
The chains bridge the 2 unworked sts at each row end, which leaves small open windows beside the outer shells.
Round 2 (Color A, outline and loop): Ch 1, then work as follows:
Bottom: Sc in first sc, 3 sc in next sc (Corner A center), sc in next sc, sc in each of next 15 sc, sc in next sc, 3 sc in next sc (Corner B center), sc in next sc. (1 + 3 + 1 + 15 + 1 + 3 + 1 = 25 sc)
Side 1: 6 sc in ch-6 sp, sc in next sc, 5 sc in ch-5 sp, sc in next sc, 6 sc in ch-6 sp. (19 sc)
Hanging loop: Ch 20, sl st in the last sc made. Make sure the chain is not twisted.
Side 2: 6 sc in ch-6 sp, sc in next sc, 5 sc in ch-5 sp, sc in next sc, 6 sc in ch-6 sp. (19 sc)
Sl st in the first sc. Fasten off. (63 sc total + ch-20 loop)
Why the math works: Rows 1–8 are 3.8 in (9.7 cm) wide. Each border round adds about 0.2 in (0.5 cm) to every edge, so the width grows to 3.8 + 0.4 + 0.4 = 4.6 in (11.7 cm). The chain path up each side is about 3.8 in (9.7 cm) long. On Round 2, 19 sc at 4.5 sc per inch make about 4.2 in (10.7 cm), which covers the slightly longer outer edge without ruffling. Along the bottom, the 3-sc groups wrap the corners, and the 15 middle sts match the 15 middle foundation loops one-to-one.
Trunk
Row T1 (Color B): Turn the ornament so the bottom edge faces up, with RS facing. Count the 15 straight sts between the two corner groups of Round 2 and join B in the 6th of these sts. Ch 1, sc in same st and in next 4 sts, turn. (5 sc, centered on st 8)
Row T2: Ch 3 (counts as dc), dc in each of next 4 sts, turn. (5 dc)
Row T3: Ch 3 (counts as dc), dc in each of next 4 sts. (5 dc)
Fasten off. The trunk is about 1.1 in (2.8 cm) wide x 1.1 in (2.8 cm) tall, which brings the total height to 4.7 in (11.9 cm).
Weave in all remaining ends through stitches of the same color.
Final Blocking
- Mist the ornament with water until it is damp but not soaked.
- Lay it RS up on the blocking mat.
- Pin the two bottom corners 4.6 in (11.7 cm) apart.
- Pin the apex centered, 3.6 in (9.1 cm) above the bottom edge.
- Pin along each side so the outline runs in a straight diagonal.
- Gently shape each shell into a rounded fan and open the side windows with a fingertip.
- Pin the trunk square and lay the hanging loop flat.
- Let the ornament dry completely before unpinning.
Final Quality-Control Checklist
- 6 shells (3, 2 and 1 from bottom to top), each with 5 dc
- Aqua posts stand straight between the shells
- Every shell’s center dc is tacked to the bar above it or to the apex post
- Both sides have matching chain lengths (6, 5, 6)
- Round 2 has 25 sc on the bottom and 19 sc on each side
- The trunk is centered under the middle bottom shell
- The loop is untwisted and firmly anchored
- The ornament measures 4.6 in (11.7 cm) x 4.7 in (11.9 cm)
- All ends are woven in and invisible from the RS
Troubleshooting
Shells cup or ruffle: Your dc are too loose. Go down a hook size or work the shells more firmly.
Outline is wavy: Your chains are too long. Remove 1 ch from each ch-6 space or go down a hook size.
Outline curves the tree inward: Your chains are too tight. Chain more loosely, or add 1 ch to each ch-5 and ch-6 space.
Tiers are lopsided: Check that you skipped exactly 2 sc before joining each pink row.
Trunk is off-center: Recount the 15 middle sts of Round 2. The trunk must sit on sts 6–10.
Loop flops over: Work a sl st in each ch of the loop to make a firmer cord.
Care
Hand wash in cool water with mild soap and lay flat to dry. If needed, re-pin it to shape, then store it flat or hanging.
Final Notes
Here is how the measurements build up. Rows 1–8 make a body 3.8 in (9.7 cm) wide x 2.7 in (6.9 cm) tall. Border Round 1 raises the apex to 3.2 in (8.1 cm). Round 2 brings the tree to 4.6 in (11.7 cm) wide and 3.6 in (9.1 cm) tall. The trunk adds 1.1 in (2.8 cm), for a 4.7 in (11.9 cm) tree with a 2 in (5.1 cm) loop.
Check your gauge on the first ornament. Once it matches, every ornament after it will come out the same size, which makes it easy to fill a whole tree.
Happy crocheting!