

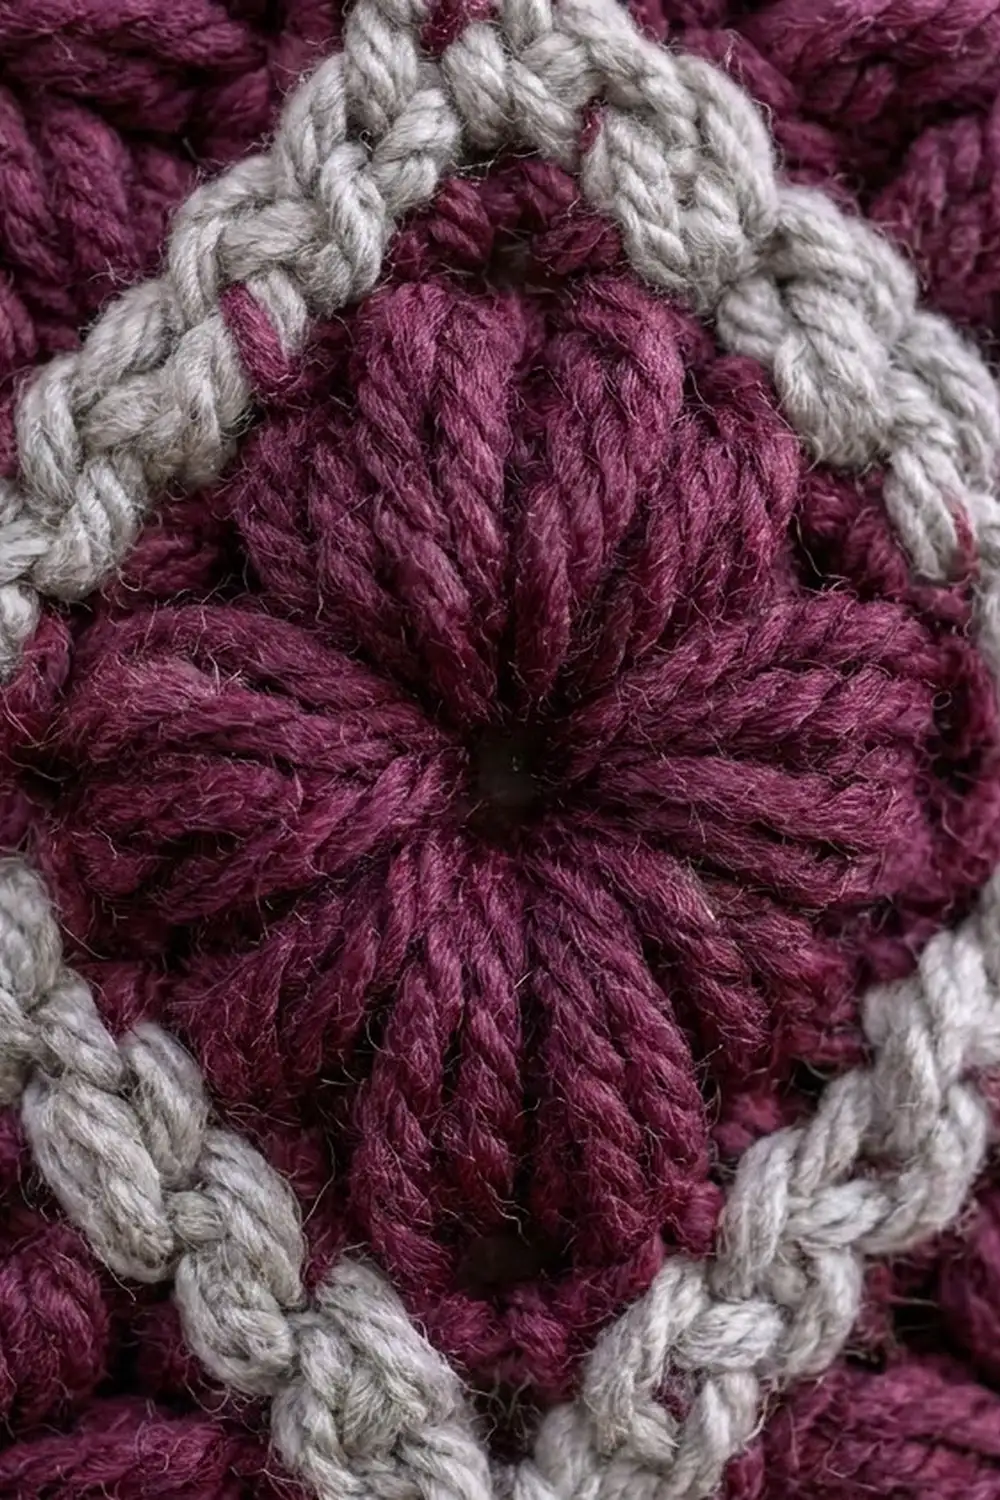
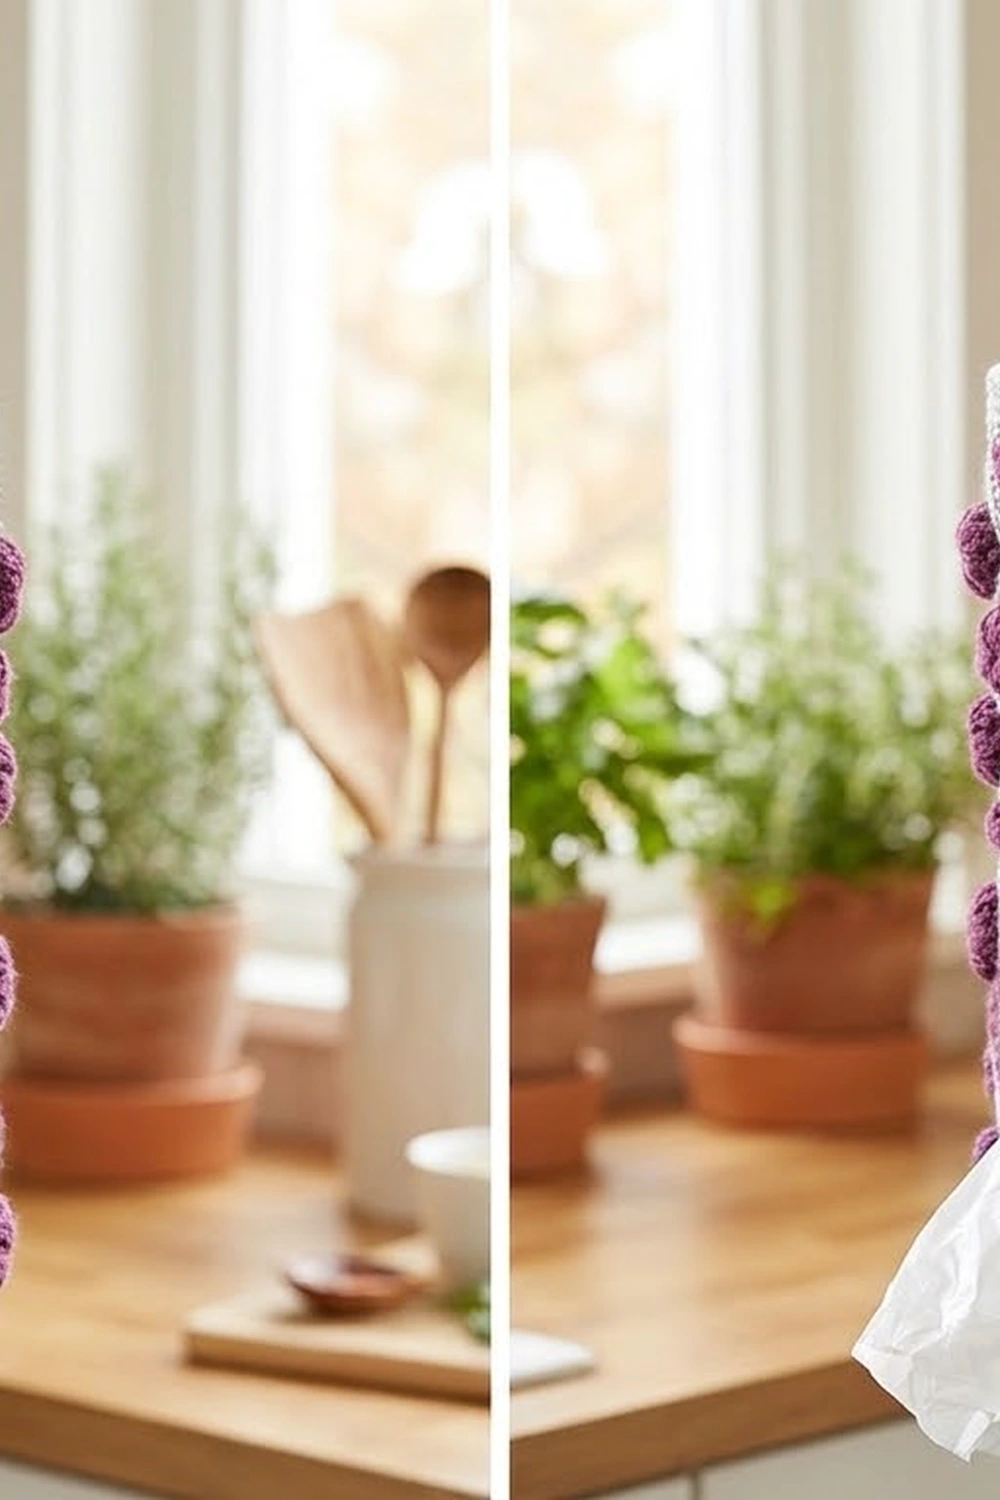
This hanging bag holder makes a practical item look elegant. The body is deep plum, covered in plump puff blossoms set inside a crisp light-gray diamond lattice. A matching gray rim finishes the top. A gray-edged opening near the bottom lets you pull out one bag at a time, and a plum strap hangs the holder from a hook or knob.
The style is cozy and textured, like a pantry piece from a country kitchen. It uses only two colors: plum for the base, body, and strap, and light gray for the lattice, rim, and opening edge.
The pattern uses US crochet terms. Laid flat, the finished holder measures about 8 in (20.3 cm) wide across the body and 7 in (17.8 cm) wide across the rim. It is 10.9 in (27.7 cm) tall, and the strap rises about 4 in (10.2 cm) above the rim.
Construction is simple and seamless:
1. Work a flat circle base.
2. Turn the edge up into a tube.
3. Work a few rows back and forth to form the opening.
4. Continue in joined rounds with staggered puff stitches.
5. Add the gray lattice with surface slip stitch.
6. Finish with the rim, the opening edging, and the strap.
Finished Size and Construction
- Finished size: 8 in (20.3 cm) wide flat x 10.9 in (27.7 cm) tall, plus a 4 in (10.2 cm) strap
- Skill level: Intermediate
- Terminology: US crochet terms
- Yarn weight: Worsted (#4)
- Hook: 4.5 mm (US 7)
- Number of pieces: 1 (the strap is worked directly onto the rim)
- Layout: Closed-bottom tube; opening on the front, strap on the back
- Body circumference: 64 sts = 16 in (40.6 cm)
- Size before border: 8 in (20.3 cm) wide flat x 10 in (25.4 cm) tall after Rnd 53
- Border depth: gray rim of 4 rnds = about 0.9 in (2.3 cm); opening edging = about 0.25 in (0.6 cm)
Materials
Choose a smooth, firm worsted-weight yarn. Acrylic or an acrylic-wool blend is ideal because the holder gets handled every day and needs to keep its shape. Avoid very fuzzy yarns, which blur the lattice lines.
- Plum (Color A): 150 g, about 300 m (328 yd)
- Light gray (Color B): 50 g, about 100 m (109 yd)
These quantities include about 15 percent extra to cover your gauge check and small differences in tension.
Tools:
- 4.5 mm (US 7) crochet hook
- Locking stitch markers (at least 4)
- A length of contrasting scrap yarn for a column marker
- Tapestry needle
- Scissors
- Tape measure
Abbreviations (US Terms)
- ch – chain
- sl st – slip stitch
- sc – single crochet
- hdc – half double crochet
- BLO – back loop only
- sc2tog – single crochet 2 together
- MR – magic ring
- st(s) – stitch(es)
- rnd(s) – round(s)
- RS / WS – right side / wrong side
Puff stitch (puff): Work (yarn over, insert hook in the indicated st, yarn over and pull up a loop to about 3/8 in, or 1.0 cm) 4 times. Yarn over and draw through all 9 loops on the hook, then ch 1 to close. The closing ch-1 is not counted and is not worked into. Each puff counts as 1 st.
Surface slip stitch: Hold the working yarn inside the holder. Insert the hook from the outside through the center of the indicated st, then pull up a loop to the outside and through the loop on the hook.
Gauge and Checkpoints
Gauge: 16 sc and 18 rnds = 4 in (10.2 cm) in joined sc rounds.
The base doubles as your gauge swatch. After Rnd 8, the circle should measure 5 in (12.7 cm) across. If it is larger, go down a hook size; if it is smaller, go up one. If the base gauge is off, the body will not fit the base.
Checkpoints (measured flat, from the base fold):
- After Rnd 8: base diameter 5 in (12.7 cm)
- After Rnd 21: height 2.9 in (7.4 cm), width 8 in (20.3 cm)
- After Rnd 37: height 6.4 in (16.3 cm)
- After Rnd 53: height 10 in (25.4 cm)
- After Rnd 57: height 10.9 in (27.7 cm), rim width 7 in (17.8 cm)
If the body is too wide, switch to a 4.0 mm hook and restart from the base. If it is too narrow, use a 5.0 mm hook. If only the height is off, add or remove one plain round in Rnds 51–53; this does not change the lattice.
Pattern
Every rnd is joined. Ch 1 at the start (it does not count), work the rnd, then sl st to the first st. The first st of every rnd sits in the same column. Mark that column with scrap yarn as you go, because you will count from it when you add the lattice.
Base (Color A)
Rnd 1: 8 hdc in MR, join. (8)
Rnd 2: 2 hdc in each st. (16)
Rnd 3: Hdc in next st, 2 hdc in next st 8 times. (24)
Rnd 4: Hdc in next 2 sts, 2 hdc in next st 8 times. (32)
Rnd 5: Hdc in next 3 sts, 2 hdc in next st 8 times. (40)
Rnd 6: Hdc in next 4 sts, 2 hdc in next st 8 times. (48)
Rnd 7: Hdc in next 5 sts, 2 hdc in next st 8 times. (56)
Rnd 8: Hdc in next 6 sts, 2 hdc in next st 8 times. (64)
Checkpoint: the base lies flat and measures 5 in (12.7 cm) across.
Lower Body (Color A)
Rnd 9: Sc in BLO of each st. (64) This creates a crisp fold where the base turns up into the sides.
Rnds 10–12: Sc in each st. (64)
Dispensing Opening (Color A)
For the next 7 rows, work back and forth and leave the last 12 sts of the round unworked.
Row 13 (RS): Ch 1, sc in next 52 sts, turn. (52) Sts 53–64 stay unworked.
Rows 14–19: Ch 1, sc in each st across. (52) Turn at the end of Rows 14–18 only. Row 19 is a RS row, so do not turn after it.
Joining chain: Ch 12, sl st to the first sc of Row 19. The opening is now 12 sts wide, 3 in (7.6 cm), and 7 rows tall, about 1.5 in (3.8 cm).
Rnd 20: Ch 1, sc in each of the 52 sc and in each of the 12 ch, join. (64)
Rnd 21: Sc in each st. (64)
Checkpoint: 2.9 in (7.4 cm) tall from the base fold.
Puff Body (Color A)
The puffs sit in staggered tiers of 8 per round. The tiers are 4 rnds apart, and each tier shifts 4 sts from the one below. Each puff becomes the center of one diamond.
Puff Rnd A: Sc in next 3 sts, puff in next st, sc in next 4 sts 8 times. (64: 56 sc + 8 puffs) The puffs fall on sts 4, 12, 20, 28, 36, 44, 52, and 60.
Puff Rnd B: Sc in next 7 sts, puff in next st 8 times. (64: 56 sc + 8 puffs) The puffs fall on sts 8, 16, 24, 32, 40, 48, 56, and 64.
Plain Rnd: Sc in each st, working into the top of each puff and skipping its closing ch-1. (64)
Work the rounds in this order:
- Rnd 22: Puff Rnd A
- Rnds 23–25: Plain Rnd
- Rnd 26: Puff Rnd B
- Rnds 27–29: Plain Rnd
- Rnd 30: Puff Rnd A
- Rnds 31–33: Plain Rnd
- Rnd 34: Puff Rnd B
- Rnds 35–37: Plain Rnd
- Rnd 38: Puff Rnd A
- Rnds 39–41: Plain Rnd
- Rnd 42: Puff Rnd B
- Rnds 43–45: Plain Rnd
- Rnd 46: Puff Rnd A
- Rnds 47–49: Plain Rnd
- Rnd 50: Puff Rnd B
- Rnds 51–53: Plain Rnd
That makes 8 tiers and 64 puffs in total. Puffs can lean inward in sc fabric, so after each Puff Rnd, push every puff to the outside with a fingertip. Fasten off Color A after Rnd 53.
Checkpoint: 10 in (25.4 cm) tall and 8 in (20.3 cm) wide flat.
Gray Lattice (Color B, Surface Slip Stitch)
The lattice is made of 16 diagonal lines. Each line has 34 surface sl sts and covers Rnds 20–53. Each line moves exactly 1 st per round, so it passes halfway between neighboring puffs. Where lines cross on a Puff Rnd, they cross in the plain sc between the puffs.
Forward lines (8): Start at sts 6, 14, 22, 30, 38, 46, 54, and 62 of Rnd 20. Work a surface sl st there. In each rnd above, move 1 st further in the direction you crocheted. For the first line, that means st 7 of Rnd 21, then st 8 of Rnd 22, and so on, ending at st 39 of Rnd 53. (34 sl sts per line)
Backward lines (8): Start at sts 2, 10, 18, 26, 34, 42, 50, and 58 of Rnd 20. In each rnd above, move 1 st backward. For the first line, that means st 1 of Rnd 21, st 64 of Rnd 22, st 63 of Rnd 23, and so on. (34 sl sts per line)
Check your placement:
– On every Puff Rnd A, the lines cross at sts 8, 16, 24, and so on, between the puffs at sts 4, 12, 20.
– On every Puff Rnd B, the lines cross at sts 4, 12, 20, and so on, between the puffs at sts 8, 16, 24.
– No line ever touches a puff.
Fasten off each line and weave the ends in on the inside.
Make each surface sl st the same size as the sc beneath it. Tight lines pucker the tube, and loose ones look stringy.
Border: Rim and Opening Edging
Border gauge: same as the body, 16 sc = 4 in (10.2 cm).
Rim (Color B)
Rnd 54 (conversion round): Join B in st 1 of Rnd 53. Sc in next 6 sts, sc2tog 8 times. (56: 48 sc + 8 sc2tog) Each sc2tog uses 2 sts, so the round uses all 48 + 16 = 64 sts, and the rim draws in to 14 in (35.6 cm) around.
Rnds 55–57: Sc in each st. (56) Fasten off.
Why the math works: 56 sts at 4 sts per inch is 14 in (35.6 cm) around, or 7 in (17.8 cm) flat. This gives the top its gently narrowed neck. The decreases sit above Rnd 53, so they do not disturb the lattice.
Opening Edging (Color B)
Rnd 1: Join B at the bottom right corner of the opening and work sc around it, then join:
– 12 sc along the bottom edge (1 in each unworked st of Rnd 12)
– 7 sc up the side (1 per row end)
– 12 sc along the top (1 in the base of each ch of the joining chain)
– 7 sc down the other side
(38: 12 + 7 + 12 + 7)
Rnd 2: Sl st in each st. (38) Fasten off.
Why it works: working 1 sc per st matches the 12-st width exactly. Each sc is 1/4 in (0.6 cm) wide, but each row is slightly shorter than that. So 7 sc on a 7-row side add a little ease, which lets the corners round off into an oval instead of cupping. The finished opening is about 2.5 in (6.4 cm) wide and 1 in (2.5 cm) tall, and it stretches easily.
Strap (Color A)
Flatten the holder with the opening centered on the front. On the back, find the center st of the rim. Mark the st 4 sts to its right (A) and the st 4 sts to its left (B). They are 9 sts apart, about 2.25 in (5.7 cm).
Row 1: Join A at st A of Rnd 57, ch 40 (about 9 in, or 22.9 cm), sl st in st B.
Row 2: Ch 1, turn, sc in each ch. (40) Sl st in the rim st next to A. Fasten off.
Fold the strap in half. About 1.25 in (3.2 cm) below the fold, wrap a tail of A around both legs 6 times and knot it inside the wrap. This forms the hanging loop and pulls the legs into an inverted V.
Final Blocking
- Weave in all ends on the inside, through stitches of the matching color.
- Stuff the holder firmly with a rolled towel.
- Shape the body into a smooth, slightly rounded tube and press the base flat.
- Gently pull the opening into an even oval.
- Hold a steam iron 1 in (2.5 cm) above the surface and steam lightly. Never press the puffs.
- Let it dry completely, about 6 hours, before removing the towel.
- Measure: 8 in (20.3 cm) wide and 10.9 in (27.7 cm) tall.
Final Quality-Control Checklist
- The base is 5 in (12.7 cm) across and lies flat.
- Every body rnd has 64 sts; the rim has 56.
- There are 8 tiers of 8 puffs, all pushed to the outside.
- There are 16 lattice lines of 34 sl sts each, and no line passes over a puff.
- The opening edging has 38 sts and opens to about 2.5 in (6.4 cm).
- The strap is centered on the back, opposite the opening.
- All ends are woven in securely.
Troubleshooting
Base ruffles: Your hdc is short. Use a hook one size larger for the base only.
Base cups upward: Your hdc is tall. Use a hook one size smaller for the base.
Lattice lines drift off center: The joins have shifted. Count from your scrap-yarn column marker, not from the visible join line.
Puffs sink inward: Pull the puff loops up slightly taller, and push each puff out as soon as the round is done.
Tube puckers under the lattice: Your surface sl sts are too tight. Rework the lattice with a larger hook.
Opening gapes or flips outward: Rework Rnd 2 of the edging with a smaller hook.
Rim too loose: Rework Rnds 55–57 with a 4.0 mm hook.
Care
Hand wash in cool water, roll in a towel to remove excess water, and dry flat over a stuffed towel to keep the shape. Avoid the dryer, which can flatten the puffs.
Final Notes
The measurements build on each other in a short chain:
– A 5 in (12.7 cm) base gives 64 sts, or 16 in (40.6 cm) around.
– The tube grows to 10 in (25.4 cm) tall through 8 puff tiers.
– The 16 lattice lines each move exactly 1 st per round.
– A 56-st gray rim narrows the top to 7 in (17.8 cm) flat, for a finished height of 10.9 in (27.7 cm).
If every checkpoint matches, the lattice will close neatly at the top and bottom.
For a softer look, work the whole holder in light gray with a white lattice. The stitch counts stay exactly the same.
Happy crocheting!