
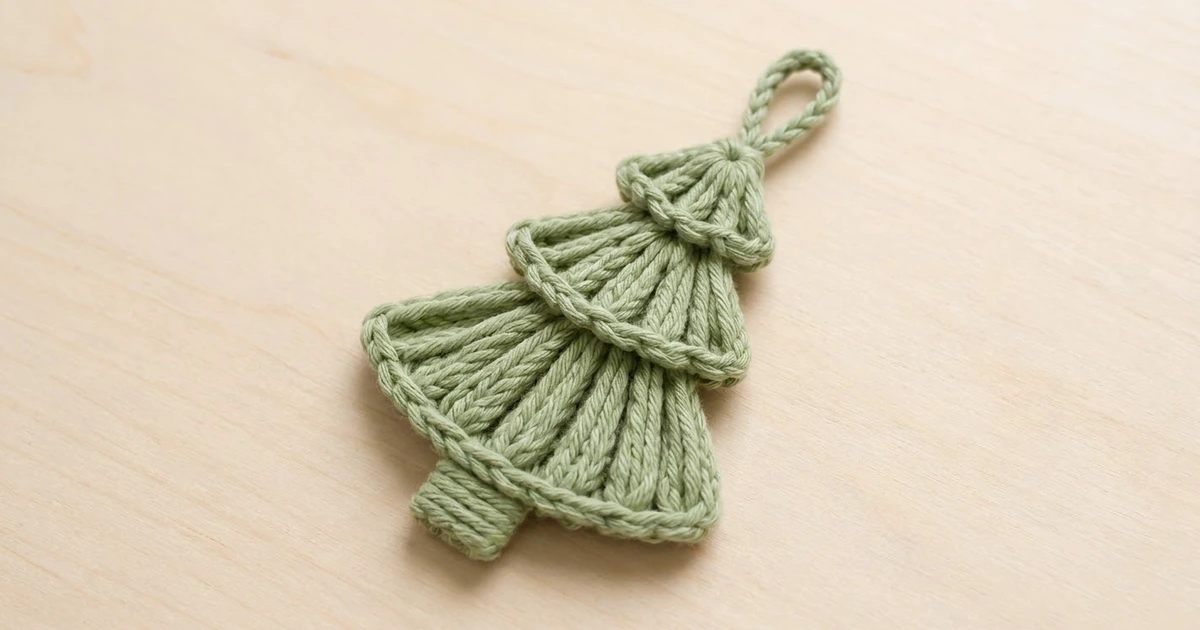
This little tree is made from three fan-shaped tiers stacked from small to large, with a ridged trunk and a firm hanging cord. Each tier is a fan of long stitches worked into one magic ring, so every rib starts at the top point and spreads toward the curved hem. A twisted reverse single crochet edge outlines each hem like a cord.
The sample uses one soft sage green, which gives a calm, Scandinavian look that suits natural, rustic or minimalist decorating. It also looks lovely in cream, deep forest green or dusty blue.
This pattern uses US crochet terms. The finished ornament is 3.5 in (8.9 cm) wide and 4.25 in (10.8 cm) tall without the loop, or 5.75 in (14.6 cm) tall with the loop.
Construction is quick. You make three tiers, each from one row of long stitches into a magic ring plus a two-row border. Next you make a small trunk in rows and a slip-stitch cord. Then you stack the pieces and sew them into one flat ornament.
Finished Size and Construction
- Finished size: 3.5 in (8.9 cm) wide x 4.25 in (10.8 cm) tall; 5.75 in (14.6 cm) tall with the loop
- Skill level: Easy / advanced beginner (you need tall stitches and reverse single crochet)
- Terminology: US
- Yarn weight: Worsted (#4)
- Hook: 4.0 mm (G-6)
- Number of pieces: 5 small pieces (3 tiers, 1 trunk, 1 hanging cord), sewn into one ornament
- Layout: Tiers stacked vertically with the small tier on top, each one overlapping the tier below; trunk centered under the large tier
- Tier sizes (finished): small 2 in (5.1 cm) wide x 1.25 in (3.2 cm) tall; medium 2.75 in (7.0 cm) x 1.5 in (3.8 cm); large 3.5 in (8.9 cm) x 2 in (5.1 cm)
- Tier sizes before the border: small 1.5 in (3.8 cm) x 0.75 in (1.9 cm); medium 2.25 in (5.7 cm) x 1 in (2.5 cm); large 3 in (7.6 cm) x 1.5 in (3.8 cm)
- Border depth: 0.5 in (1.3 cm) along each curved hem
Materials
Choose a smooth worsted-weight yarn that shows stitches clearly. Cotton, cotton blends and soft matte acrylic all work well. Avoid fuzzy or very splitty yarn, because the long ribs and the twisted hem are what make this ornament.
- Sage green: 15 g, about 30 m (33 yd)
These amounts include a margin for a test tier, sewing tails and small gauge differences.
Tools:
- 4.0 mm (G-6) crochet hook
- Tapestry needle
- Scissors
- Stitch marker
- Ruler or tape measure
- Pins and a foam blocking mat
- Spray bottle with water
- Optional: fabric stiffener for a firmer ornament
Abbreviations (US Terms)
- ch – chain
- sl st – slip stitch
- sc – single crochet
- tr – treble crochet (yarn over 2 times)
- dtr – double treble crochet (yarn over 3 times)
- trtr – triple treble crochet (yarn over 4 times)
- BLO – back loop only
- sp – space
- st(s) – stitch(es)
- rev sc – reverse single crochet
- RS – right side
Special stitch – reverse single crochet (rev sc, also called crab stitch): If you are right-handed, work from left to right. Insert the hook into the next stitch to the right, yarn over and pull up a loop, then yarn over and pull through both loops. Each stitch twists as you go, which makes the cord-like edge.
Magic ring: Wrap the yarn into a loop around your fingers. Insert the hook, pull up a loop and work your stitches into the ring. Pull the tail to close it.
Gauge and Checkpoints
Gauge isn’t critical for an ornament, but it decides how neatly the tiers stack. Make the small tier first and measure it before you continue.
Base gauge: 4 sc and 4 sc rows = 1 in (2.5 cm).
Stitch height checkpoints (measured from the closed ring):
- tr = about 0.75 in (1.9 cm)
- dtr = about 1 in (2.5 cm)
- trtr = about 1.5 in (3.8 cm)
Stage checkpoints:
- Small tier after Row 1: 1.5 in (3.8 cm) across the fan tips.
- Small tier after the border: 2 in (5.1 cm) wide x 1.25 in (3.2 cm) tall.
- Large tier after the border: 3.5 in (8.9 cm) wide x 2 in (5.1 cm) tall.
- Assembled tree: 3.5 in (8.9 cm) x 4.25 in (10.8 cm) without the loop.
If your tier is too big, switch to a 3.5 mm (E-4) hook. If it is too small, switch to a 4.5 mm (7) hook. If the spokes measure correctly but the hem ripples or cups, change the hook size for the border rows only.
Pattern: The Tiers
All three tiers are built the same way: one row of long stitches worked into a magic ring, followed by the two-row border along the curved edge. Only the stitch height and the stitch count change.
Leave a 6 in (15.2 cm) starting tail on each tier. Don’t trim it yet; you’ll use it to close the ring firmly and then sew.
Tips for neat spokes: Pull the first loop of each tall stitch up to the full height of the ring row. Work each pair of loops off smoothly, without yanking. Even tension keeps all the spokes the same length so the hem stays round.
Small Tier (make 1)
Row 1: Make a magic ring. Ch 4 (counts as the first tr), then work 5 tr into the ring. Pull the tail until the stitches fan out in a half circle with all their bases touching. (6 tr)
These 6 tr are the spokes. Each one runs unbroken from the top point to the hem. Don’t fasten off; go straight to the Border section.
Checkpoint: 1.5 in (3.8 cm) across the fan tips and 0.75 in (1.9 cm) tall.
Medium Tier (make 1)
Row 1: Make a magic ring. Ch 5 (counts as the first dtr), then work 7 dtr into the ring. Close the ring tightly. (8 dtr)
Don’t fasten off; continue with the Border.
Checkpoint: 2.25 in (5.7 cm) across and 1 in (2.5 cm) tall.
Large Tier (make 1)
Row 1: Make a magic ring. Ch 6 (counts as the first trtr), then work 9 trtr into the ring. Close the ring tightly. (10 trtr)
Don’t fasten off; continue with the Border.
Checkpoint: 3 in (7.6 cm) across and 1.5 in (3.8 cm) tall.
Pattern: Trunk
Foundation: Ch 4.
Row 1: Sc in the 2nd ch from the hook and in each ch across. (3 sc)
Rows 2–6: Ch 1, turn, then sc BLO in each st across. (3 sc in each row)
Working in the back loop only creates the horizontal ridges on the trunk. Fasten off and leave an 8 in (20.3 cm) tail for sewing.
Checkpoint: 0.75 in (1.9 cm) wide x 1.5 in (3.8 cm) tall.
Pattern: Hanging Cord
Foundation: Ch 13.
Row 1: Sl st in the back bump of the 2nd ch from the hook and in each ch across. (12 sl st)
Fasten off and leave an 8 in (20.3 cm) tail. The cord is about 3.25 in (8.3 cm) long and has a firm, braided look.
Make All Pieces
| Piece | Quantity | Color | Stitch counts |
|---|---|---|---|
| Small tier | 1 | Sage green | 6 tr / 11 sc / 11 rev sc |
| Medium tier | 1 | Sage green | 8 dtr / 15 sc / 15 rev sc |
| Large tier | 1 | Sage green | 10 trtr / 19 sc / 19 rev sc |
| Trunk | 1 | Sage green | 3 sc x 6 rows |
| Hanging cord | 1 | Sage green | 12 sl st |
Total sage green: 15 g, about 30 m (33 yd). Finish the border on all three tiers before you start assembly.
Layout (front view, measured down from the top point of the small tier):
        ( loop )     1.5 in / 3.8 cm above the top point
          /\         0 in               small tier apex
         /  \        0.75 in / 1.9 cm   medium apex (hidden)
        /____\       1.25 in / 3.2 cm   small hem
         /  \        1.5 in / 3.8 cm    large apex (hidden)
       /______\      2.25 in / 5.7 cm   medium hem
      /        \
     /__________\    3.5 in / 8.9 cm    large hem
         |  |
         |__|        4.25 in / 10.8 cm  trunk bottom
Joining (Assembly)
Method: Whipstitch from the back with the yarn tails and a tapestry needle.
- Lay the large tier flat, RS up. Pin the trunk behind it, centered, so 0.75 in (1.9 cm) of trunk shows below the hem and 0.75 in (1.9 cm) is tucked behind.
- Place the medium tier on top so its hem sits 1.25 in (3.2 cm) above the large hem. Its apex then lands 2.75 in (7.0 cm) above the large hem, and its hem covers the large apex and the top 0.75 in (1.9 cm) of the large tier.
- Place the small tier so its apex sits 0.75 in (1.9 cm) above the medium apex. The small hem then lands 1 in (2.5 cm) above the medium hem.
Stitch-to-stitch logic: Sew each upper tier only at its apex and along its two outer spokes, catching the back legs of the stitches on both layers. Sew the trunk through its top row and through the back of the large tier’s center spokes. Leave every hem free so it rests on the tier below and casts that layered shadow.
Tension advice: Keep sewing stitches snug but not tight. If a tier puckers or the spokes bunch together, loosen the stitches and sew again.
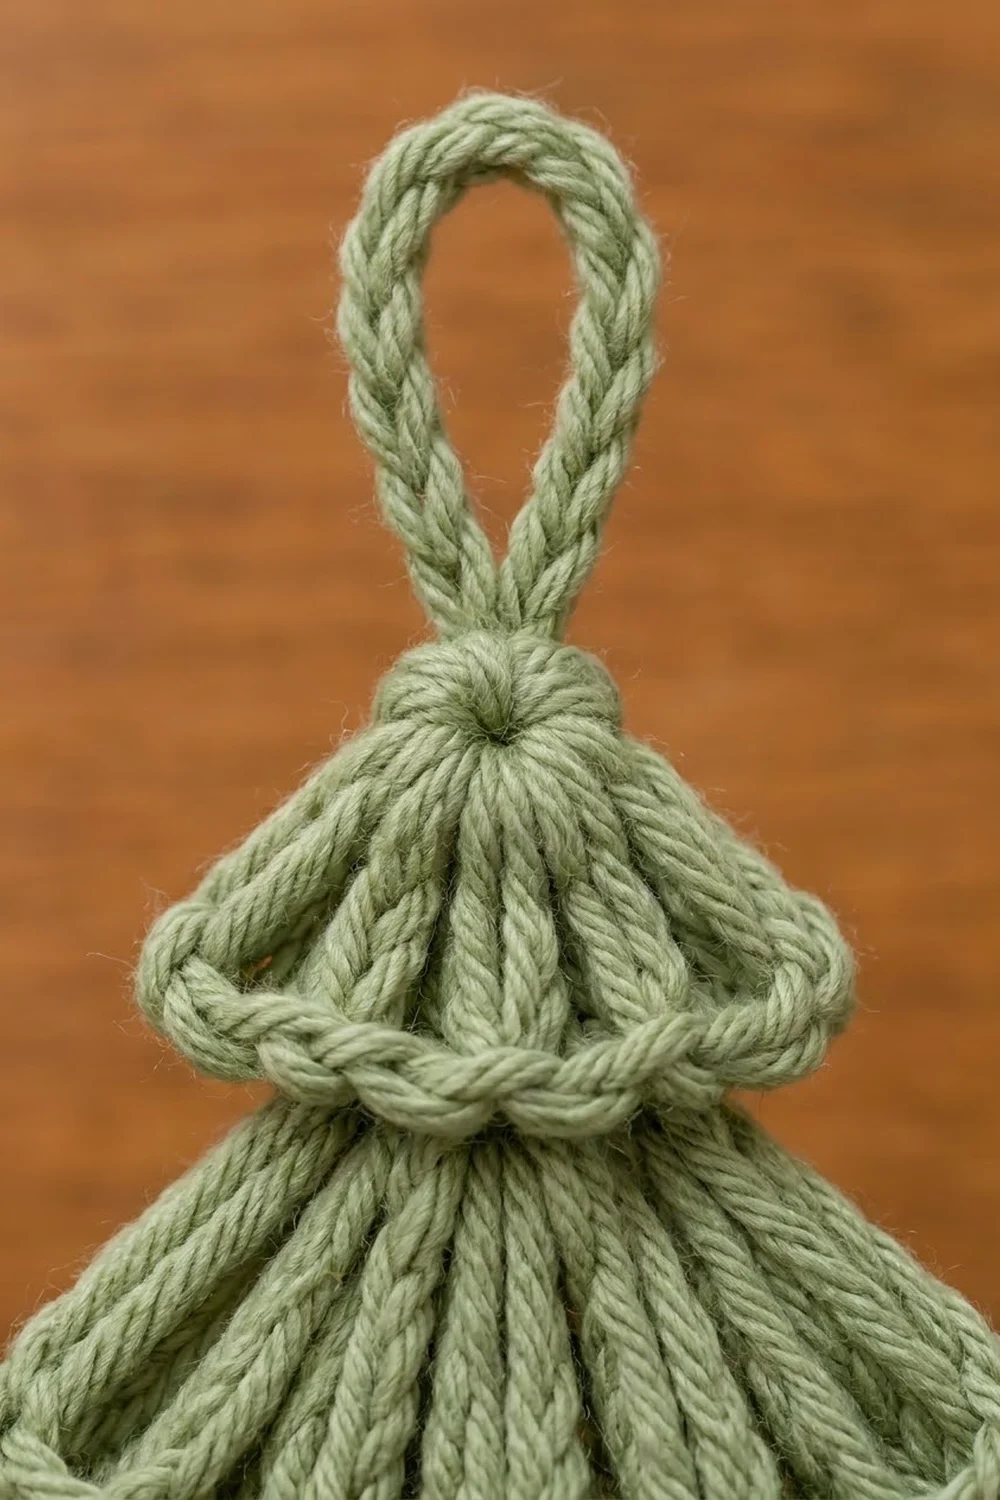
Hanging cord: Fold the cord in half. Sew both ends to the back of the small tier’s apex so the loop stands 1.5 in (3.8 cm) above the tree.
Size checkpoint: The assembled tree should measure 3.5 in (8.9 cm) wide and 4.25 in (10.8 cm) from the top point to the bottom of the trunk.
Border
The border goes along each tier’s curved hem only: one sc row and one rev sc row, worked straight after Row 1 with the same yarn. Each tier has S spokes and S − 1 gaps between them.
Border gauge: 4 sts = 1 in (2.5 cm). Row 2 adds 0.25 in (0.6 cm) of depth and Row 3 adds another 0.25 in (0.6 cm), for a total border depth of 0.5 in (1.3 cm).
Row 2 (RS, conversion row): Turn. Ch 1, sc in the first spoke, *sc in the sp between sts, sc in the next spoke; repeat from * across, working the last sc in the top of the beginning chain.
- Small tier: 6 sc on spokes + 5 sc added in gaps = 11 sc
- Medium tier: 8 sc on spokes + 7 sc added in gaps = 15 sc
- Large tier: 10 sc on spokes + 9 sc added in gaps = 19 sc
Row 3 (RS, trim row): Don’t turn. Ch 1, then work rev sc in each sc from left to right. Fasten off.
- Small tier: 11 rev sc (1 per existing stitch + 0 added) = 11
- Medium tier: 15 rev sc (1 per existing stitch + 0 added) = 15
- Large tier: 19 rev sc (1 per existing stitch + 0 added) = 19
The two straight sides of each fan are simply the outer spokes, so no stitches go there.
Why the math works: The spokes open into a wedge on their own. One added sc per gap is just enough to fill the wider outer curve, so Row 2 is always 2S − 1. Rev sc is slightly wider than sc, so one per stitch sits flat. More stitches would make the hem ruffle; fewer would make the fan cup.
Final Blocking
- Weave in any remaining ends on the back.
- Lightly mist the ornament until it is damp, not soaked.
- Lay it face up on the blocking mat.
- Pin the large hem into a smooth curve 3.5 in (8.9 cm) wide.
- Nudge each spoke straight so the ribs spread evenly from each apex.
- Pin the trunk square and the loop upright.
- Let it dry completely, for at least a few hours.
- Optional: brush a light coat of fabric stiffener on the back, then let it dry again.
Final Quality-Control Checklist
- The small, medium and large tiers have 6, 8 and 10 spokes.
- Every magic ring is fully closed, with no hole at the apex.
- The hem counts are 11, 15 and 19 rev sc.
- The hems lie flat with no ruffling or cupping.
- The tiers overlap evenly and sit centered on one vertical line.
- The trunk shows 0.75 in (1.9 cm) below the large hem.
- The loop is centered and stands 1.5 in (3.8 cm) tall.
- The tree measures 3.5 in (8.9 cm) x 4.25 in (10.8 cm) without the loop.
- All ends are woven in securely on the back.
Troubleshooting
The ring won’t close fully. The tail may be caught. Pull gently while easing the stitches around the ring, then secure it with a few stitches on the back.
The hem ruffles. Check that you worked only one sc in each gap. Use a smaller hook for Rows 2–3.
The fan cups or curls. The border is too tight. Use a larger hook for the border rows only.
Spokes lean or twist. Pull each loop through fully when you work the tall stitches, then straighten the spokes during blocking.
The tiers look too close in size. Your long stitches are too short. Pull up a slightly taller first loop on each tall stitch.
The trunk shows too much or too little. Re-pin it so exactly 0.75 in (1.9 cm) sits below the hem before you sew.
The ornament flops when hung. Add fabric stiffener, or sew on a felt backing cut to the tree shape.
Care
Spot clean with cool water and a little mild soap, then reshape and dry flat. Store it flat or loosely wrapped in tissue paper so the hems stay crisp.
Final Notes
The measurement chain is short and easy to check. Before the border, the small, medium and large tiers measure 1.5 in (3.8 cm), 2.25 in (5.7 cm) and 3 in (7.6 cm) across. The 0.5 in (1.3 cm) border brings them to 2 in (5.1 cm), 2.75 in (7.0 cm) and 3.5 in (8.9 cm). Stacked with 0.75 in (1.9 cm) offsets between the apexes and the trunk below, the tree measures 3.5 in (8.9 cm) wide and 4.25 in (10.8 cm) tall, plus a 1.5 in (3.8 cm) loop.
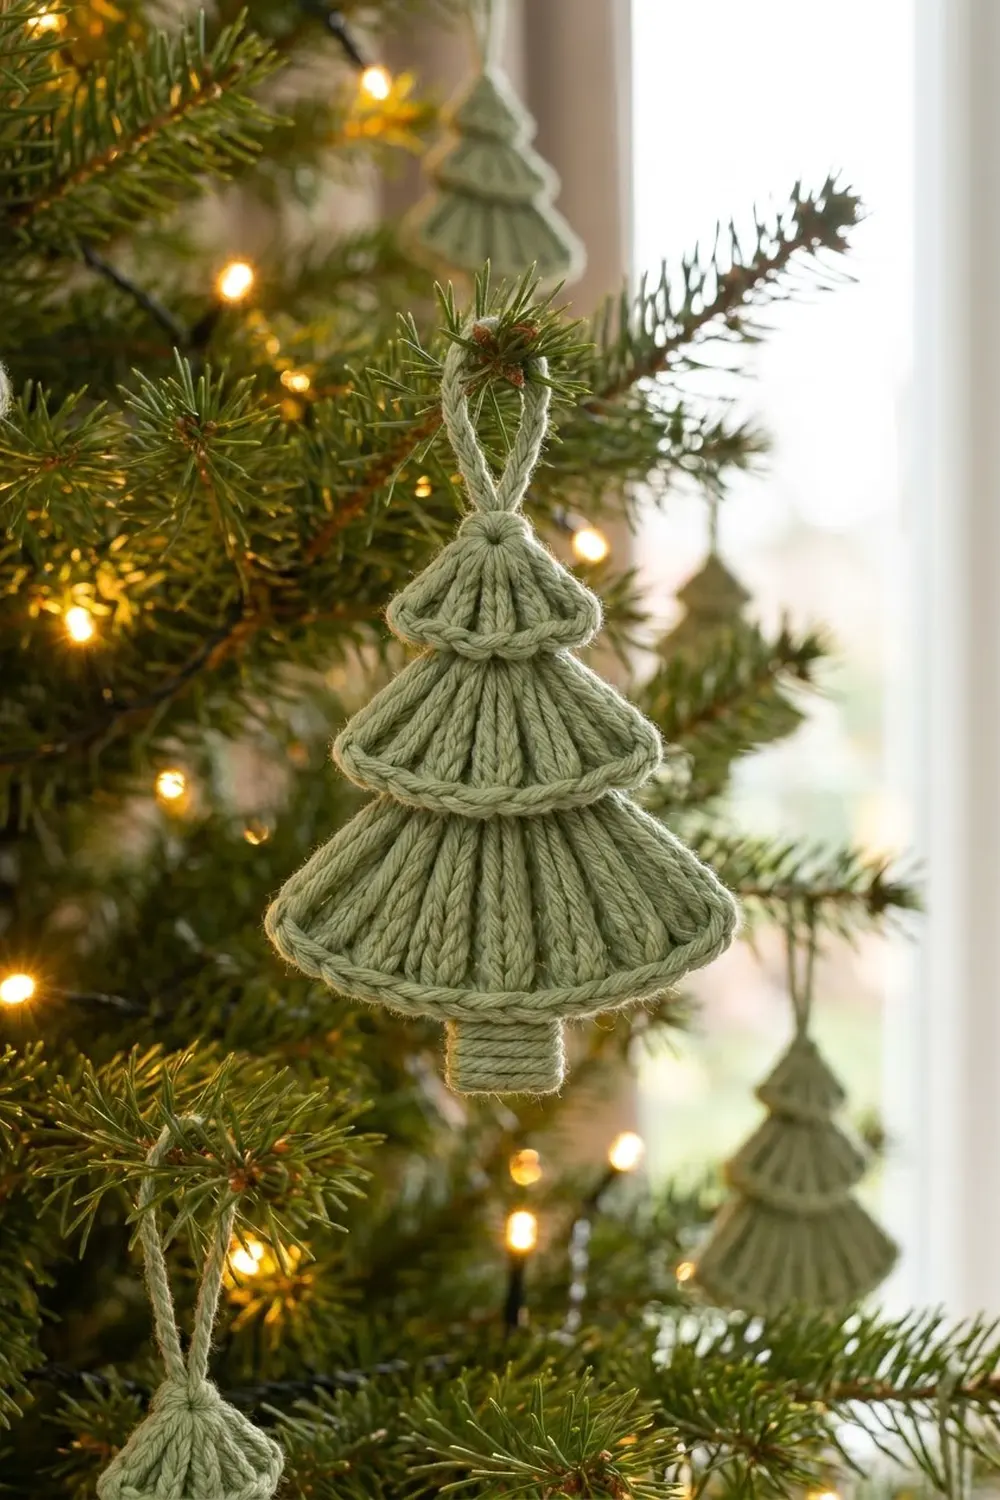
Once you’ve made one, it’s easy to make a few more for your tree, gift wrapping or a window display.
Happy crocheting!