

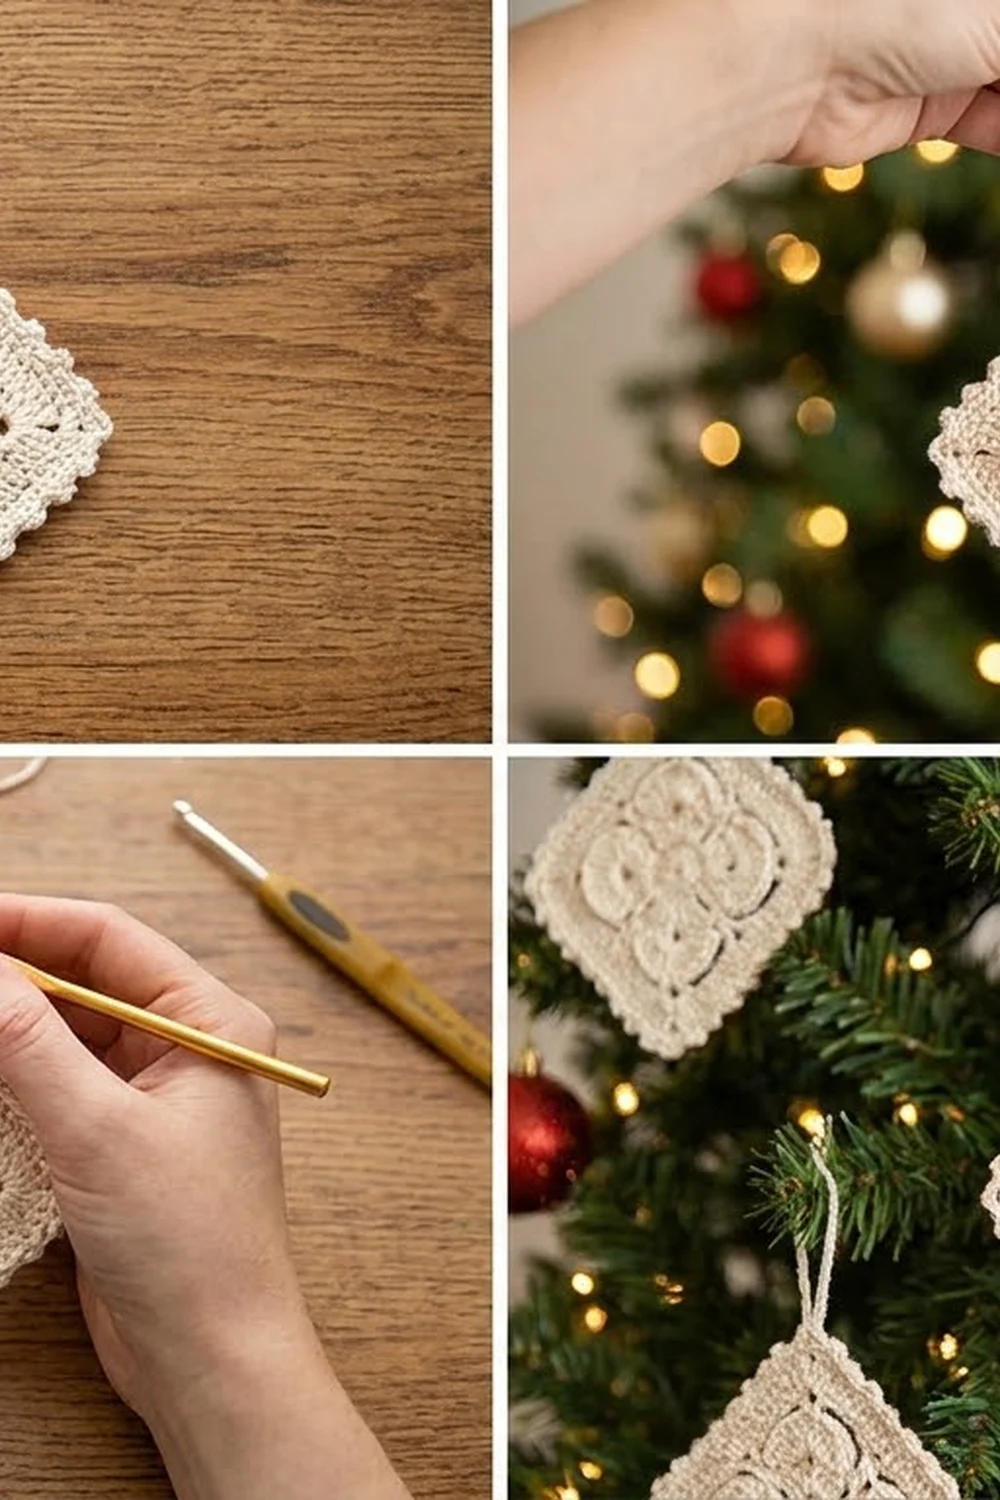
The Snowlace Diamond is a small, lacy Christmas ornament worked as one square motif and hung on point, so it reads as a diamond. Fans and shells sit in layers on top of each other, and the scalloped picot edge catches the tree lights.
It’s worked in one cream or ivory yarn. A soft, natural color like this goes with gold baubles, pinecones, rustic wood and simple neutral decor. Make one for a gift tag, or make a dozen for a matching tree.
This pattern uses US crochet terms. The finished ornament measures 4.25 in (10.8 cm) per side and about 6 in (15.2 cm) from tip to tip, not counting the hanging loop.
You’ll work the motif in the round from a magic ring. First you make a center of four shell petals and a chain frame. Next comes a ring of eight raised fans, then a frame worked behind those fans that squares the shape into a solid round. A three-round border adds the shells, corner fans, picots and hanging loop.
Finished Size and Construction
- Finished size: 4.25 in (10.8 cm) per side; about 6 in (15.2 cm) tip to tip
- Skill level: Easy-intermediate
- Terminology: US crochet terms
- Yarn weight: DK / light worsted (#3), cotton or cotton blend
- Hook: 3.5 mm (US E-4)
- Number of pieces: 1
- Layout: One square motif, hung on point as a diamond
- Piece size before border: 3.25 in (8.3 cm) per side after Round 6
- Border depth: 0.5 in (1.3 cm) on each edge (Rounds 7–9)
- Hanging loop: about 1.25 in (3.2 cm) long, built into the last round
Materials
Yarn: Use a smooth DK-weight cotton or cotton blend. Cotton shows the stitches clearly and holds the fan shapes well after blocking. Avoid fuzzy or very splitty yarn, because it blurs the layered petals.
- Cream / Ivory: 12 g, about 30 m (33 yd) for one ornament
A 50 g ball makes about four ornaments. The quantity above includes a margin of roughly 20% for your gauge swatch, weaving in ends and small tension differences.
Tools:
- 3.5 mm (US E-4) crochet hook
- Tapestry needle
- Scissors
- Stitch markers (2–4)
- Blocking mat and rust-proof pins
- Spray bottle with water
- Optional: fabric stiffener or a light starch spray
Abbreviations (US Terms)
- ch – chain
- sl st – slip stitch
- sc – single crochet
- hdc – half double crochet
- dc – double crochet
- tr – treble crochet (yarn over twice)
- sk – skip
- st(s) – stitch(es)
- sp – space
- MR – magic ring
Special stitches
- Shell: 5 dc in the same stitch.
- Corner fan: 7 dc in the same space.
- Picot: ch 3, sl st in the 3rd ch from the hook.
- Corner picot: ch 4, sl st in the 4th ch from the hook.
Gauge and Checkpoints
Gauge isn’t critical for an ornament, but it controls the finished size and how the layers sit. Make Rounds 1–2 as a test before you go further.
Gauge: Rounds 1–2 measure 1.75 in (4.4 cm) from petal tip to petal tip.
Checkpoints:
- After Round 1: 1 in (2.5 cm) across
- After Round 2: 1.75 in (4.4 cm) tip to tip
- After Round 4: about 2.5 in (6.4 cm) across the fan ring
- After Round 6: 3.25 in (8.3 cm) per side
- After Round 7: 3.5 in (8.9 cm) per side
- After Round 9: 4.25 in (10.8 cm) per side
If your piece is too big: Go down to a 3.25 mm (US D-3) hook, or tighten your chains. Loose ch-5 loops in Round 3 are the most common cause.
If your piece is too small or cupping: Go up to a 3.75 mm (US F-5) hook. Check that your Round 5 trebles reach full height and aren’t squashed.
Pattern: Center and Fan Layers
Round 1: Make a MR. Ch 3 (counts as dc), 15 dc in the ring. Pull the ring closed and sl st to the top of the beginning ch-3. (16 dc)
Round 2: Ch 1. Sc in the same st as the join, sk 1, shell in the next st, sk 1. Sc in the next st, sk 1, shell in the next st, sk 1. Repeat from * to * 2 more times. Sl st to the first sc. (4 shells + 4 sc = 24 sts)
The four shells are the center petals. They point to the four corners of the finished diamond.
Round 3: Sl st in the next 3 dc, so you end on the center (3rd) dc of the first shell. Ch 1. Sc in the same dc, which is a corner sc. Ch 5, sc in the next sc between petals (a side sc), ch 5. Sc in the center dc of the next shell, ch 5, sc in the next sc, ch 5. Repeat from * to * 2 more times. Sl st to the first sc. (8 sc: 4 corner sc + 4 side sc; 8 ch-5 loops)
Place a marker in each of the 4 corner sc. You’ll work into them again in Round 5.
Round 4: Sl st in the first ch-5 loop. Ch 1. Work (sc, hdc, 5 dc, hdc, sc) in each ch-5 loop around. Sl st to the first sc. Fasten off. (8 fans of 9 sts = 72 sts)
These eight fans form the raised second layer. Each fan sits between a corner and the middle of a side.
Round 5 (frame behind the fans): Fold the Round 4 fans toward you so that you can see the Round 3 sc behind them. Join the yarn with a sl st in any marked corner sc. Ch 4 (counts as tr), ch 3, tr in the same st. This is the first corner. Ch 4, sc in the next side sc of Round 3, ch 4. Work (tr, ch 3, tr) in the next corner sc, ch 4, sc in the next side sc, ch 4. Repeat from * to * 2 more times. Sl st to the top of the beginning ch-4. (8 tr, 4 sc, 4 ch-3 corner sps, 8 ch-4 sps)
The ch-4 lengths pass behind the fans, so the fans stay standing in front as a separate layer. Don’t pull these chains tight.
Round 6 (squaring round): Sl st in the first ch-3 corner sp. Ch 3 (counts as dc), work (dc, ch 2, 2 dc) in the same sp. Dc in the next tr, 4 dc in the ch-4 sp, dc in the sc, 4 dc in the next ch-4 sp, dc in the next tr, (2 dc, ch 2, 2 dc) in the corner sp. Repeat from * to * around, leaving out the last corner. Sl st to the top of the beginning ch-3.
Stitch count per side: 2 + 1 + 4 + 1 + 4 + 1 + 2 = 15 dc between corner ch-2 sps. (60 dc total + 4 ch-2 corner sps)
Check: each side should now measure 3.25 in (8.3 cm). This is your size before the border.
Border
Border gauge: After Round 7, there are 17 sc per side over 3.5 in (8.9 cm). Measure this before you start Round 8. If a side measures more than 3.75 in (9.5 cm), redo Round 7 with a tighter tension.
Round 7 (sc foundation, a conversion round): Ch 1. Sc in each dc around. In each corner ch-2 sp, work (sc, ch 2, sc). Sl st to the first sc.
Count per side: 15 sc (1 in each existing dc) + 2 corner sc (added in the ch-2 sp) = 17 sc. Those 17 sc already include both corner sc of that side. (68 sc total + 4 ch-2 corner sps)
Round 8 (shells and corner fans): Sl st in the next corner ch-2 sp. Ch 3 (counts as dc), 6 dc in the same sp to make the first corner fan.
Then work across the side’s 17 sc: Sk the next 2 sc, sc in the next sc. (Sk 1, shell in the next sc, sk 1, sc in the next sc) 3 times. Sk the last 2 sc. Work a corner fan in the next ch-2 sp. Repeat from * to * around, leaving out the last corner fan. Sl st to the top of the beginning ch-3.
Why the math works: 2 skipped + 1 sc + (3 × 4 sts) + 2 skipped = 17, which uses exactly the side’s 17 sc.
Count: Each side has 3 shells + 4 sc = 19 sts. Each corner fan has 7 dc. Total: (4 × 19) + (4 × 7) = 104 sts.
Round 9 (picot edge and hanging loop): Ch 1. Sc in each st around, with these additions:
- In the center (3rd) dc of each side shell, work sc, then a picot.
- In the center (4th) dc of three corner fans, work sc, then a corner picot.
- In the center (4th) dc of the fourth corner fan (the top), work (sc, ch 15, sc) to make the hanging loop.
Sl st to the first sc. Fasten off.
Count: 105 sc (104 + 1 extra sc at the loop corner), 12 side picots, 3 corner picots and 1 ch-15 loop. Each side between corner fans has 19 sc and 3 picots.
Why the border math works: Round 7 keeps 1 st per dc and adds only the 2 corner sc on each side. Round 8 uses exactly 17 sts per side and puts the extra fullness into the corner fans, so the sides stay straight and the corners come to a point. Round 9 is worked 1 to 1, so it doesn’t change the shape. It only adds the scallop detail. Together, the three rounds add 0.5 in (1.3 cm) on each edge, taking 3.25 in (8.3 cm) to 4.25 in (10.8 cm) per side.
Final Blocking
- Weave in all ends on the back, following the stitches in the same color. Don’t trim them flush yet.
- Wet the ornament fully in cool water. Gently press out the water in a towel without wringing it.
- Lay the ornament on a blocking mat as a diamond, with the hanging loop at the top.
- Pin the four corner picots so each side measures 4.25 in (10.8 cm) and the tips are 6 in (15.2 cm) apart.
- Pin each side picot outward a little so the scallops open up evenly.
- With your fingertips, lift the eight Round 4 fans and the four center petals so they sit raised in front of the frame.
- If you want a crisper ornament, spray it lightly with starch or fabric stiffener.
- Let it dry completely, usually 12–24 hours. Then unpin it and trim the ends.
Final Quality-Control Checklist
- Round 2 has 4 shells that point exactly to the 4 corners.
- Round 4 has 8 fans, and they stand in front of the Round 5 frame.
- Round 6 has 15 dc per side and 60 in total.
- Round 7 has 17 sc per side, including the corner sc.
- Round 8 has 3 shells per side and a 7-dc fan at each corner, 104 sts in total.
- Round 9 has 3 picots per side, 3 corner picots and 1 hanging loop.
- Each side measures 4.25 in (10.8 cm), and the tips are 6 in (15.2 cm) apart.
- The hanging loop is centered on the top tip, and the ornament hangs straight.
- No ends show on the front.
Troubleshooting
The center cups or bulges. Your Round 3 chains are too short or too tight. Loosen the ch-5 loops, or go up one hook size for Rounds 3–5 only.
The Round 4 fans ruffle. The ch-5 loops are too long for 9 sts. Work them a little tighter, or use (sc, hdc, 4 dc, hdc, sc) in each loop.
The fans are trapped behind the frame. In Round 5 you worked into the fans instead of the Round 3 sc. Fold the fans forward and work only into the marked corner sc and the side sc.
The sides bow outward after Round 8. Your Round 7 sc count is too high. Count 17 per side and recheck the skips in Round 8.
The corners are blunt. Make sure every corner fan has a full 7 dc in the ch-2 sp, then pin the corner picots firmly when you block.
The ornament hangs crooked. The loop isn’t in the center dc of the corner fan. Undo it to that corner and rework the loop in the 4th dc.
Care
Hand wash in cool water with mild soap, and lay flat to dry. If you used starch, reblock and restarch after washing. Store flat between layers of tissue so the points don’t bend.

Final Notes
The measurement chain for this ornament is simple:
- 16 dc in the center
- 4 shell petals and 8 raised fans
- a frame that squares off to 15 dc per side at 3.25 in (8.3 cm)
- 17 sc per side
- 3 shells per side with a 7-dc fan at each corner
- a picot edge that finishes at 4.25 in (10.8 cm) per side and 6 in (15.2 cm) tip to tip
Check your size at each of these stages, and every Snowlace Diamond will match the others on your tree.
Happy crocheting!